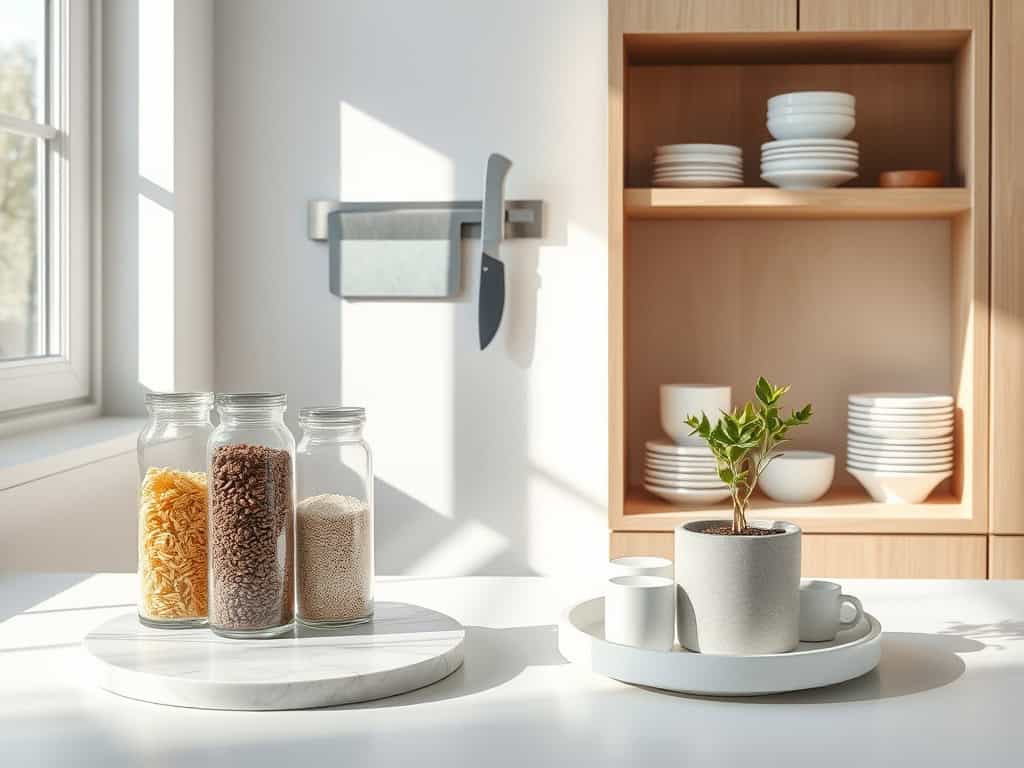
Did you know that the average person spends 37 minutes per day just searching for items in their kitchen? If you’re tired of rummaging through cluttered drawers and messy cabinets, you’re not alone. I’ve transformed countless chaotic kitchens into serene, minimalist spaces using simple organization techniques that anyone can master. From floating shelves to smart storage solutions, these eight ideas will help you create the streamlined, Pinterest-worthy kitchen you’ve always wanted.
Clear Your Countertops With Floating Shelves
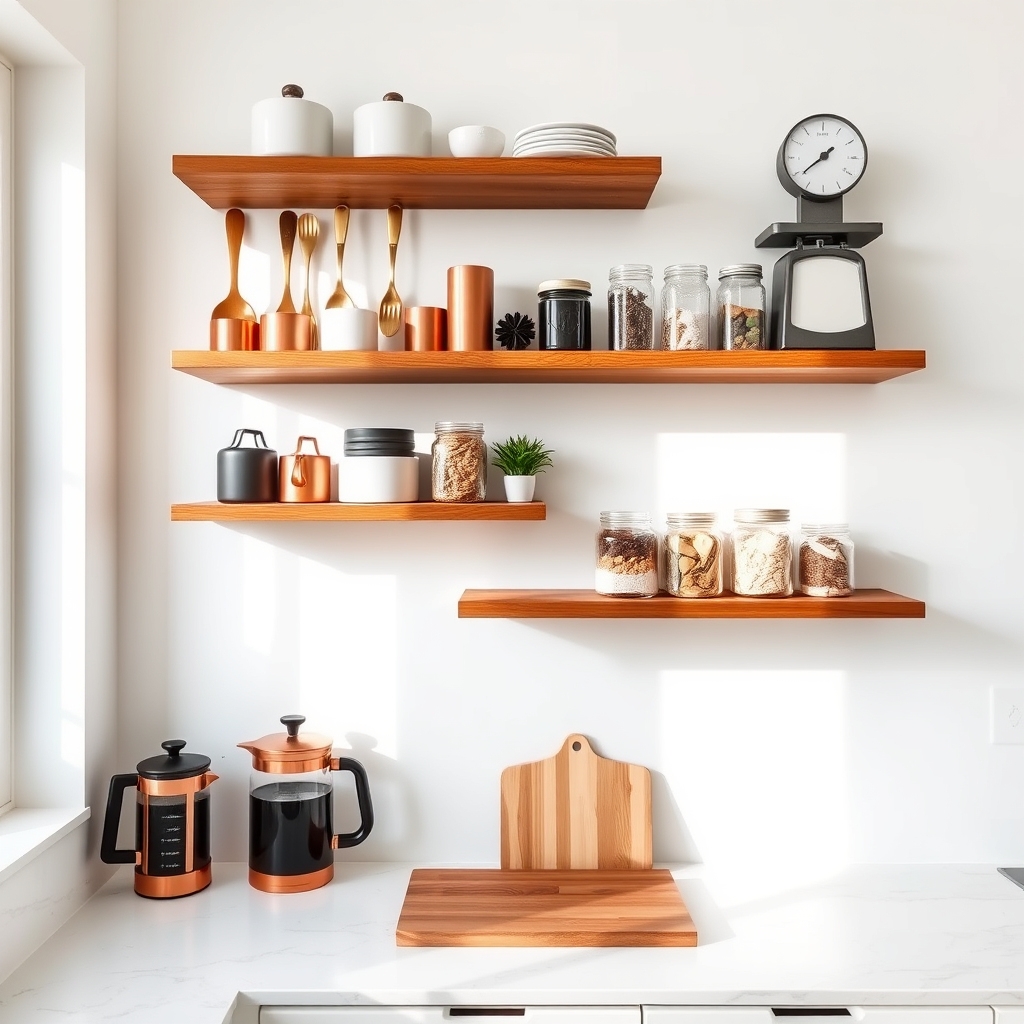
A clutter-free kitchen counter is essential for both functional cooking and maintaining a minimalist aesthetic. When counter space is limited, vertical storage solutions become invaluable, making floating shelves an ideal solution for maximizing kitchen space while keeping frequently used items within easy reach.
Floating shelves not only free up precious counter space but also create an opportunity to display stylish kitchen items and add visual interest to your walls. This organizational approach transforms everyday kitchen items into decorative elements while maintaining their accessibility and practicality.
Required Items:
- Floating shelves (appropriate weight capacity)
- Wall anchors and mounting hardware
- Level
- Drill
- Measuring tape
- Pencil
- Stud finder
- Wall bracket supports
- Screwdriver
- Safety glasses
Start by selecting strategic wall locations for your floating shelves, ensuring they’re easily accessible yet don’t interfere with cooking activities. Using a stud finder, locate and mark wall studs for secure mounting. Measure and mark shelf positions, using a level to ensure perfect alignment.
Install wall brackets according to manufacturer specifications, ensuring they’re properly anchored into studs or using appropriate wall anchors. Mount shelves securely, confirming they’re level before adding any items.
When organizing items on your floating shelves, place frequently used items on lower shelves and decorative pieces higher up. Group similar items together, such as cooking oils and spices on one shelf, and everyday dishes or coffee supplies on another. Consider using attractive containers or baskets to corral smaller items while maintaining visual appeal.
Additional Tips: Maintain a balance between functionality and aesthetics by limiting items to those used at least weekly. Incorporate varying heights and textures in your shelf displays to create visual interest. Remember to periodically dust and reorganize shelves, removing any items that haven’t been used in the past month to maintain the minimalist appeal.
Invest in Uniform Storage Containers
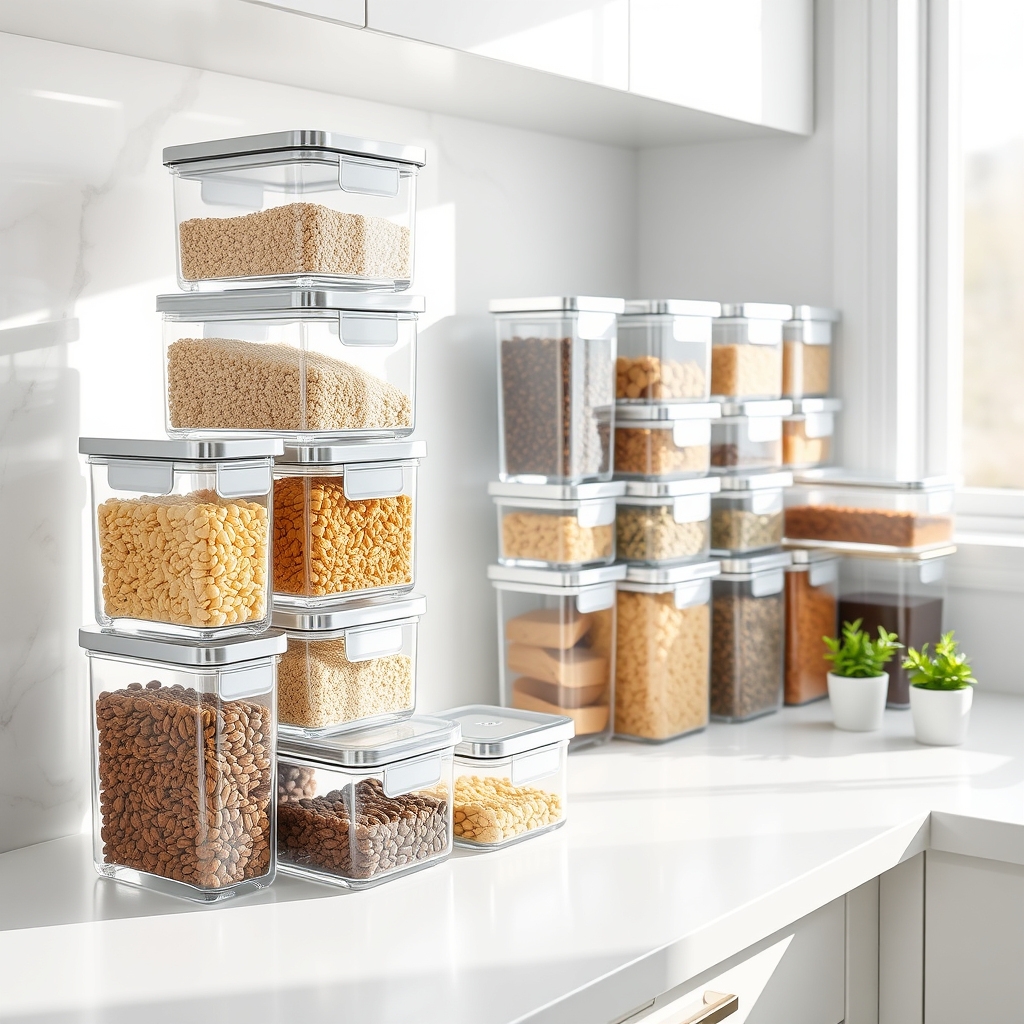
A well-organized kitchen starts with cohesive storage solutions, and uniform containers are the foundation of an efficient pantry and cabinet system. Matching containers not only create visual harmony but also maximize space utilization by stacking neatly and fitting together like puzzle pieces, eliminating the chaos of mismatched containers with ill-fitting lids.
Uniform storage containers revolutionize how you store dry goods, leftovers, and bulk items while maintaining freshness and preventing food waste. When containers are standardized, you can easily see inventory levels, quickly locate items, and maintain a clean, professional appearance that embodies minimalist principles.
Required Items:
- Clear airtight storage containers (various sizes)
- Label maker or waterproof labels
- Measuring cups
- Container cleaning brush
- Dry-erase marker
- Funnel
- Container size assessment worksheet
- Storage container inventory list
Start by emptying your cabinets and pantry of all current storage containers. Measure your space and determine how many containers of each size you’ll need based on your typical grocery items and cooking habits. Choose containers that are airtight, clear, and stackable, preferably from the same product line to ensure compatibility.
Select square or rectangular shapes over round ones to maximize space efficiency.
Sort your dry goods by category (grains, snacks, baking supplies, etc.) and transfer them into the new containers. Leave adequate headspace for pouring and scooping. Label each container with contents and expiration dates. Stack containers by height, with frequently used items at eye level and heavier items on lower shelves.
For optimal maintenance and longevity, establish a regular cleaning schedule for containers and replace damaged seals promptly. Consider keeping a small number of backup containers for bulk shopping or seasonal items.
Regularly audit your container collection to ensure it continues to meet your needs and maintain the minimalist aesthetic you’re aiming to achieve.
Create Designated Zones for Daily Items
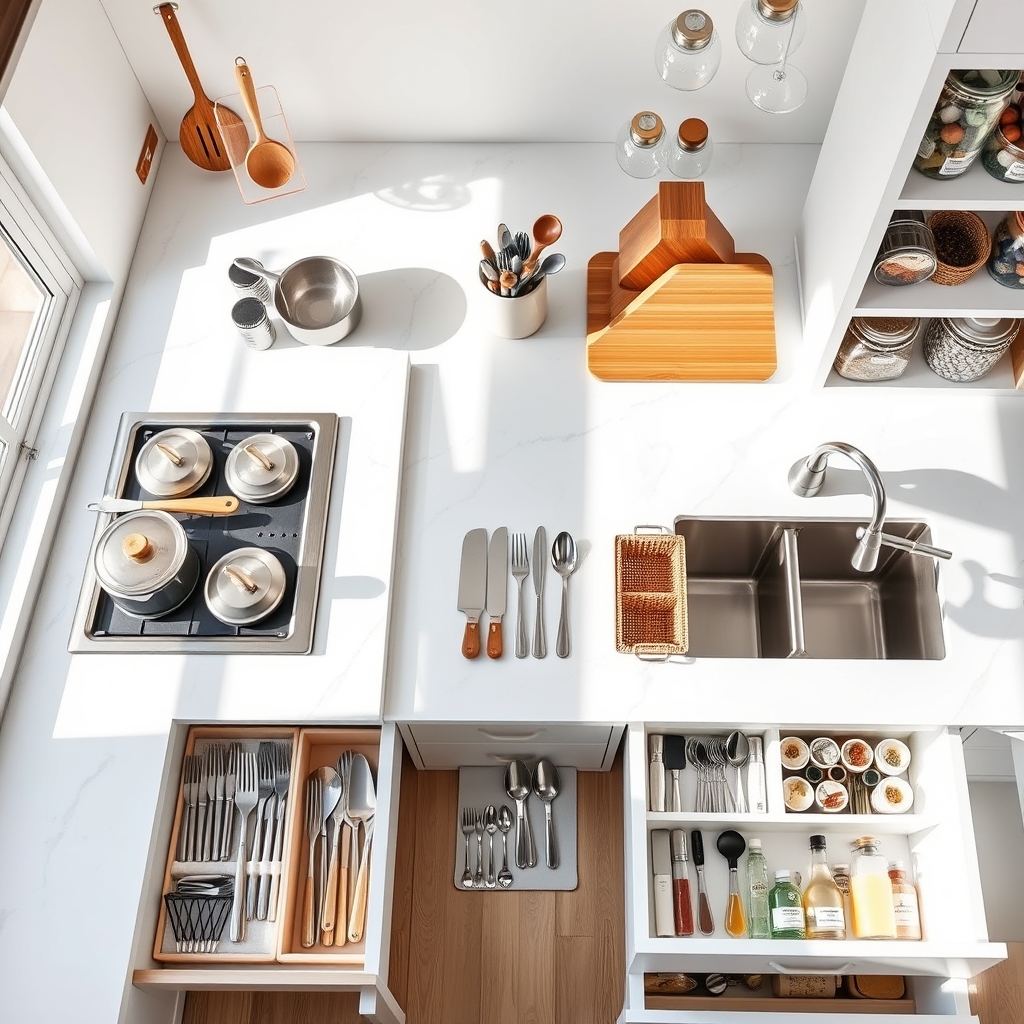
Creating designated zones for daily kitchen items is fundamental to maintaining an efficient and stress-free cooking environment. When frequently used items have specific, logical locations, you eliminate wasted time searching for essentials and reduce the mental load of kitchen organization.
Well-planned zones streamline your daily routine by grouping related items together based on their function and frequency of use. This systematic approach not only makes cooking more enjoyable but also helps maintain order long-term, as everyone in the household knows exactly where items belong.
Required Items:
- Clear containers or bins
- Drawer dividers
- Cabinet organizers
- Labels and label maker
- Measuring tape
- Shelf liner
- Command hooks
- Small baskets
- Drawer liner
- Shelf risers
Start by identifying your most-used items and categorizing them into specific zones: cooking, food prep, cleaning, and storage. Place cooking utensils and pots near the stove, while keeping food prep tools near your primary workspace. Position cleaning supplies under the sink, and establish a dedicated zone for frequently used appliances where they’re easily accessible but don’t crowd counter space.
Group items by function within each zone using appropriate organizers. Install drawer dividers for utensils, use clear containers for pantry items, and implement shelf risers to maximize vertical space. Ensure that items used daily are at eye level or in easily reachable drawers, while less frequently used items can be stored in higher cabinets or lower spaces.
Additional optimization tips: Regularly assess your zones and adjust them based on changing needs and habits. Remove items that haven’t been used in three months, and consider rotating seasonal items to maintain efficient use of space.
Label everything clearly to ensure items return to their designated spots, and implement a “one-in-one-out” rule when adding new kitchen items to maintain the minimalist organization system.
Streamline Your Cabinet Storage System
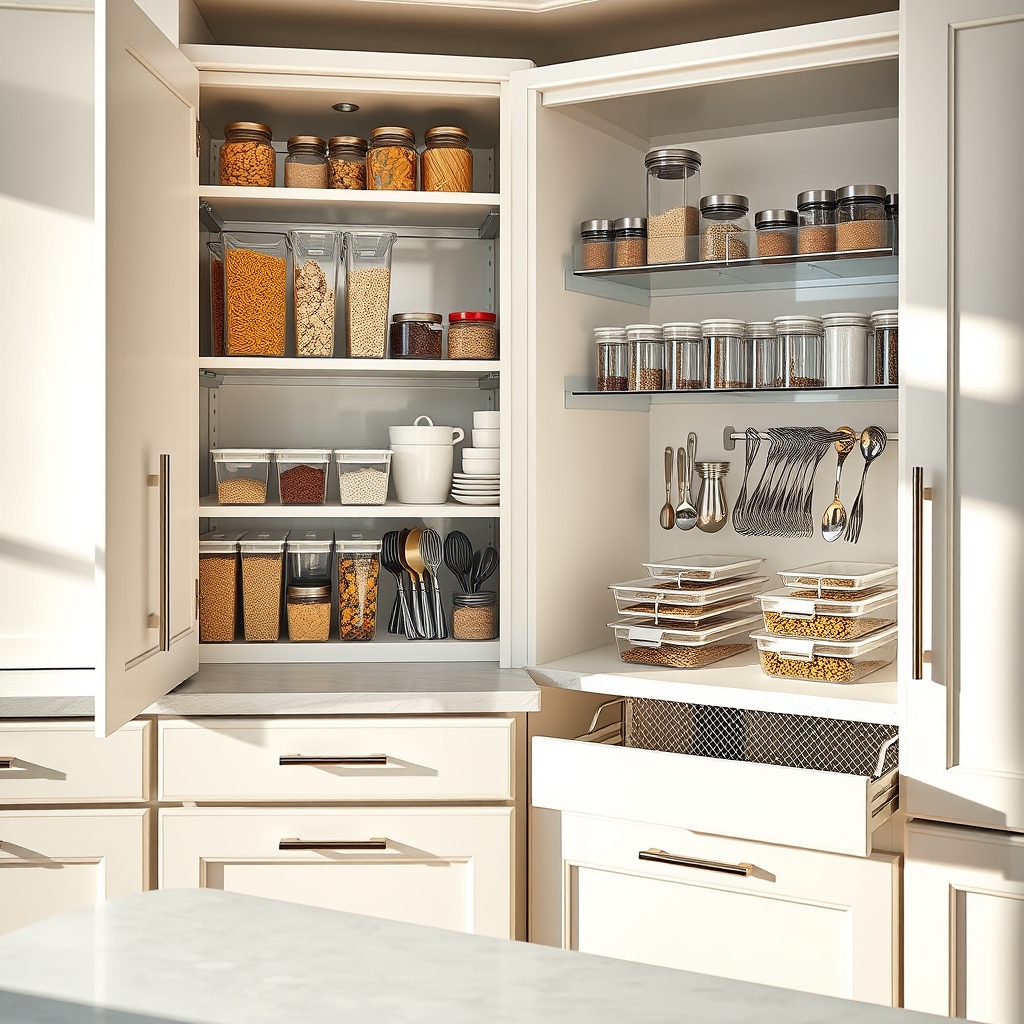
A well-organized cabinet system serves as the foundation of a functional kitchen, eliminating the daily frustration of searching for items and maximizing valuable storage space. When cabinets are properly organized, cooking becomes more efficient, cleanup is faster, and maintaining order becomes second nature.
Streamlined cabinet storage not only creates visual harmony but also prevents unnecessary purchases of duplicate items and reduces food waste by keeping inventory visible and accessible. An organized system allows you to store more in less space while maintaining easy access to everything you need.
Required Items:
- Clear storage containers
- Drawer dividers
- Shelf risers
- Label maker
- Measuring tape
- Drawer liner material
- Lazy Susan turntables
- Pull-out organizers
- Container sets for dry goods
- Small bins or baskets
Start by completely emptying all cabinets and sorting items into categories based on function and frequency of use. Measure cabinet dimensions and map out zones for different items, keeping frequently used items at eye level and lesser-used items higher up or in back corners.
Install shelf risers and drawer organizers to maximize vertical space, and transfer dry goods into uniform containers for better visibility and freshness. Group similar items together, creating designated areas for cooking supplies, baking items, and food storage containers.
Implement the “one motion” rule – items should be accessible without moving other things out of the way. Use lazy Susans in corner cabinets and pull-out organizers in deep cabinets to eliminate unreachable dead space.
Additional Tips: Maintain your system by conducting quarterly cabinet audits, removing expired items and adjusting organizers as needed. Label everything clearly, including expiration dates on transferred dry goods.
Consider removing cabinet doors under the sink for frequently accessed cleaning supplies, and use door-mounted organizers for maximizing otherwise unused space.
Maximize Vertical Space With Wall-Mounted Solutions
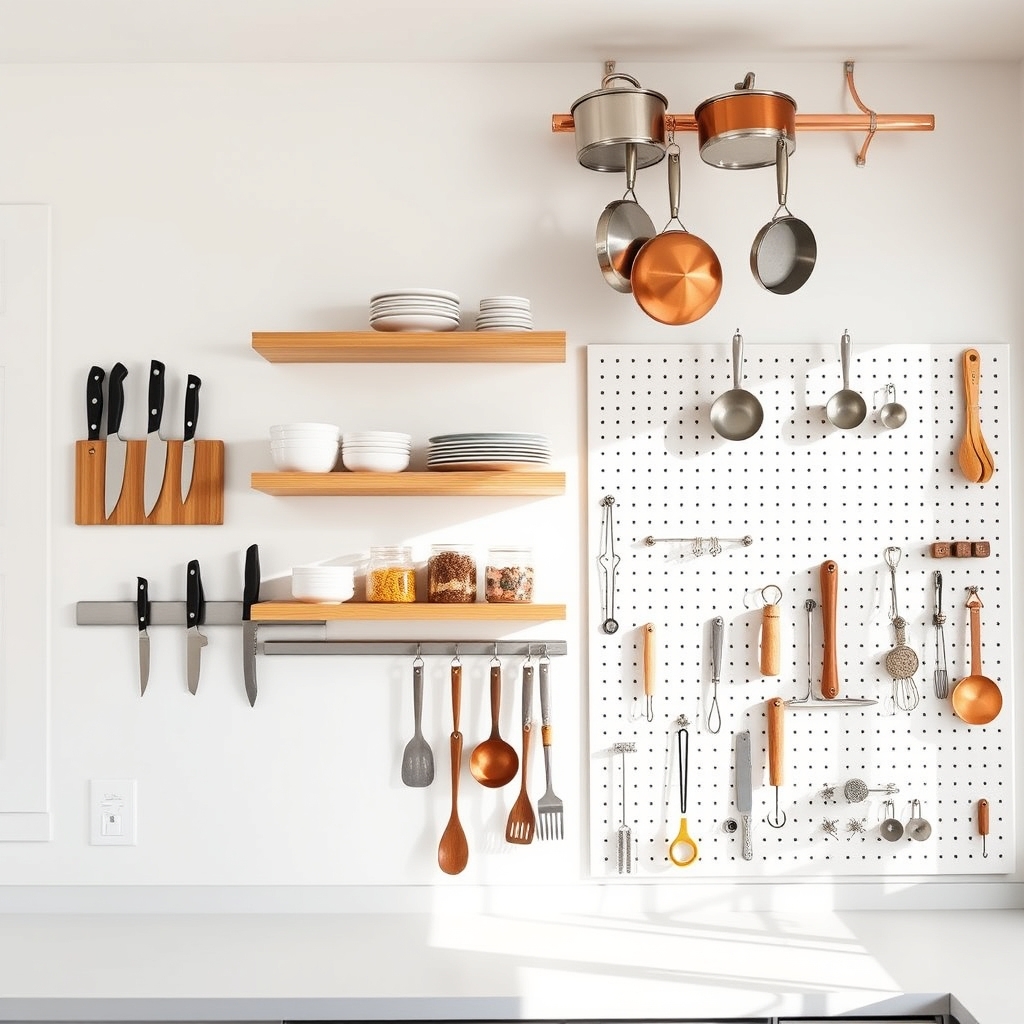
Making the most of vertical space in your kitchen is essential for creating an efficient and clutter-free environment, especially in smaller homes or apartments. Wall-mounted storage solutions free up valuable counter and cabinet space while keeping frequently used items easily accessible.
Vertical organization transforms unused wall space into functional storage areas, creating a more open and organized kitchen environment. This approach aligns perfectly with minimalist principles by eliminating clutter from horizontal surfaces and establishing clear, designated spaces for kitchen essentials.
Required Items:
- Wall-mounted magnetic knife strip
- Pegboard and hooks
- Floating shelves
- Wall-mounted pot rack
- Heavy-duty anchors and screws
- Drill and level
- Measuring tape
- Pencil
- Stud finder
- Mounting brackets
Start by assessing your wall space and identifying sturdy mounting points using a stud finder. Install a magnetic knife strip at eye level for easy access to cutting tools. Mount a pot rack above the stove or prep area, ensuring it’s securely anchored to wall studs.
Position floating shelves in ascending order, with frequently used items on lower shelves and seasonal items above. For additional storage, install a pegboard system with various hooks and holders. This customizable solution can accommodate everything from utensils to small pots and pans.
Arrange items by frequency of use and group similar tools together. Leave adequate space between mounted items to maintain a clean, uncluttered appearance.
To maximize the effectiveness of your wall-mounted storage, regularly evaluate and adjust the arrangement based on your cooking habits. Rotate seasonal items, remove rarely used tools, and maintain proper weight distribution across mounted fixtures.
Consider adding labels or designated zones to maintain organization and ensure items return to their proper places after use.
Choose Multi-Purpose Kitchen Tools
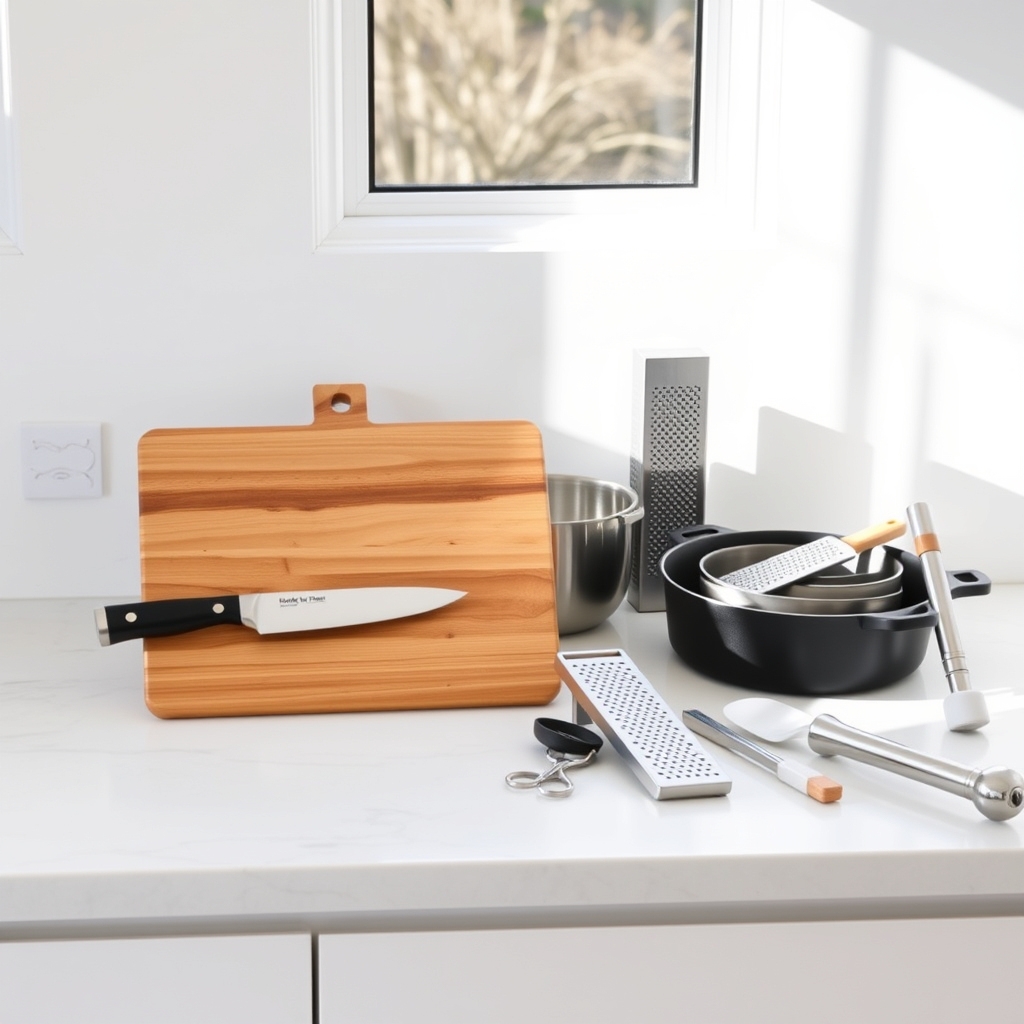
The key to a truly minimalist kitchen lies in selecting tools that can perform multiple functions, eliminating the need for numerous single-purpose gadgets that clutter drawers and countertops. Multi-purpose kitchen tools not only save valuable space but also reduce the mental overhead of deciding which tool to use for each task.
By carefully curating a collection of versatile kitchen tools, you can streamline your cooking process while maintaining the ability to prepare a wide variety of dishes. This approach aligns perfectly with minimalist principles, ensuring that every item in your kitchen serves multiple purposes and earns its storage space.
Essential Multi-Purpose Tools:
- Chef’s knife
- Large wooden cutting board
- Microplane grater/zester
- Dutch oven
- Cast iron skillet
- Immersion blender
- Kitchen scissors
- Silicone spatula
- Mixing bowls (nesting set)
- Measuring cups that double as small bowls
Begin by laying out all your current kitchen tools and evaluating each one’s versatility. Remove single-purpose items that can be replaced by multi-functional alternatives. For example, replace your garlic press, citrus juicer, and zester with a quality microplane that can handle all these tasks.
Group similar tools together and identify overlapping functions. Select the most versatile option from each category, keeping only tools that serve at least two distinct purposes.
Store your chosen multi-purpose tools in easily accessible locations based on frequency of use. Position frequently used items in prime real estate areas like the drawer nearest your prep space. Arrange tools vertically when possible using drawer dividers or wall-mounted magnetic strips to maximize space and visibility.
Additional Tip: Review your multi-purpose tool collection every six months to ensure each item still serves multiple functions effectively. Replace worn tools with even more versatile options when available, and resist the temptation to add single-purpose gadgets to your collection, no matter how innovative they may seem.
Remember that the most efficient kitchen tools are ones that can adapt to various cooking needs while maintaining quality results.
Implement a Simple Color Palette
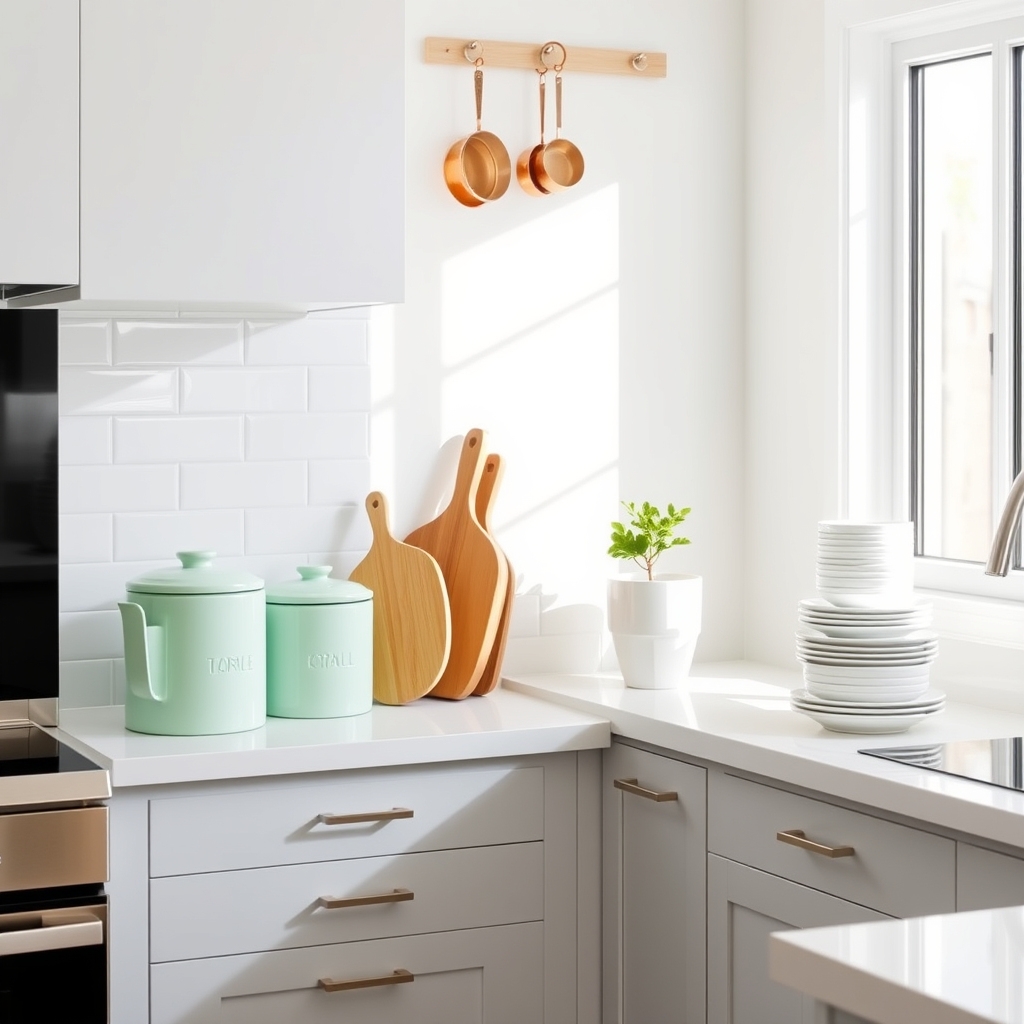
A well-planned color palette in your kitchen creates visual harmony and reduces mental clutter, making the space feel more organized and peaceful. When your kitchen follows a cohesive color scheme, it becomes easier to maintain order and identify items quickly, leading to a more efficient cooking and dining experience.
Implementing a simple color palette goes beyond aesthetics – it helps create a system where items naturally belong together and maintains the minimalist appeal of your space. This organizational approach can influence everything from your choice of containers to appliances, creating a seamless look that encourages maintaining order.
Required Items:
- Paint swatches or color cards
- Storage containers in chosen colors
- Labels or label maker
- Color-coordinated dish towels
- Matching food storage containers
- Complementary serving ware
- Paint (if repainting is needed)
- Cleaning supplies
Start by selecting your base color – typically white, grey, or beige – which should cover about 60% of your visible kitchen elements. Choose one or two accent colors that complement your base color and align with your minimalist goals. These accent colors should be used for approximately 30% and 10% of your visible items, respectively.
Sort your existing kitchen items by color, keeping those that match your chosen palette and planning to replace or store others that don’t align with your scheme.
Begin implementing your color system by organizing storage containers, appliances, and frequently used items according to your chosen palette. Store similar-colored items together, ensuring that your accent colors are distributed evenly throughout the space to maintain visual balance.
Consider painting walls or cabinets if needed to establish your base color, and gradually replace mismatched items with ones that fit your chosen scheme.
Additional Tips: Maintain the simplicity of your color palette by avoiding impulse purchases that don’t match your scheme. When replacing items, always refer back to your chosen colors.
Consider using clear storage containers with colored lids that match your palette, allowing you to see contents while maintaining the color scheme. Remember that metallics like stainless steel can work as neutral elements in any color palette, so don’t feel pressured to replace functional appliances that don’t perfectly match your chosen colors.
Design Smart Drawer Organization Systems
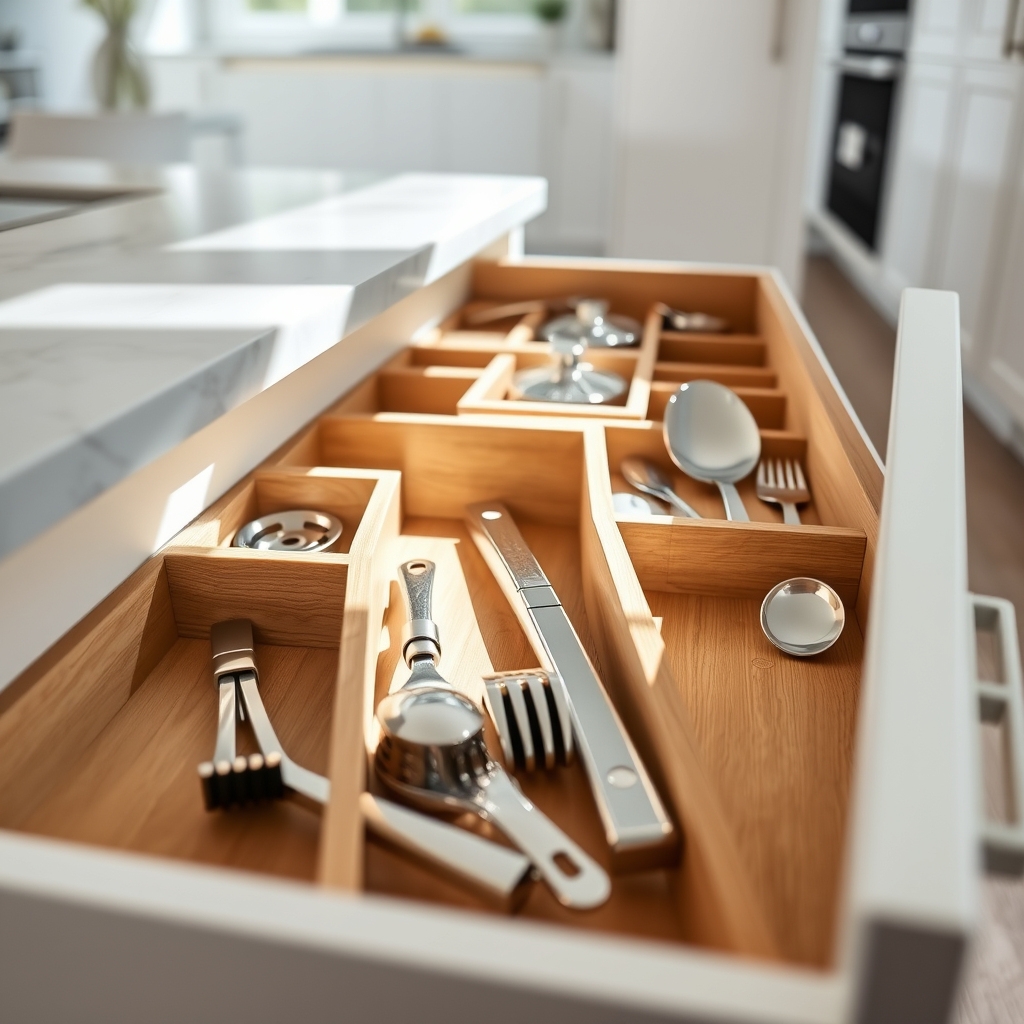
Well-organized kitchen drawers serve as the foundation of an efficient cooking space, eliminating the frustration of searching for utensils and tools when you need them most. A thoughtfully designed drawer system can save precious minutes during meal preparation and maintain the clean, uncluttered aesthetic that defines minimalist kitchen design.
Smart drawer organization transforms chaotic, jumbled spaces into functional storage solutions that maximize every inch of available space. When each item has a designated spot, it becomes easier to maintain order and quickly assess inventory, leading to fewer duplicate purchases and a more streamlined cooking experience.
Required Items:
- Drawer dividers
- Expandable drawer organizers
- Drawer liner material
- Measuring tape
- Label maker
- Clear storage containers
- Utensil holders
- Drawer depth stops
- Small containers for loose items
- Drawer pulls or handles
Start by completely emptying each drawer and measuring the internal dimensions. Group similar items together, separating everyday essentials from rarely used tools. Install appropriate-sized drawer dividers or expandable organizers, ensuring they fit snugly to prevent shifting. Place frequently used items in the most accessible drawers, positioning them near their point of use.
For utensil drawers, implement a two-tier system using drawer organizers with varying compartment sizes. Position cooking tools with longer handles at the back and shorter items toward the front for easy visibility. In deeper drawers, utilize vertical dividers to store cutting boards and baking sheets upright, maximizing vertical space while keeping items easily accessible.
Additional Tips: Consider implementing a regular maintenance schedule to review drawer contents every three months. Remove items that haven’t been used, adjust dividers as needed, and clean drawer surfaces thoroughly. Use clear containers for small items like measuring spoons or specialty tools to prevent them from getting lost in larger compartments.
Remember to leave about 10% of drawer space empty to accommodate new items and maintain the minimalist aesthetic.

