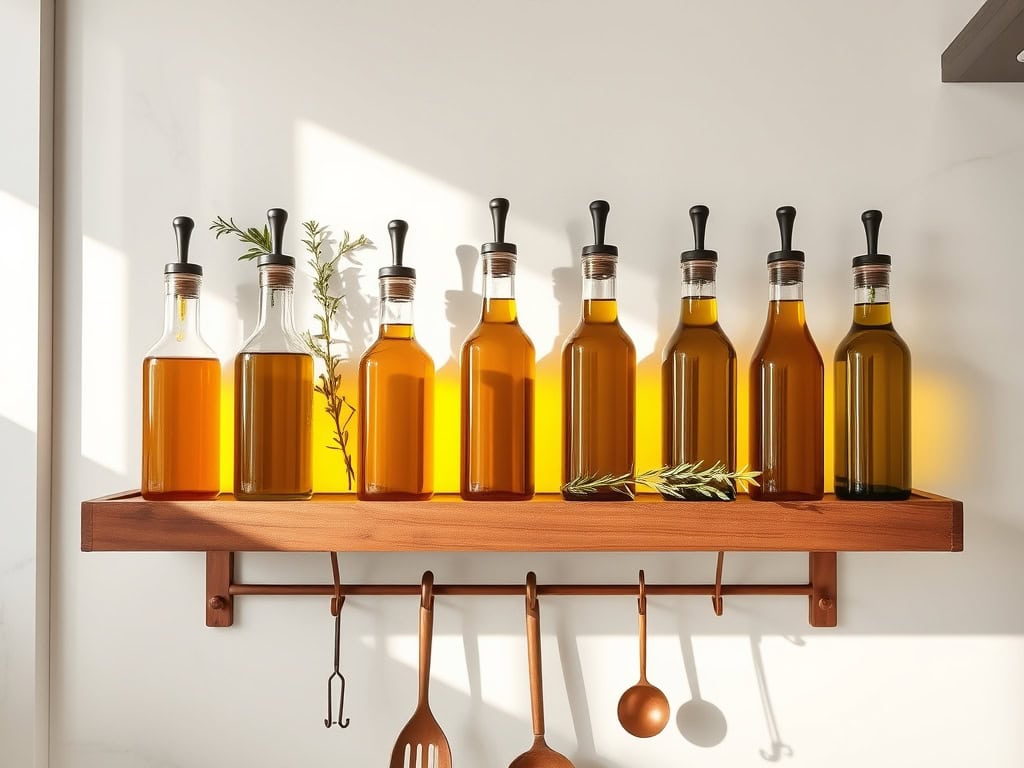
Ever feel like your kitchen oils are playing a frustrating game of hide-and-seek? You’re not alone! As a home cook who’s battled the chaos of cluttered cabinets, I’ve discovered that organizing cooking oils isn’t just about tidiness—it’s about transforming your entire cooking experience. From specialty vinegars hiding in dark corners to that fancy truffle oil you forgot existed, there’s a better way to manage your liquid gold. Let me share seven game-changing hacks that’ll revolutionize your kitchen workflow.
Install a Pull-Out Cabinet Organizer
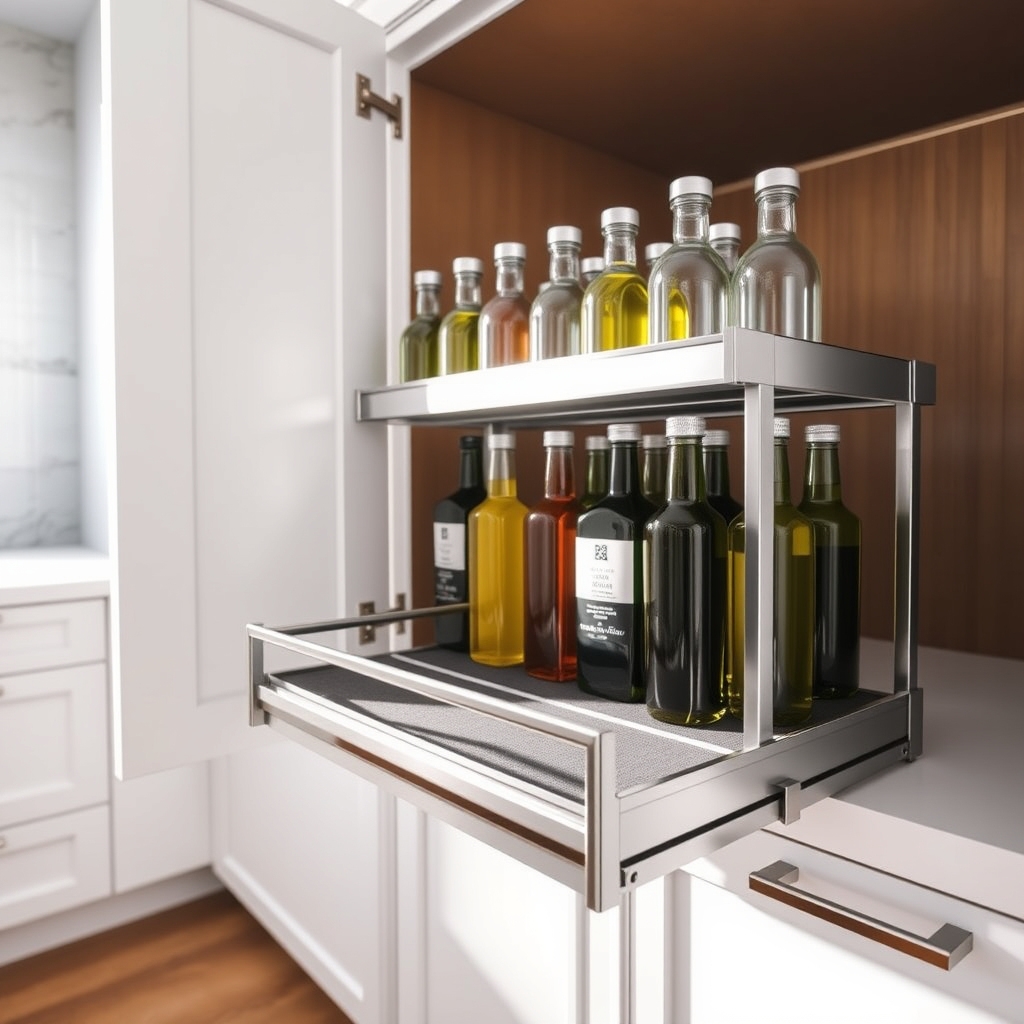
Cooking oils are essential ingredients in any kitchen, but their bottles can quickly become a cluttered mess in cabinets, making it difficult to find what you need when you need it. A pull-out cabinet organizer specifically designed for oils and other cooking liquids can transform a chaotic cabinet into an efficient, accessible storage space.
Installing a pull-out organizer not only maximizes vertical space but also prevents oil bottles from getting lost in the depths of deep cabinets. This solution makes it easy to see all your oils at a glance and ensures that older bottles get used before newer ones, reducing waste and maintaining freshness.
Required Items:
- Pull-out cabinet organizer
- Screwdriver
- Measuring tape
- Pencil
- Level
- Mounting screws
- Drill
- Cabinet hardware template
- Safety glasses
Start by emptying the cabinet completely and measuring its interior dimensions. Choose a pull-out organizer that fits your cabinet’s width and depth, leaving enough clearance for smooth operation. Mark the mounting points using your hardware template, ensuring they’re level.
Drill pilot holes for the mounting brackets, being careful not to drill through the cabinet walls. Secure the slide mechanisms to both sides of the cabinet interior, then attach the pull-out frame to the slides according to the manufacturer’s instructions.
Once installed, organize your oils by frequency of use, placing everyday oils at the front and specialty oils toward the back. Consider adding non-slip liner to the shelves to prevent bottles from tipping during drawer movement.
If your organizer has multiple tiers, use the bottom shelf for larger bottles and the top shelf for smaller ones. For maximum effectiveness, label the shelf edges with oil types and their expiration dates.
Regularly check that the mounting hardware remains tight and the sliding mechanism operates smoothly. Clean spills immediately to prevent oil from compromising the organizer’s integrity, and periodically review your oil inventory to ensure nothing expires unused.
Group Oils by Cooking Purpose
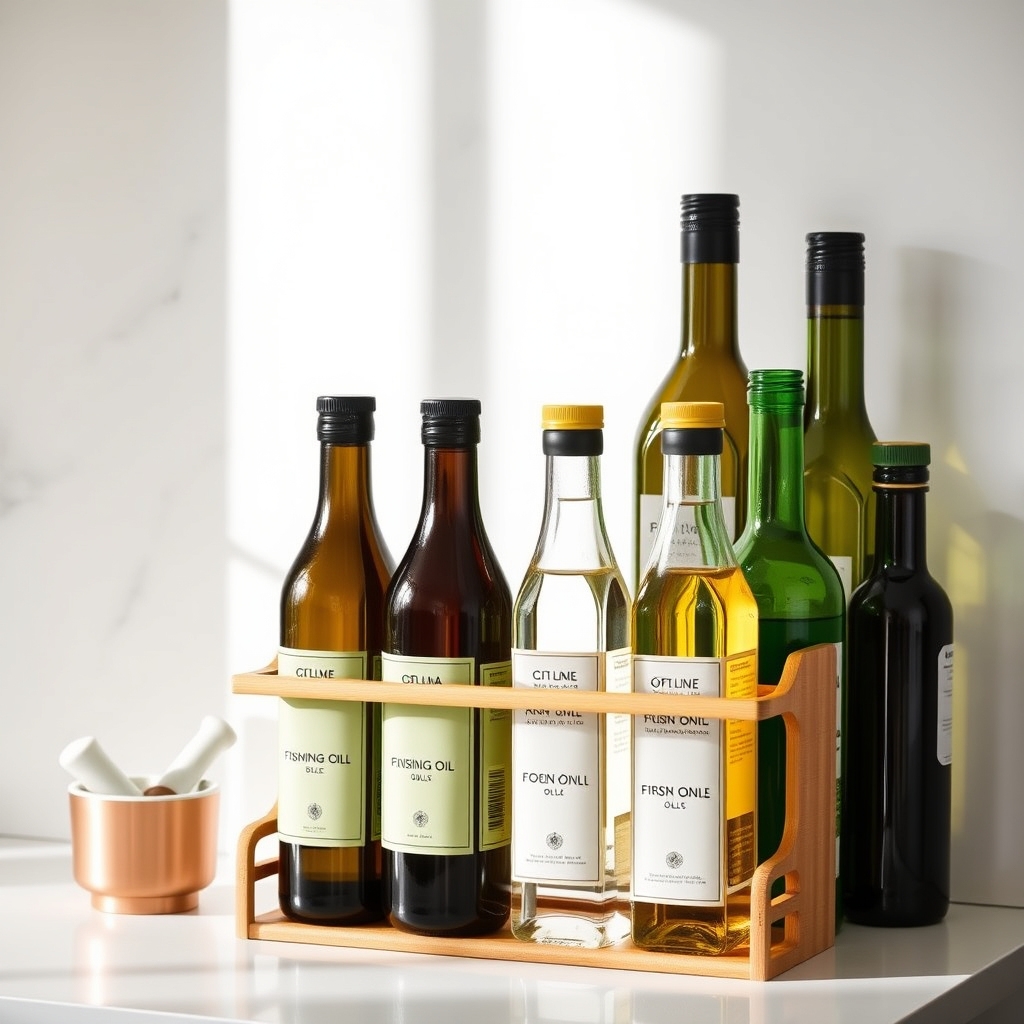
Organizing cooking oils by their intended use is a crucial step in creating an efficient kitchen workflow. When oils are grouped according to their purpose, you can quickly grab the right oil for each cooking method without hesitation or confusion, leading to better cooking results and less waste of premium oils.
Strategic organization of cooking oils not only saves time during meal preparation but also helps preserve the oils’ quality and extends their shelf life. Different oils have varying smoke points and flavor profiles, making them better suited for specific cooking methods, from high-heat stir-frying to light dressings and marinades.
Required Items:
- Labels or label maker
- Storage containers or bottles
- Shelf risers or tiered organizers
- Measuring cups
- Funnel
- Clean cloth for wiping bottles
- Storage basket or bin
- Category dividers
Start by sorting all cooking oils into three main categories: high-heat cooking oils (like avocado, refined coconut, and grapeseed), medium-heat cooking oils (like olive oil and vegetable oil), and finishing oils (like extra virgin olive oil and specialty nut oils).
Clean all bottles thoroughly and ensure they’re properly labeled with both the oil type and its primary cooking purpose.
Position the grouped oils in their designated areas, with high-heat oils closest to the cooking zone, medium-heat oils in the middle, and finishing oils in a cooler, darker spot away from the stove. Use tiered organizers to create visual separation between categories and ensure all labels are easily visible.
Transfer oils into uniform containers if desired, making sure to note purchase dates and expiration information.
For optimal organization maintenance, regularly check oil freshness and rotate stock by moving newer bottles to the back of each category. Store oils away from direct sunlight and heat sources, and consider using dark-colored bottles for light-sensitive oils.
Keep a small inventory list noting which oils belong in each category to maintain the system, especially when introducing new oils to your collection.
Create a Lazy Susan Storage System
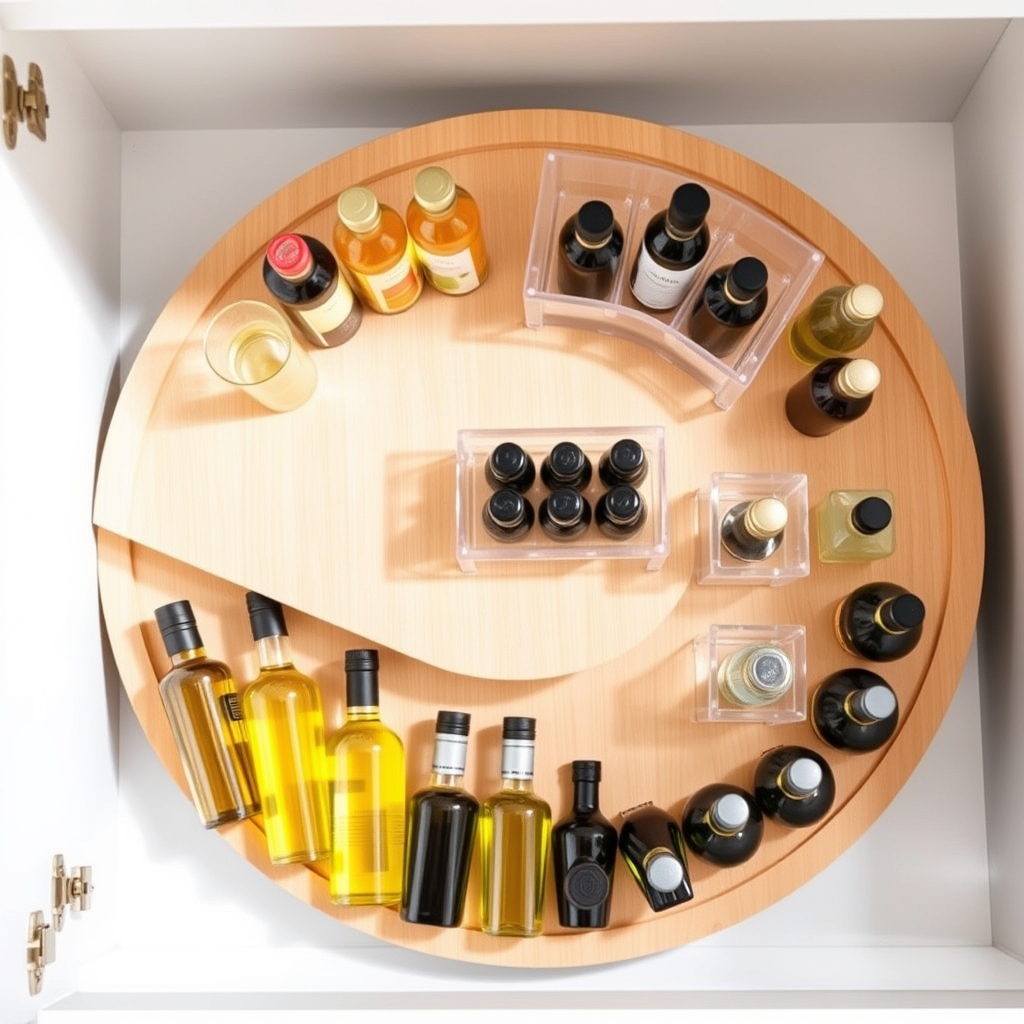
Organizing cooking oils and related condiments is essential for any functional kitchen, as these items are frequently used but can quickly create clutter when stored haphazardly. A lazy Susan system provides easy access to all your oils while maximizing cabinet space and preventing bottles from getting lost in the depths of your storage areas.
A well-organized lazy Susan for oils not only makes cooking more efficient but also helps prevent waste by keeping all bottles visible and accessible. This visibility allows you to track oil levels, expiration dates, and maintain a proper inventory of your cooking essentials without constantly moving bottles around or forgetting about products in the back of cabinets.
Required Items:
- Single or double-tier lazy Susan
- Non-slip liner
- Clear plastic bins or containers (optional)
- Label maker or labels
- Measuring tape
- Cleaning supplies
- Small risers or elevated platforms (optional)
Select an appropriately sized lazy Susan that fits your cabinet space and measure the height clearance needed for your tallest bottles. Clean the lazy Susan thoroughly and apply non-slip liner to prevent bottles from sliding during rotation.
Group oils by type (cooking oils, finishing oils, vinegars) and arrange them with the most frequently used items toward the front or most accessible area. If using a double-tier system, place heavier and larger bottles on the bottom tier and lighter, smaller bottles on top.
For enhanced organization, consider placing shorter bottles on small risers toward the back of each tier to create a stadium-effect viewing arrangement. This setup ensures all labels are visible at a glance. Use clear plastic bins to contain similar items or to prevent small bottles from tipping. Label the edge of the lazy Susan with categories if desired, creating designated zones for different types of oils.
Additional Tips: Regularly assess the contents of your lazy Susan, wiping up any spills immediately and checking expiration dates monthly. Store oils away from heat sources and direct sunlight to maintain their quality.
Consider keeping a small list inside the cabinet door noting the location of specific oils, especially if multiple family members use the kitchen. This system works best when maintained consistently and adjusted as your cooking needs change.
Use Door-Mounted Racks
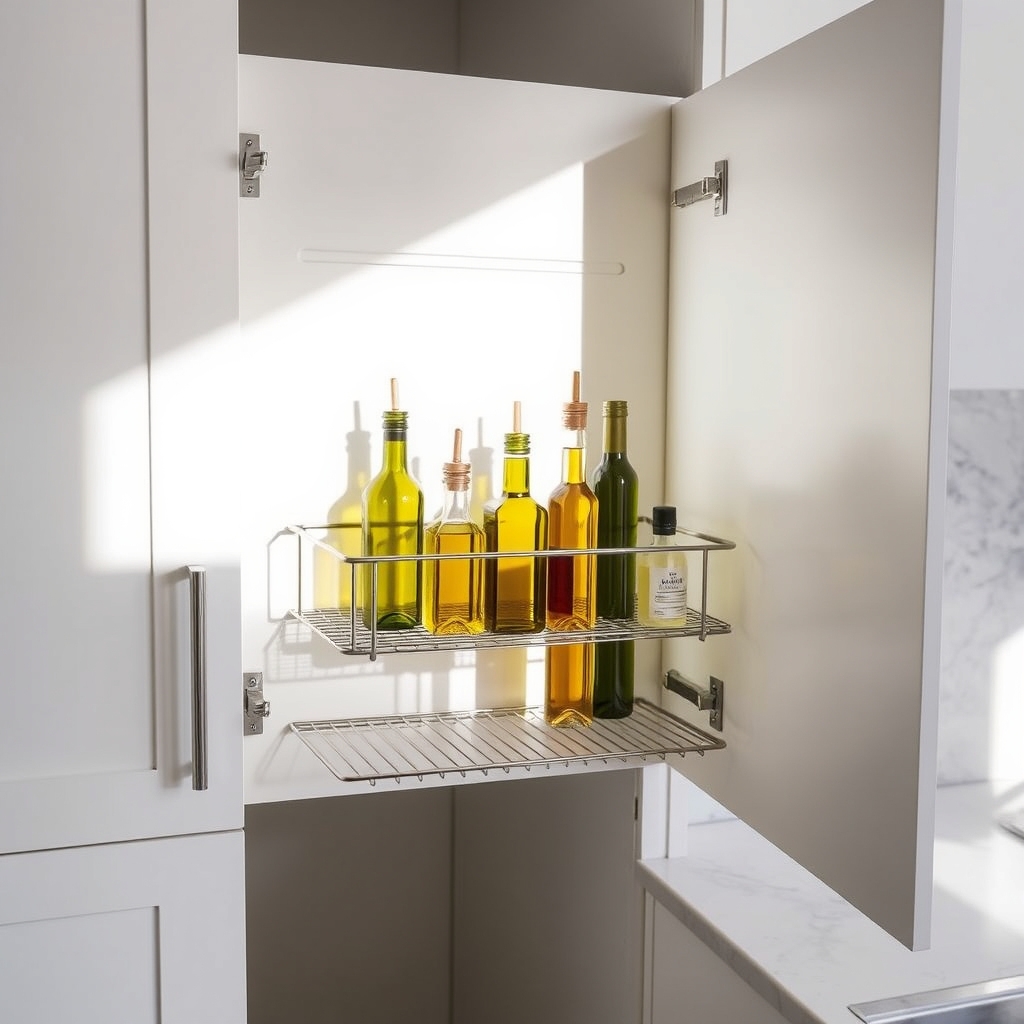
Organizing cooking oils in the kitchen is essential for both functionality and safety. Proper storage helps prevent rancidity, maintains oil quality, and ensures easy access when cooking. Having oils readily available but protected from light and heat can significantly impact their shelf life and your cooking efficiency.
Door-mounted racks transform unused cabinet space into valuable storage real estate, keeping oils within arm’s reach while freeing up precious counter and shelf space. This organization method is particularly beneficial in smaller kitchens where every inch counts, and it helps maintain a clutter-free cooking environment.
Required Items:
- Over-the-door mounting rack
- Measuring tape
- Screwdriver
- Wall anchors (if needed)
- Level
- Pencil
- Cleaning supplies
- Labels
- Optional: rubber liner for rack shelves
Installing and organizing a door-mounted rack system requires careful planning and execution. First, measure your cabinet door’s dimensions and purchase an appropriately sized rack that won’t interfere with shelves when the door closes.
Clean the door thoroughly and mark mounting points using a level to ensure straight installation. Secure the rack following manufacturer instructions, using wall anchors if needed for additional support.
Arrange oils by frequency of use, placing everyday items at eye level and less-used ones above or below. When loading the rack, consider both functionality and weight distribution. Store heavier oils on lower shelves for stability, and ensure bottles are placed securely with caps tightly sealed.
Group similar oils together – cooking oils in one section, finishing oils in another, and specialty oils in their own area. This systematic arrangement makes selection easier during meal preparation.
For optimal organization maintenance, clean the rack monthly, check oil expiration dates regularly, and adjust shelf heights as needed to accommodate different bottle sizes.
Consider adding rubber liner to prevent bottles from sliding, and use labels to track purchase dates. Always ensure the cabinet door can fully close without bottles hitting interior shelves or the cabinet frame.
Set Up a Temperature-Controlled Storage Zone
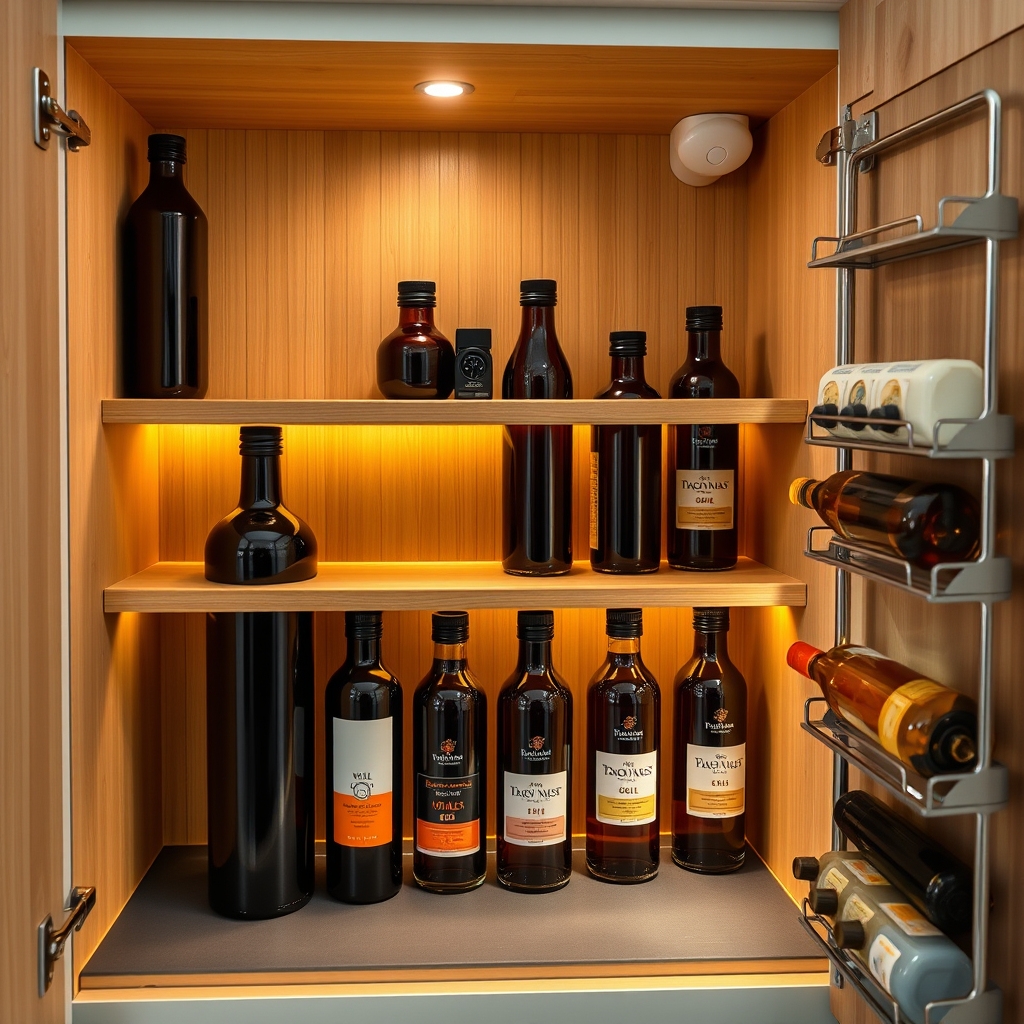
Proper temperature control for cooking oils is crucial for maintaining their quality, preventing rancidity, and extending their shelf life. Different oils have varying temperature sensitivities, and exposure to heat, light, or extreme temperature fluctuations can significantly impact their flavor, nutritional value, and safety for consumption.
Creating a dedicated temperature-controlled storage zone for your oils not only preserves their integrity but also helps streamline your cooking process. When oils are stored correctly, you’ll save money by preventing waste and ensure that each oil performs optimally when used in your recipes.
Required Items:
- Thermometer
- Dark glass bottles or containers
- Labels and marker
- Cabinet organizers or tiered shelves
- Silicon moisture absorbers
- Cabinet door hooks
- Rubber shelf liner
- Storage baskets
- LED cabinet light with motion sensor
- Insulated storage containers
The organization process starts with selecting an appropriate cabinet location away from heat sources like the stove, oven, or direct sunlight. Install a thermometer to monitor the storage area temperature, aiming to maintain it between 57-70°F (13-21°C).
Line the shelves with rubber matting to prevent bottles from sliding and install tiered organizers to maximize visibility and accessibility. Transfer oils to dark glass containers if they came in plastic or clear bottles, ensuring each container is properly labeled with the oil type and purchase date.
Arrange oils based on frequency of use, placing everyday oils at eye level and specialized oils on secondary shelves. Install motion-sensor LED lighting to help maintain consistent temperature while providing visibility when needed.
Consider utilizing door-mounted storage systems for frequently used oils, ensuring they’re securely fastened and protected from temperature fluctuations. For optimal preservation, place silicon moisture absorbers near the oils and check the temperature regularly, especially during seasonal changes.
Rotate oils based on their expiration dates and maintain an inventory list to track usage and freshness.
Design a Custom Oil Dispenser Station
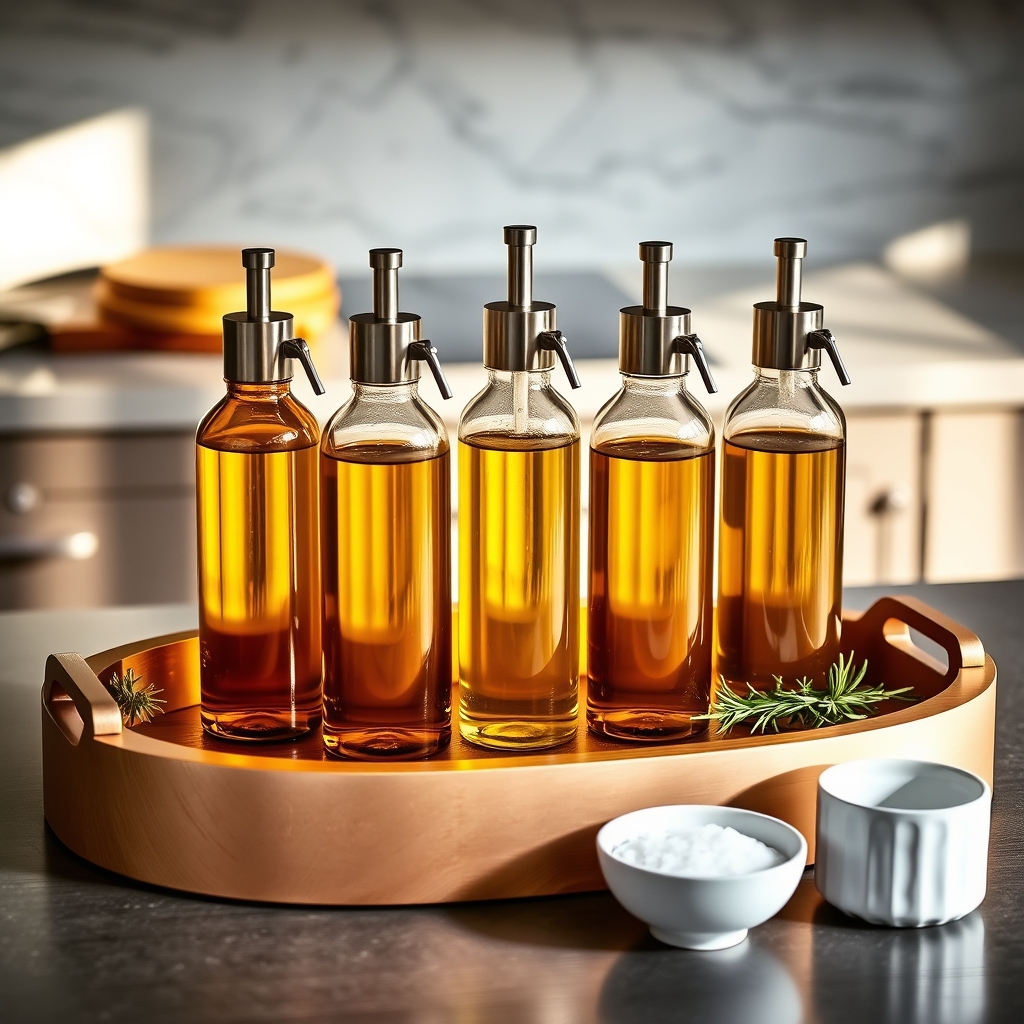
A well-organized oil dispenser station is essential for any home cook who values efficiency and accessibility in the kitchen. Having cooking oils properly stored and readily available not only streamlines meal preparation but also helps preserve the quality and freshness of these essential ingredients.
Creating a custom oil dispenser station eliminates the chaos of mismatched bottles, reduces counter clutter, and provides a designated space that keeps oils away from heat and light. This organization system also allows you to quickly identify and access the exact oil you need while cooking, making the entire cooking process more enjoyable and professional.
Required Items:
- Glass oil dispensers or bottles
- Labels or label maker
- Storage tray or caddy
- Funnel
- Measuring cups
- Non-slip mat
- Clean cloth for wiping spills
- Optional: rotating turntable
- Optional: decorative elements
- Optional: spout pourers
Select a cool, dark location away from your stove and direct sunlight. Transfer oils into clean, dry glass dispensers using a funnel, leaving some headspace at the top. Label each bottle clearly with the type of oil and date of transfer.
Arrange the bottles on your chosen tray or caddy, placing frequently used oils at the front and specialty oils toward the back. If using a turntable, organize bottles by frequency of use, with everyday oils easily accessible. Consider grouping oils by type or cooking purpose to create an intuitive system.
Keep your oil dispenser station pristine and functional by regularly wiping down bottles and the storage surface with a clean, dry cloth. Replace labels if they become oil-stained or difficult to read. Consider installing a small LED light nearby for better visibility without adding heat.
Never refill bottles before they’re completely empty and clean, and always verify that new oil hasn’t gone rancid before adding it to your dispensers. Practice proper rotation by using older oils first and maintaining consistent dates on your labels.
Implement Label and Date Management
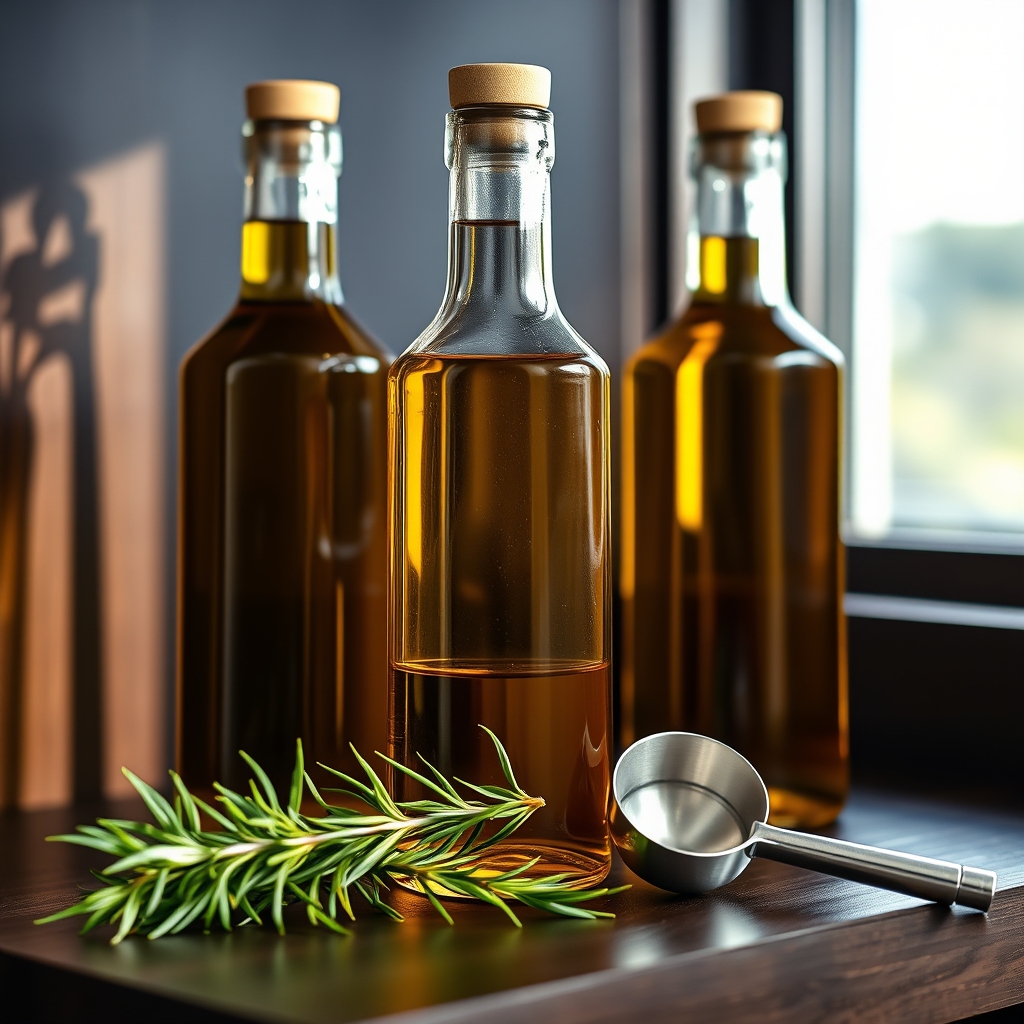
Properly labeled and dated cooking oils are essential for maintaining a safe and efficient kitchen environment. Not only does this practice help prevent the use of rancid oils, but it also ensures you’re using the right oil for each cooking application, leading to better culinary results and less waste.
Managing your oil collection through proper labeling and dating is a cornerstone of kitchen organization that saves time and money in the long run. When you can quickly identify oils and their purchase or opening dates, you can make informed decisions about usage and replacement, maintaining both safety and quality standards in your cooking.
Required Items:
- Waterproof labels or label maker
- Permanent marker
- Clear storage containers or bottles
- Dry erase marker (for glass surfaces)
- Small calendar or tracking sheet
- Funnel
- Clean cloth for wiping bottles
- Optional: UV-protective containers
Begin by thoroughly cleaning all oil containers and removing any old labels or residue. Transfer oils into clear, airtight containers if they’re not already in suitable vessels. Create a standardized labeling system that includes the type of oil, purchase date, opening date, and expected expiration date. For frequently used oils, consider adding details about smoke points or common cooking applications.
Place labels in consistent locations on all containers – preferably at eye level and oriented the same way. If using glass containers, you can write directly on them with dry erase markers, making it easy to update dates and information as needed. Create a master list or spreadsheet of your oils, including their locations and expiration dates, and store it in an easily accessible place in your kitchen.
To maximize the effectiveness of your label and date management system, establish a monthly routine to check all oil containers against your master list. Replace labels that show wear, update any dates as needed, and dispose of oils approaching their expiration dates.
Store oils in a cool, dark place and consider implementing a first-in-first-out (FIFO) rotation system to ensure older oils are used before newer ones.

