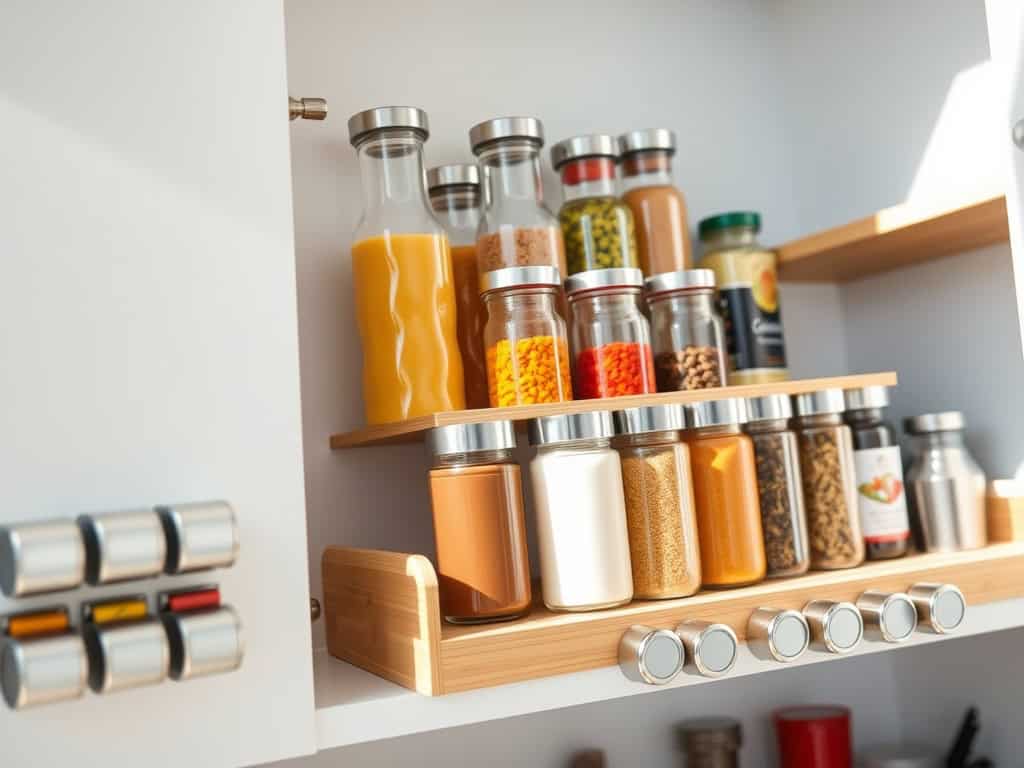
If you’ve ever frantically searched for that one special sauce while your stir-fry starts to burn, you know the frustration of a disorganized condiment collection. I’ve been there too – drowning in a sea of half-empty bottles and mystery marinades! But here’s the good news: with just a few smart storage solutions and organizing tricks, you’ll transform your condiment chaos into a chef’s paradise. Let me share nine game-changing hacks that’ll make your kitchen work smarter, not harder.
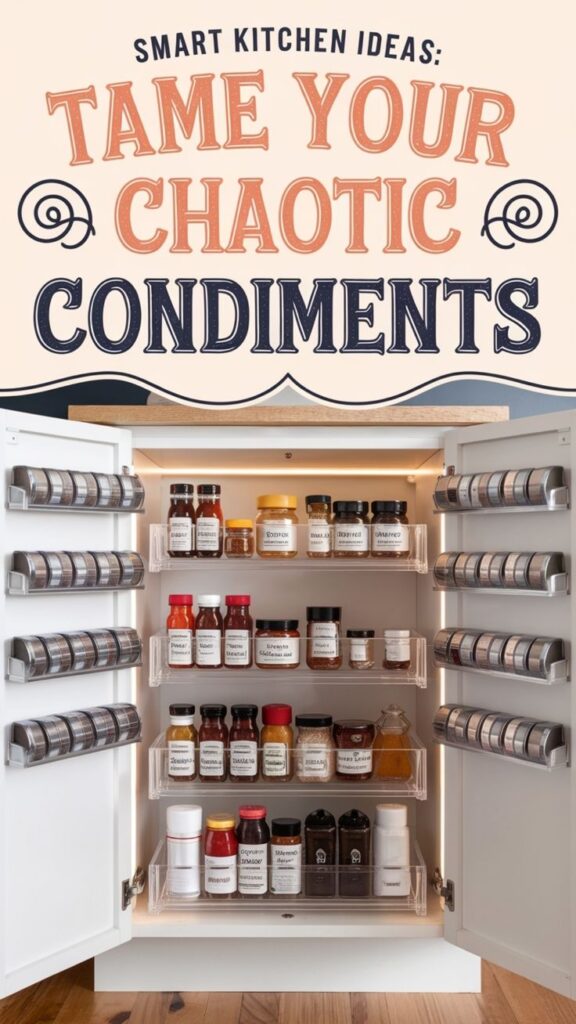
Install a Pull-Out Cabinet Organizer for Easy Access
An organized condiment cabinet transforms daily cooking from a frustrating treasure hunt into a smooth, efficient process. When condiments are scattered throughout various cabinets or shoved into dark corners, cooking becomes more time-consuming and can lead to duplicate purchases or expired items going unnoticed.
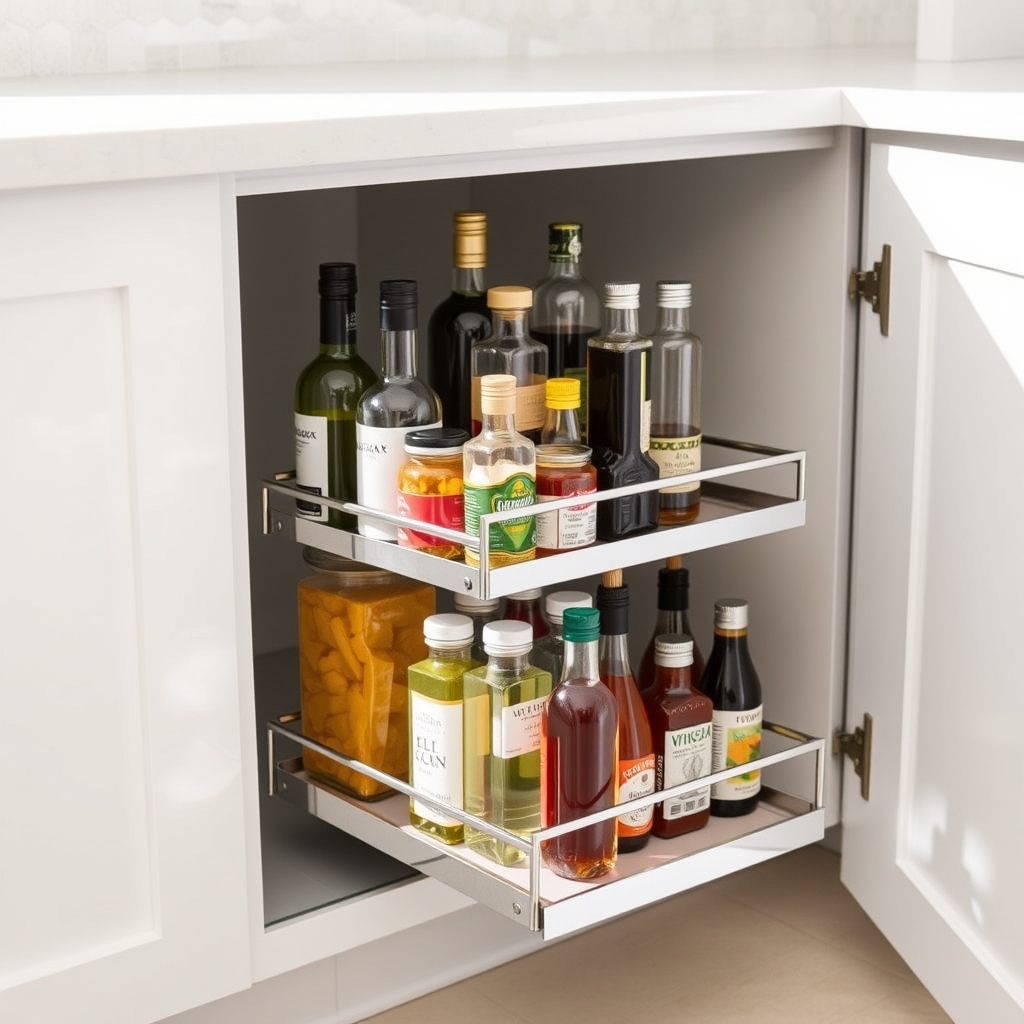
Installing a pull-out cabinet organizer specifically designed for condiments creates an accessible storage solution that maximizes vertical space while keeping everything visible and within reach. This system eliminates the need to remove multiple items to reach what’s needed and ensures that all condiments are properly rotated and used before their expiration dates.
Required Items:
- Pull-out cabinet organizer (with appropriate weight capacity)
- Measuring tape
- Screwdriver
- Mounting screws
- Level
- Pencil
- Drill (if needed)
- Cabinet liner (optional)
- Clear storage bins or risers (optional)
Installation and Organization Process:
First, remove all items from the designated cabinet and measure the interior dimensions carefully, accounting for both width and height. Select a pull-out organizer that fits these measurements with at least half an inch of clearance on all sides.
Install the sliding mechanism according to the manufacturer’s instructions, ensuring it’s level and secure. Most units require mounting brackets to be attached to the cabinet base and sides.
Once the organizer is installed, sort condiments by category (cooking oils, vinegars, Asian sauces, etc.) before placing them on the shelves. Position frequently used items at eye level and arrange similar-sized bottles together. For maximum stability, place heavier items on the bottom shelf and lighter ones toward the top.
If using additional organizing tools like clear bins or risers, arrange these to create tiered levels for better visibility of smaller items.
Additional Tips:
Consider adding a cabinet door-mounted spice rack or smaller pull-out organizer for frequently used seasonings. Label the shelves or sections to maintain organization long-term, and implement a quarterly review system to check expiration dates.
Use rubber liner material on shelves to prevent bottles from sliding when the unit is pulled out, and always ensure the organizer is fully extended when retrieving items to prevent accidentally knocking over bottles.
Create a Lazy Susan Storage System
A well-organized condiment collection is essential for any functional kitchen, yet many homeowners struggle with accessing their seasonings, sauces, and spices efficiently. Bottles and jars often get pushed to the back of cabinets, leading to duplicate purchases and expired items that waste both money and space.
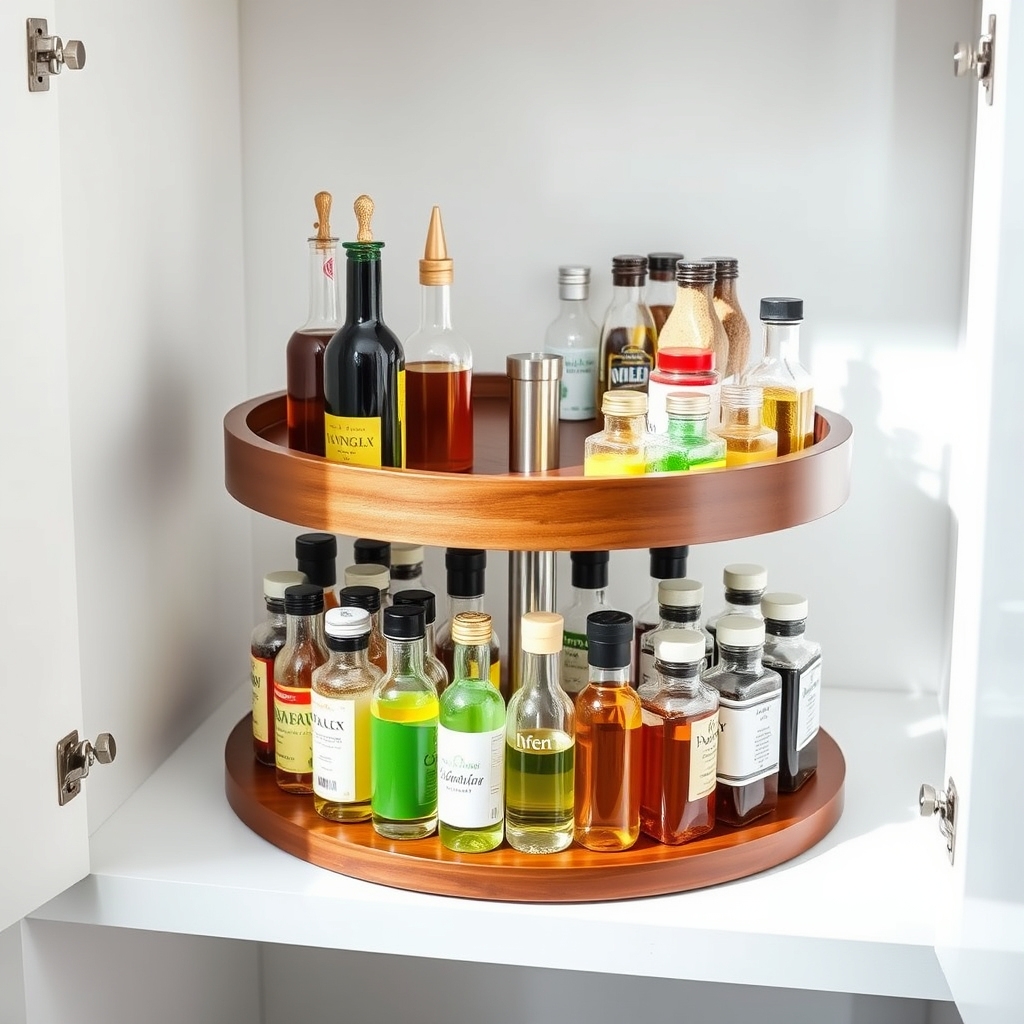
Installing a Lazy Susan system transforms cluttered cabinet spaces into an easily accessible rotating storage solution. This organization method allows you to view all condiments with a simple spin, making meal preparation more efficient and ensuring that frequently used items remain within easy reach.
Required Items:
- Single or multi-tier Lazy Susan(s)
- Measuring tape
- Cabinet cleaning supplies
- Container labels
- Small risers or shelf organizers
- Basket or bin for overflow items
- Label maker (optional)
Start by removing all items from your designated cabinet and measuring the space carefully to select appropriately sized Lazy Susan units. Clean the cabinet thoroughly and install the rotating organizer.
Group condiments by category (cooking oils, vinegars, Asian sauces, etc.) and place frequently used items toward the front of each tier. For multi-level Lazy Susans, position heavier items on the bottom tier for stability. Use risers or shelf organizers to maximize vertical space and prevent smaller items from getting lost behind larger ones.
Additional organization tips: Consider clear shelf liners to protect the Lazy Susan surface and make cleaning easier. Maintain your system by checking expiration dates monthly and wiping down the rotating tray to prevent sticky residue buildup.
Keep a small basket nearby for overflow items or new purchases until space becomes available in the main rotation system. This ensures the Lazy Susan doesn’t become overcrowded and maintains its efficiency.
Maximize Door Space With Clear Hanging Organizers
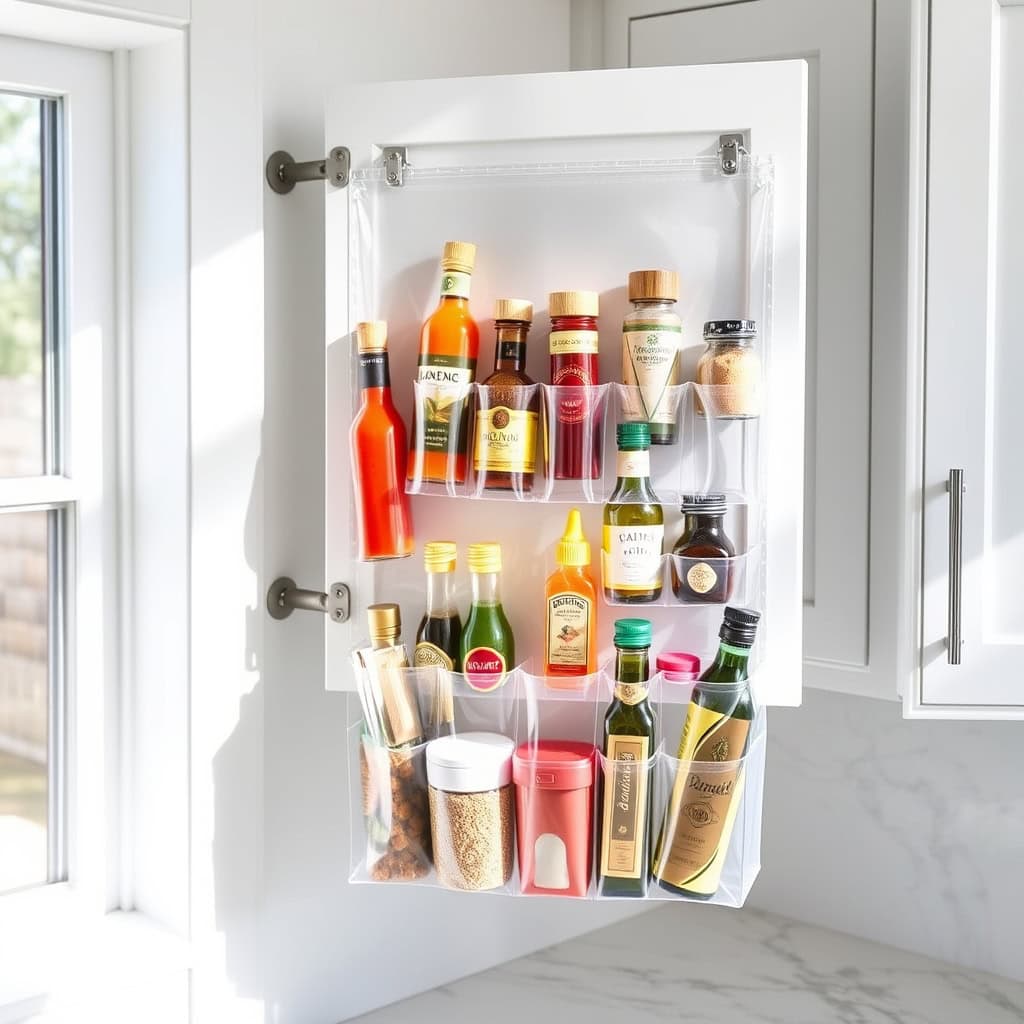
Making the most of cabinet door space is essential in any kitchen, particularly when dealing with numerous condiments that can quickly overwhelm countertops and shelves. Clear hanging organizers mounted on cabinet doors create additional storage real estate while keeping frequently used items easily visible and accessible.
Utilizing door-mounted organizers not only maximizes previously unused space but also helps maintain a clutter-free kitchen environment. This organization method allows for quick inventory checks of condiments and ensures that items don’t get lost in the depths of cabinets, preventing duplicate purchases and expired products.
Required Items:
- Clear over-the-door organizers with multiple pockets
- Cabinet door hooks or mounting hardware
- Measuring tape
- Pencil
- Level
- Screwdriver
- Command strips (optional)
- Cleaning supplies
Begin by measuring your cabinet door’s dimensions, ensuring you select an organizer that fits without interfering with shelves or cabinet contents. Clean the door thoroughly and mark mounting points for the organizer, using a level to ensure straight placement. Install the mounting hardware according to the manufacturer’s instructions, being careful not to damage the door.
For renters or those hesitant to make permanent modifications, consider using heavy-duty Command strips rated for the weight of your filled organizer.
Sort condiments by frequency of use, placing everyday items at eye level for easy access. Group similar items together, such as Asian cooking sauces, spice blends, or sandwich spreads. Consider the weight distribution of items, placing heavier containers toward the bottom of the organizer to prevent sagging or strain on the mounting hardware.
For optimal organization maintenance, regularly check that mounting hardware remains secure and wipe down the clear pockets to prevent sticky residue buildup. Label the tops of containers for easy identification when stored in upper pockets, and maintain a rotation system where newer items are placed behind older ones to prevent expiration.
Consider keeping a small inventory list inside the door to track items and their expiration dates.
Group Condiments by Cuisine Type
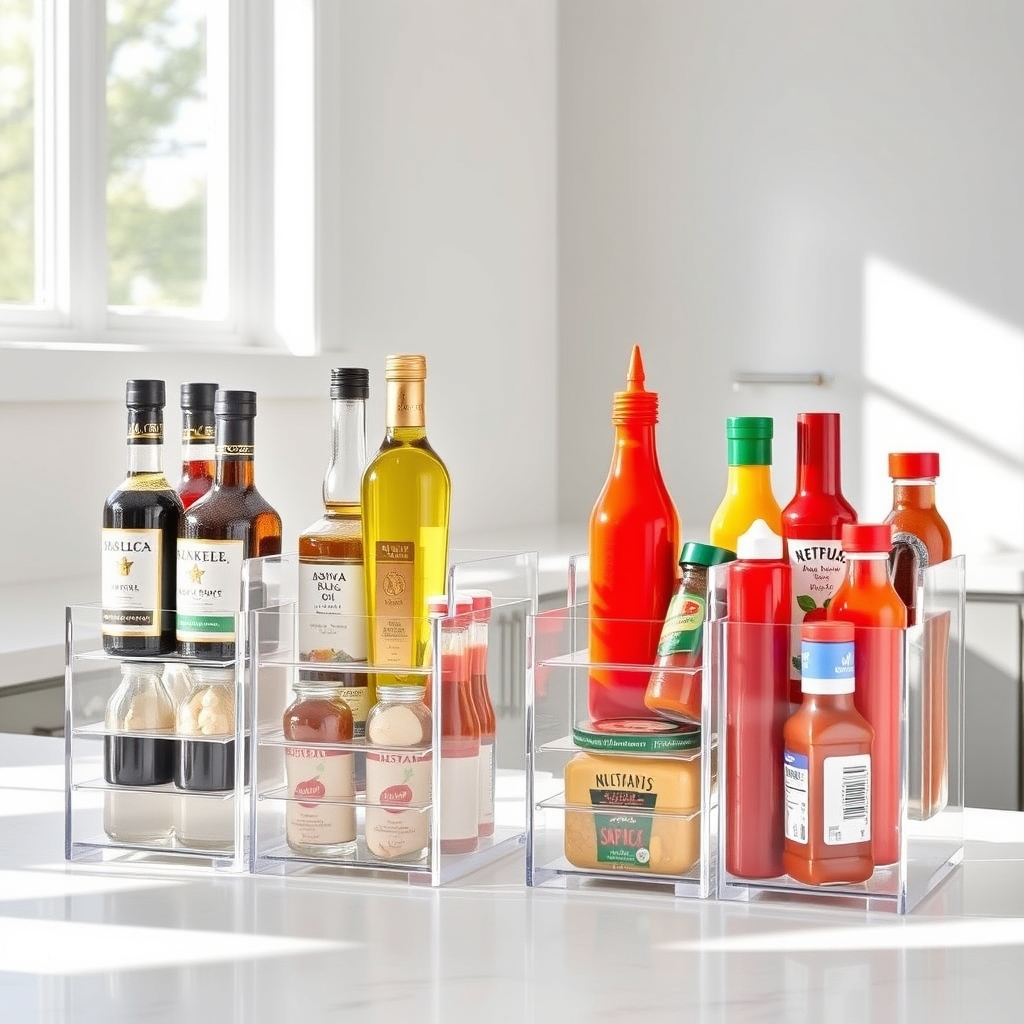
Organizing condiments by cuisine type transforms a cluttered kitchen into an efficient cooking station where ingredients for specific dishes are easily accessible. When condiments are grouped logically by the type of cuisine they’re commonly used in, meal preparation becomes more streamlined and intuitive.
This organization method not only saves time during cooking but also helps maintain a better inventory of what you have. It prevents duplicate purchases and ensures that similar items are stored together, making it easier to spot when specific ethnic cooking supplies are running low.
Required Items:
- Clear storage containers or bins
- Label maker or labels
- Measuring tape
- Shelf liner
- Small lazy susans (optional)
- Clear plastic risers (optional)
- Container dividers
- Cleaning supplies
Start by removing all condiments from their current storage locations and sorting them into distinct cuisine categories: Asian (soy sauce, rice vinegar, sesame oil), Mediterranean (olive oil, balsamic vinegar), Mexican (hot sauces, verde sauce), Indian (chutneys, curry pastes), and American (ketchup, mustard, mayonnaise).
Clean the storage area thoroughly and measure the space to determine optimal container sizes for each category. Place similar-sized containers together within each cuisine group, with taller items at the back. Use risers or lazy susans to maximize vertical space and ensure visibility of all items.
Label each section clearly with the cuisine type and consider sub-categories for larger collections (for example, separate Chinese, Japanese, and Thai condiments within the Asian section).
Additional Tips: Conduct a quarterly review of your condiment collection to check expiration dates and assess what items are actually being used. Consider creating a master inventory list organized by cuisine type, which can be particularly helpful when meal planning or grocery shopping.
Store frequently used items at eye level and reserve higher or lower spaces for specialty items used less often.
Use Refrigerator Bins for Temperature-Sensitive Items
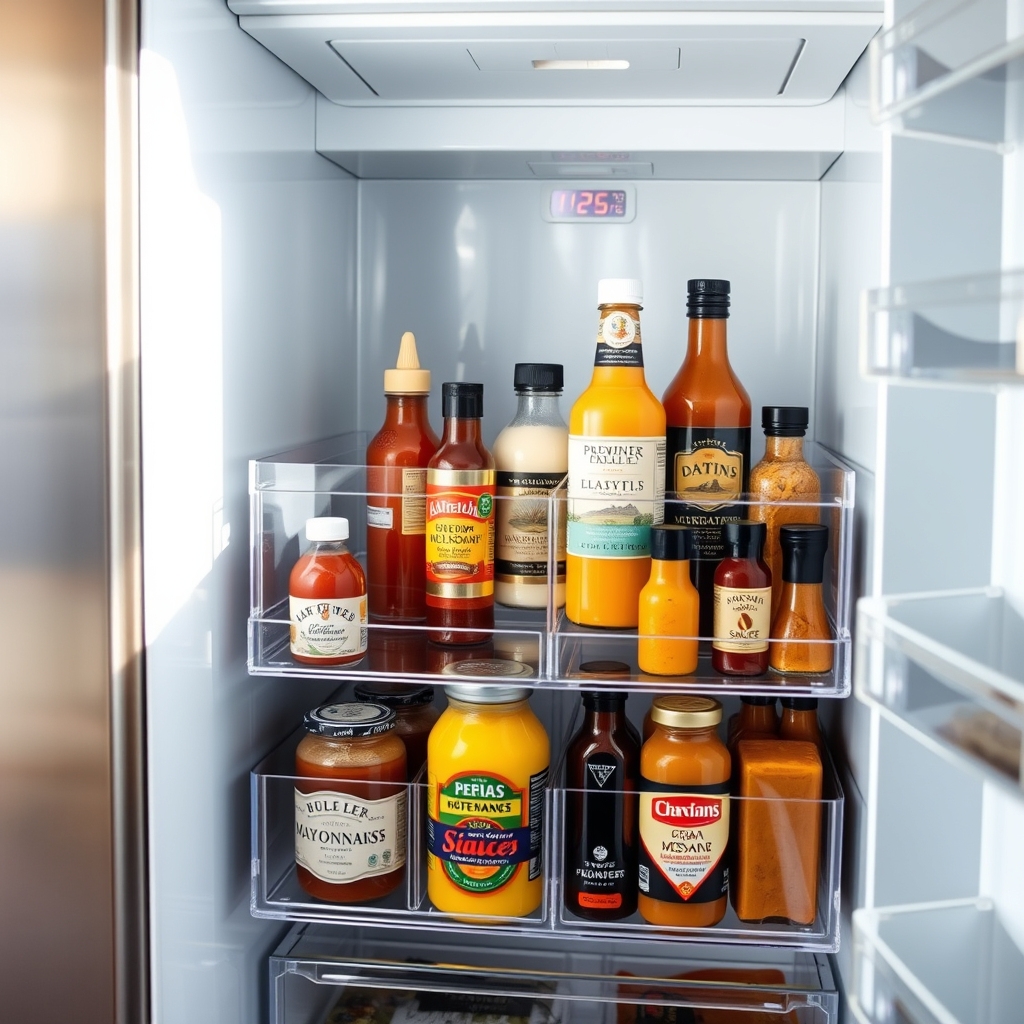
Organizing temperature-sensitive condiments in the refrigerator is crucial for maintaining their freshness and extending their shelf life. Proper storage not only prevents spoilage but also ensures food safety and maintains the optimal flavor of your favorite condiments.
Strategic organization of refrigerated condiments using dedicated bins creates an efficient system that saves time during meal preparation and prevents forgotten items from expiring at the back of the fridge. This method also maximizes space utilization and makes it easier to track inventory and expiration dates.
Required Items:
- Clear plastic bins
- Label maker or waterproof labels
- Measuring tape
- Cleaning supplies
- Drawer liners (optional)
- Container height adjusters (optional)
- Temperature monitor (optional)
Start by removing all condiments from the refrigerator and checking expiration dates. Group similar items together: dressings, Asian condiments, mustards, and other categories that make sense for your household.
Measure your refrigerator space and select appropriate-sized clear bins that maximize the available area. Place taller items at the back of the bins and shorter ones in front for easy visibility. Consider using stackable containers or height adjusters to create multiple levels within each bin.
When arranging the bins, designate specific zones based on usage frequency and complementary items. For example, keep all sandwich condiments in one bin and Asian cooking sauces in another. Position frequently used items near the front of the refrigerator for easy access.
Label each bin clearly to maintain the system and ensure family members can easily locate and return items to their proper places.
Additional Tips: Implement a monthly maintenance routine to check expiration dates and clean bins. Use non-slip liner material to prevent bottles from tipping over. Consider keeping a spare set of frequently used condiments to avoid running out during meal preparation.
Place a temperature monitor in the condiment area to ensure items are kept at the optimal temperature range of 35-38°F (1.7-3.3°C).
Stack With Expandable Shelf Risers
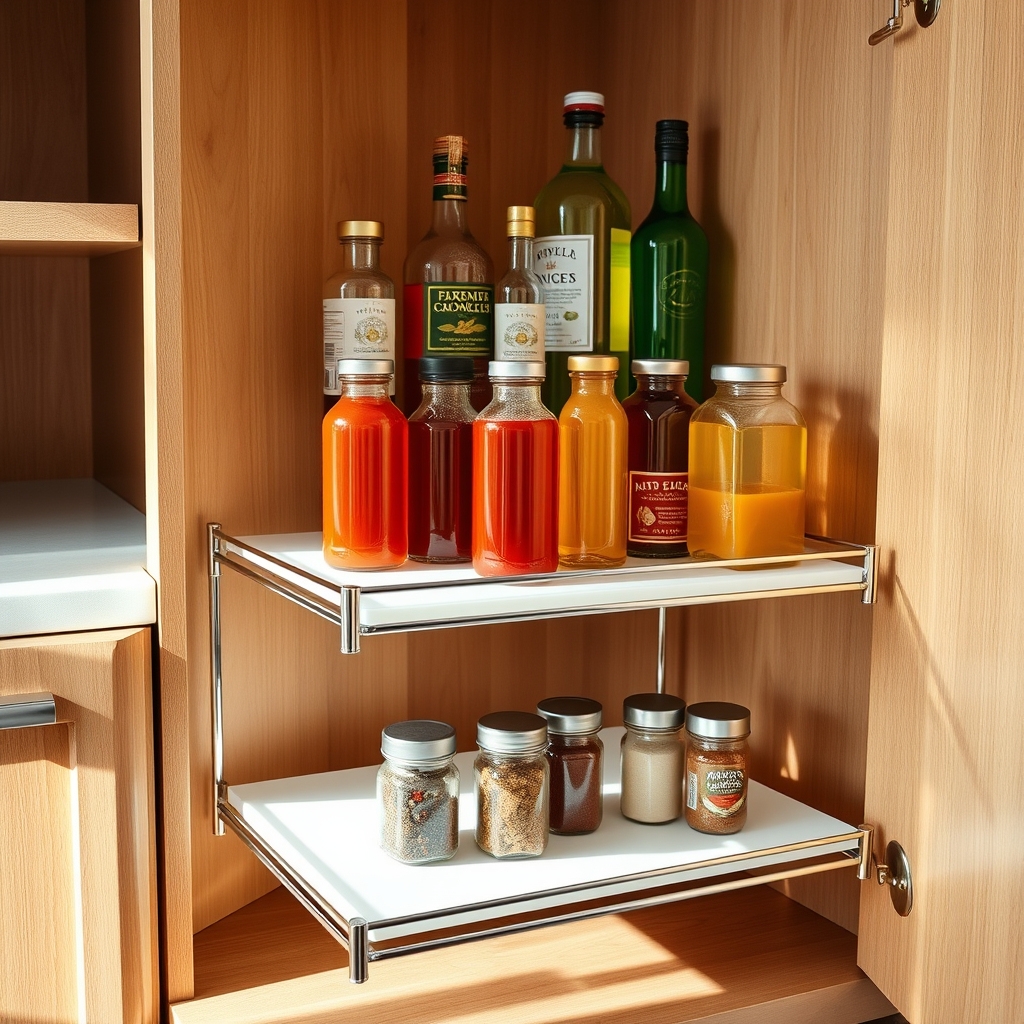
A well-organized condiment collection is essential for any functional kitchen, as it allows quick access to frequently used items while maximizing limited cabinet space. When condiments are stacked haphazardly, it becomes frustrating to locate specific items, leading to duplicate purchases and expired products hiding in the back of cabinets.
Expandable shelf risers are game-changers in condiment organization, creating multiple vertical levels that transform cluttered cabinets into efficient storage spaces. These adjustable platforms ensure that every bottle and jar is visible and accessible, eliminating the need to move multiple items to reach what you need.
Required Items:
- Expandable shelf risers (2-3 sets)
- Measuring tape
- Cabinet liner (non-slip)
- Label maker (optional)
- Cleaning supplies
- Storage containers for decanting (optional)
Start by removing all condiments from the designated cabinet and measuring the space to determine the appropriate size and number of shelf risers needed. Clean the cabinet thoroughly and install non-slip liner to prevent shelf risers from sliding.
Expand the risers to fit your cabinet width, ensuring stability before placement. Sort condiments by category (cooking oils, vinegars, sauces, etc.) and frequency of use. Position the shelf risers in a stepped formation, with taller items at the back and shorter ones in front.
Place frequently used items on lower levels for easy access. If using multiple risers, create a layout that maximizes visibility while maintaining enough clearance between levels for easy bottle removal.
Additional Tip: Consider rotating your condiments seasonally, bringing frequently used items to the front during their peak usage times. Regularly check expiration dates and wipe down both the shelf risers and bottles to maintain cleanliness.
For oddly shaped containers that don’t stack well, consider transferring contents to uniform storage containers that work better with the riser system.
Label and Date Your Storage Containers
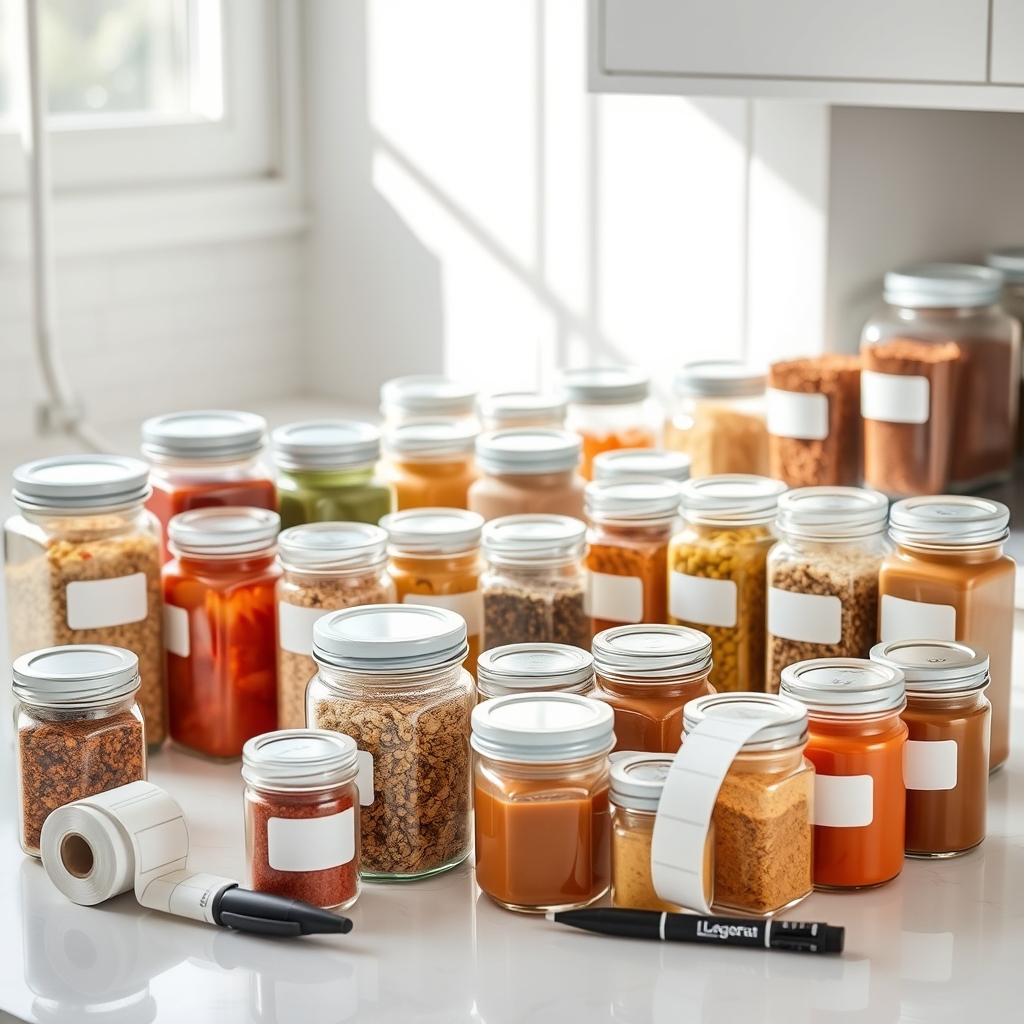
Proper labeling and dating of storage containers is a crucial aspect of kitchen organization that often gets overlooked. When containers are clearly labeled and dated, it becomes significantly easier to identify contents, track freshness, and maintain food safety standards in your kitchen.
The practice of labeling and dating storage containers not only prevents confusion but also reduces food waste by helping you keep track of when items were stored. This system is particularly valuable for bulk ingredients, homemade sauces, and transferred condiments where original packaging information may be lost.
Required Items:
- Label maker or waterproof labels
- Permanent marker
- Clear storage containers
- Masking tape
- Label eraser or cleaning solution
- Small notebook for inventory
- Container cleaning supplies
- Clear packing tape (for reinforcement)
Start by gathering all storage containers and thoroughly cleaning them with warm, soapy water. Once dry, choose your preferred labeling method – either pre-printed labels or handwritten ones using waterproof markers. Create a standardized format for your labels that includes the item name, date of storage or transfer, and expiration date if applicable. For transferred condiments, include the original expiration date from the manufacturer’s packaging.
When applying labels, position them consistently on each container, preferably on the front and near the top for easy visibility. If using adhesive labels, reinforce them with clear packing tape to prevent damage from moisture or handling. For containers that are frequently washed or reused, consider using erasable labels or removable tape to make updates easier.
Additional Tips: Create a rotating schedule to review your labeled containers monthly, checking for expired items and updating labels as needed. Keep a master list of common condiments and their typical shelf life in your kitchen for quick reference. Consider using color-coding for different categories of items or to indicate priority use. For frequently used items, add a “once opened, use within X days” note to the label to ensure food safety.
Implement a Regular Rotation System
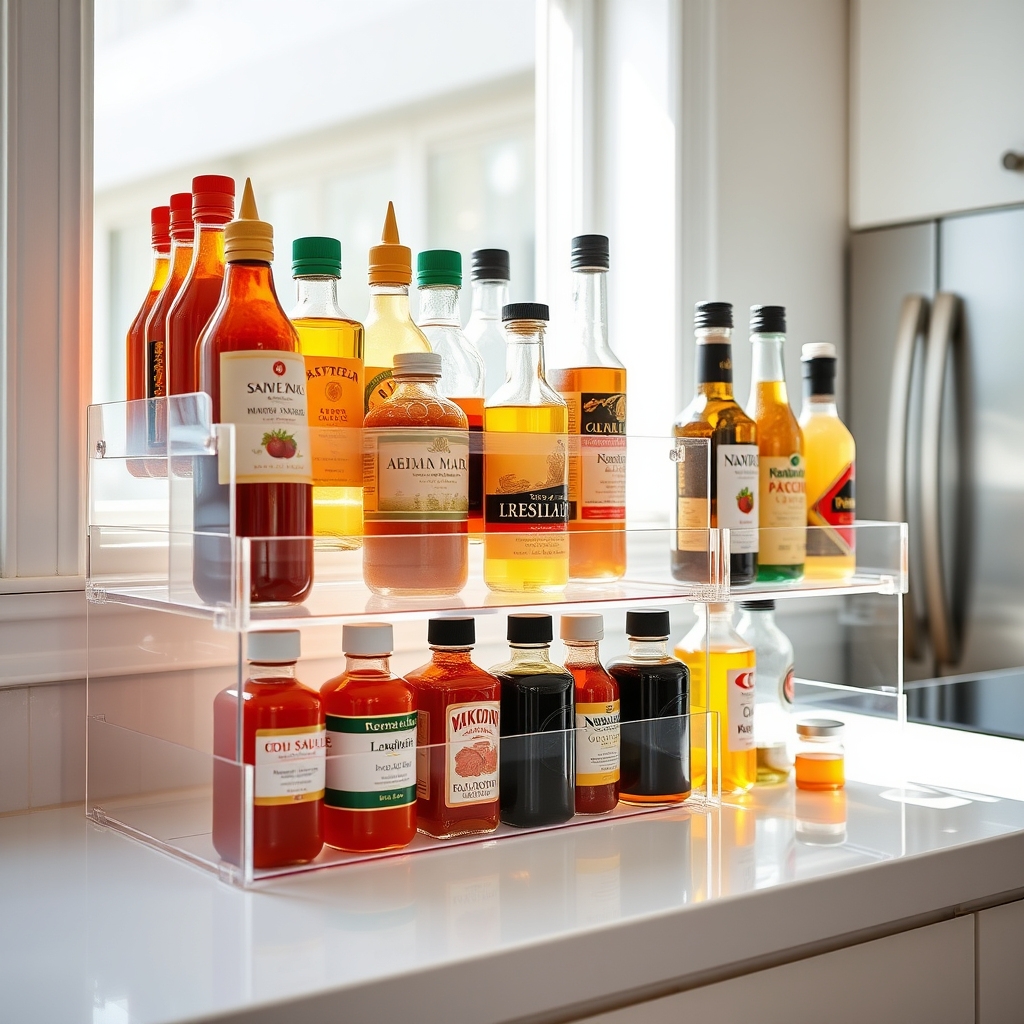
Maintaining an organized rotation system for kitchen condiments is crucial for food safety and waste prevention. Expired condiments not only take up valuable space but can also pose health risks and affect the taste of your meals. A well-implemented rotation system ensures you’re using products before they expire and maintains the quality of your condiments.
An effective rotation system helps track purchase dates, expiration dates, and usage patterns, ultimately saving money by preventing overbuying and reducing waste. This systematic approach also makes it easier to maintain inventory and quickly locate items when needed, streamlining your cooking process and kitchen workflow.
Required Items:
- Label maker or adhesive labels
- Permanent marker
- Clear storage containers or bins
- Inventory checklist template
- Cleaning supplies
- Storage baskets or lazy susans
- Clear plastic risers
- Calendar or tracking system
Begin by removing all condiments from their storage areas and checking expiration dates. Group similar items together and arrange them by expiration date, with the earliest dates positioned at the front. Place new items behind older ones, following the “First In, First Out” (FIFO) principle.
Create designated zones for different types of condiments – cooking sauces, spreads, dressings, and specialty items. Label each container or shelf section clearly with the category name and establish a color-coding system if desired. Record purchase dates and expiration dates on labels attached to the bottom or side of each container.
Set up a monthly review schedule to check dates and rotate items as needed. For optimal results, maintain a simple inventory list noting frequently used items and their typical shelf life. Consider implementing a “two-week warning” system where items approaching expiration are moved to a designated space for immediate use.
Review your rotation system quarterly to adjust for seasonal changes and evolving kitchen needs, and always clean storage areas thoroughly when rotating items to prevent cross-contamination and maintain hygiene standards.
Design a Frequently-Used Items Zone
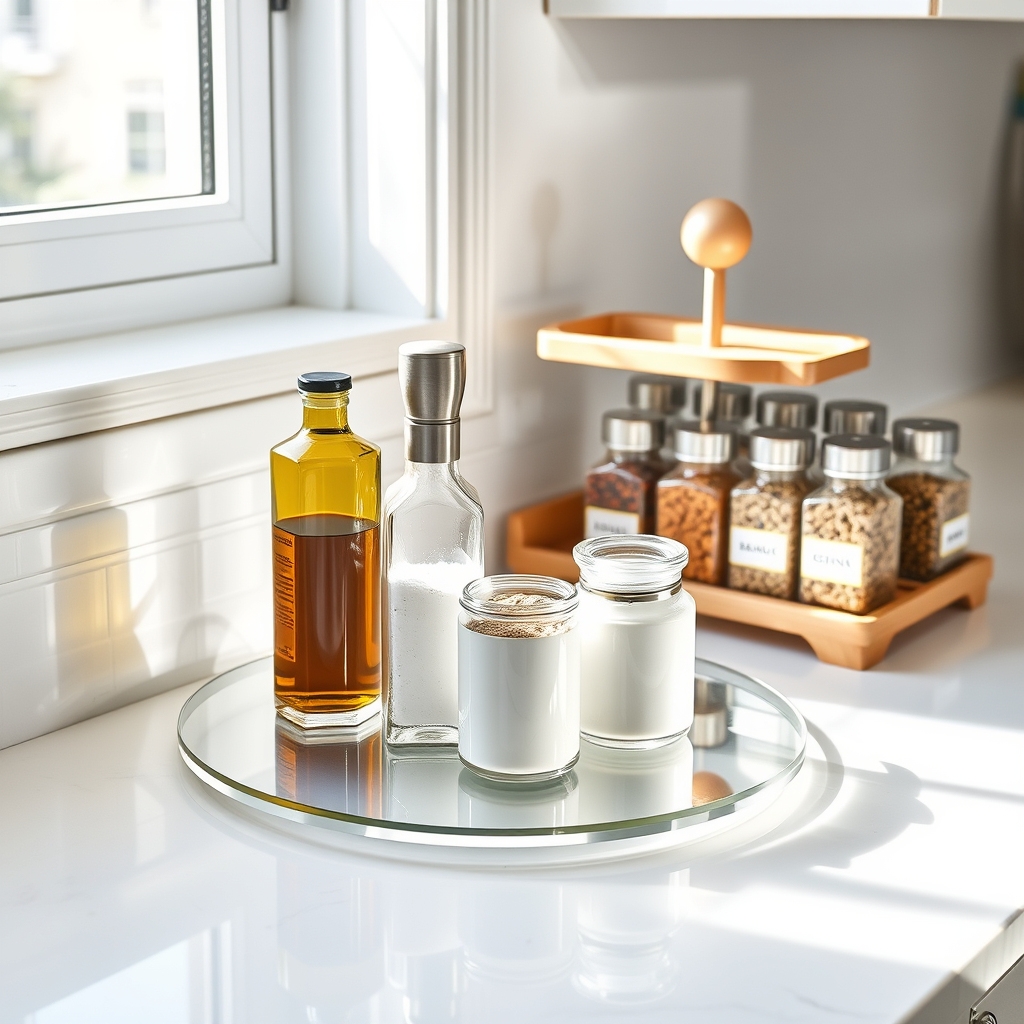
Having quick access to your most-used condiments can transform your cooking experience from frustrating to fluid. A well-designed frequently-used items zone eliminates the need to constantly search through cabinets and allows you to grab essential ingredients without breaking your cooking rhythm.
The key to an efficient kitchen lies in strategic placement of items based on usage frequency. By dedicating a specific zone to your most-reached-for condiments and seasonings, you’re creating a workflow that saves time and reduces stress during meal preparation.
Required Items:
- Clear turntable (lazy Susan)
- Small risers or tiered shelving
- Clear storage containers
- Labels and marker
- Measuring tape
- Cleaning supplies
- Small baskets or bins
- Drawer dividers (if using drawers)
Start by identifying your truly frequent-use items by tracking which condiments you reach for daily or multiple times per week. Clear everything from your designated zone and thoroughly clean the area.
Position the lazy Susan or tiered shelving in an easily accessible spot, ideally within arm’s reach of your primary cooking area. Transfer frequently-used condiments into clear containers if they’re in bulky or irregular packaging.
Arrange items by both frequency of use and height, with the most-used items at the front or on the lowest tier. Group similar items together – cooking oils near vinegars, salt and pepper near other everyday seasonings. Ensure all labels face forward and are easily readable at a glance.
If using a drawer system, implement dividers to keep bottles and jars from sliding around. For maximum efficiency, review and adjust your frequently-used zone monthly. Remove items that aren’t being used as often as anticipated and rotate in new frequently-used condiments.
Keep backup supplies in a separate storage area and refill the primary containers as needed. Consider installing under-cabinet lighting if the zone is in a shadowed area, and always maintain a small gap between items for easy grabbing without knocking other containers over.

