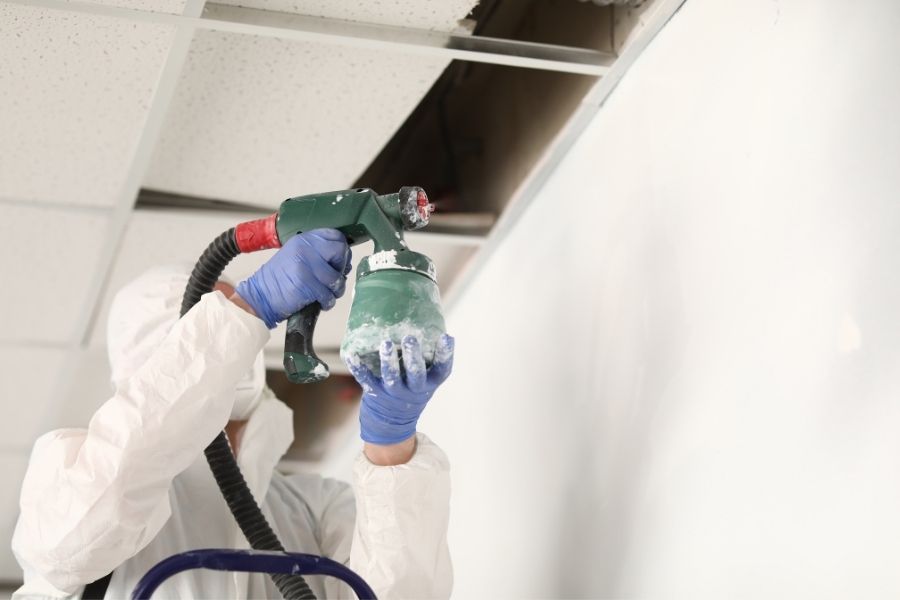
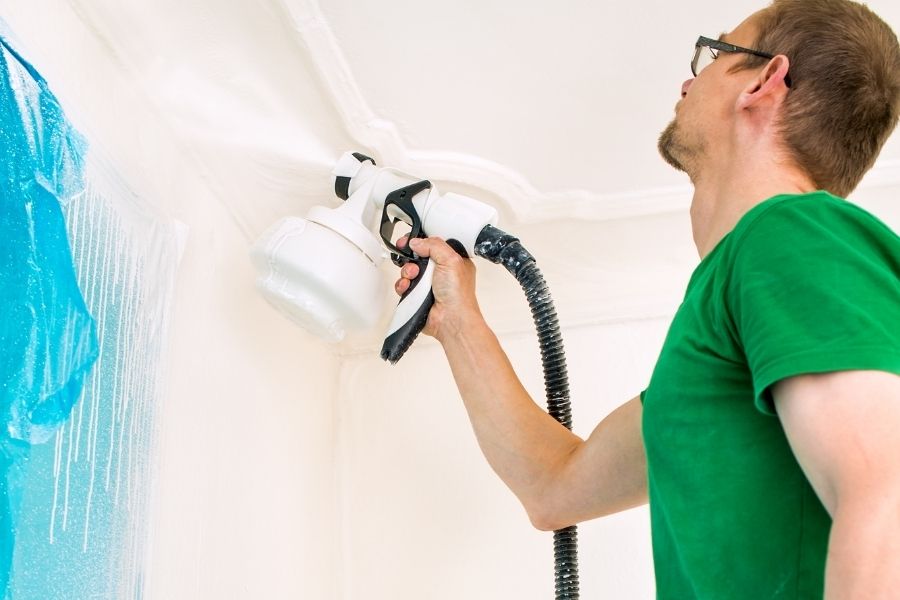
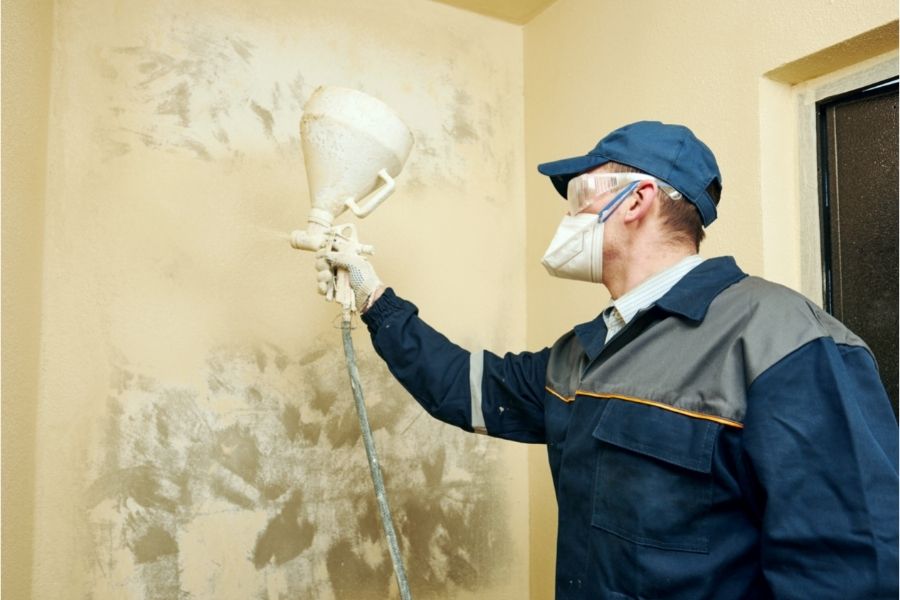
Spray painting can be a pretty quick, easy and fun way to paint your ceilings and walls but only if you can figure out the technique properly. To help you out, we will take you through the steps involved so that you can learn how to spray paint your ceiling and walls well.

How to Spray Paint Ceiling
The following steps can take you through the process of spray painting your ceiling. Take a look!
Choose a Sprayer
You should start off the process, first and foremost, by picking out a good-quality sprayer that can help you carry out the process in a smooth manner. There are various kinds of sprayers that you can look into, such as an airless sprayer, an electric pump sprayer and a compressed air sprayer.
Ideally, when it comes to ceilings, you might be better off using an airless sprayer since it can make the process simpler. You should figure out a good enough and reliable brand for this and ensure that it can offer good results in terms of the cost as well.
- Fully adjustable pressure
- Spray paint unthinned at high pressure
- Spray paint directly from paint bucket
- Fast and easy clean-up
- Ideal for indoor and outdoor projects
- Continuous spraying
Another consideration here is also how to use the sprayer in the first place. You can test it out on a smaller surface and become used to the sprayer so that you can minimize errors while spraying your ceiling.
Figuring out how different elements of the sprayer work and how you can keep them tidy after each use can also help you get started in this process.
This might not seem important to the process of spray painting itself, but it can definitely give you some finesse and familiarity.
Mask Walls and Furniture
The next step in the process of spray painting your ceiling is to mask your walls as well as the furniture and other objects present around you. If possible, you should move the furniture out of the room so that you do not accidentally spray anything on them.
If it is not possible to move certain things, make sure you cover them completely with plastic sheets or spare cloth. Keep them in place using masking tape so that no parts of the surfaces peek out.
Make sure you carry this process out for the walls as well, especially the parts closest to the ceiling (although it can be better to cover the entire wall, especially if you have already painted them).
Do not mask any windows in the room so that you can ensure proper ventilation.
Protect Yourself
You must also make it a point to protect yourself by wearing enough safety gear so that you can prevent inhaling or ingesting the toxic fumes from the spray paint as well as the paint itself.
This can otherwise cause quite a bit of harm to your health and body since paints tend to contain a certain amount of volatile organic compounds (VOCs) that can then lead to irritation, breathing issues, nausea, headaches, dizziness as well as chronic issues like damage to your liver and kidney if the exposure level is high.
Even if the spray paint you buy has lower levels of VOCs, you should still protect yourself by wearing a mask, safety glasses and gloves.
It can also help if you can put a shower cap or a regular cap on your head to prevent damage to your hair. Wear old and long-sleeved clothes to keep your skin safe too.
Apply Light Pressure
You can now finally start spray painting your ceiling once you have all the precautionary measures in place. Take your spray can and maintain a certain distance from the ceiling so that you can cover a larger area on the ceiling.
Make sure you do not apply too much pressure while spraying the paint on the ceiling as this might end up showering more paint than necessary on a certain area, making it look uneven while also using up more paint to bring the remaining parts to an equal footing.
You can use a small ladder to support you but usually, even this might not be essential as long as your sprayer can extend itself a bit.
Start from the Center
Where exactly do you begin when it comes to spray painting your ceiling? Does it even matter? It is, actually, quite important to follow a certain direction and technique when it comes to spray painting so that you can manage the entire surface properly.
You should begin spraying from the center and then gradually making your way to the borders. Do not pause at all while spraying as this can create blemishes and make the paint look uneven on the ceiling.
Try spraying the paint upwards and then downwards with each motion. Remember to be gentle and patient with the process without making the coat too thick.
Let your paint dry properly before you apply a second coat so that you can get a good enough and satisfying result.
Related Post:
How to Avoid Roller Marks When Painting Ceiling
How to Spray Walls without Hitting Ceiling

If you also need to spray paint your walls either before or after spray painting your ceiling, you will need to follow the proper steps to ensure that you are happy with your end result.
The process is quite similar to the one involved in spraying a ceiling with minor differences. You can go through the steps below.
Choose a Sprayer
The first thing you should figure out is which sprayer you want to use. The main options that you have include airless sprayers, compressed air sprayers and electric pump sprayers.
When it comes to spray painting your walls, you should ideally opt for an airless sprayer or a compressed air sprayer. The latter, however, should be of a high volume low pressure (HVLP) kind that uses lower air pressure but a higher volume of air to lead to a better output with minimal overspray.
Take some time to get used to the sprayer and try it out on different smaller surfaces so that you can ensure finesse during the final process. Make sure you rent or buy a sprayer from a reliable enough brand.
Mask the Ceiling and Furniture
The next step in the process is to protect the things around you to ensure that the spray paint does not get onto any of those surfaces. If you have any furniture and other objects in your room, you should try to remove them from the room completely until your paint dries properly.
If you cannot move certain things out, make sure you cover them up with plastic sheets or cloth while also securing them properly using masking tape so that nothing is left uncovered.
When it comes to your ceiling, you will need to mask it up as well to keep it clean, especially if you have already spray-painted it. Use some masking paper, newspaper or a plastic sheet to cover the corners and borders completely and attach them using masking tape.
Protect Yourself
It is also pretty important to keep yourself protected while spray painting your walls. Wear safety glasses, gloves and a mask to ensure that you do not end up inhaling or ingesting the harmful fumes from the spray paint.
This is because these fumes are quite capable of inflicting damage to your health, either in the short run or in the long run. If you have allergies, then this can be particularly harmful.
Even if you are using spray paint that has fewer toxic substances such as VOCs, you should keep yourself fully covered. This includes your skin and hair as well.
Maintain a Distance
You can now begin to spray paint your walls. Make sure you maintain an appropriate enough distance from the walls to ensure that you do not end up spraying out too much paint at once.
This can otherwise be a hassle as it will make your surface look uneven and blotchy. Spraying from a distance can help disperse the paint evenly and make its way to a larger area on the wall.
You should also only lightly apply the coats to ensure uniformity and evenness.

Direction and Technique
It is pretty essential to be aware of the right direction and technique for spray painting your walls. Spray the walls upwards and downwards in a light manner by starting from the middle of the wall and making your way outwards.
You should also carry this out in a constant and consistent manner so that you can complete an entire wall in a single moment. Taking breaks can cause the paint to dry and the subsequent paint that you spray can make the wall appear uneven.
If you want to apply a second coat, you should let the first one dry properly.
Dry and Clean
After you are done spray painting both coats of your walls, make sure you allow sufficient time for the paint to dry completely. Only once this is done should you remove the plastic or cloth coverings from the ceilings and other objects in the room.
Remember to clean the spray paint can as well once you are done using it. You will also need to clear the other parts of your room before you move your furniture back in.
In case there are any blemishes on the walls or other parts of the room, try to correct them right away, otherwise they might be difficult to remove.
Final Thoughts
Through this guide, we have taken you through all the steps involved in spray painting ceilings and walls. Overall, make sure you pick high-quality products, protect your surroundings and yourself and apply the right spraying techniques, whether you are spray painting your ceiling or your walls.


