If you need to remove the recessed lighting in your home for some reason, first, you must remove the clips holding the light. However, if you don’t know how to go about it and if you’re wondering how to remove recessed lighting clips, read on.

Can Light Clips Be Removed?
Removing recessed lighting clips can be a bit tricky and if you’re not a DIY kind of a person, you may feel that this is a tough job and that you need to get a professional electrician to do it for you. However, there is no need to worry. By using the proper technique, it is possible to remove the clips of the recessed lighting fixture in a jiffy.
How Do Recessed Light Clips Work?
Recessed lights also known as downlighters, can lights or pot lights have become extremely popular with homeowners in recent years for their minimalistic, modern and sleek looks while enhancing the ambiance of the room.
Recessed lights inset into the wall or ceiling conveniently, tucking out of the way neatly. They are flush with the ceiling and provide light without interfering with the space available overhead, especially if the ceiling is very low. Recessed lights are especially good for low-ceilinged areas like basements, attics, etc.
The recessed light fixture consists of 3 components, i.e., the housing, bulb and trim. The trim is the part that is visible when you look at the recessed light. The trim is also the decorative element of the recessed lighting fixture and can include reflectors, baffles, wall wash and shades.

Typically, the recessed light fixture is inserted into a hole cut into the ceiling or wall and contains the bulb holder to which the bulb is fixed and produces light. The trim covers the hole that surrounds the recessed light fixture, hiding the drywall’s rough edges and also the gap between the light fixture and drywall.
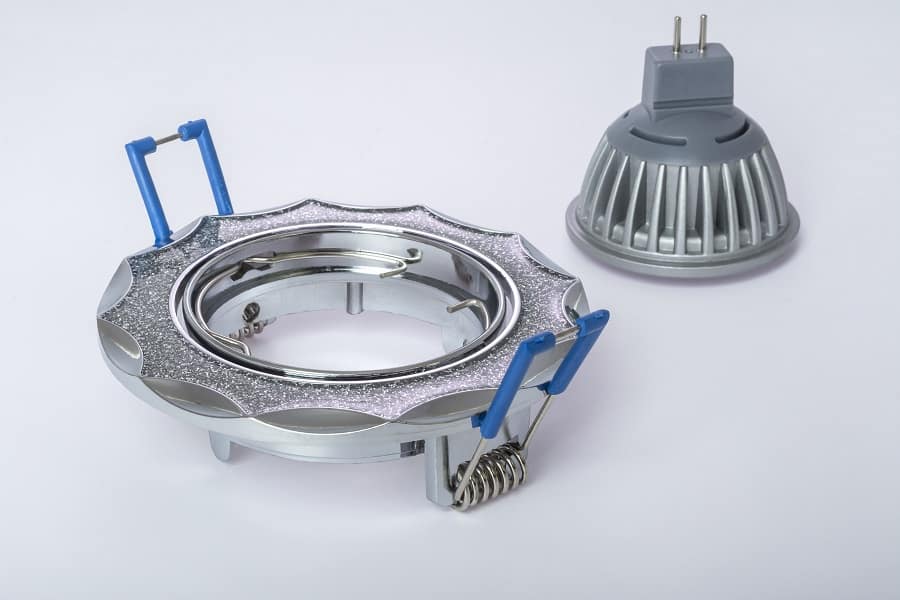
Sometimes, you may need to remove the trim ring and reinstall it for various reasons such as if you’re repainting the ceiling or remodeling the room. There are multiple clips or springs that connect the trim ring to the inner portion of the housing of the can light and help to hold the ring in place.
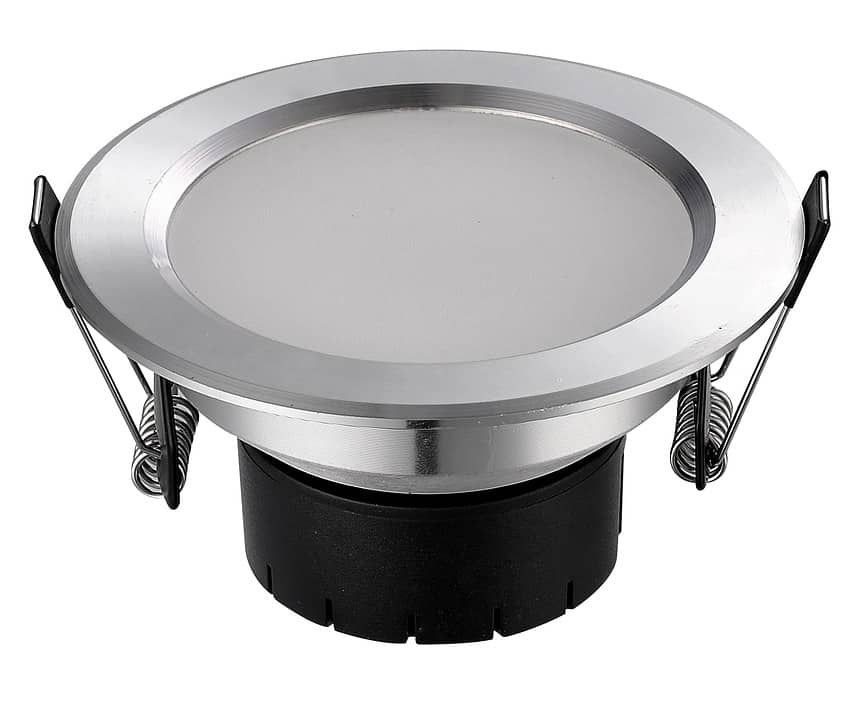
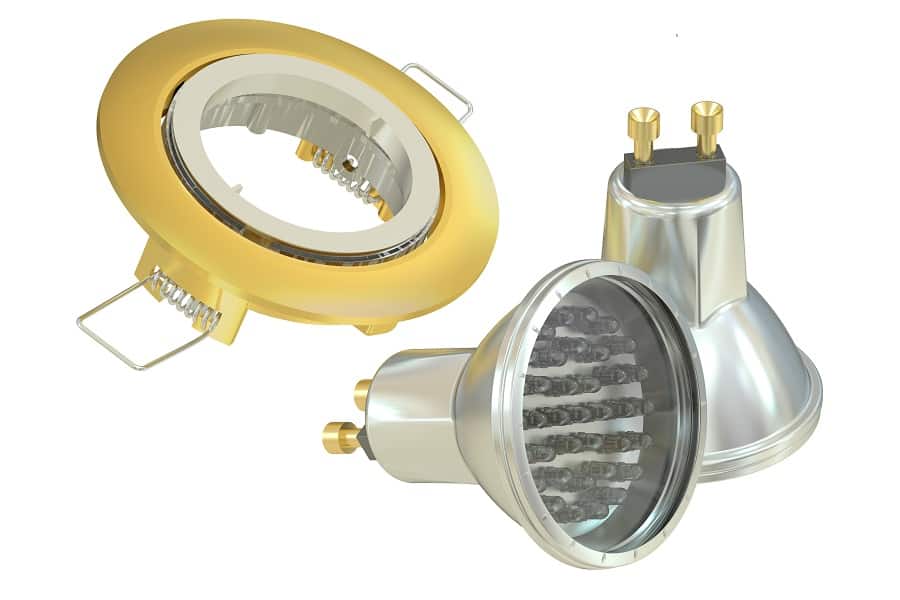
When the clips of the recessed light are pressed into place, they move upward and downward, forming a leg. Each recessed light fixture typically has 4 of these springy legs or clips located inside the housing of the fixture that supports and holds the fixture in place against the drywall of the ceiling. When they are engaged properly, the clips lock into place, which you can feel as they click.
Related Post:
4 Inch vs 6 Inch Recessed Lighting: Which Is a Better Option?
How to Remove Recessed Lighting Clips?

Depending on the type of recessed light fixture installed in the room, it can have 2 or 4 clips. It is quite simple to remove the recessed lighting clips if done right. And, if you’re wondering how, here are the step-by-step instructions, which when followed will enable you to remove the clips effortlessly.
- The first and most important step before you attempt to remove the clips of the recessed light fixture is to turn off the power breaker to the light that you are fixing at the electric panel. Just turning off the light switch is not enough and you may get a shock when you put your hand into the housing of the recessed light fixture, especially when you have the metal clips in your hands.
- Remove the recessed light fixture by pulling it free from the hole where it is fixed into.
- Then, remove the lightbulb by screwing it in the counterclockwise direction.
- Set the lightbulb aside in a safe place while you’re working so that it doesn’t fall and break accidentally.
- If the trim of the recessed light is screwed on, then simply turn it counterclockwise and unscrew it.
- If the light fixture is held to the trim with clips, then to remove them, simply press on the clips by grabbing the coil spring and this will help to free the trim from the fixture. Once you remove the trim ring, then simply unhook the springs from the slot, which you can see on the rear side of the trim.
- However, if you see a slot in each of the clips, then simply pressing on it will not help to release them. In this case, using a flathead screwdriver, insert it into each of the slots and push up gently. This will help to release the clip and allow you to remove the light fixture.
So, now that you have the detailed instructions on how to remove recessed lighting clips, we hope that you can now do it on your own, easily and quickly, without the need to hire a professional to do it for you.

