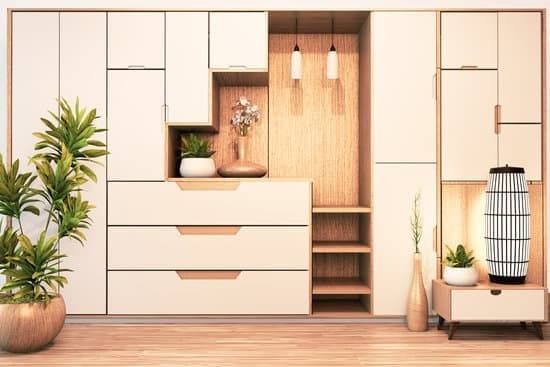
Are you tired of your messy and disorganized closet? It’s time to take matters into your own hands and build some sturdy and functional shelves. In this article, we will guide you through the step-by-step process of building closet shelves that will maximize your storage space and keep everything neat and tidy. By following our instructions and using the right tools, you’ll be able to create a safe and organized environment in your closet. So let’s get started on transforming your cluttered chaos into an orderly oasis!
Assessing Your Closet Space
You’ll need to take measurements of your closet space before you start building shelves. This is crucial for maximizing storage and utilizing vertical space effectively. Start by measuring the width, depth, and height of your closet. Make sure to account for any obstructions like vents or light fixtures. Safety is important, so don’t forget to check for any electrical wiring that may be present in the walls or ceiling. Once you have your measurements, consider how many shelves you want and their spacing. Remember to leave enough room between shelves for easy access and to accommodate larger items. Additionally, think about the weight capacity each shelf will need to support and choose sturdy materials accordingly. By carefully assessing your closet space, you’ll be on your way to creating efficient and safe shelves that meet all your storage needs.
Gathering Materials and Tools
To create the desired storage space, it’s important to gather all the necessary materials and tools. Start by choosing the right shelving materials. Opt for sturdy options like solid wood or melamine boards that can withstand heavy items without sagging or warping. Avoid using particleboard as it tends to be less durable. Next, make sure you have essential tools for building closet shelves. These include a tape measure to accurately measure your space, a level to ensure your shelves are straight, a power drill with various drill bits for securing brackets and screws, and a circular saw or handsaw for cutting your shelving material to size. Remember to prioritize safety by wearing protective goggles and gloves when working with power tools.
Measuring and Planning Your Shelf Layout
Start by measuring your available space and planning how you want to arrange the shelves. This step is crucial to ensure that your closet shelves fit perfectly and maximize storage. Take accurate measurements of the width, height, and depth of your closet. Consider the items you will be storing on the shelves and their dimensions to determine the spacing between each shelf. When designing your shelf layout, think about different options such as adjustable shelves or drawers for added versatility. Safety should always be a priority, so make sure there’s enough clearance between each shelf to prevent any accidents or injuries when accessing items. By carefully measuring and planning, you’ll be able to create a functional and organized closet space that meets all of your storage needs while keeping everything safe and easily accessible.
Building and Installing the Shelves
Once you have measured your available space and planned the layout, begin by installing the shelves in your closet. Safety is crucial during this step, so always wear protective gear like gloves and goggles. To start, gather all the necessary materials including shelf boards, brackets, screws, a drill, and a level. Start by attaching the brackets to the wall using the provided hardware. Make sure they are securely fastened to prevent any accidents or shelves collapsing later on. Use a level to ensure that the brackets are straight and even. Once the brackets are in place, carefully attach the shelf boards on top of them using screws. Make sure each board is secure and stable before moving on to the next one. By following these steps with precision and caution, you can successfully build sturdy closet shelves that will last for years to come.
Organizing and Maintaining Your Newly Built Closet Shelves
Now that you have successfully built and installed your new shelves, it’s time to organize and maintain them for long-lasting functionality. To maximize storage capacity, start by assessing the items you plan to store on your shelves. Categorize them and determine which storage solutions will work best for each category. Utilize bins, baskets, or dividers to keep smaller items organized and easily accessible. Make sure to select storage solutions that are sturdy and can withstand the weight of your belongings.
To maintain your closet shelves, regularly declutter and reorganize. Remove any items that no longer serve a purpose or are no longer needed. Keep the shelves clean by wiping them down periodically with a damp cloth or gentle cleaner. Avoid overloading the shelves with too much weight as this can cause damage over time.
By following these tips for organizing and maintaining your newly built closet shelves, you can ensure they remain functional and efficient for years to come while maximizing their storage capacity.
Conclusion
In conclusion, building closet shelves is a manageable DIY project that can greatly improve the organization and functionality of your space. By assessing your closet, gathering materials, measuring and planning your layout, and building and installing the shelves yourself, you can create a customized storage solution that suits your needs. With proper organization and maintenance, your newly built closet shelves will help keep your belongings tidy and easily accessible for years to come. So roll up your sleeves and get ready to transform your cluttered closet into a well-organized haven!


