Just yesterday, I stumbled upon my neighbor’s perfectly organized kitchen shelves, and it inspired me to completely transform my own chaotic cupboards. If you’re like me, you’ve probably wondered how some people maintain those magazine-worthy storage spaces while your shelves look like they’ve survived a small earthquake. Don’t worry – I’ve discovered ten game-changing organization ideas that’ll help you create an elegant, functional kitchen space that’s both beautiful and practical.
Group Items by Color for Visual Impact
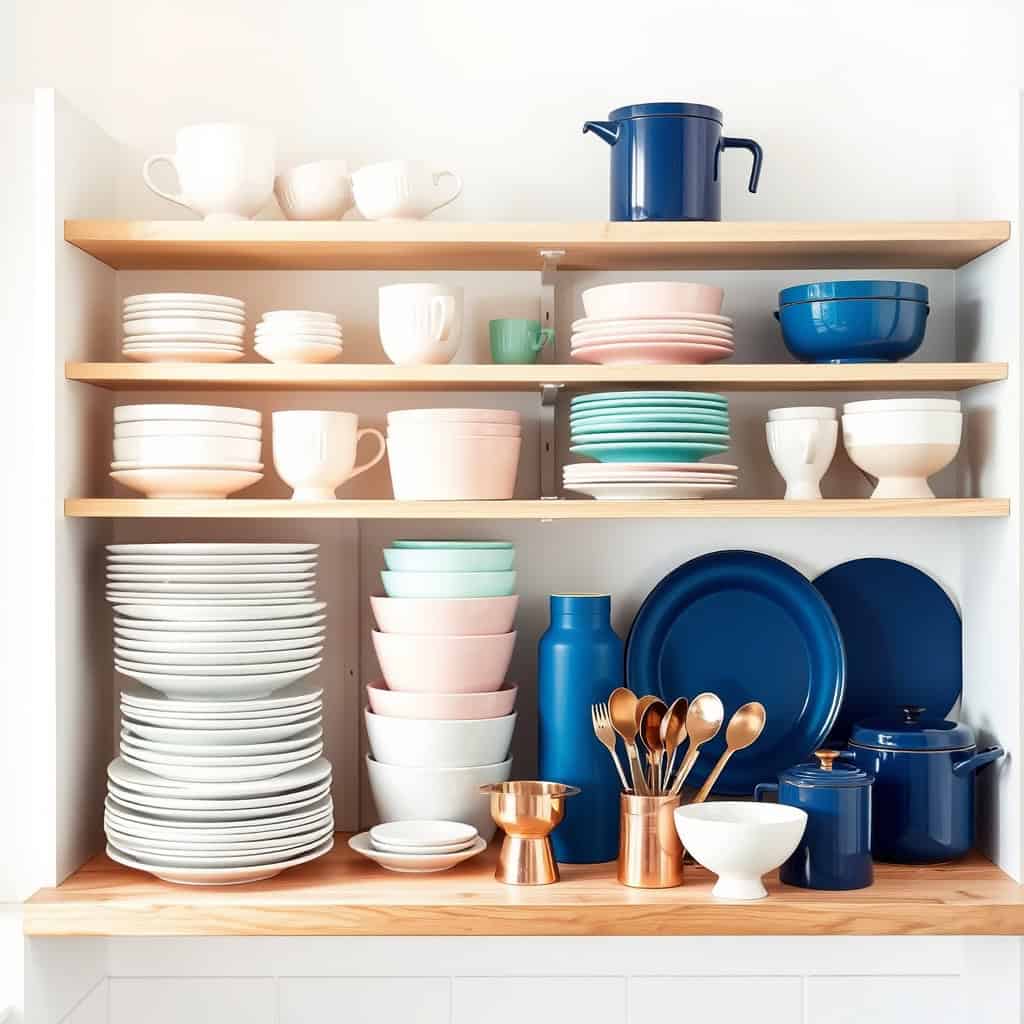
Color coordination in kitchen organization isn’t just about aesthetics – it’s a powerful way to create an efficient and intuitive storage system. When items are grouped by color, they become easier to locate quickly, reducing the time spent searching through cabinets and drawers. This approach also helps maintain organization long-term, as the visual system makes it immediately apparent when items are out of place.
The color-coding method works particularly well for both open shelving and closed storage spaces, creating a cohesive look while maximizing functionality. This organization style can transform a cluttered kitchen into an organized space that feels more like a professional chef’s workspace, while simultaneously creating a visually pleasing environment that motivates better organization habits.
Required Items:
- Clear bins or containers
- Label maker
- Shelf liner paper
- Container dividers
- Cleaning supplies
- Storage baskets
- Open shelving (optional)
- Clear cabinet organizers
- Drawer organizers
- Color-coding stickers
Start by removing all items from their current locations and sorting them by color. Create distinct groups for white, clear, metallic, and colored items. Within each color group, subdivide items by function – for example, keeping all white serving pieces together, or grouping blue drinking glasses in one area.
Once sorted, clean all storage spaces thoroughly before replacing items. Position items strategically, with frequently used pieces at eye level or in easily accessible locations. Use clear containers to group smaller items of the same color, and implement drawer organizers to maintain separate color sections.
Consider creating a gradient effect with colored items, transitioning from light to dark shades for added visual appeal.
Additional Success Tips: Maintain flexibility in your color-coding system by leaving some empty space for new additions. Photograph your organized spaces to use as reference when returning items to their proper places. Consider seasonal rotation of colored items to keep the kitchen fresh and inspiring throughout the year, and regularly assess the system to ensure it continues to meet your needs effectively.
Create Height-Based Displays With Risers
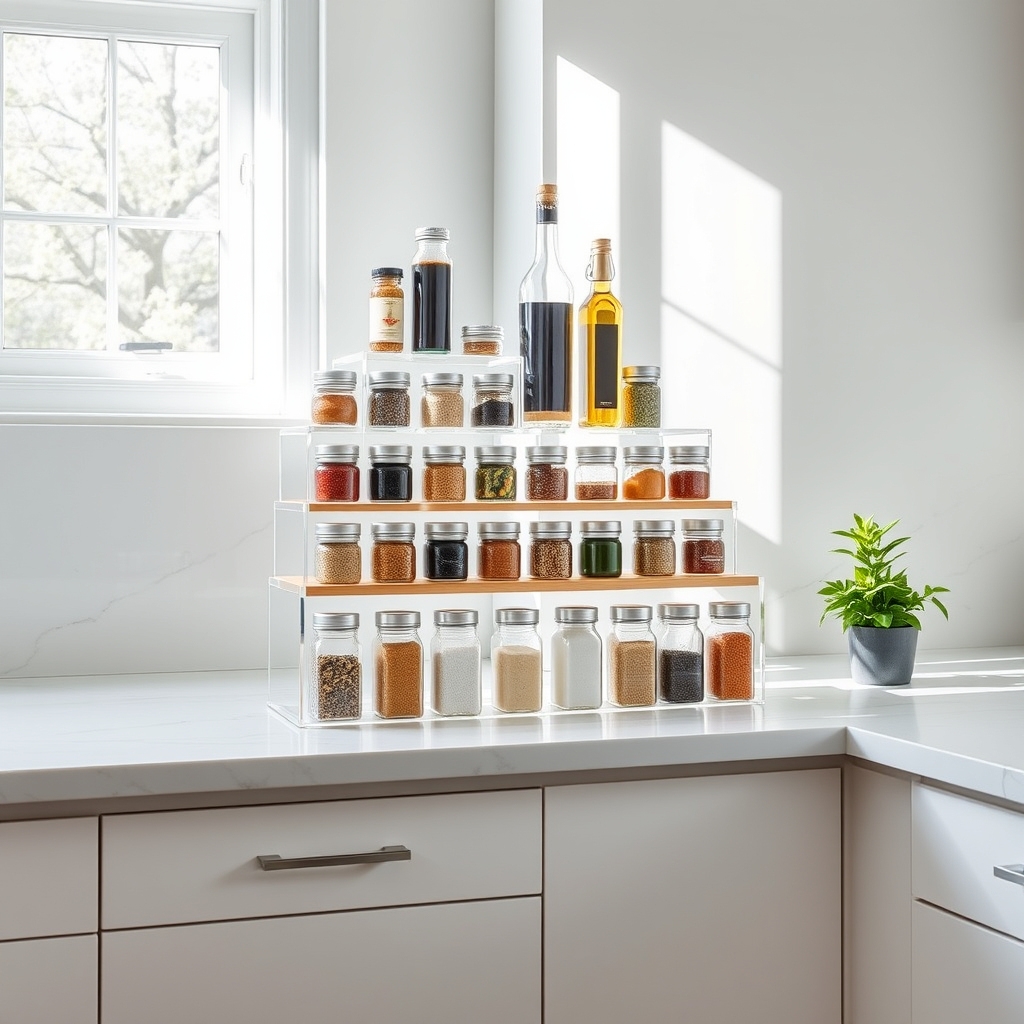
The strategic use of risers in kitchen organization transforms cluttered cabinets and countertops into efficient, accessible spaces. By creating multiple levels of storage, risers allow you to maximize vertical space while keeping items visible and within easy reach, eliminating the frustration of searching through stacked items.
Height-based displays not only enhance functionality but also create an aesthetically pleasing arrangement that makes your kitchen feel more professional and organized. This approach is particularly valuable for storing spices, canned goods, dinnerware, and cooking supplies, ensuring that smaller items don’t get lost behind taller ones.
Required Items:
- Cabinet risers or shelf risers
- Drawer organizers
- Clear acrylic risers
- Bamboo or wooden step organizers
- Measuring tape
- Labels (optional)
- Non-slip shelf liner
- Container bins (various sizes)
Start by measuring your cabinet and counter spaces to determine appropriate riser sizes. Remove all items from the area you’re organizing and group them by height and frequency of use. Place the tallest items at the back of the space and work forward with progressively shorter items.
Position risers to create stepped levels, ensuring each row remains visible and accessible. For spice organization, utilize tiered risers with the most frequently used spices on the lower levels. In cabinets, implement multiple levels of risers to maximize vertical space while maintaining visibility of all items.
For pantry storage, arrange canned goods and boxed items on graduated risers, keeping labels facing forward for easy identification. To maintain the effectiveness of your height-based organization system, regularly assess item placement and adjust riser arrangements as needed.
Consider implementing a “one in, one out” rule to prevent overcrowding, and use clear containers whenever possible to maintain visibility. Regular cleaning of risers and surfaces will ensure the longevity of your organization system while keeping your kitchen looking polished and professional.
Incorporate Stylish Storage Baskets
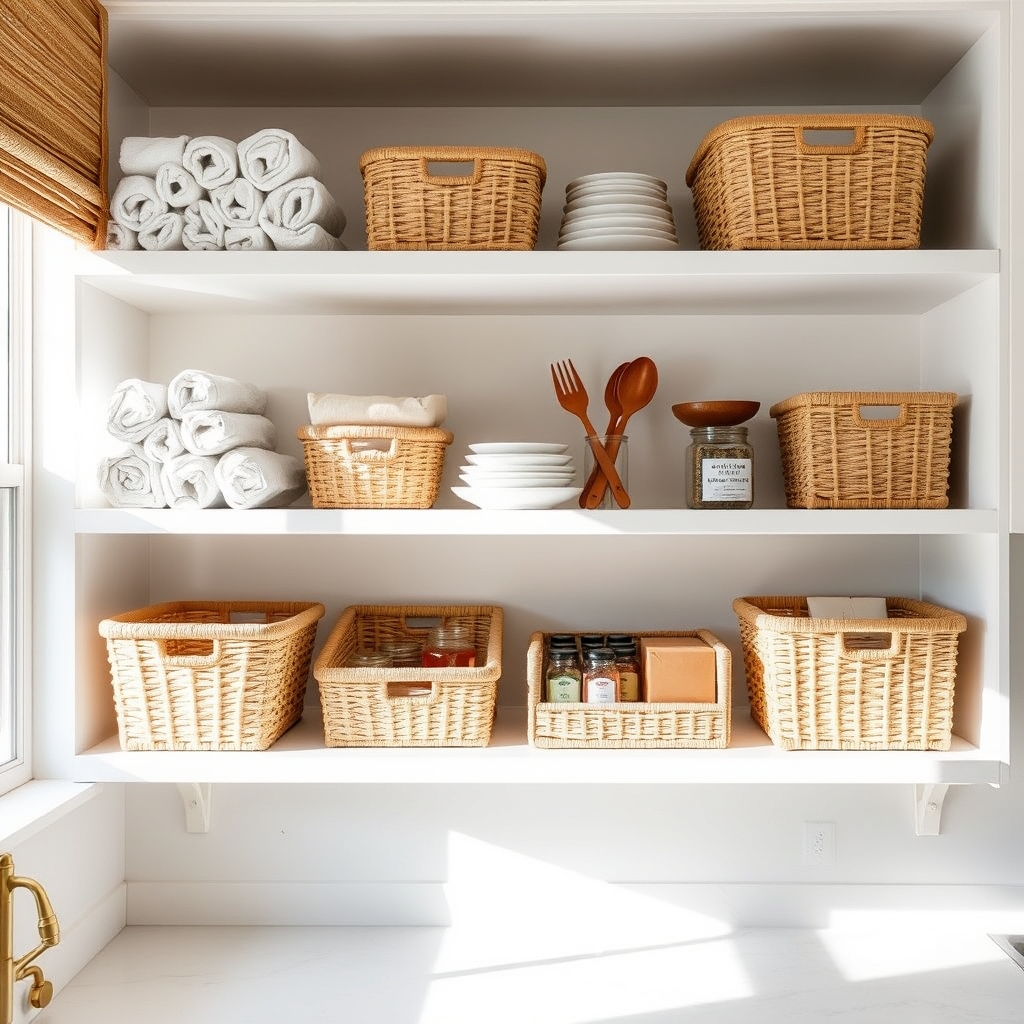
Storage baskets are a game-changing solution for kitchen organization, combining both functionality and aesthetic appeal. These versatile containers can transform cluttered countertops and cabinets into streamlined spaces while adding a decorative element to your kitchen design.
When properly implemented, storage baskets create designated homes for various kitchen items, making it easier to maintain organization and quickly locate what you need. They’re particularly effective for grouping similar items together and can be easily lifted out to access contents, making them ideal for both everyday use and deep cleaning sessions.
Required Items:
- Assorted storage baskets (various sizes)
- Label maker or tags
- Measuring tape
- Clear bins (optional)
- Drawer liner or grip mat
- Basket dividers (optional)
- Container hooks (if mounting)
Start by measuring your cabinet spaces, drawers, and open shelving to determine appropriate basket sizes. Group similar items together, such as baking supplies, snacks, or cleaning products. Select baskets that complement your kitchen’s style while providing adequate space for your items.
Place grip mats underneath baskets to prevent sliding, especially in deep cabinets. For maximum efficiency, position frequently used items in easily accessible baskets at eye level or in front of cabinets. Reserve higher shelves and back spaces for seasonal or rarely used items.
Label each basket clearly to maintain organization and ensure family members can easily maintain the system. Consider using clear bins for items that need to be visible and woven baskets for items that are better concealed.
Additional Tips: Regularly audit basket contents to prevent accumulation of unnecessary items and adjust organization as needed. Choose water-resistant materials for under-sink storage and consider stackable options for vertical spaces.
Keep a few empty baskets on hand for future storage needs or seasonal items, and clean baskets periodically to maintain their appearance and prevent dust accumulation.
Establish Functional Kitchen Zones
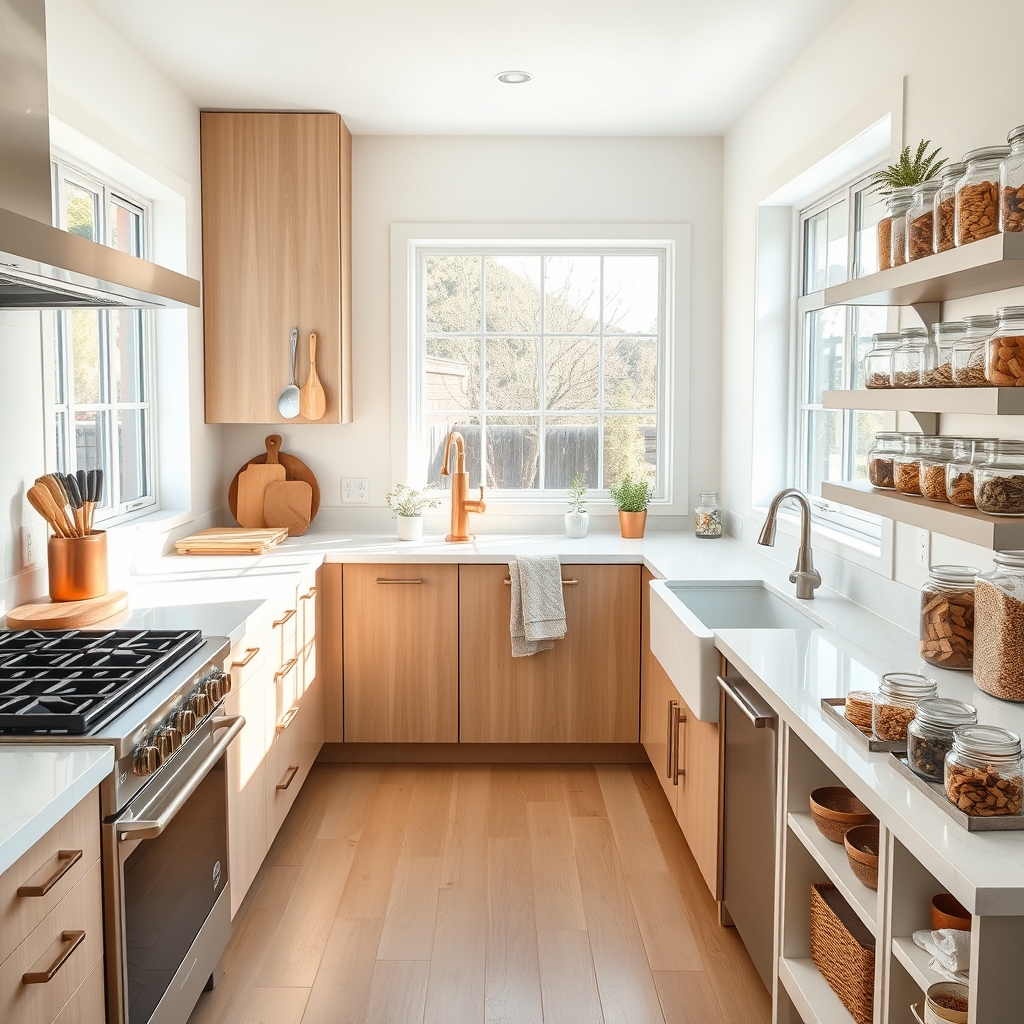
Creating functional kitchen zones is a fundamental principle of efficient kitchen design and organization. By dividing your kitchen into dedicated areas for specific tasks, you can streamline your cooking process, reduce unnecessary movement, and make the most of your available space. Well-planned zones ensure that everything you need is exactly where you need it when you need it.
The concept of kitchen zones is based on the natural workflow of food preparation, cooking, and cleanup. When items are grouped logically according to their use, you’ll spend less time searching for tools and ingredients, making cooking more enjoyable and efficient. This systematic approach also helps maintain organization long-term, as everything has a designated home.
Required Items:
- Paper and pen for planning
- Storage containers
- Cabinet organizers
- Drawer dividers
- Labels and label maker
- Measuring tape
- Cleaning supplies
- Storage bins
- Shelf risers
- Hooks
Start by identifying five main zones in your kitchen: prep zone, cooking zone, cleaning zone, storage zone, and non-food storage zone. The prep zone should be located near the refrigerator and include counter space for cutting boards, mixing bowls, and frequently used utensils.
Position the cooking zone around your stove and oven, storing pots, pans, and cooking utensils within easy reach. Create a cleaning zone near the sink with dishwashing supplies and trash bins. Establish a storage zone for pantry items and ingredients, ideally between the prep and cooking areas. Finally, designate a non-food storage zone for items like paper goods and cleaning supplies.
Within each zone, organize items by frequency of use, placing the most-used items at eye level and within easy reach. Less frequently used items can be stored in higher or lower cabinets. Use vertical space effectively by installing hooks, magnetic strips, or pegboards.
Consider the natural flow of movement between zones and ensure there are clear paths between frequently used areas. To maintain your zone system, regularly evaluate and adjust the organization based on your cooking habits. Keep countertops clear except for daily-use items, and consider using clear containers or labels to maintain order.
Periodically review each zone to ensure items haven’t migrated to incorrect areas and that the current arrangement still serves your needs effectively. Remember that a well-organized kitchen should adapt to your specific cooking style and habits rather than forcing you to adapt to a rigid system.
Use Clear Containers for Pantry Staples
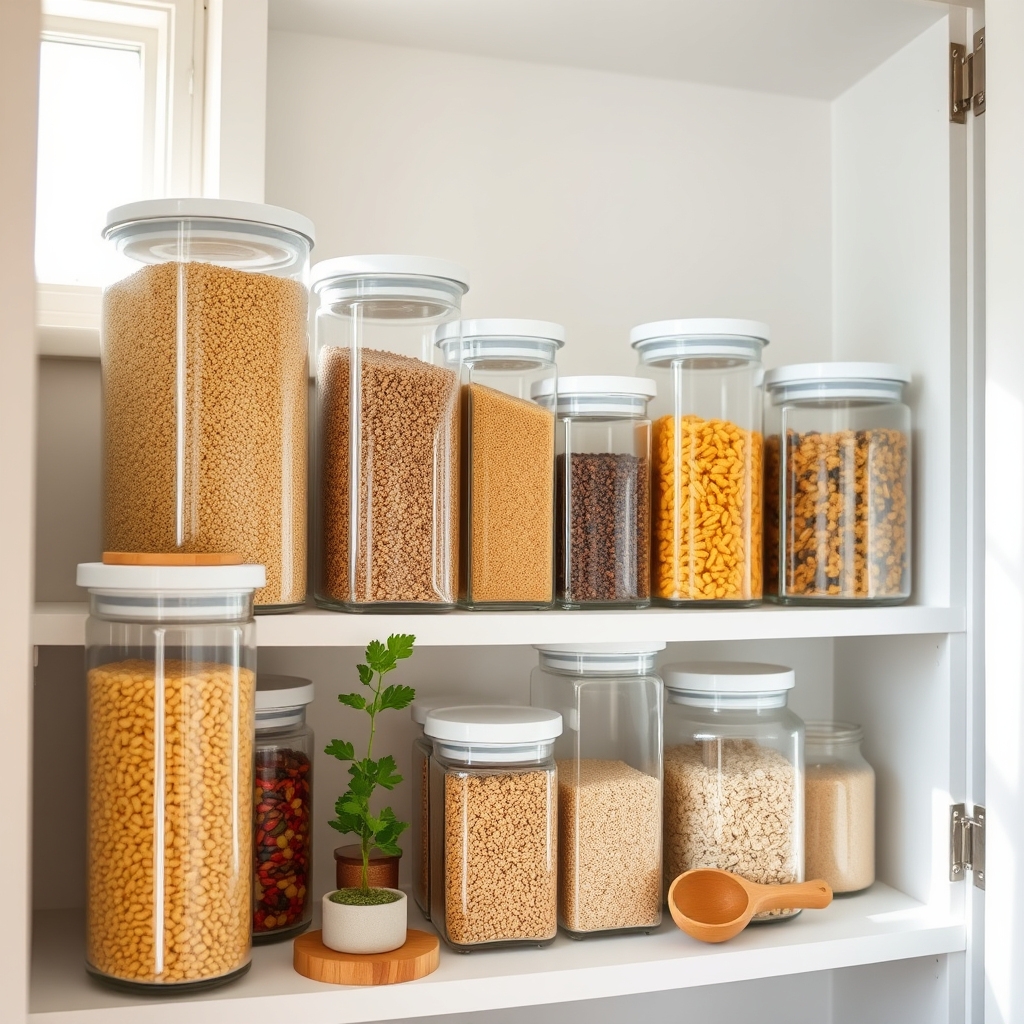
Organizing pantry staples in clear containers is a game-changing strategy that transforms both the functionality and aesthetic appeal of your kitchen storage. When dry goods are transferred from their original packaging into transparent containers, you can instantly assess inventory levels, maintain freshness, and create a cohesive, visually appealing pantry space.
This organization method not only streamlines your cooking process by making ingredients easily identifiable but also helps prevent food waste through better visibility of expiration dates and quantities. Clear containers maximize vertical space and create a uniform look that makes your pantry feel more spacious and professional.
Required Items:
- Clear airtight containers in various sizes
- Labels and marker/label maker
- Measuring cups
- Funnel
- Clean cloth or paper towels
- Storage bins or risers (optional)
- Small scoop or spoons
- Food-grade silica gel packets (optional)
Start by emptying your pantry and sorting through all dry goods, discarding any expired items. Working with one category at a time (grains, pasta, cereals, etc.), select appropriately sized containers for each item.
Transfer the contents using a funnel, ensuring each container is completely clean and dry beforehand. Leave enough headspace in each container to allow for easy scooping. As you fill each container, immediately label it with the item name and expiration date.
Arrange filled containers by category, placing frequently used items at eye level and utilizing risers or bins to maximize visibility.
A final crucial step is establishing a maintenance system. Record expiration dates in a designated place, and create a rotation schedule for refilling containers. Consider keeping a small inventory list inside your pantry door to track when items need replenishing.
Always clean containers thoroughly between refills and store the original packaging with cooking instructions until contents are fully used.
Mix Decorative and Practical Elements
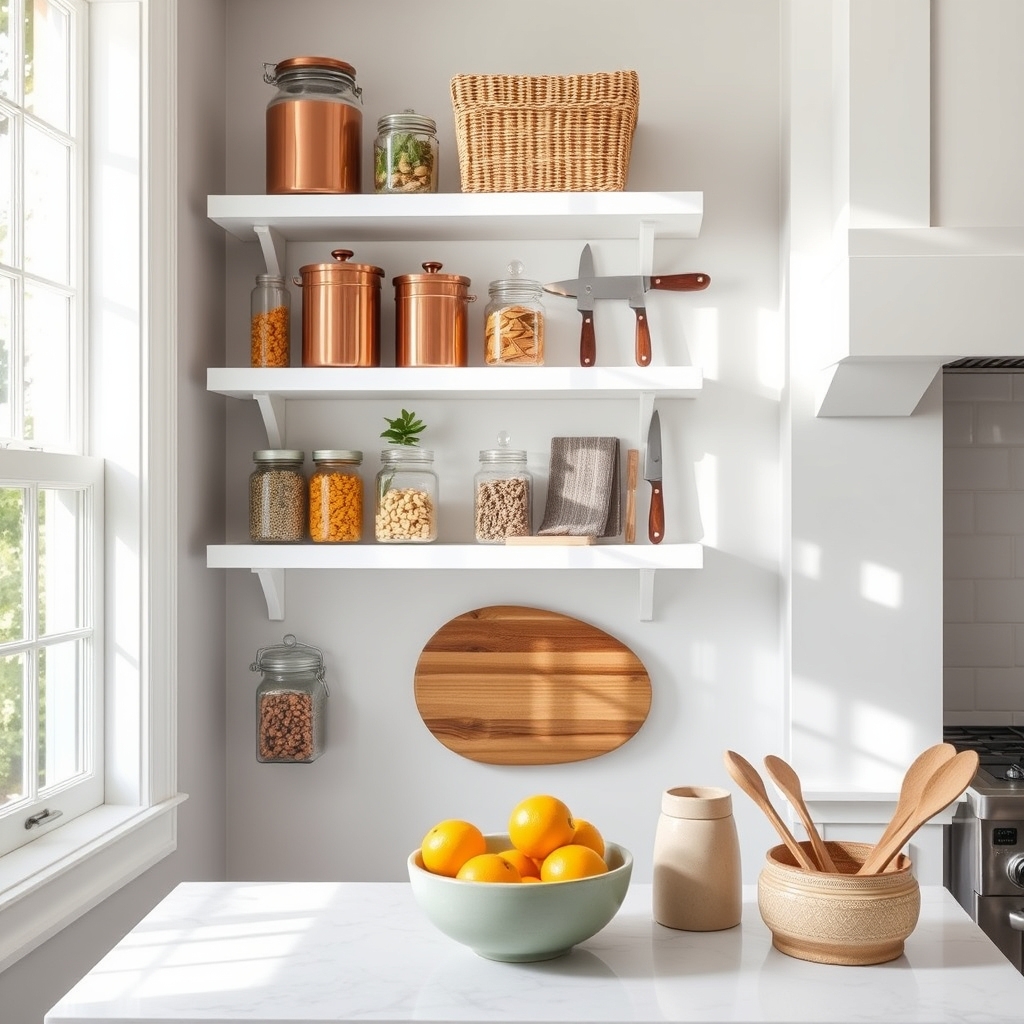
Balancing aesthetic appeal with functionality is essential in creating a kitchen space that’s both beautiful and efficient. When decorative elements complement practical storage solutions, the kitchen becomes an inviting space that maintains its utility while expressing personal style and creating a welcoming atmosphere.
The key to successfully mixing decorative and practical elements lies in choosing items that serve dual purposes and creating intentional displays that don’t compromise workspace or accessibility. This approach transforms necessary kitchen items into design elements while ensuring everything remains within easy reach for daily use.
Required Items:
- Clear glass containers
- Decorative baskets
- Floating shelves
- Magnetic knife strip
- Pegboard or wall organizer
- Attractive cookware
- Decorative hooks
- Kitchen canisters
- Plant pots
- Display-worthy cutting boards
Start by assessing your kitchen’s available wall and counter space, identifying areas that can accommodate both storage and display. Install floating shelves in strategic locations where frequently used items can be arranged attractively.
Position decorative baskets on upper cabinets to store lesser-used items while adding visual interest to empty spaces. Arrange everyday essentials like cooking oils, spices, and frequently used utensils in attractive containers or on stylish organizing systems within arm’s reach of prep areas.
Group items by both function and visual appeal, creating intentional vignettes that serve practical purposes. For example, position a magnetic knife strip as a functional art piece, arrange colorful cookware on an exposed rack, or display wooden cutting boards as wall decor when not in use.
Use clear containers to store dry goods, creating visual texture while maintaining easy identification of contents.
Additional Tips: Rotate decorative elements seasonally to keep the space fresh while maintaining functionality. Incorporate plants or herbs in attractive containers to add life to the space.
When selecting new kitchen items, prioritize pieces that are both aesthetically pleasing and practical to naturally build a collection that serves both purposes. Remember to leave adequate workspace clear to maintain the kitchen’s primary function as a cooking area.
Maximize Vertical Space With Stackable Solutions
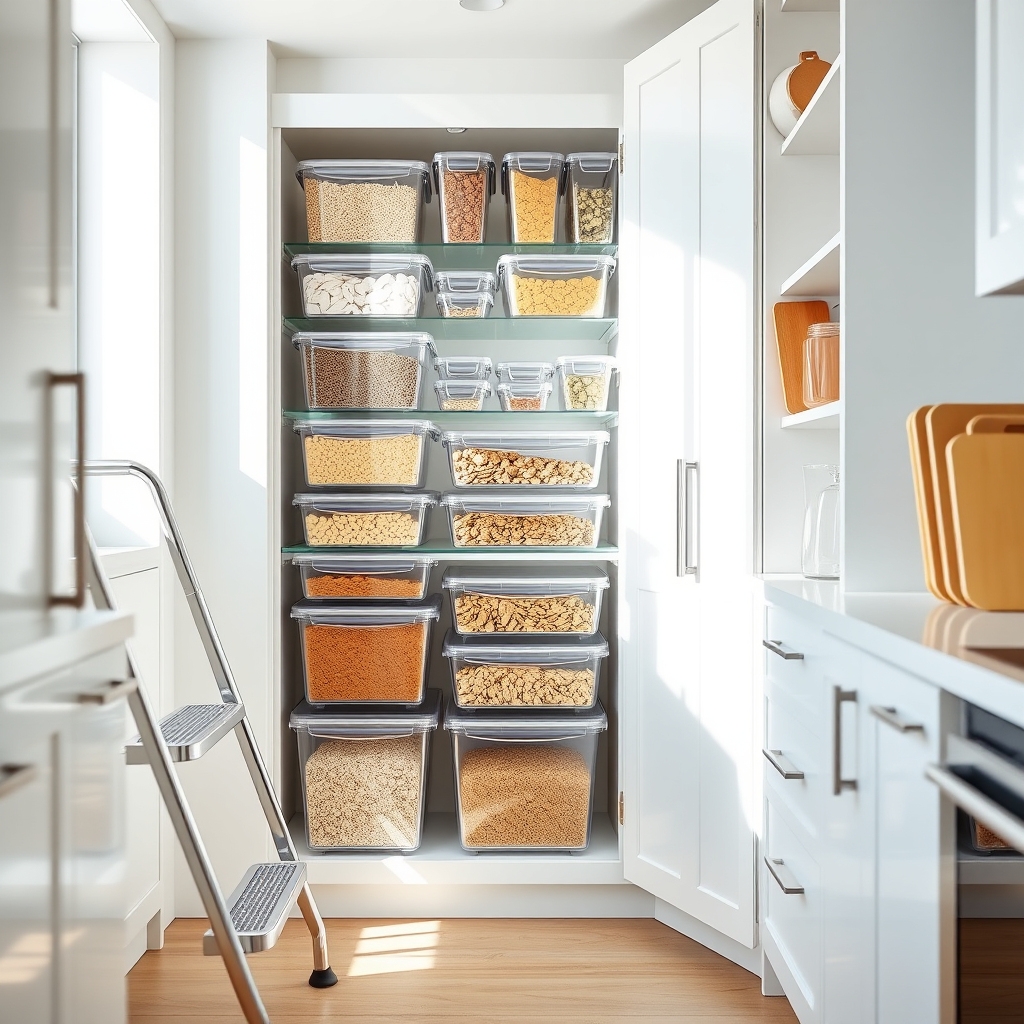
Making the most of vertical space in your kitchen is crucial for creating an efficient and organized cooking environment. Most kitchens have untapped potential in their vertical spaces, from walls to cabinet interiors, and implementing stackable solutions can dramatically increase storage capacity without requiring additional square footage.
Stackable organization systems transform cluttered cabinets and countertops into well-ordered spaces that maximize every inch from floor to ceiling. This approach not only creates more storage but also makes items more accessible and visible, reducing the time spent searching for cooking tools and ingredients.
Required Items:
- Stackable clear containers
- Shelf risers
- Vertical pan organizers
- Over-the-door organizers
- Cabinet shelf dividers
- Stackable bins
- Label maker
- Measuring tape
- Step stool
- Storage hooks
Start by measuring all vertical spaces, including cabinet interiors, wall spaces, and areas above appliances. Remove everything from the target areas and sort items by frequency of use and category.
Install shelf risers in cabinets to create additional levels for storing plates, bowls, and containers. Position frequently used items at eye level, with seasonal or rarely used items stored higher up.
Place stackable clear containers on pantry shelves, arranging them from largest at the bottom to smallest at the top for stability. Utilize vertical pan and lid organizers to store cookware upright, maximizing cabinet space.
Install over-the-door organizers on pantry doors or cabinet doors for additional storage of spices, cleaning supplies, or small packaged goods.
Additional Tip: Regularly review and adjust your vertical storage system every three months to ensure it continues to meet your needs. Remove items that haven’t been used, reorganize based on changing habits, and clean storage containers to maintain visibility and freshness.
Consider investing in expandable organizers that can grow with your storage needs over time.
Style With Natural Materials and Textures
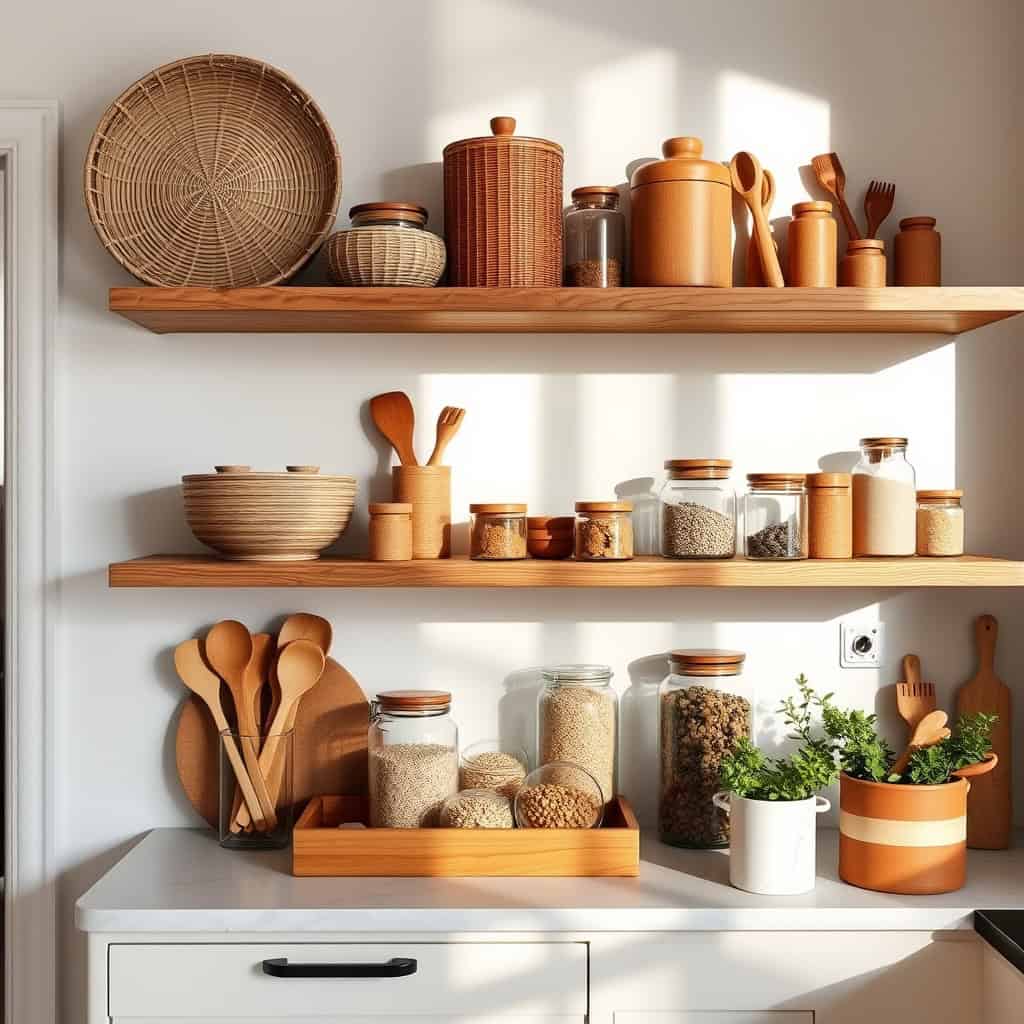
Natural materials and textures in kitchen organization create a warm, inviting atmosphere while maintaining functionality. The thoughtful incorporation of organic elements helps establish a connection to nature and promotes a sense of calm in what can often be a busy space.
When properly organized, natural materials not only serve practical purposes but also act as design elements that enhance the overall aesthetic. Wood, bamboo, rattan, and stone elements can transform standard storage solutions into beautiful displays while maintaining the kitchen’s organizational efficiency.
Essential Items:
- Wooden organizing boxes
- Bamboo drawer dividers
- Woven baskets
- Stone or marble containers
- Natural fiber bins
- Rattan storage containers
- Cork organizers
- Wooden pegboards
- Jute or hemp storage bags
- Clay or ceramic containers
Start by assessing your kitchen’s current storage needs and identifying areas where natural materials can replace existing synthetic organizers. Group similar items together and assign specific natural containers for each category. For example, use wooden boxes for spice storage, bamboo dividers for utensil organization, and woven baskets for produce or bread storage.
Position larger woven baskets in lower cabinets or on open shelving for storing bulk items or lesser-used appliances. Utilize stone or marble containers on countertops for frequently accessed items like cooking utensils or coffee supplies. Install wooden pegboards on available wall space to create vertical storage while adding visual interest through the natural grain patterns.
Keep natural materials looking their best by regularly cleaning and maintaining them according to their specific care requirements. Rotate items seasonally to prevent wear in one area, and consider treating wooden elements with food-safe oils to preserve their appearance.
Place natural elements strategically to create a balanced look throughout the kitchen while ensuring they remain practical for daily use.
Arrange Daily-Use Items Within Easy Reach
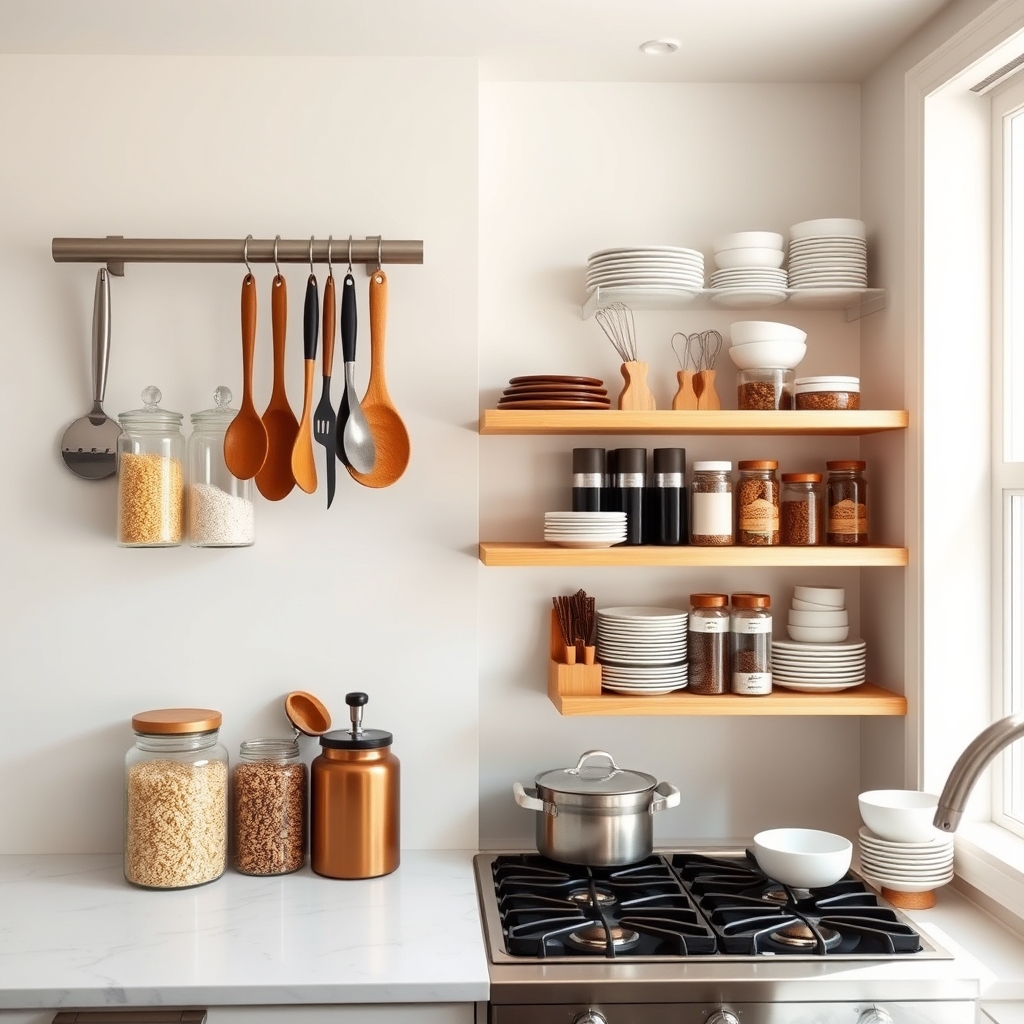
The placement of frequently used items in your kitchen can make or break your cooking efficiency. When everyday essentials are strategically positioned within arm’s reach, you save countless hours of unnecessary movement and frustration, transforming your kitchen into a more functional workspace.
Creating designated zones for daily-use items not only streamlines your cooking process but also helps maintain organization long-term. This systematic approach ensures that everyone in the household can easily locate and return items, keeping the kitchen running smoothly and reducing the time spent searching for basic necessities.
Required Items:
- Drawer organizers
- Clear containers
- Label maker
- Measuring tape
- Step stool
- Cabinet organizers
- Drawer dividers
- Pull-out shelf inserts
- Counter canisters
- Hook racks
Start by identifying your most frequently used items and group them by category (cooking utensils, spices, coffee supplies, etc.). Position these items between hip and eye level in cabinets and drawers closest to their point of use.
Install drawer organizers and cabinet inserts to maximize vertical space and create designated spots for each category. Place cooking utensils near the stove, coffee supplies near the coffee maker, and food prep tools near your primary work surface.
For upper cabinets, arrange items with the most frequently used pieces in front and less-used items toward the back. Consider installing pull-out shelves or lazy Susans in corner cabinets to improve accessibility.
Use clear containers for pantry staples and position them on lower shelves for easy access. Mount frequently used tools on wall-mounted magnetic strips or hooks to keep countertops clear while maintaining accessibility.
Additional Tip: Evaluate your daily kitchen routine for one week and note which items you reach for most often. Make adjustments to your organization system based on these observations, and reassess every few months to ensure your setup continues to serve your needs effectively.
Consider keeping a step stool nearby for accessing higher shelves, and maintain clear paths to your most-used items to prevent frustration during busy cooking times.
Implement a Minimalist Display Strategy
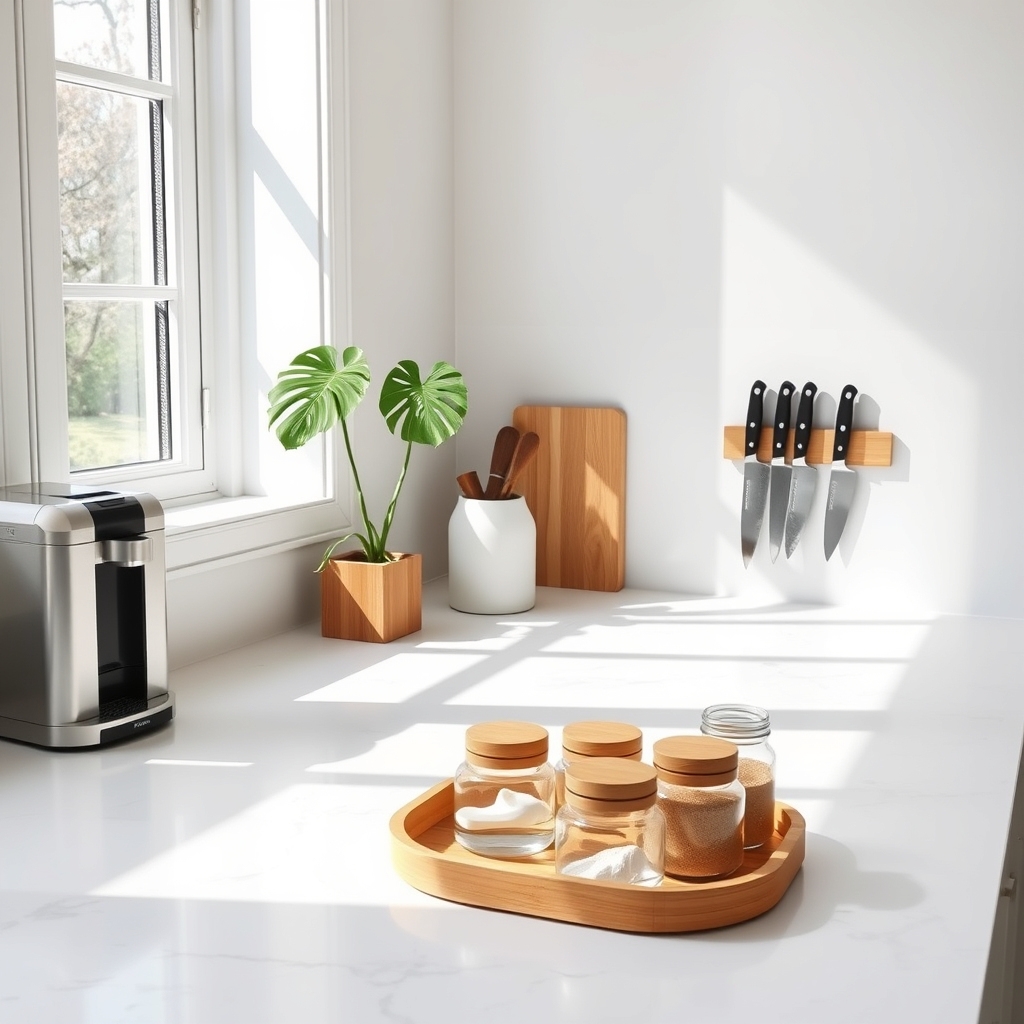
A minimalist display strategy in the kitchen creates a calming, clutter-free environment that promotes both functionality and aesthetic appeal. When countertops and surfaces are free from unnecessary items, cooking becomes more enjoyable, cleaning becomes easier, and the entire space feels more organized and intentional.
This approach focuses on displaying only essential, frequently used items while storing everything else out of sight. A well-executed minimalist display not only transforms the kitchen’s appearance but also helps maintain order by establishing clear guidelines for what deserves valuable counter space and what should be stored away.
Required Items:
- Storage containers
- Drawer organizers
- Clear countertop containers
- Decorative tray or stand
- Labels
- Cabinet organizers
- Hooks or magnetic strips
- Storage baskets
- Cabinet door organizers
Begin by removing everything from your countertops and surfaces, evaluating each item based on frequency of use and necessity. Select only the items used daily, such as a coffee maker, knife block, or cooking utensil holder. Choose one or two decorative elements that enhance the space without creating clutter, such as a small plant or artistic fruit bowl.
Group remaining items by category and store them in designated cabinet spaces or drawers. For the items that will remain on display, create intentional zones based on function. Position frequently used appliances near their point of use, keeping cords neat and hidden when possible. Use attractive containers or trays to group smaller items together, maintaining clean lines and visual harmony.
Consider using wall-mounted solutions like magnetic knife strips or hanging racks to keep essential tools accessible while preserving counter space. To maintain your minimalist display strategy, implement a “one in, one out” rule for kitchen items and regularly assess displayed items for continued necessity.
Keep surfaces clean and organized by wiping them down daily and returning items to their designated spots immediately after use. Consider rotating seasonal or specialty items into storage when not in active use to maintain the clean, uncluttered aesthetic of your minimalist kitchen display.


