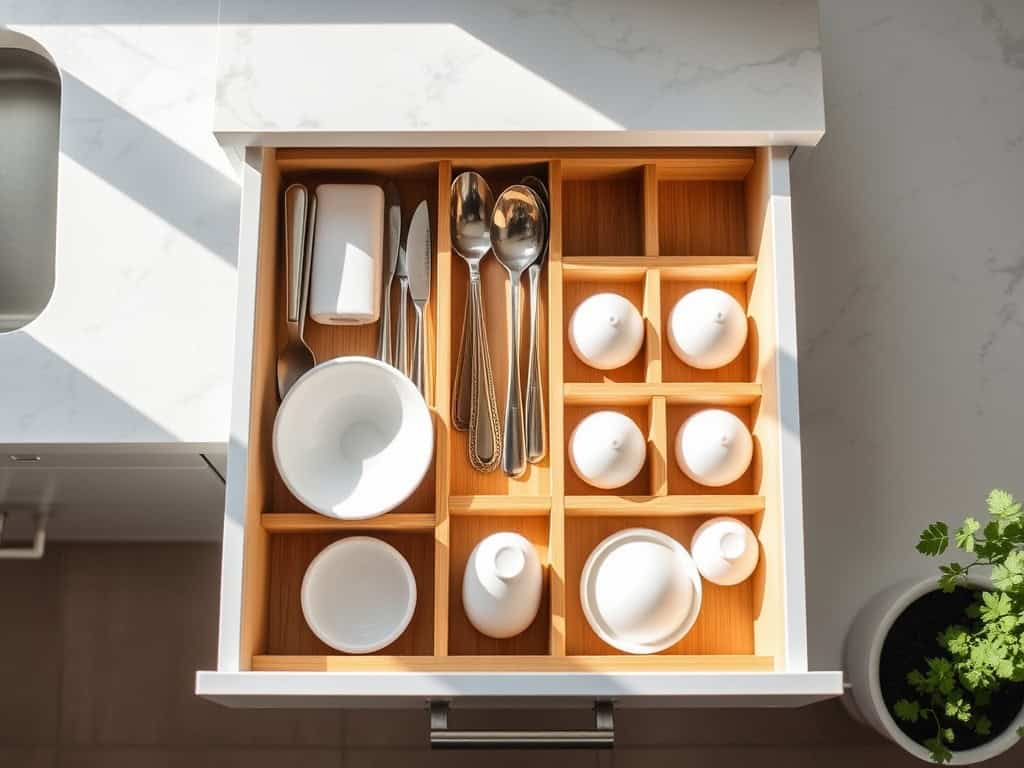
Just last week, my neighbor Sarah transformed her chaotic kitchen drawers into an organizational masterpiece using nothing but $20 worth of supplies and a free afternoon. You’re probably thinking your own drawer situation is beyond help (trust me, I’ve been there!), but I’ve gathered 10 game-changing hacks that’ll revolutionize your kitchen storage – whether you’re dealing with oddly shaped utensils or that dreaded “junk drawer.” Let me show you how to reclaim every inch of drawer space while keeping your essentials within easy reach.
Start With a Clean Slate: Declutter and Sort
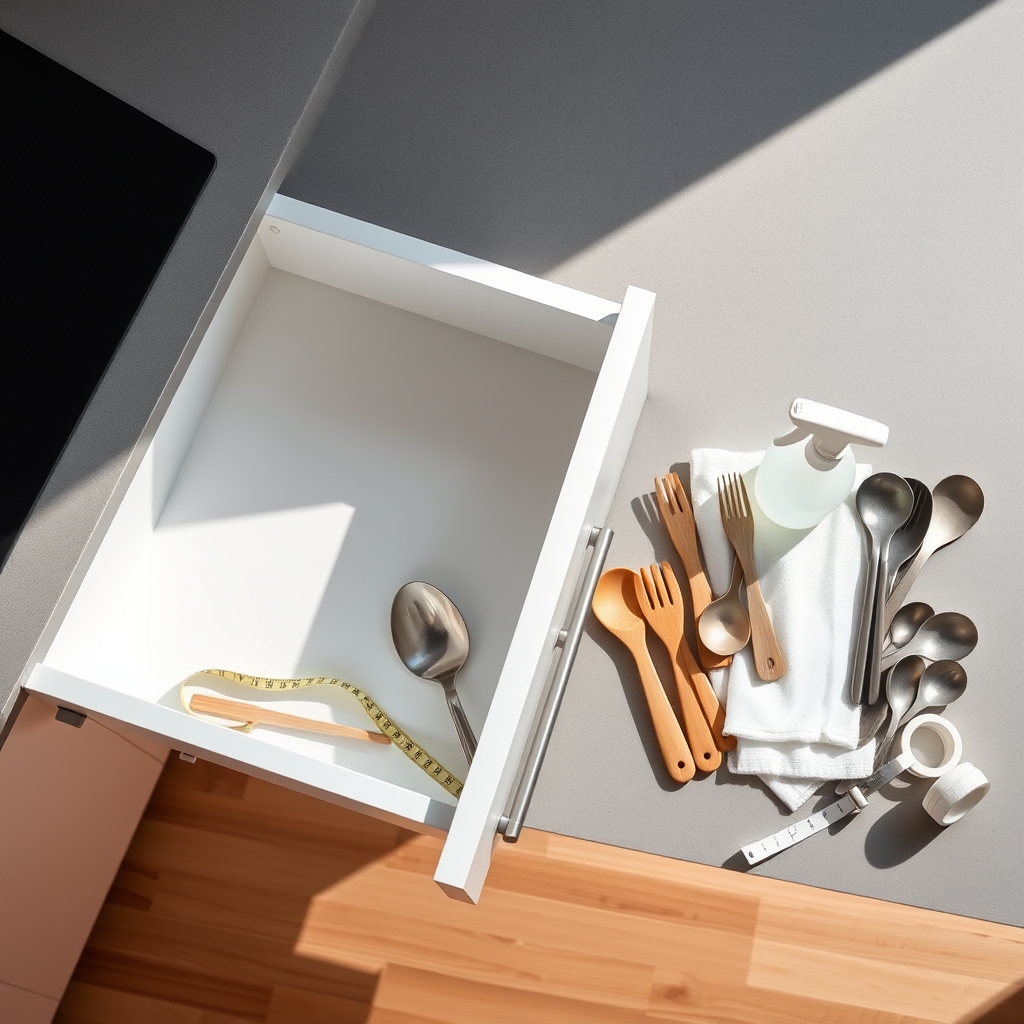
A cluttered drawer is more than just an eyesore – it’s a daily source of frustration that wastes precious time as you search for items you need. Whether it’s a kitchen, bathroom, or office drawer, disorganization can lead to duplicate purchases, damaged items, and unnecessary stress in your daily routine.
Starting with a clean slate through proper decluttering and sorting is the foundation of any successful drawer organization system. This initial step sets the stage for implementing storage solutions and maintaining order long-term. When you begin with a thorough clean-out, you’ll have a clear understanding of what you own and what you actually need to keep.
Required Items:
- Large sorting containers or boxes
- Cleaning supplies (all-purpose cleaner, cloth, paper towels)
- Garbage bag
- Donation box
- Sticky notes or labels
- Timer (optional)
- Measuring tape
Empty the entire drawer and thoroughly clean the interior. Sort items into distinct categories: keep, donate, trash, and relocate. For items in the “keep” pile, create subcategories based on function or frequency of use. For example, in a kitchen drawer, separate utensils from measuring tools, or in an office drawer, group writing implements separately from sticky notes.
Test all items to ensure they work properly and discard anything broken or expired. Assess each item in the “keep” pile using two criteria: necessity and frequency of use. If you haven’t used an item in the past year, consider whether it truly deserves drawer space. Remove duplicate items unless there’s a specific need for multiples.
Clean all items you plan to keep before returning them to the drawer. Measure the drawer’s dimensions to plan for appropriate organizers or dividers that will accommodate your sorted items.
Additional Tip: Take photos of your organized drawer once complete, and use these as reference points for maintaining the system. Consider implementing a “one-in-one-out” rule moving forward – for every new item added to the drawer, remove an old one. Schedule regular maintenance checks every three months to prevent clutter from accumulating again.
Custom Drawer Dividers on a Budget
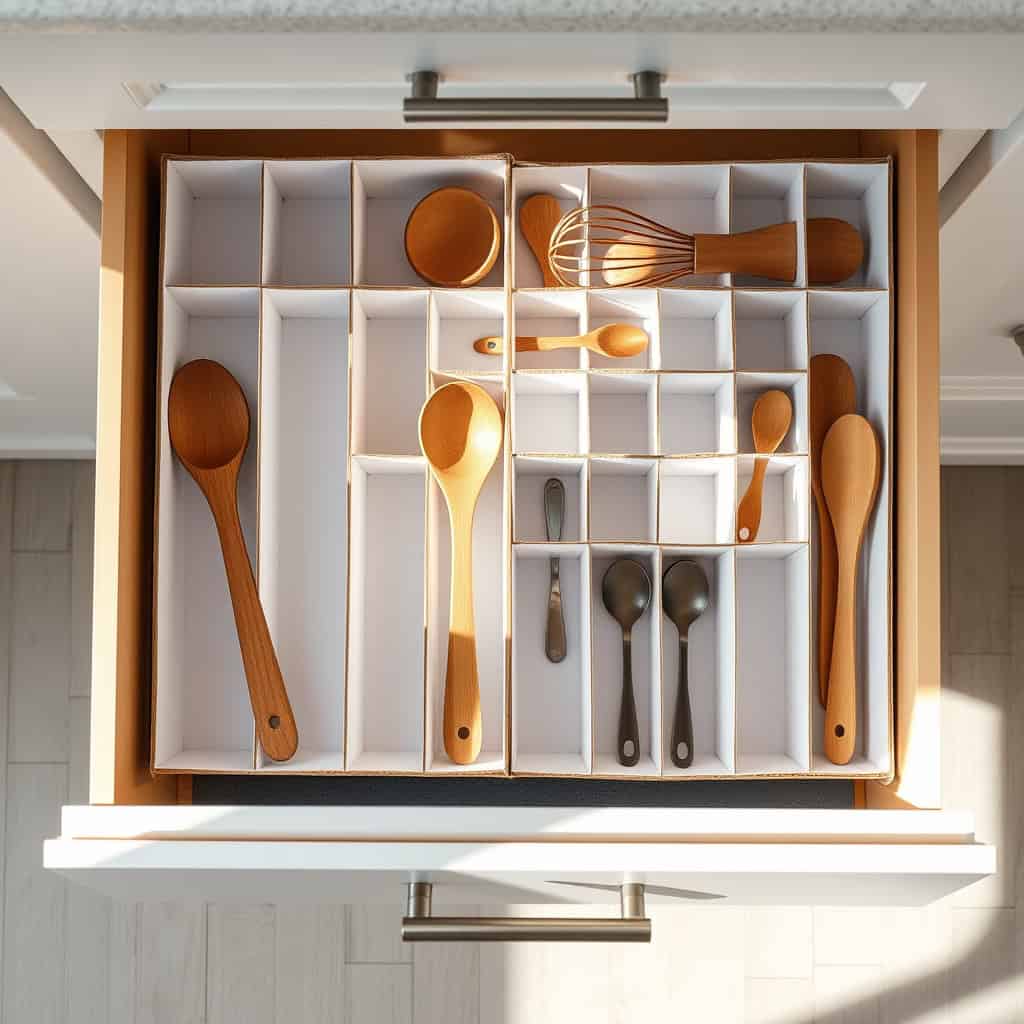
An organized drawer system is essential for maintaining order in any home, yet commercial drawer dividers can be surprisingly expensive. Creating custom drawer dividers allows you to maximize every inch of drawer space while keeping items neatly separated and easily accessible.
Making your own drawer dividers not only saves money but also ensures a perfect fit for your specific needs and drawer dimensions. This customization means you can create compartments sized exactly for your items, whether it’s organizing kitchen utensils, office supplies, or bathroom essentials.
Required Materials:
- Cardboard boxes or sturdy cardboard sheets
- Ruler or measuring tape
- Scissors
- Box cutter
- Heavy-duty tape or hot glue gun
- Contact paper or decorative paper (optional)
- Pencil
- Non-slip drawer liner (optional)
Start by measuring your drawer’s internal dimensions, including height, width, and depth. Cut your cardboard to create divider walls that match the drawer’s height. For horizontal dividers, measure and mark where you want your compartments, ensuring they’re appropriately sized for the items you plan to store.
Create a grid system by cutting slots halfway through the cardboard pieces where they’ll intersect, allowing them to fit together in a puzzle-like formation.
For added durability, reinforce the corners and edges with heavy-duty tape or hot glue. If using decorative paper or contact paper, apply it to the cardboard pieces before assembly. Once all pieces are prepared, slide them together to create your custom grid system.
Test the fit in your drawer and make any necessary adjustments before finalizing the placement.
To enhance your DIY drawer dividers’ longevity and functionality, consider placing non-slip liner underneath to prevent shifting. Label each compartment if desired, and rotate items periodically to ensure the dividers maintain their shape.
Regular maintenance checks will help identify any needed repairs before they become significant issues, ensuring your budget-friendly organization solution remains effective long-term.
The Art of Drawer Zoning
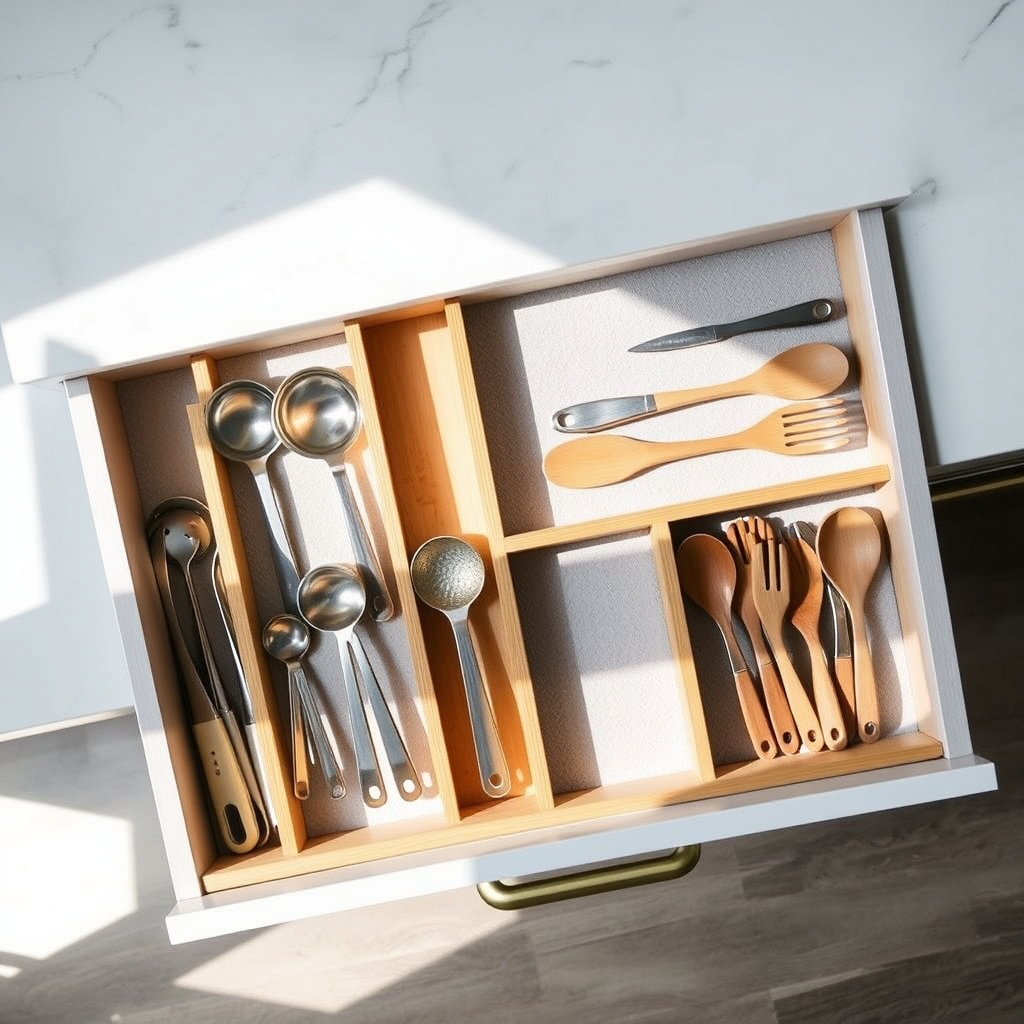
Drawer zoning is a strategic approach to organizing drawers that transforms chaotic storage spaces into efficient, functional areas. By designating specific zones within each drawer, you create a systematic arrangement that makes items easily accessible and maintains order over time.
When drawers lack proper zoning, valuable minutes are wasted searching for items, and frustration builds as contents become jumbled with daily use. Implementing drawer zones not only maximizes space utilization but also creates a natural system that encourages maintaining organization long-term.
Required Items:
- Drawer dividers
- Measuring tape
- Drawer liner
- Small containers or organizer boxes
- Labels
- Paper and pencil for planning
- Sticky notes
- Drawer bins of various sizes
Start by emptying the drawer completely and measuring its dimensions. Sketch a basic layout plan, considering the items that will be stored and their frequency of use. Group similar items together and determine how much space each category requires. Position frequently used items toward the front of the drawer, with less-used items toward the back.
Install drawer liners to prevent items from sliding and protect the drawer surface. Place dividers to create distinct sections based on your planned zones. Use small containers or organizer boxes within these zones to further separate items and maintain boundaries. Consider using expandable dividers for flexibility as your storage needs change.
Label each zone clearly to ensure items return to their designated spots. This step is crucial for maintaining the system, especially in shared spaces. For deeper drawers, consider using stacked organizers to maximize vertical space while keeping zones distinct.
Additional Tips:
Review and adjust zones periodically based on changing needs and usage patterns. Leave about 10% of each zone empty to accommodate new items and prevent overcrowding. For drawers used by multiple people, consider color-coding zones or using picture labels to make the system more intuitive.
Regularly clean and assess the contents of each zone to prevent clutter from accumulating and maintain the effectiveness of your organization system.
Vertical Storage Solutions for Deep Drawers
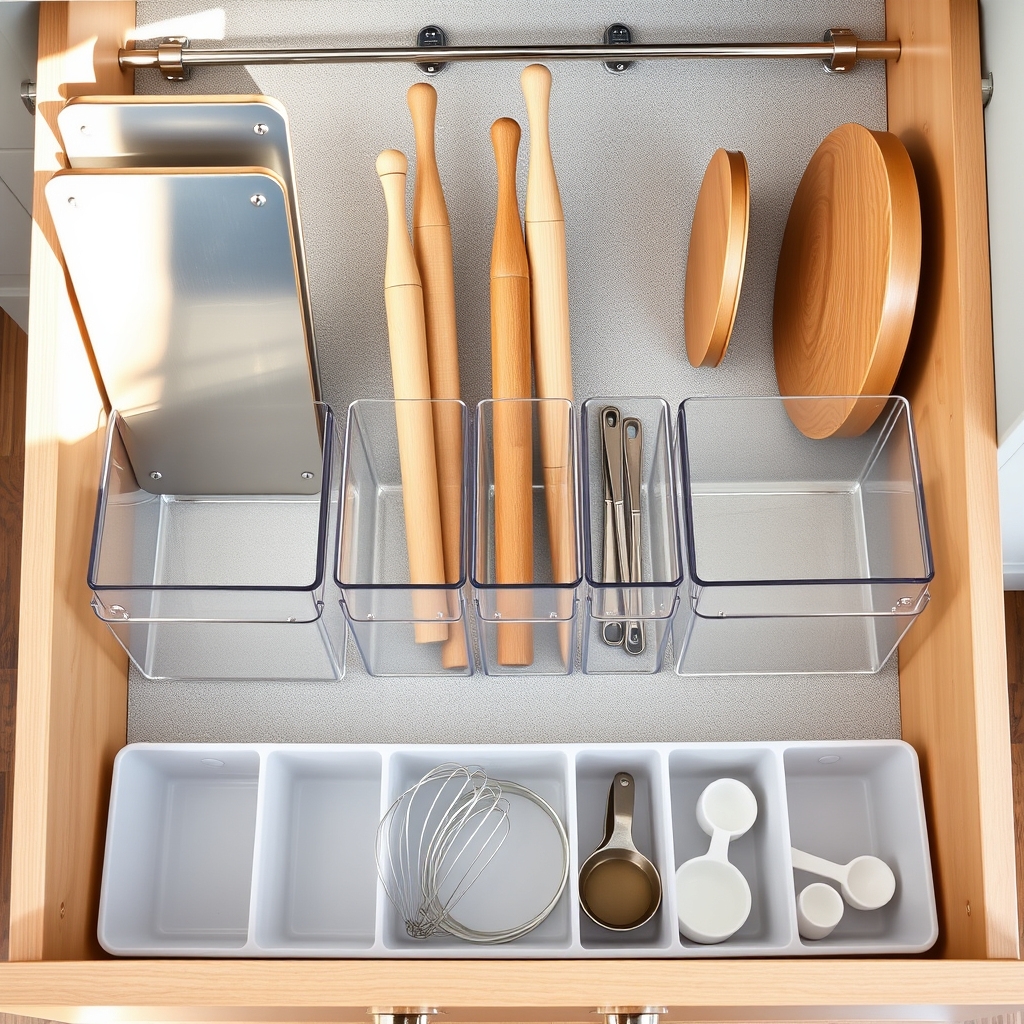
Deep drawers often become chaotic catch-all spaces where items get lost in horizontal layers, making it difficult to access things at the bottom. Vertical storage transforms these deep spaces into efficient, accessible storage areas where everything remains visible and within easy reach.
Converting deep drawers to vertical storage maximizes the full height of the drawer while eliminating the frustrating task of digging through piled items. This organization method works particularly well for kitchen items, office supplies, clothing, and bathroom essentials, allowing you to store more items while maintaining clear visibility and easy access.
Required Items:
- Drawer dividers
- File organizers
- Tension rods
- Plastic containers or bins
- Drawer liner (non-slip)
- Measuring tape
- Labels
- Command hooks or adhesive strips
- Storage boxes with vertical compartments
Start by emptying the drawer completely and measuring its dimensions. Install non-slip liner at the bottom to prevent containers from sliding. Position tension rods vertically to create distinct sections, or insert drawer dividers to establish permanent vertical compartments.
For maximum efficiency, arrange taller items at the back of the drawer and shorter ones toward the front, creating a graduated effect that allows you to see all items at once. Group similar items together in appropriate containers or organizers, positioning them vertically like books on a shelf.
Use file organizers to store cutting boards, baking sheets, or document folders upright. For smaller items, employ plastic containers with vertical compartments that can be easily lifted out when needed.
To maintain the organization system long-term, label each section clearly and consider using clear containers that allow immediate visibility of contents. Leave about 10% of the space empty to accommodate new items and prevent overcrowding.
Regular maintenance checks every few months will help ensure the vertical storage system continues to function effectively and meets your changing needs.
Maximize Space With Stackable Organizers
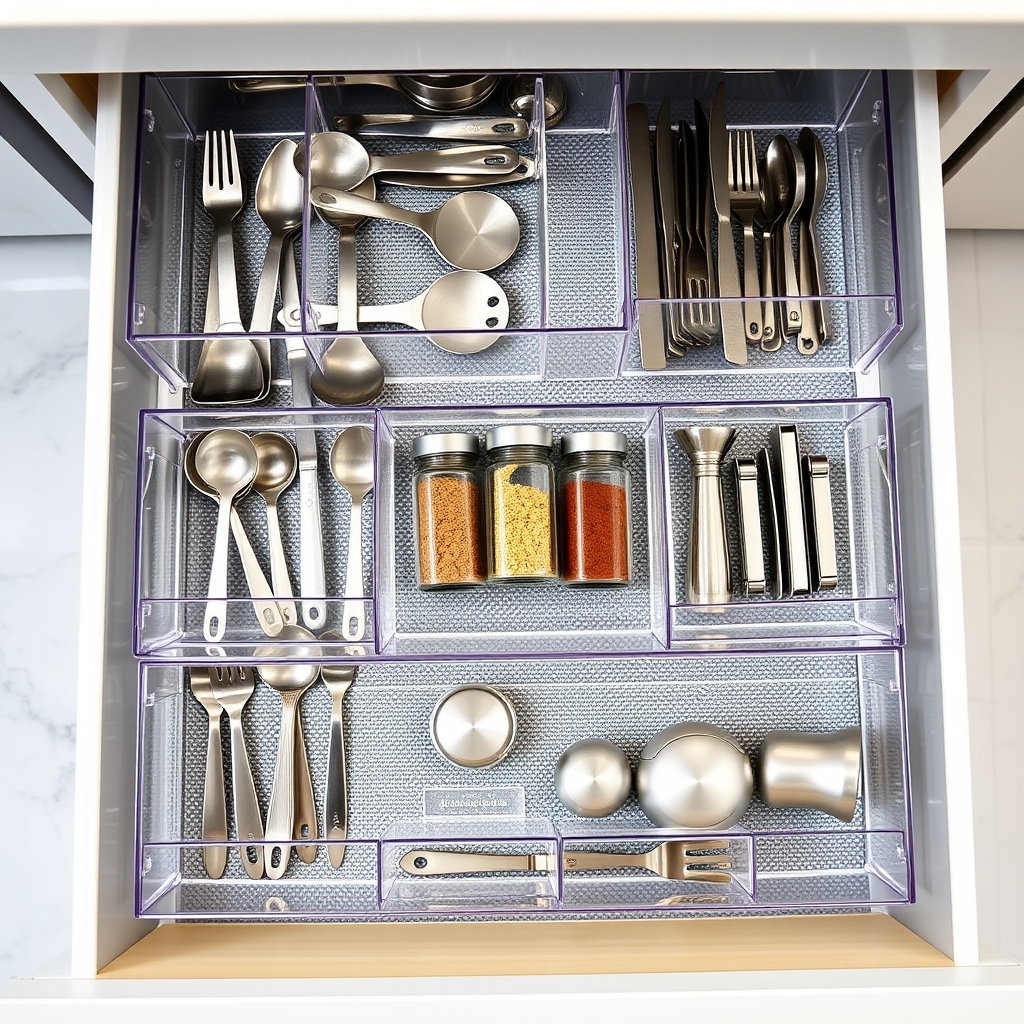
Making the most of drawer space is essential in any home, particularly in areas where storage is limited. Stackable organizers represent one of the most efficient solutions for drawer organization, allowing you to utilize vertical space while keeping items neatly categorized and easily accessible.
When properly implemented, stackable drawer organizers can double or even triple your storage capacity while maintaining order and visibility. This system is particularly valuable in kitchen drawers, office spaces, and bedroom storage, where multiple small items need to be stored in an organized manner.
Required Items:
- Stackable drawer organizers in various sizes
- Measuring tape
- Drawer liner (non-slip)
- Labels
- Drawer dividers
- Clear bins or containers
- Drawer depth stops (if needed)
Begin by measuring your drawer dimensions carefully, including height, width, and depth. Remove all items from the drawer and clean thoroughly. Install non-slip liner to prevent organizers from sliding.
Place larger stackable organizers toward the back of the drawer, ensuring they don’t exceed the drawer height when stacked. Position shorter organizers in front for easy visibility and access. Create designated zones within the drawer based on frequency of use, with most-used items in front.
Arrange items vertically where possible to maximize visibility and accessibility. Use clear containers for smaller items, and implement drawer dividers between stackable sections to maintain organization. Label each section clearly to establish a system that everyone can follow.
For optimal results, reassess your organization system after two weeks of use. Remove any unused items and adjust the layout based on your daily patterns. Consider using drawer depth stops if stackable organizers tend to shift, and periodically clean both the organizers and drawer to maintain the system’s effectiveness.
Essential Tools for Drawer Organization
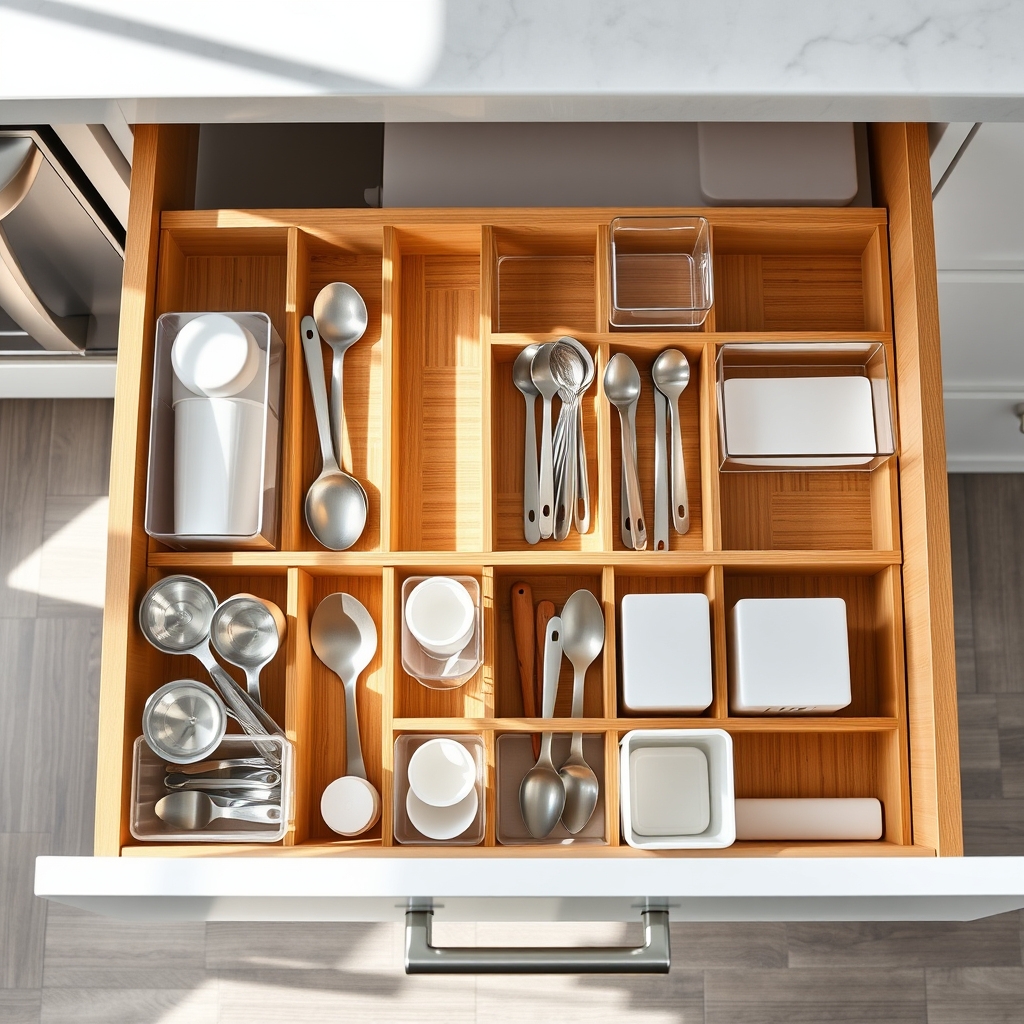
Having the right tools for drawer organization is fundamental to creating and maintaining an efficient storage system. Without proper organizational tools, drawers quickly become cluttered catch-alls, making it frustrating to find items when needed and wasting valuable time during daily routines.
The key to successful drawer organization lies in selecting the appropriate tools that match both your storage needs and the specific dimensions of your drawers. Quality organizational tools not only maximize space but also create designated spots for items, making it easier to maintain order long-term.
Essential Tools:
- Drawer dividers (expandable and fixed)
- Clear plastic bins
- Small containers or cups
- Drawer liner material
- Measuring tape
- Label maker
- Drawer organizer trays
- Drawer separators
- Small boxes or compartments
- Tension rods
- Mesh containers
- Stackable organizers
Start by measuring your drawers’ exact dimensions, including depth, width, and height. These measurements will guide your tool selection and ensure proper fit. Sort your organizational tools by size and function, matching them to specific drawer types – kitchen tools require different organizers than office supplies or clothing items.
Consider purchasing adjustable or modular systems that can be reconfigured as your needs change. Before installing any organizational tools, clean the drawers thoroughly and line them with non-slip material to prevent containers from sliding.
Test different arrangements of your organizational tools before settling on a final configuration, ensuring frequently used items remain easily accessible.
Additional Success Tips: Consider implementing a regular maintenance schedule to evaluate the effectiveness of your drawer organization tools. Replace any broken or warped organizers promptly, and periodically reassess whether your current tool selection still meets your needs.
Keep extra dividers and containers on hand for future adjustments, and always choose quality materials that can withstand frequent use while maintaining their shape and function.
Smart Storage for Small Kitchen Drawers
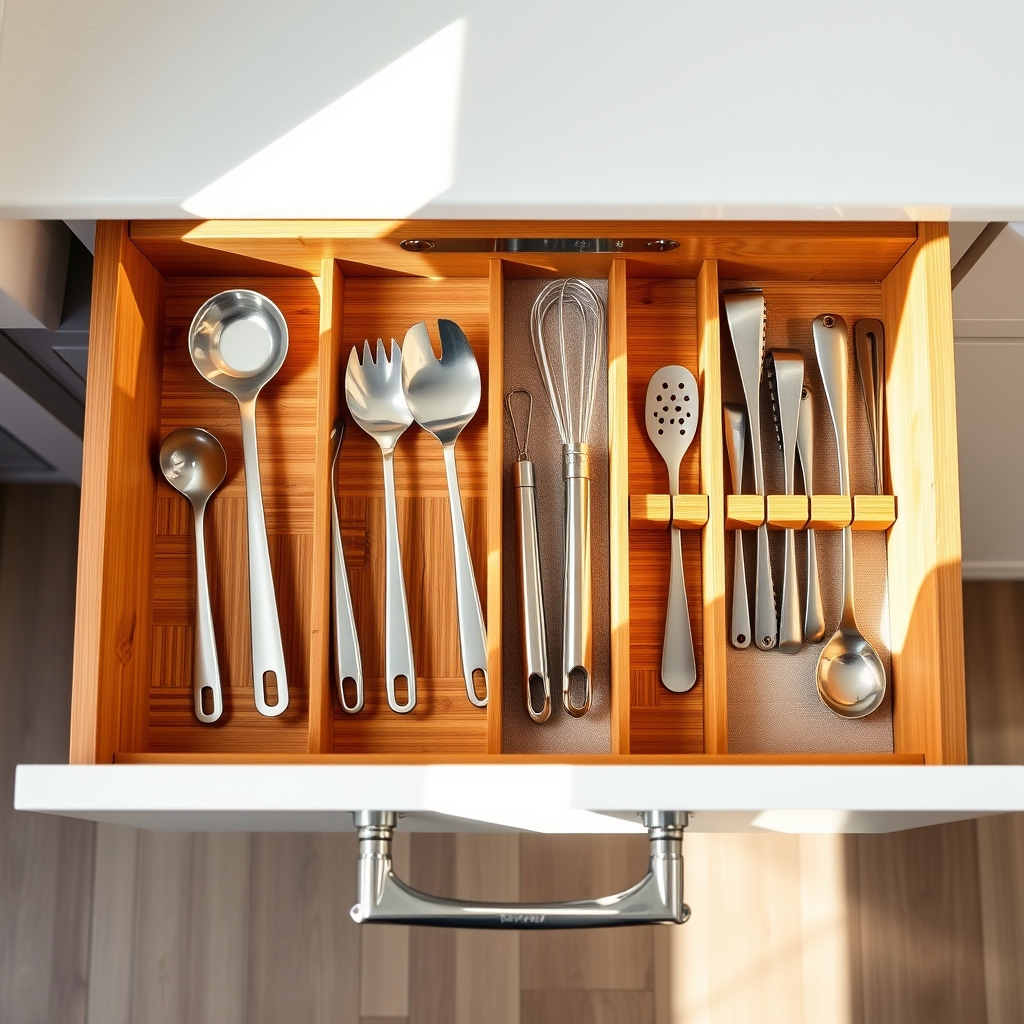
A well-organized kitchen drawer system serves as the foundation for efficient meal preparation and cooking. When every utensil and tool has its designated spot, you eliminate the frustration of rummaging through cluttered drawers while cooking, saving valuable time and reducing stress in the kitchen.
Small kitchen drawers present unique challenges, but with strategic organization, these compact spaces can store an impressive amount of items while maintaining order. The key lies in maximizing vertical space, utilizing proper dividers, and being selective about which items truly deserve drawer real estate.
Required Items:
- Drawer dividers or organizers
- Measuring tape
- Drawer liner (non-slip)
- Label maker or labels
- Storage containers for small items
- Cleaning supplies
- Sorting bins (temporary, for organizing)
- Multi-tiered drawer inserts
- Drawer-depth measuring tool
Start by completely emptying the drawer and cleaning it thoroughly. Measure the interior dimensions, including depth, to ensure any organizers or dividers will fit properly. Sort items into categories based on frequency of use and function, discarding any duplicates or rarely-used items.
Install non-slip liner material to prevent organizers from sliding. Select appropriate drawer organizers based on your measurements and specific needs. Position frequently used items toward the front of the drawer, with less-used items toward the back. Utilize vertical space by implementing multi-tiered organizers for items like spices or smaller cooking tools.
Place items at angles when possible to maximize space, and consider storing some utensils vertically rather than flat.
Additional Tips: Review your drawer organization every three months to maintain its efficiency. Remove items that haven’t been used and adjust dividers as needed. Consider implementing a rotation system for seasonal cooking tools, storing off-season items elsewhere.
Remember that the most efficient drawer organization system is one that can be easily maintained with your daily cooking habits and routines.
Labels and Categories That Work
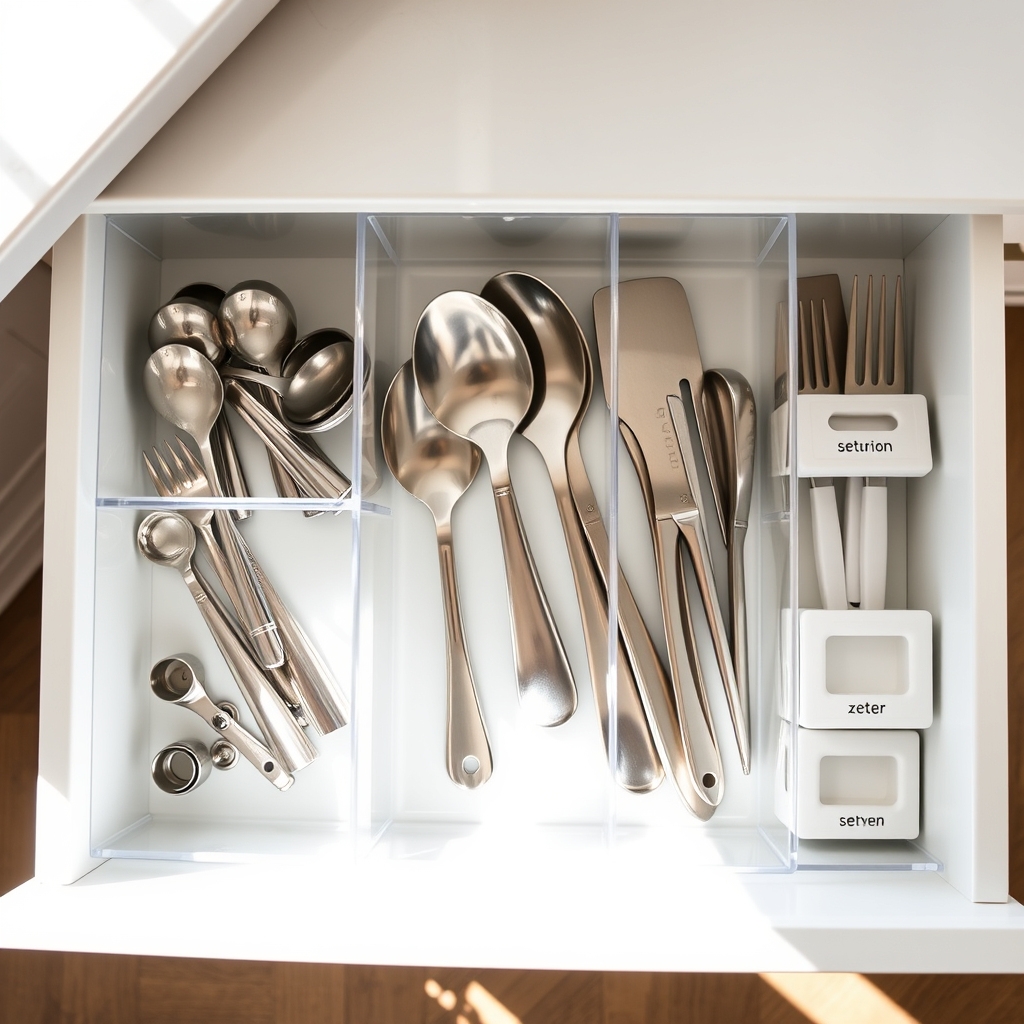
Labels and categories serve as the backbone of any well-organized drawer system, transforming cluttered spaces into efficient storage solutions. Without proper labeling and categorization, even the most organized drawers can quickly descend into chaos as items get misplaced or forgotten.
Creating a logical labeling system not only helps maintain order but also makes it easier for everyone in the household to find and return items to their designated spots. This system becomes particularly valuable in shared spaces like kitchens, bathrooms, and home offices, where multiple people access the same drawers regularly.
Required Items:
- Label maker or waterproof labels
- Clear drawer dividers or organizers
- Measuring tape
- Permanent markers
- Category cards or tabs
- Clear adhesive label holders
- Small containers or bins
- Post-it notes (for initial planning)
Begin by emptying the drawer completely and grouping similar items together. Create broad categories first, such as “Writing Tools” or “Kitchen Utensils,” then break these down into subcategories like “Pens,” “Pencils,” or “Measuring Spoons,” “Serving Utensils.”
Once categories are established, measure the drawer space and install appropriate dividers or containers to physically separate these groups. Create clear, legible labels for each section using your chosen labeling method, ensuring they’re visible from above when the drawer is open.
Consider implementing a color-coding system for additional visual organization, using different colored labels or containers for distinct categories. Place frequently used items in easily accessible areas near the front of the drawer, while storing less-used items toward the back.
Ensure labels are placed consistently, either on the dividers, the drawer edge, or both, maintaining a uniform look throughout.
For optimal organization maintenance, review your category system every few months and adjust as needed. Consider using broader, more flexible category names to accommodate changing needs, and always leave some space for growth within each section.
Remember to use waterproof labels in areas exposed to moisture, and create a simple reference guide for family members or roommates to help them maintain the system you’ve established.
Maintenance Tips for Organized Drawers
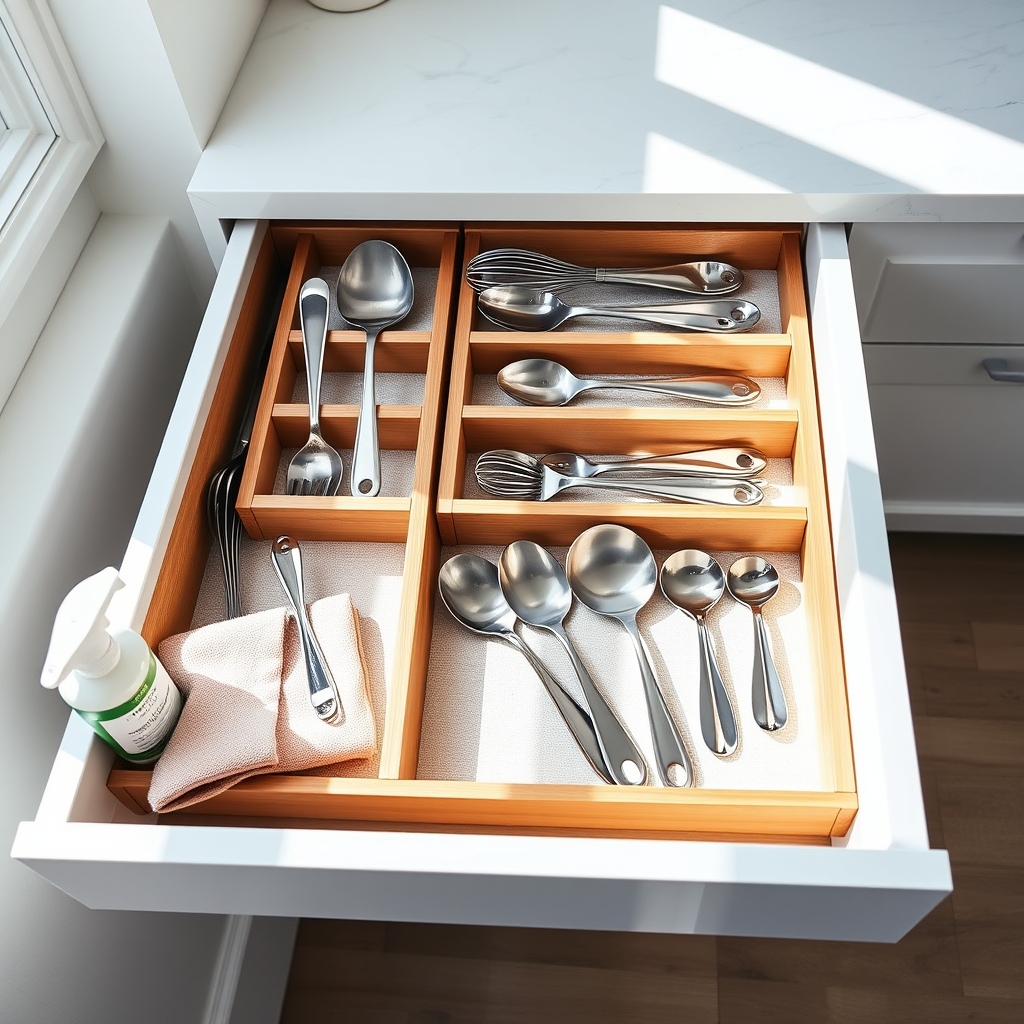
Maintaining organized drawers is crucial for preserving the time and effort invested in initial organization. When drawers start to become cluttered again, it can lead to frustration, wasted time searching for items, and eventually a complete breakdown of the organizational system you’ve worked hard to establish.
Regular drawer maintenance not only keeps your spaces functional but also helps identify when systems need adjustment or when certain items should be relocated. Well-maintained drawer organization creates a ripple effect of efficiency throughout your daily routines, from morning preparations to evening wind-down activities.
Essential Tools and Materials:
- Drawer dividers
- Labels or label maker
- Microfiber cleaning cloths
- All-purpose cleaner
- Small vacuum or handheld duster
- Storage containers or bins
- Drawer liner
- Measurement tape
- Calendar or reminder system
Maintaining organized drawers requires a three-part approach: regular cleaning, system evaluation, and content assessment. Start by establishing a weekly quick-clean routine where you remove debris and wipe down drawer interiors and organizers.
Monthly, remove all items and thoroughly clean the entire drawer, including organizers and liners. During this process, evaluate if your current organizational system still serves its purpose and make adjustments as needed.
Every three months, conduct a thorough review of drawer contents. Remove items that haven’t been used, relocate misplaced objects, and assess if storage solutions need updating. Replace worn drawer liners, fix or replace damaged organizers, and ensure labels remain clear and accurate.
If certain areas consistently become cluttered, consider implementing new organizational solutions or redistributing items to different locations.
Additional Success Tips: Implement a “one-in-one-out” rule to prevent overflow and establish a regular maintenance schedule in your calendar.
Consider taking photos of properly organized drawers to use as reference points when returning items to their designated spots. Create a household policy where everyone who uses the drawers knows the organization system and participates in maintaining it.
This shared responsibility ensures long-term success and prevents the need for major reorganization projects in the future.
Creative Solutions for Awkward Spaces
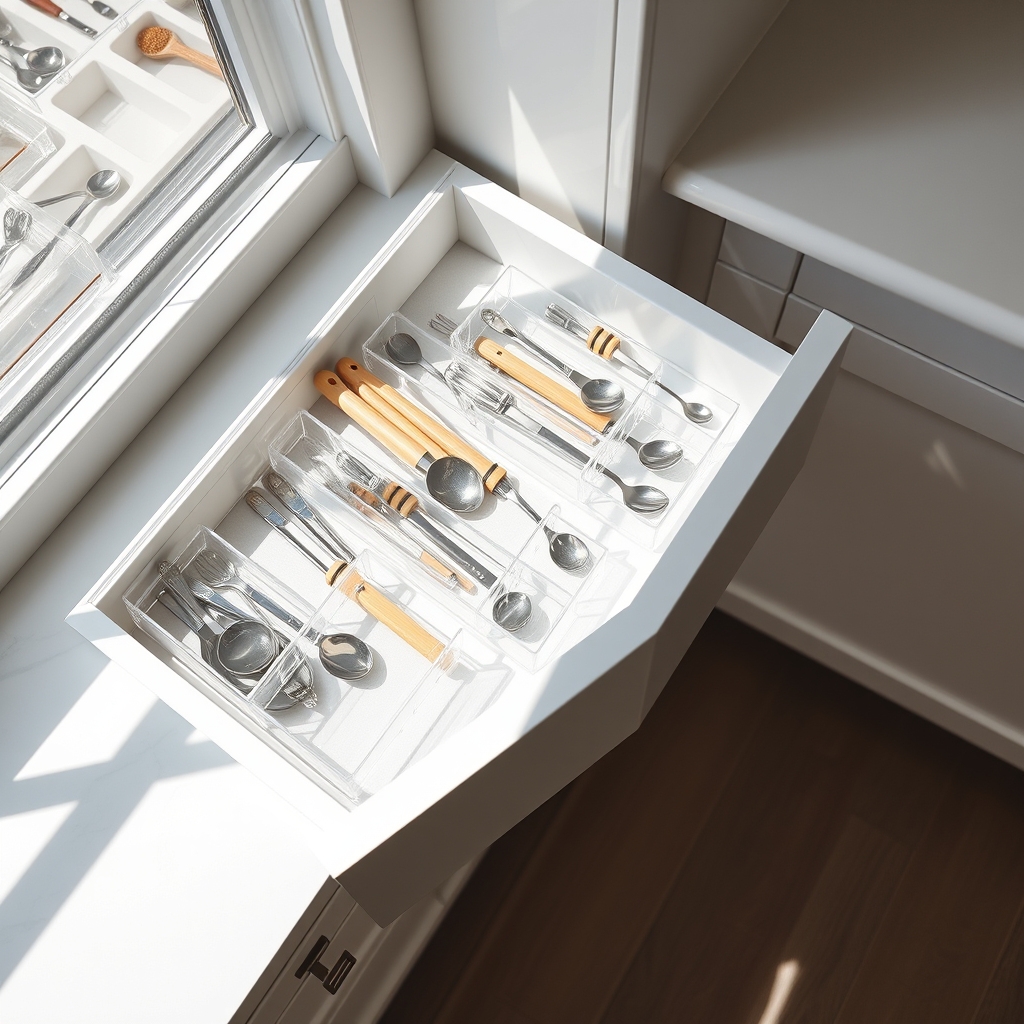
Awkward drawer spaces present unique challenges in home organization, often becoming catch-all spots for miscellaneous items or remaining entirely unused.
These oddly-shaped, hard-to-reach, or irregularly-sized spaces can actually become valuable storage assets when approached with creative solutions and proper planning.
Making the most of these challenging spaces not only maximizes storage capacity but also contributes to a more organized and efficient home environment.
When every drawer space is utilized effectively, it reduces clutter in other areas and ensures that even the most awkward spaces serve a practical purpose.
Required Items:
- Drawer dividers (adjustable)
- Tension rods
- Clear storage containers
- Drawer liner material
- Measuring tape
- Scissors
- Double-sided tape
- Small containers or cups
- Command hooks
- Stackable organizer bins
Begin by thoroughly measuring your awkward drawer spaces, noting any unusual angles or depth variations.
Install drawer liner material to prevent items from sliding and create a stable base.
For drawers with varying depths, use stackable containers of different heights to maximize vertical space while accommodating the drawer’s unique shape.
Position tension rods vertically or horizontally to create custom compartments that work around unusual angles or protrusions.
For narrow or deep drawers, implement a tiered organization system using stepped organizers or stacked containers.
Use clear containers to maintain visibility of items stored in hard-to-reach areas.
In drawers with unusual angles, utilize corner spaces with specialized corner organizers or create custom dividers that conform to the space’s specific dimensions.
Additional Tips:
Consider using command hooks on drawer sides to hang items vertically, maximizing otherwise unused space.
Regularly assess and adjust your organization system as needed, and label containers clearly to maintain organization in hard-to-see areas.
Remember that awkward spaces often work best when dedicated to storing specific categories of items rather than trying to accommodate multiple purposes.

