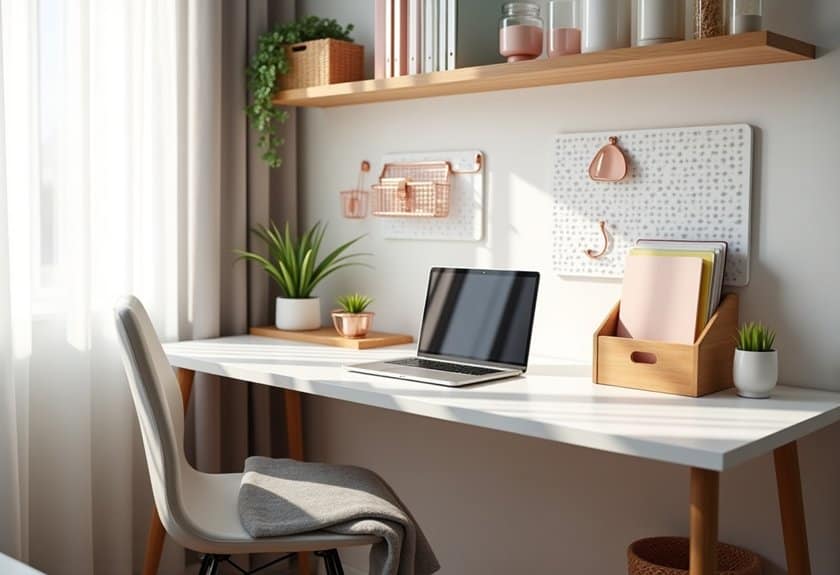
Ever wonder if your bedroom desk setup is secretly sabotaging your productivity? As someone who’s transformed countless chaotic workspaces into streamlined success zones, I can tell you that small tweaks make a huge difference. Your desk isn’t just furniture – it’s command central for your daily goals and dreams. I’ve gathered 10 game-changing organization hacks that’ll help you maximize every square inch of your space, and the best part? You won’t believe how simple these transformations can be.
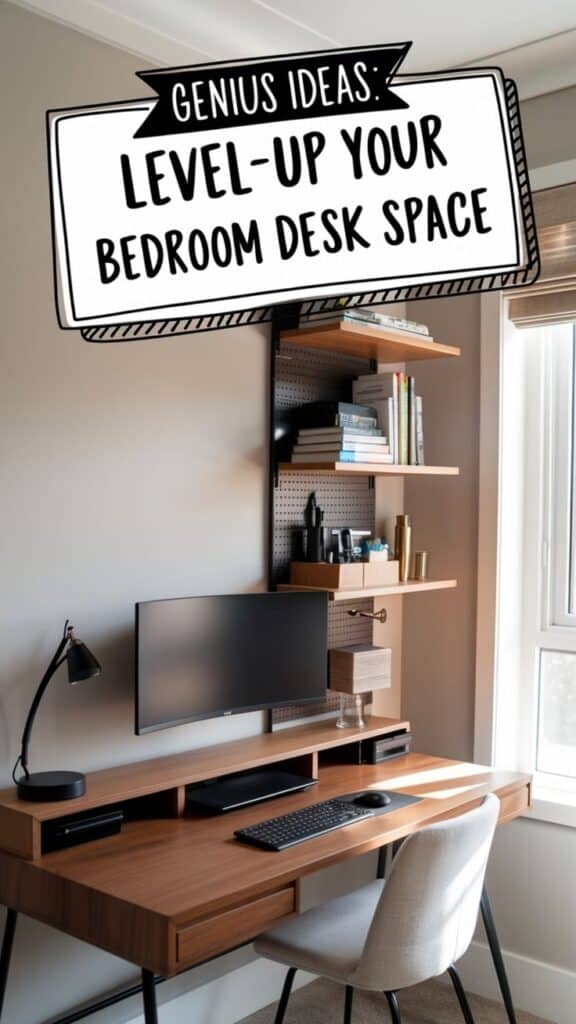
Maximize Vertical Space With Wall-Mounted Organizers
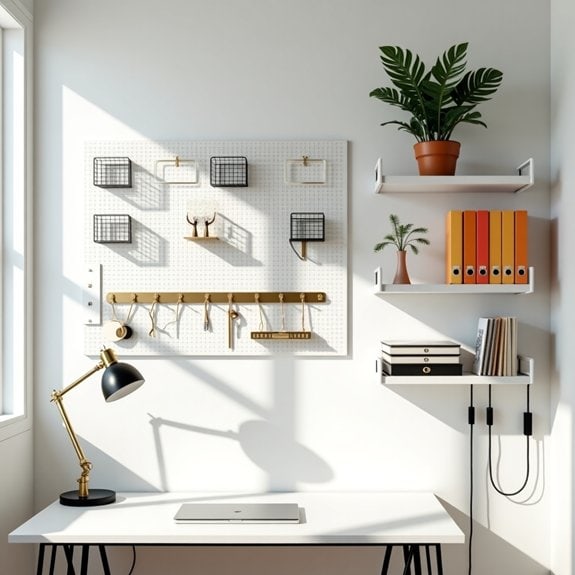
Vertical space represents one of the most underutilized areas in any workspace, yet it offers tremendous potential for organizing and storing essential items while keeping your desk surface clear. By implementing wall-mounted organizers, you can transform empty wall space into functional storage that keeps frequently used items within arm’s reach.
Making use of vertical space through wall-mounted organizers not only creates additional storage but also establishes a more ergonomic workflow. Items stored at eye level are easier to access, and the visual organization can help reduce mental clutter while maintaining a productive environment.
Required Items:
- Wall-mounted file holders
- Pegboard system
- Wire mesh organizers
- Magnetic board or strip
- Wall anchors and screws
- Level
- Drill
- Measuring tape
- Pencil
- Hanging hooks
- Cable management tracks
Start by measuring your wall space and creating a layout plan that considers the items you need to store and their frequency of use. Install wall anchors at marked positions, ensuring they can support the weight of your chosen organizers.
Mount your selected organizing systems at appropriate heights – frequently used items should be between shoulder and eye level, while less-used items can go higher. Position file holders and document organizers at eye level for easy access to current projects and paperwork.
Install a pegboard system with various hooks and containers to hold office supplies, tools, and accessories. Use magnetic strips or boards for metal items and quick-access notes. Incorporate cable management tracks to keep wires tidy and prevent them from cluttering your vertical space.
Additional Tips: Consider using clear organizers to easily identify contents, and leave some wall space empty to prevent visual overwhelm. Label each section clearly and reassess your organization system every few months to ensure it continues to meet your needs.
Remember to account for future growth when planning your layout, and choose modular systems that can be easily reconfigured as your needs change.
Design a Strategic Lighting Plan for Day and Night
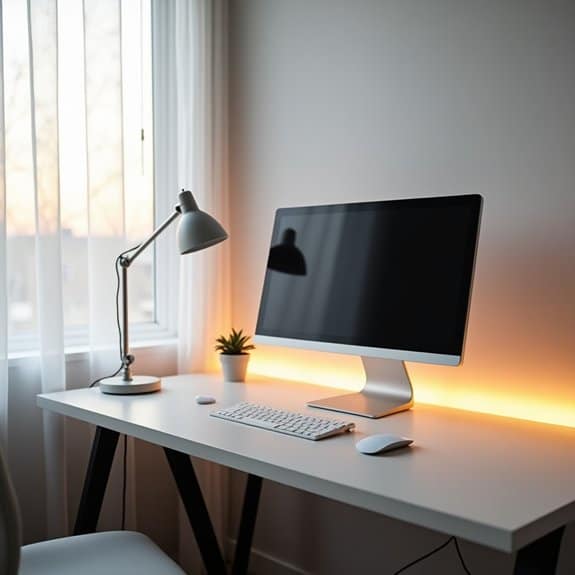
Proper lighting at your desk is crucial for maintaining productivity, reducing eye strain, and creating an environment that adapts to your needs throughout the day. A well-planned lighting strategy helps maintain focus during daylight hours while ensuring comfort during evening work sessions, ultimately contributing to better work quality and overall well-being.
Strategic desk lighting goes beyond a simple desk lamp – it requires careful consideration of natural light sources, task lighting requirements, and ambient lighting needs. The right combination of lighting elements can transform your workspace from a basic functional area into an energizing environment during the day and a cozy, focused space at night.
Required Items:
- Adjustable desk lamp
- LED light strips
- Natural light diffuser (sheer curtains or blinds)
- Light bulbs (various temperatures)
- Cable management solutions
- Dimmer switches
- Smart plugs (optional)
- Light temperature meter (optional)
Position your primary light source (desk lamp) on the opposite side of your writing hand to prevent shadows. Install LED strips behind your monitor for ambient backlighting to reduce eye strain during screen work. Place your desk to maximize natural light, ideally perpendicular to windows to minimize glare. For evening work, ensure your desk lamp provides focused task lighting at approximately 4000K color temperature.
Layer your lighting by combining ambient, task, and accent lighting. Use natural light during the day, supplemented by task lighting as needed. As daylight fades, transition to warmer color temperatures (2700-3000K) for evening work. If using smart plugs, program lighting changes to align with your daily schedule, automatically adjusting brightness and color temperature throughout the day.
Additional Tips: Consider using a light therapy lamp during darker months to maintain energy levels. Regularly clean light fixtures and windows to maintain optimal brightness. Keep spare bulbs handy, and test different light temperatures to find your ideal combination for various tasks.
Remember to take periodic breaks to rest your eyes, regardless of lighting conditions.
Implement the Two-Zone Desktop System
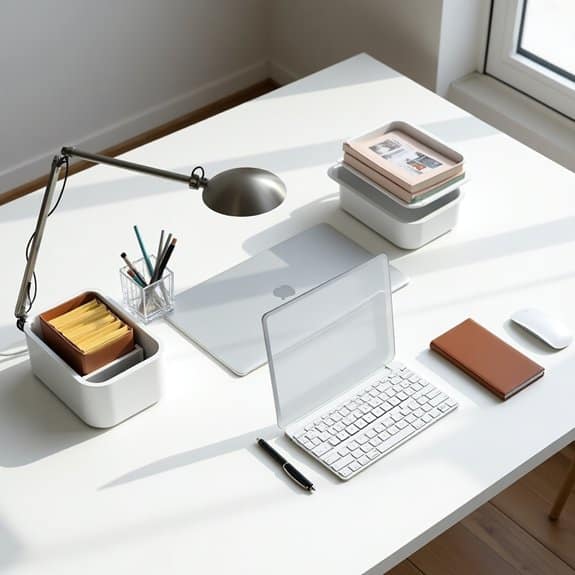
A well-organized desktop is essential for maintaining productivity and mental clarity during work hours. The Two-Zone Desktop System divides your workspace into distinct areas that support both active work and reference materials, eliminating the chaos that often accumulates throughout the workday.
The Two-Zone approach transforms your desk into a functional workspace by creating a clear distinction between your immediate work area and your secondary resources. This systematic organization method helps reduce visual clutter, minimizes distractions, and ensures that frequently used items remain within arm’s reach while keeping less-used materials accessible but out of the way.
Required Items:
- Desk surface of at least 40 inches wide
- Desktop organizer or small shelving unit
- File holders
- Cable management supplies
- Desk lamp
- Storage containers or drawers
- Pen holder
- Sticky notes
- Small tray or dish for frequently used items
The implementation of the Two-Zone Desktop System starts with clearing your entire desk surface and identifying your dominant hand side. Zone One, your primary workspace, should occupy the dominant-hand side of your desk and extend approximately 2 feet from where you sit. This area should contain only items needed for immediate tasks: your computer, current project materials, and essential writing tools.
Zone Two, positioned on the non-dominant side, serves as your reference and resource area. This zone should house items like file holders, reference materials, and secondary tools that you need occasional access to but don’t require constant handling.
Arrange Zone One to maintain a clear workspace directly in front of you, with your computer monitor at arm’s length and frequently used items within easy reach. In Zone Two, organize materials in ascending order of use frequency, with the most commonly accessed items closest to Zone One. Use vertical space in Zone Two by incorporating a desktop organizer or small shelving unit to maximize storage while maintaining accessibility.
For optimal results, conduct a weekly review of both zones to prevent item migration and maintain the system’s effectiveness. Keep a small lidded container in Zone Two for collecting loose items throughout the week, and process these items during your review. Additionally, consider using color-coding or labels in Zone Two to create visual categories that make locating stored items more efficient.
Create Hidden Storage Solutions Under Your Desk
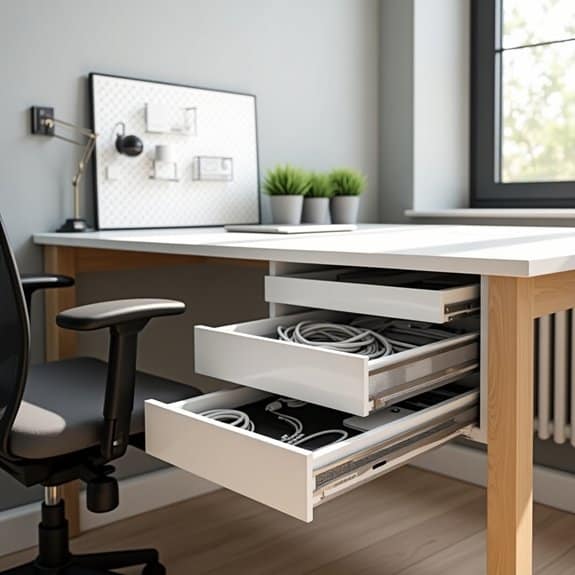
Maximizing the space under your desk is one of the most overlooked opportunities in workspace organization. This often-neglected area offers valuable real estate for storage solutions that can help declutter your desktop while keeping essential items within arm’s reach.
A well-organized under-desk space not only improves the aesthetics of your workspace but also enhances productivity by reducing visual distractions. The key to successful under-desk storage lies in creating systematic solutions that are both accessible and concealed.
By implementing proper organization systems beneath your desk, you can efficiently store supplies, electronics, and personal items while maintaining a clean, professional appearance. This approach helps maintain a minimalist desktop while ensuring all necessary items remain easily accessible.
Required Items:
- Under-desk mounting brackets
- Cable management trays
- Adjustable drawer units
- Pegboard or wire grid panels
- Storage baskets or bins
- Velcro strips or mounting tape
- Measuring tape
- Screwdriver
- Drill (if needed)
- Labels
- Cable ties
Start by measuring the available space under your desk, accounting for leg room and any existing furniture components. Install an under-desk mounting system or brackets that can support storage solutions without compromising stability.
Position drawer units or storage containers on either side of your leg space, ensuring they don’t interfere with chair movement or comfort. Next, implement a cable management system using trays or clips mounted to the underside of the desk.
Group cables by function and secure them using cable ties. Install a pegboard or wire grid panel on the inner side of the desk’s back panel to create vertical storage for frequently used items. For items requiring quick access, attach small baskets or holders using mounting tape or Velcro strips to the underside of the desk.
Create designated zones for different categories of items, such as technology accessories, personal items, and office supplies. Label each storage area clearly to maintain organization long-term.
Additional Tips: Regularly review and adjust your storage system based on usage patterns. Consider using clear containers to easily identify contents, and implement a quarterly cleaning schedule to prevent accumulation of unnecessary items.
Keep frequently used items in the most accessible locations, and maintain adequate ventilation space for any electronic devices stored under the desk. Remember to leave sufficient clearance for chair movement and leg comfort when planning your storage layout.
Choose Multi-Purpose Furniture and Accessories

In today’s compact living and working spaces, selecting multi-purpose furniture and accessories for your desk area has become essential for maximizing functionality while minimizing clutter. Multi-purpose pieces serve multiple functions simultaneously, reducing the number of items needed and creating a more streamlined workspace.
The strategic selection of dual-function furniture and accessories not only saves valuable desk space but also promotes better organization and workflow efficiency. When each item serves multiple purposes, you’ll spend less time switching between tools and more time focusing on your tasks, ultimately leading to increased productivity.
Required Items:
- Monitor stand with storage compartments
- Desk organizer with charging station
- Adjustable desk lamp with phone holder
- File holder with tablet stand
- Drawer dividers with removable sections
- Stackable storage containers
- Cable management system with power strip
- Desktop shelf with built-in USB ports
- Desk pad with hidden storage
- Desk chair with storage pocket
Start by assessing your current desk setup and identifying items that can be consolidated through multi-purpose alternatives. Replace single-function pieces with combination units, such as a monitor stand that includes storage drawers or a desk lamp that doubles as a phone charging station.
Position these items strategically based on frequency of use, keeping the most-used functions within arm’s reach.
Next, implement vertical storage solutions that serve multiple purposes, such as a desktop shelf system with built-in USB ports and cable management. Utilize drawer space efficiently by installing adjustable dividers that can be reconfigured as needs change.
Ensure that each multi-purpose item chosen aligns with your specific workflow requirements and complements your existing organization system.
Additional Tips:
Before purchasing multi-purpose furniture and accessories, measure your desk space carefully and create a detailed list of your most-used items and their functions. Choose pieces that are durable and well-designed to ensure longevity and continued functionality.
Regular assessment of your multi-purpose setup will help identify which combinations work best for your needs, allowing you to adjust and optimize your workspace organization over time.
Master Cable Management for a Clutter-Free Setup
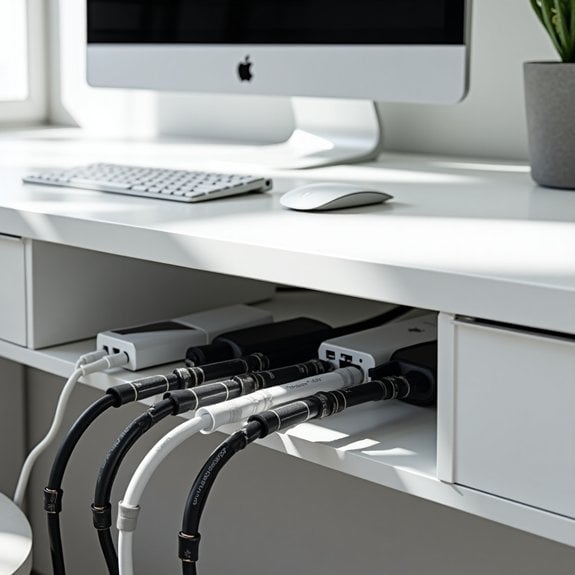
A tangled mess of cables can transform an otherwise organized desk into a chaotic and inefficient workspace. Cable clutter not only creates visual distraction but also makes it difficult to identify, access, and maintain your electronic devices. Poor cable management can lead to damaged cords, safety hazards, and unnecessary stress when trying to troubleshoot connection issues.
Proper cable management is essential for maintaining a professional and productive workspace. By implementing an effective cable organization system, you can create a cleaner aesthetic, protect your electronic equipment, and streamline your daily workflow. A well-organized cable setup also makes it easier to add or remove devices and keeps your workspace adaptable to changing needs.
Required Tools and Materials:
- Cable ties or velcro straps
- Cable clips or adhesive cable holders
- Cable sleeve or wire loom
- Label maker or cable tags
- Power strip or surge protector
- Cable management tray or rack
- Desk grommets
- Double-sided tape
- Wire cutters
- Cable extension cords (if needed)
Start by unplugging all devices and laying out cables to identify their purposes and optimal routing paths. Group cables by function (power, data, peripherals) and measure the lengths needed to reach their destinations with minimal excess.
Install a cable management tray under your desk to house power strips and excess cable length. Use desk grommets to guide cables through the desktop surface cleanly.
Thread related cables through cable sleeves or wire looms to create unified bundles. Secure these bundles using cable ties or velcro straps at regular intervals, ensuring they’re not too tight to damage the cables.
Mount adhesive cable clips along the desk’s edges or underside to create a designated path for your cable bundles, keeping them elevated and organized.
Label each cable at both ends using a label maker or cable tags to easily identify connections during future modifications or troubleshooting. Position power strips and surge protectors in easily accessible locations while keeping them hidden from view.
Adjust cable lengths and secure any remaining slack in the cable management tray.
Additional Tips: Consider investing in wireless peripherals to reduce cable quantity. Leave some slack in cable bundles to prevent strain and allow for future adjustments.
Regularly inspect cable conditions and organization system integrity, making adjustments as needed. Keep spare cable management supplies on hand for quick fixes or additions to your setup. Position frequently accessed cables, such as charging cords, in easily reachable locations while maintaining overall organization.
Establish a Daily Reset Station
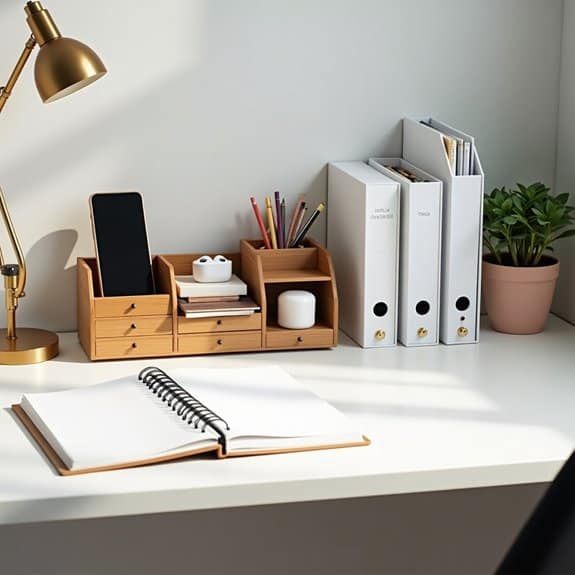
A daily reset station is the cornerstone of maintaining an organized desk space and productive workflow. This designated area serves as a launching pad for your day and a landing zone when work ends, ensuring you start each morning with clarity and purpose rather than chaos.
Creating this station eliminates the daily scramble for essential items and reduces decision fatigue by establishing a reliable system for managing daily tools and resources. When properly implemented, a reset station transforms your desk from a mere work surface into a strategic command center for peak productivity.
Required Items:
- Desktop organizer or divided tray
- Small container for writing implements
- Charging station or dock
- File holder or paper tray
- Small drawer organizer
- Labels or label maker
- Cable management solutions
- Task pad or planner
- Basic office supplies
Position your reset station in an easily accessible corner of your desk, ideally within arm’s reach of your primary workspace. Start by installing a charging dock for electronic devices, ensuring all necessary cables are neatly secured and labeled.
Arrange your desktop organizer with designated sections for immediate-use items like pens, sticky notes, and frequently accessed documents. Create a clear division between storage for incoming tasks and completed work using vertical file holders.
The station should include a dedicated spot for your planner or task list, positioned prominently to encourage daily review and updates. Implement a small drawer system for items needed occasionally but not daily, organizing contents by frequency of use.
Ensure all containers and spaces are clearly labeled to maintain the system long-term.
Additional Tip: Develop a five-minute end-of-day reset routine where you return all items to their designated spots, charge devices, and prepare priority items for the next day. This habit ensures your reset station remains functional and prevents the gradual slide into disorganization that often occurs with organizational systems.
Incorporate Space-Saving Filing Methods
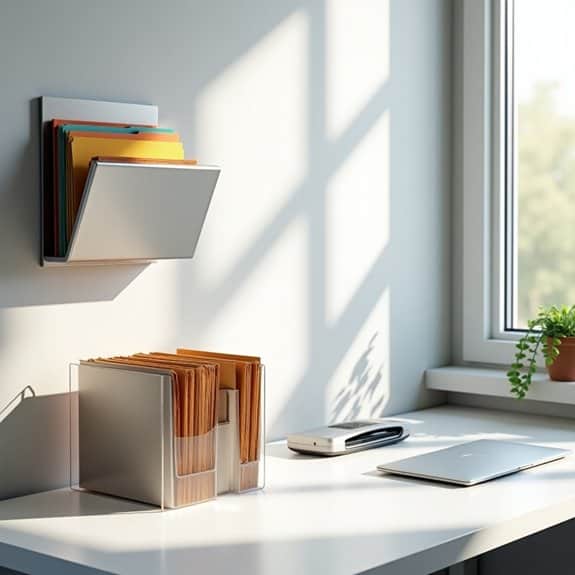
Efficient filing systems are the backbone of a well-organized desk space, yet traditional filing methods often consume valuable real estate in your work area. By implementing space-saving filing solutions, you can maintain easy access to important documents while maximizing your available desk space for other essential tasks.
Modern filing methods have evolved beyond the bulky filing cabinets of yesteryear, offering innovative solutions that combine accessibility with space efficiency. These systems not only help maintain order but also contribute to a cleaner, more streamlined workspace that can boost productivity and reduce stress levels associated with document clutter.
Required Items:
- Vertical file organizers
- Wall-mounted file holders
- Desktop file sorters
- File folders or hanging files
- Label maker or labels
- Document scanner
- Cloud storage account
- File boxes
- Binder clips
- Tab dividers
Start by sorting documents into three categories: frequently accessed, occasionally needed, and archive materials. Install vertical file organizers on walls or cubicle partitions for documents requiring regular access, keeping them visible yet off your desk.
Convert bulky paper files to digital formats using a scanner, establishing a systematic folder structure in your cloud storage for easy retrieval. For remaining physical documents, utilize stackable file boxes with clear labels, storing them under your desk or in nearby storage areas.
For daily working files, implement a desktop sorting system using minimal space with an inclined file sorter. Create a coding system using colors or numbers to quickly identify different categories of documents.
Maintain this system by immediately filing new documents and regularly purging unnecessary papers.
Additional tip: Review your filing system quarterly, digitizing or discarding outdated documents to prevent accumulation. Consider implementing a “one-touch” rule – handle each document only once by immediately deciding whether to file, scan, or discard it, rather than creating temporary piles that consume desk space.
Set Up a Mobile Work Cart System
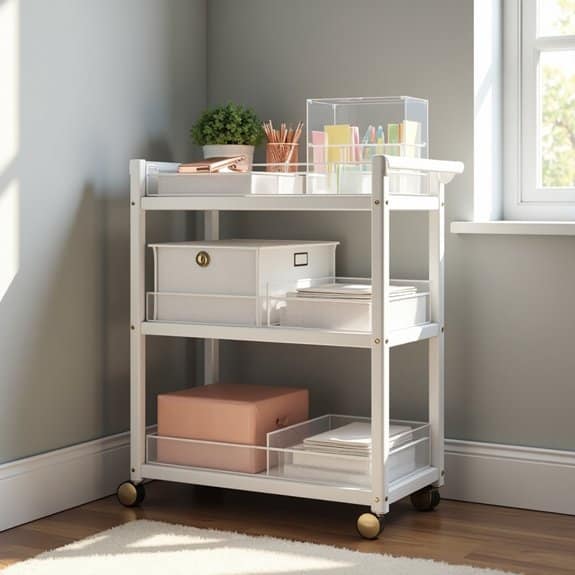
A mobile work cart system represents a revolutionary approach to modern workspace organization, offering flexibility and efficiency that traditional desk setups can’t match. This dynamic solution allows you to move your workspace wherever needed, making it ideal for those who work in different areas throughout the day or need to adapt their workspace frequently.
The mobility factor of a work cart system not only maximizes space utilization but also helps maintain organization by keeping frequently used items within reach while allowing less-used items to be stored away. This system particularly benefits those who work on multiple projects simultaneously or need to share workspace resources with others.
Required Items:
- Rolling cart with multiple tiers
- Storage containers or bins
- Label maker
- Drawer organizers
- File folders
- Cable ties or organizers
- Small hooks
- Clear storage boxes
- Desk supplies containers
- Project folders
To establish an effective mobile work cart system, start by categorizing your work items into frequently used, occasionally used, and rarely used items. Assign the top tier of your cart to daily essentials like writing tools, notebooks, and current project materials.
The middle tier should house items needed weekly, such as additional supplies and ongoing project files. Reserve the bottom tier for reference materials and less-frequently accessed resources. Install small hooks on the sides of the cart for hanging frequently used items or temporal storage needs.
Create designated zones within each tier using clear storage containers and drawer organizers. Label everything clearly to maintain organization and ensure items return to their proper places. Implement a color-coding system for different projects or work categories to enhance visual organization.
Consider using vertical space by adding stackable organizers that can be easily removed and replaced. To maximize the effectiveness of your mobile work cart system, establish a weekly maintenance routine to prevent clutter accumulation.
Regularly evaluate the items on your cart, removing anything that hasn’t been used in the past month. Keep a small notepad on the cart to jot down supply needs and maintain an inventory of frequently used items to ensure you never run out of essential materials.
Optimize Corner Space With L-Shaped Arrangements
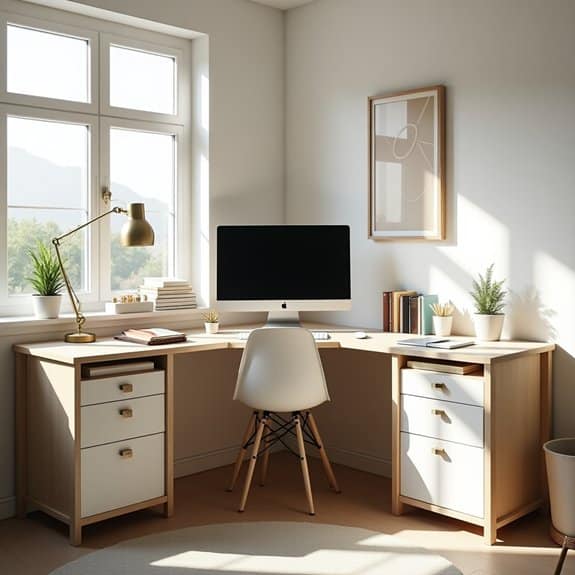
Making the most of corner space with L-shaped desk arrangements is a game-changer for productivity and workspace efficiency. The L-shaped configuration naturally creates distinct zones for different tasks while maximizing previously underutilized corner areas, turning dead space into a functional work environment.
By properly organizing an L-shaped desk arrangement, you can establish dedicated areas for computer work, writing, and creative tasks. This setup also provides additional surface area for essential items while maintaining a clean, uncluttered workspace that promotes focus and reduces stress.
Required Items:
- L-shaped desk
- Monitor stand or riser
- Desktop organizer
- Cable management solutions
- Storage containers
- Under-desk drawers
- Desk lamp
- Filing system
- Keyboard tray (optional)
- Monitor arm mount (optional)
Position your primary work zone (typically the computer setup) on the longer portion of the L-shaped desk, ensuring your monitor is at eye level and approximately arm’s length away. Place your keyboard and mouse in front for ergonomic comfort.
Utilize the shorter section of the L for secondary tasks, reference materials, or creative work. Install under-desk drawers or filing systems beneath this secondary workspace to maximize storage without sacrificing surface area.
Create designated zones by using desktop organizers and storage containers to separate different types of supplies and materials. Route cables along the desk’s edge or corner using cable management solutions to prevent tangling and maintain a clean appearance.
Position your desk lamp on the corner junction of the L-shape to provide even lighting across both work surfaces.
To further enhance your L-shaped desk organization, consider implementing a color-coding system for different project materials, using vertical space with monitor risers or shelving units, and maintaining clear zones for temporary items versus permanent fixtures.
Regular assessment and adjustment of your arrangement ensure the space continues to serve your evolving needs effectively.

