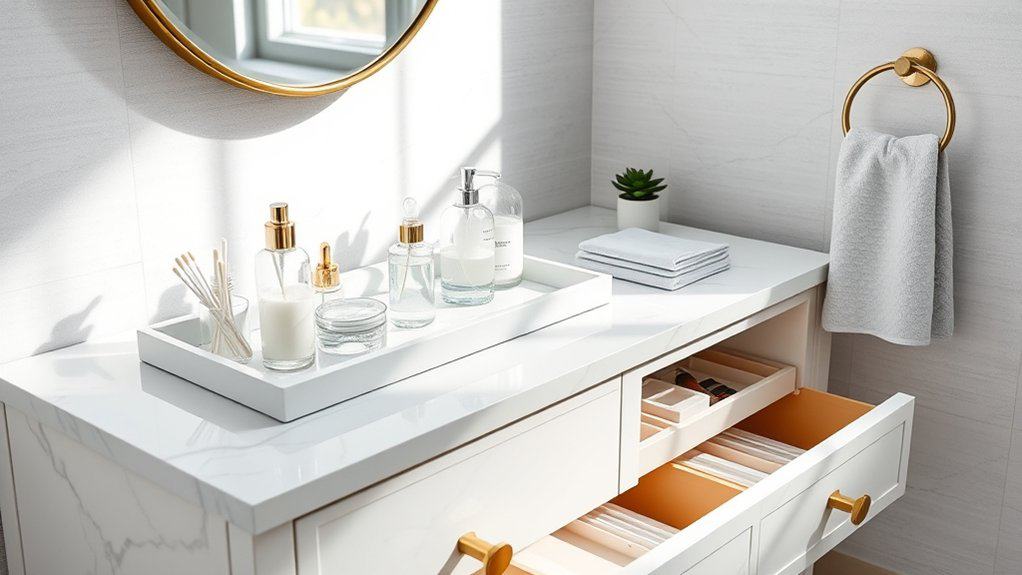
Is your bathroom vanity causing you daily frustration? You’re not alone! Like many homeowners, I’ve struggled with cluttered countertops and disorganized drawers until discovering these game-changing solutions. From magnetic makeup boards that free up precious counter space to clever door-mounted organizers that maximize every inch, you’ll find practical ways to transform your chaotic vanity into an efficient, stylish oasis. Let’s explore these creative organizing tricks that’ll make your morning routine so much smoother.
Maximize Vertical Space With Magnetic Storage Solutions
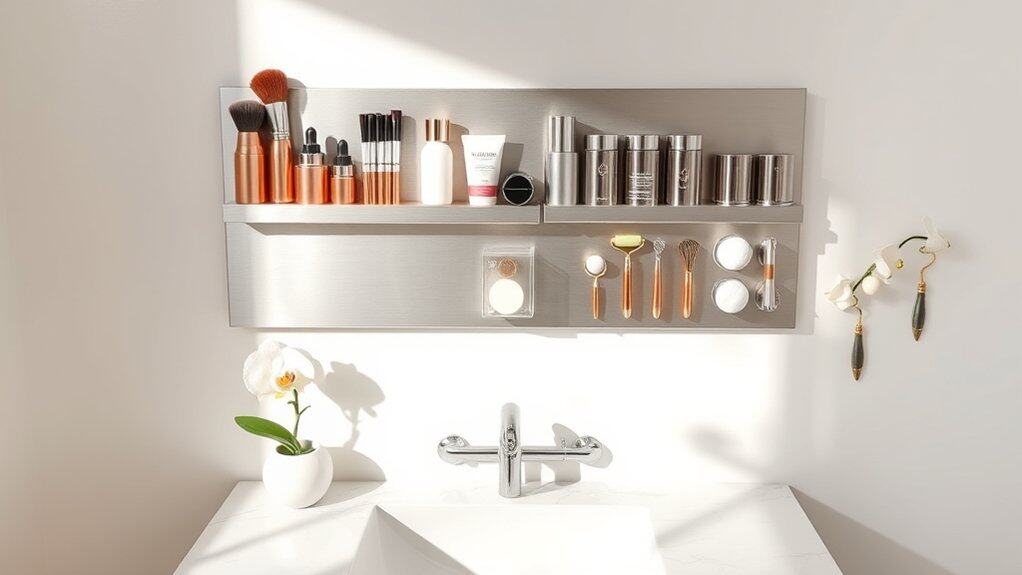
Making the most of vertical space in your vanity area is crucial for maintaining an organized and clutter-free environment. Magnetic storage solutions offer an innovative way to utilize otherwise unused wall space, creating additional storage without taking up precious counter real estate.
Magnetic organizers transform your vanity area into an efficient beauty station where everything is visible and easily accessible. This organization method is particularly beneficial for smaller bathrooms or vanities where space is at a premium, and it keeps frequently used items within arm’s reach while protecting them from water damage and counter clutter.
Required Items:
- Magnetic boards or strips
- Magnetic containers of various sizes
- Strong adhesive mounting tape
- Metal-rimmed containers
- Small magnets
- Measuring tape
- Level
- Pencil
- Scissors
- Clean microfiber cloth
Install the magnetic board or strips at eye level, ensuring they’re properly secured to the wall using strong adhesive tape or appropriate mounting hardware. Group similar items together and assign them to specific magnetic containers based on frequency of use and size.
Arrange the containers on the board in a logical order, keeping daily-use items at the most convenient height. For items without magnetic properties, attach small magnets to their containers using strong adhesive.
Consider creating zones on your magnetic board: one for makeup, another for skincare products, and a third for tools and accessories. Test the magnetic hold of each container before fully committing to its position, and ensure heavier items are supported by stronger magnets or multiple magnetic points.
Additional Tips: Rotate your products seasonally and regularly clean both the magnetic board and containers to prevent product buildup. Label each container clearly to maintain organization, and periodically assess the arrangement to ensure it continues to meet your needs.
For items that are too heavy for magnetic storage, consider combining this system with traditional vanity organization methods for a comprehensive solution.
Install Clear Acrylic Drawer Organizers
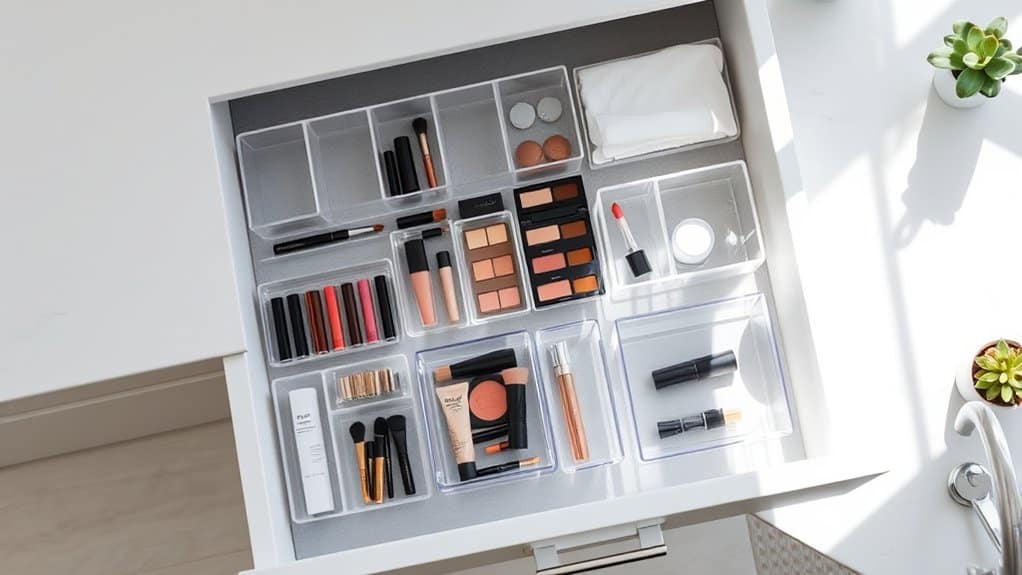
A well-organized vanity drawer system is essential for maintaining an efficient morning routine and keeping cosmetics and personal care items easily accessible. Clear acrylic organizers not only create designated spaces for different items but also allow you to see everything at a glance, eliminating the frustration of digging through cluttered drawers.
Installing clear acrylic drawer organizers transforms chaotic storage into a streamlined system that protects your beauty products and extends their lifespan. These transparent containers prevent items from rolling around, maintain organization even with daily use, and make it simple to keep track of product inventory.
Required Items:
- Clear acrylic drawer organizers (various sizes)
- Measuring tape
- Drawer liner (non-slip)
- Cleaning supplies
- Paper towels
- Labels (optional)
- Drawer dividers (optional)
Begin by removing everything from the drawer and thoroughly cleaning the surface. Measure the drawer’s dimensions, including depth, to ensure proper fit of the organizers. Cut non-slip liner to fit the drawer bottom, which prevents organizers from sliding.
Sort cosmetics and personal care items into categories such as lip products, eye makeup, brushes, and skincare. Select appropriately sized acrylic organizers for each category and arrange them in the drawer, starting with frequently used items toward the front. Create a layout that maximizes space while maintaining easy access to all items.
Consider using stackable organizers for additional vertical storage in deeper drawers. To maintain the organization system long-term, regularly clean the acrylic organizers with gentle soap and water, checking for expired products monthly.
Consider using small labels to mark designated spaces for specific items, and always return products to their assigned spots after use. Leave about 10% of the drawer space empty to accommodate new purchases without disrupting the existing organization.
Create Zones With Pretty Storage Containers
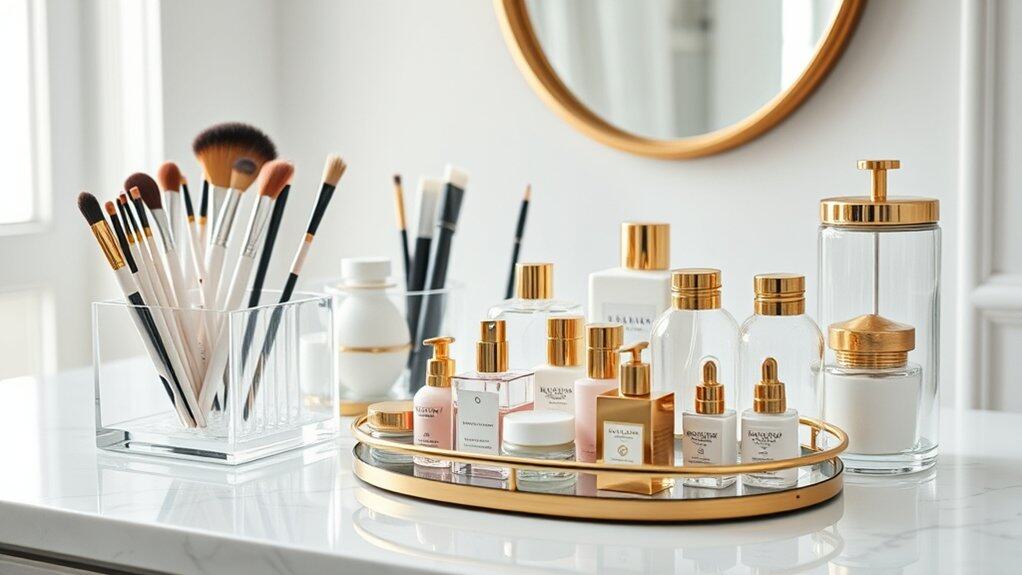
A well-organized vanity with designated zones not only transforms your daily beauty routine into a more efficient process but also creates an aesthetically pleasing space that inspires calm and order.
When everything has its place in attractive containers, you’re more likely to maintain the organization system and enjoy using your vanity area.
Creating distinct zones with beautiful storage containers allows you to group similar items together while adding style to your space. This method combines form and function, making it easier to find what you need while maintaining a cohesive, decorative look that enhances your bathroom or bedroom decor.
Required Items:
- Clear acrylic containers
- Glass jars with lids
- Decorative trays
- Small drawer organizers
- Makeup brush holders
- Cotton ball/Q-tip containers
- Labels or label maker
- Dividers
- Stackable storage boxes
- Vanity mirror with storage
Start by emptying your vanity completely and sorting items into categories: daily essentials, occasional use products, and seasonal items.
Create designated zones based on frequency of use and product type, such as skincare, makeup, hair accessories, and tools. Select storage containers that complement your decor while providing appropriate space for each category.
Position the containers strategically, placing frequently used items at the front and occasional items toward the back. Use stackable containers to maximize vertical space, and implement clear containers for items you need to locate quickly.
Arrange products within each zone based on your morning routine sequence, keeping the most-used items within easy reach.
For optimal results, choose containers with similar design elements or color schemes to maintain visual harmony.
Label each container clearly, and consider using drawer liners or decorative paper at the bottom of trays to protect surfaces and add an extra touch of style.
Review and adjust your zones periodically to ensure they continue to serve your needs effectively as your routine and product collection evolve.
Transform Your Cabinet Doors With Hanging Organizers
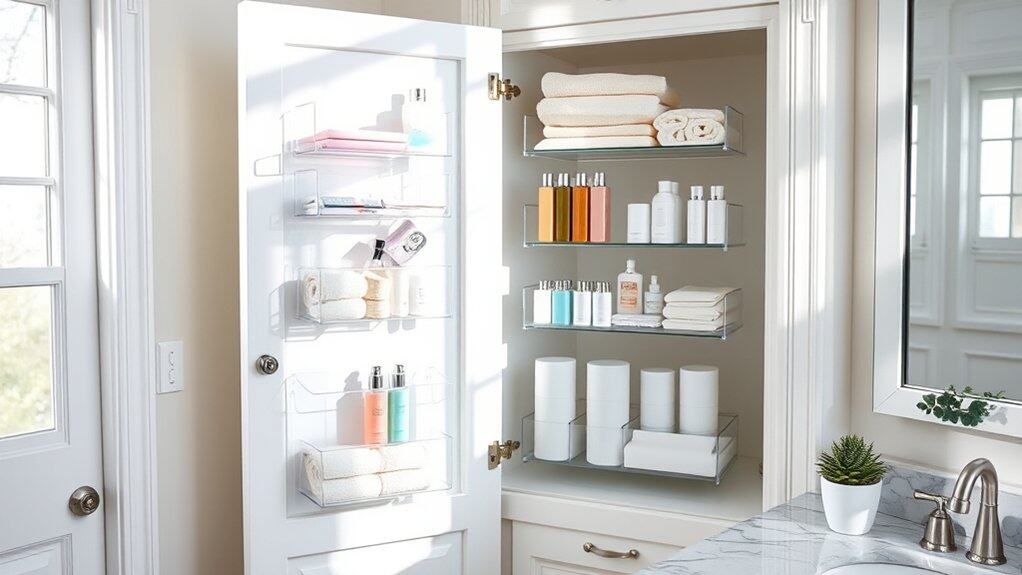
Cabinet doors often represent overlooked storage potential in bathrooms and vanity areas. These vertical spaces can be transformed into efficient organizing zones, maximizing storage capacity while keeping frequently used items within easy reach. By utilizing the inner surface of cabinet doors, you can effectively double your storage space without taking up valuable shelf or counter real estate.
Installing hanging organizers on cabinet doors creates designated spaces for various personal care items, reducing clutter and making your morning routine more streamlined. This organization method works particularly well for items like hair tools, skincare products, makeup, and other daily essentials that can quickly overtake counter space.
Required Items:
- Over-the-door hanging organizers
- Command hooks or adhesive strips
- Measuring tape
- Pencil
- Level
- Scissors
- Clear bins or baskets (optional)
- Door-mounted rack systems
- Screwdriver (if mounting hardware required)
Start by measuring the interior of your cabinet doors to determine the appropriate size for your hanging organizers. Remove all items from the cabinet and clean both the door surface and the organizers thoroughly.
Position the organizers on the door, ensuring they don’t interfere with shelves or items inside the cabinet when closed. Mark mounting points with a pencil and use a level to ensure straight installation.
For adhesive mounting, apply Command strips or hooks according to package instructions, typically requiring 24 hours to achieve maximum hold strength. If using screw-mounted organizers, carefully drill pilot holes and secure the hardware, making sure screws aren’t too long to penetrate the door’s exterior.
Organize items by category, placing frequently used products at eye level and heavier items toward the bottom of the organizer.
Additional tip: Consider using clear organizers or labeling each pocket to maintain organization long-term. Test the door’s swing several times to ensure nothing catches or prevents proper closure.
Regularly assess the weight distribution in your organizers and adjust as needed to prevent strain on the door hinges. For optimal durability, avoid overloading pockets and periodically check mounting hardware or adhesive strength.
Utilize Under-Sink Space With Pull-Out Shelves
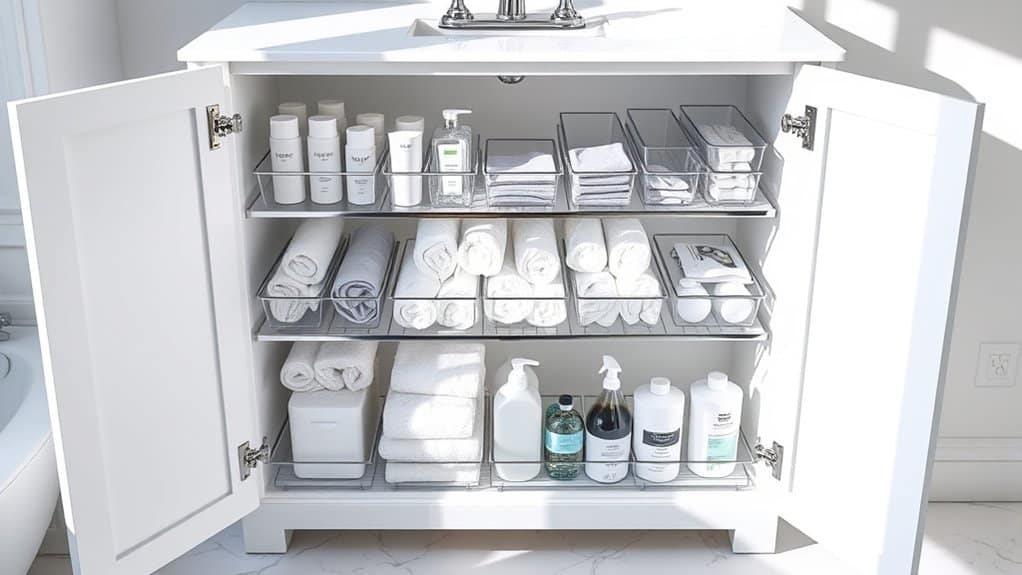
Making the most of under-sink storage space is crucial in any bathroom, as this often-overlooked area can house numerous essential items. When properly organized, this space can transform from a cluttered catch-all into an efficient storage solution that makes daily routines smoother and more enjoyable.
Pull-out shelves represent one of the most effective ways to maximize under-sink space, eliminating the need to crawl on hands and knees to reach items tucked in the back. These sliding organizers bring everything into view and within easy reach, while also protecting the cabinet bottom from potential water damage and spills.
Required Items:
- Pull-out drawer systems (sized to fit cabinet)
- Measuring tape
- Screwdriver
- Pencil
- Level
- Mounting hardware
- Drawer liner (non-slip)
- Clear storage containers
- Labels
- Cleaning supplies for initial cabinet prep
Start by emptying the entire cabinet and measuring the interior dimensions carefully, accounting for any pipes or fixed obstacles. Install the pull-out drawer system according to manufacturer instructions, ensuring the tracks are level and properly secured. Most systems come with pre-drilled holes and mounting brackets for easy installation.
Once the sliding mechanism is secure, organize items by category on each shelf. Place frequently used items on the top drawer for easy access, while storing backup supplies and less-used items on lower shelves. Use clear containers to group similar items together, such as hair products, cleaning supplies, or first aid materials.
Consider installing different height drawers to accommodate various item sizes, and use drawer dividers or small bins within the pull-out shelves to prevent items from sliding around. Always maintain a small gap around plumbing fixtures to ensure easy access for maintenance, and regularly inspect the area for any signs of water damage or leaks that could affect the organizational system.
Add Style With Decorative Trays and Baskets
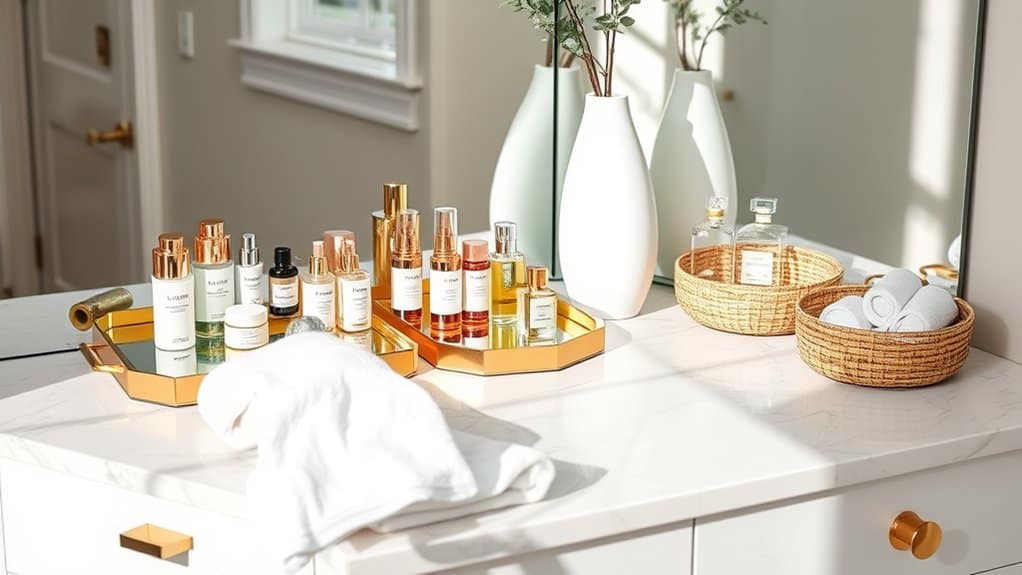
Decorative trays and baskets transform a cluttered vanity into an elegant, organized space while adding a layer of sophistication to your daily routine.
These functional pieces serve as both beautiful decor elements and practical storage solutions, creating designated zones for different categories of items.
Strategic placement of trays and baskets not only helps maintain order but also protects your vanity surface from spills and product residue.
This organizational approach makes it easier to find items quickly, clean surfaces efficiently, and create an Instagram-worthy display of your favorite beauty products and accessories.
Required Items:
- Decorative vanity trays (various sizes)
- Woven or metallic baskets
- Drawer organizers or small containers
- Clear makeup holders
- Cleaning cloths
- Labels (optional)
- Drawer liners
- Storage risers
To begin organizing with trays and baskets, sort all vanity items into categories such as daily essentials, makeup, skincare, and hair accessories.
Select appropriately sized trays for each category, placing frequently used items in easily accessible locations.
Position larger trays toward the back of the vanity and smaller ones in front for a layered effect that maintains visibility of all items.
Create vertical storage by incorporating baskets with height, perfect for storing taller bottles or styling tools.
Use smaller decorative dishes for jewelry or frequently used items like hair ties and bobby pins.
Consider placing a larger catchall tray on one side of the vanity for daily essentials, keeping the workspace clear and functional.
Additional Tips: Rotate items seasonally to prevent overcrowding and maintain the aesthetic appeal of your display.
Clean trays and baskets weekly to prevent product buildup, and use clear containers within larger baskets for better visibility.
Consider coordinating your organizational pieces with your room’s color scheme or choosing metallic finishes that complement existing hardware for a cohesive look.
Implement a Color-Coded Storage System
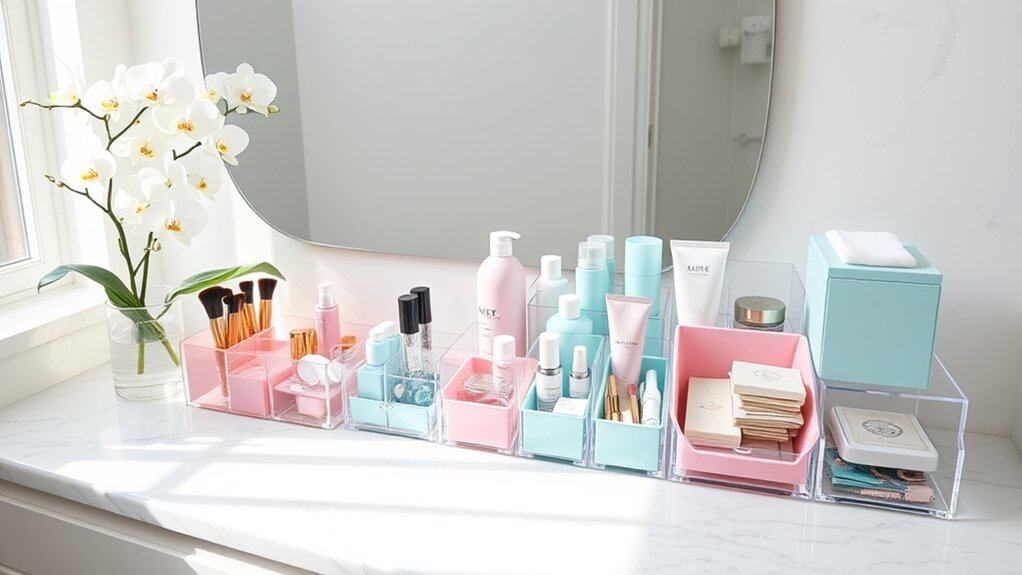
A color-coded storage system transforms a chaotic vanity into an intuitive, efficient space where every item has its designated place. This organizational method not only creates visual harmony but also significantly reduces the time spent searching for specific items during daily beauty and grooming routines.
By associating different categories of items with specific colors, your brain naturally creates quick visual connections, making it easier to maintain organization long-term. This system works particularly well for cosmetics, skincare products, hair accessories, and other vanity essentials, as it provides both functional and aesthetic benefits.
Required Items:
- Colored storage containers or bins
- Label maker or labels
- Color-coordinated drawer dividers
- Clear acrylic organizers
- Small colored pouches
- Colored washi tape
- Storage baskets
- Drawer liners
- Color-coded labels
- Container measurement tape
Start by categorizing all vanity items into main groups such as makeup, skincare, hair products, and tools. Assign a specific color to each category – for example, pink for makeup, blue for skincare, green for hair products, and purple for tools. Purchase storage solutions in these designated colors or use colored washi tape and labels to mark clear containers.
Next, arrange items within their color-coded zones, placing frequently used products in easily accessible areas. Use drawer dividers and small containers in corresponding colors to further separate items within each category. For example, within the pink makeup section, separate lipsticks, eye products, and face products into their own compartments.
To ensure long-term success with your color-coded system, regularly audit your vanity items and maintain strict adherence to the color assignments. Consider creating a small reference chart showing which colors correspond to which categories, and keep it inside a drawer for quick reference.
Additionally, when purchasing new storage solutions or organizing tools, stick to your established color scheme to maintain consistency and visual harmony.
Incorporate Space-Saving Corner Shelves
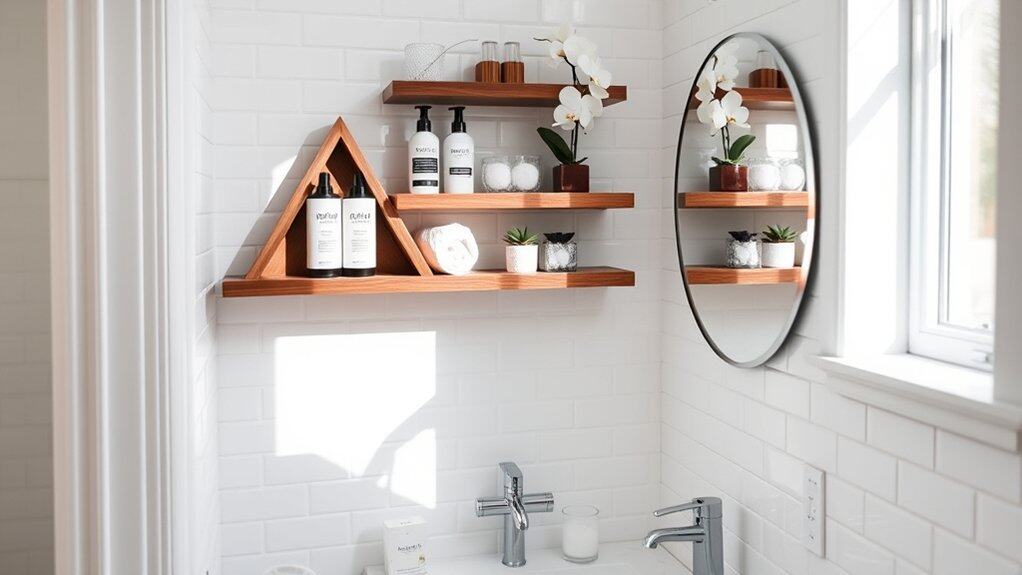
Maximizing corner space in your vanity area is a clever way to expand storage capacity without compromising the room’s functionality. Corner shelves take advantage of often-overlooked spaces, turning awkward angles into valuable storage real estate that can hold everything from beauty products to decorative items.
Corner shelving in your vanity area not only provides practical storage solutions but also creates an aesthetically pleasing display opportunity. These shelves can help maintain a clutter-free countertop while keeping frequently used items within easy reach, ultimately streamlining your daily routine and enhancing the overall organization of your space.
Required Items:
- Corner shelf units (floating or mounted)
- Level
- Measuring tape
- Pencil
- Wall anchors
- Screwdriver
- Drill
- Stud finder
- Corner shelf brackets (if needed)
- Cleaning supplies
Installing and organizing corner shelves requires careful planning and execution. Start by measuring your corner space and determining the ideal height for each shelf level. Use a stud finder to locate wall supports, and mark your installation points with a pencil.
Install wall anchors where needed, then mount the brackets or floating shelf hardware according to the manufacturer’s instructions. Once secured, clean the shelves thoroughly before organizing items.
Arrange your items strategically, placing frequently used products on easily accessible middle shelves. Group similar items together, such as hair products, skincare items, or makeup. Consider using small containers or organizers within the shelves to further compartmentalize items and maintain order.
Ensure heavier items are placed on lower shelves for stability, while lighter, decorative pieces can go on top shelves.
To maintain your corner shelf organization, regularly assess and rotate items based on seasonal use or frequency of access. Use clear containers to easily identify contents, and implement a “one-in-one-out” rule when adding new products.
Consider adding small LED strip lights under each shelf to improve visibility and create ambiance. Periodically check the shelf mounting to ensure everything remains secure and stable over time.

