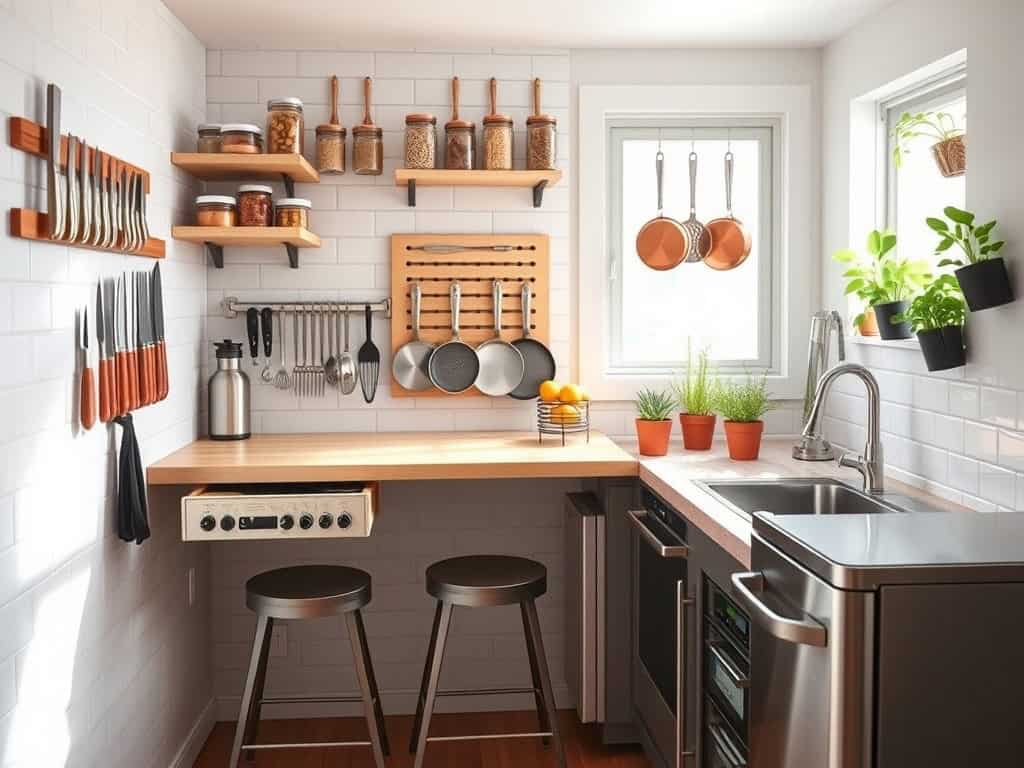
Whether you’re cooking, cleaning, or just trying to find that one spatula you swear was right here yesterday, organizing a small kitchen can feel like solving a puzzle. I’ve been there – staring at my cramped countertops and wondering how to fit everything without creating chaos. But here’s the good news: with some creative thinking and smart storage solutions, you can transform your tiny kitchen into an efficient cooking haven. Let me share nine genius hacks that’ll revolutionize your kitchen space.
Maximize Vertical Space With Magnetic Storage Solutions
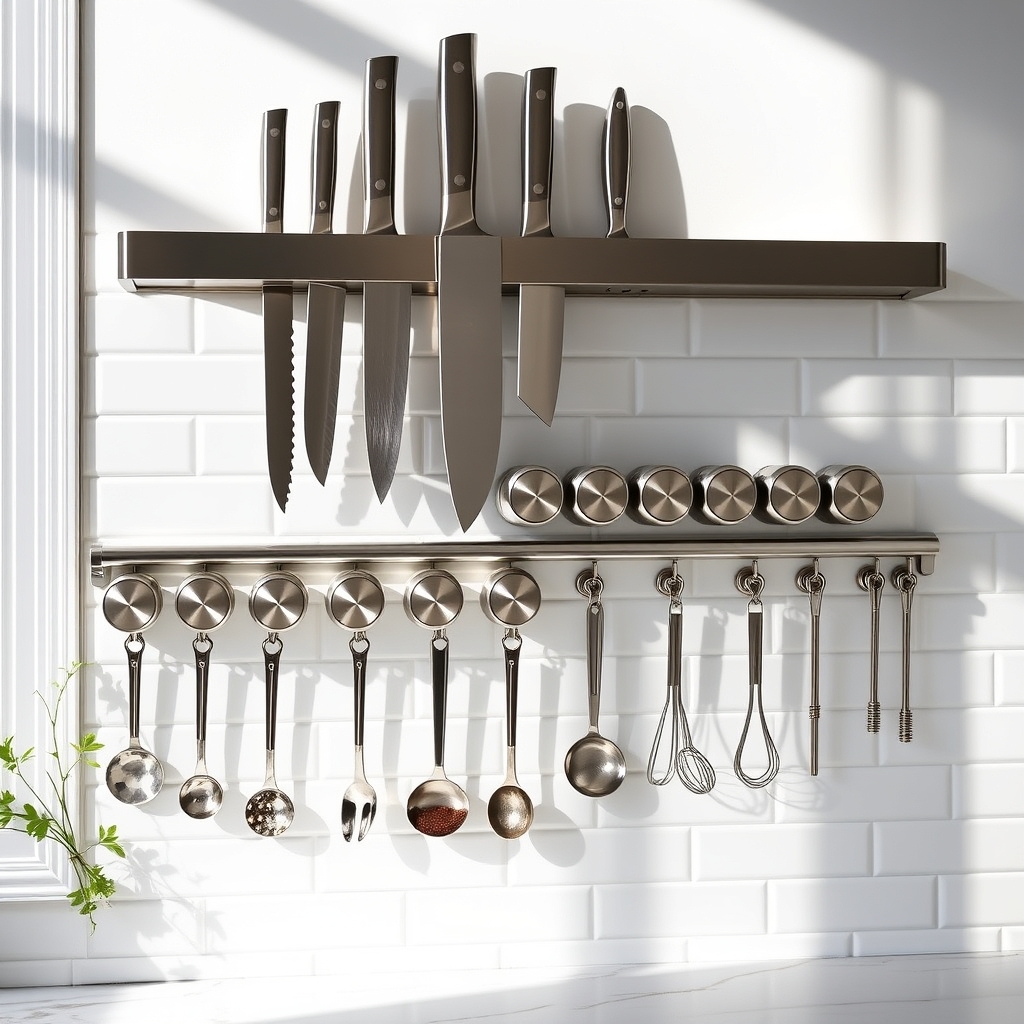
Making the most of vertical space in a small kitchen is crucial for maintaining an organized and functional cooking environment. Magnetic storage solutions offer an innovative way to utilize otherwise wasted wall space, turning blank surfaces into valuable storage areas.
By implementing magnetic storage systems, you can keep frequently used items within arm’s reach while freeing up precious counter and cabinet space. This organization method is particularly effective for small kitchens where every inch counts, and it allows for easy customization based on your specific needs and cooking habits.
Required Items:
- Magnetic knife strip
- Magnetic spice containers
- Strong adhesive magnetic strips
- Magnetic hooks
- Metal mounting plates
- Screwdriver and screws
- Level
- Measuring tape
- Pencil
- Wall anchors (if needed)
Start by identifying suitable magnetic-friendly surfaces in your kitchen, such as the sides of your refrigerator or blank wall spaces. Install a magnetic knife strip at eye level, ensuring it’s properly secured with included hardware.
Mount magnetic spice containers in a grid pattern above your prep area, keeping frequently used seasonings easily accessible. Apply adhesive magnetic strips to create custom storage zones for lightweight metal tools and containers.
For heavier items, install metal mounting plates securely into wall studs using appropriate screws and anchors. These plates provide a strong magnetic surface for holding cooking utensils, pot lids, or small cookware.
Arrange magnetic hooks at various heights to hang measuring cups, kitchen towels, or other lightweight tools.
Additional Tips:
Before adhering any magnetic items, thoroughly clean all surfaces with degreaser and ensure they’re completely dry. Test the magnetic strength of each storage solution with the intended items before permanent installation.
Consider adding labels to spice containers and creating designated zones for different categories of tools to maintain organization. Regularly assess the weight capacity of magnetic holders to prevent items from falling and maintain safety in your kitchen space.
Install Pull-Out Cabinet Organizers for Better Access
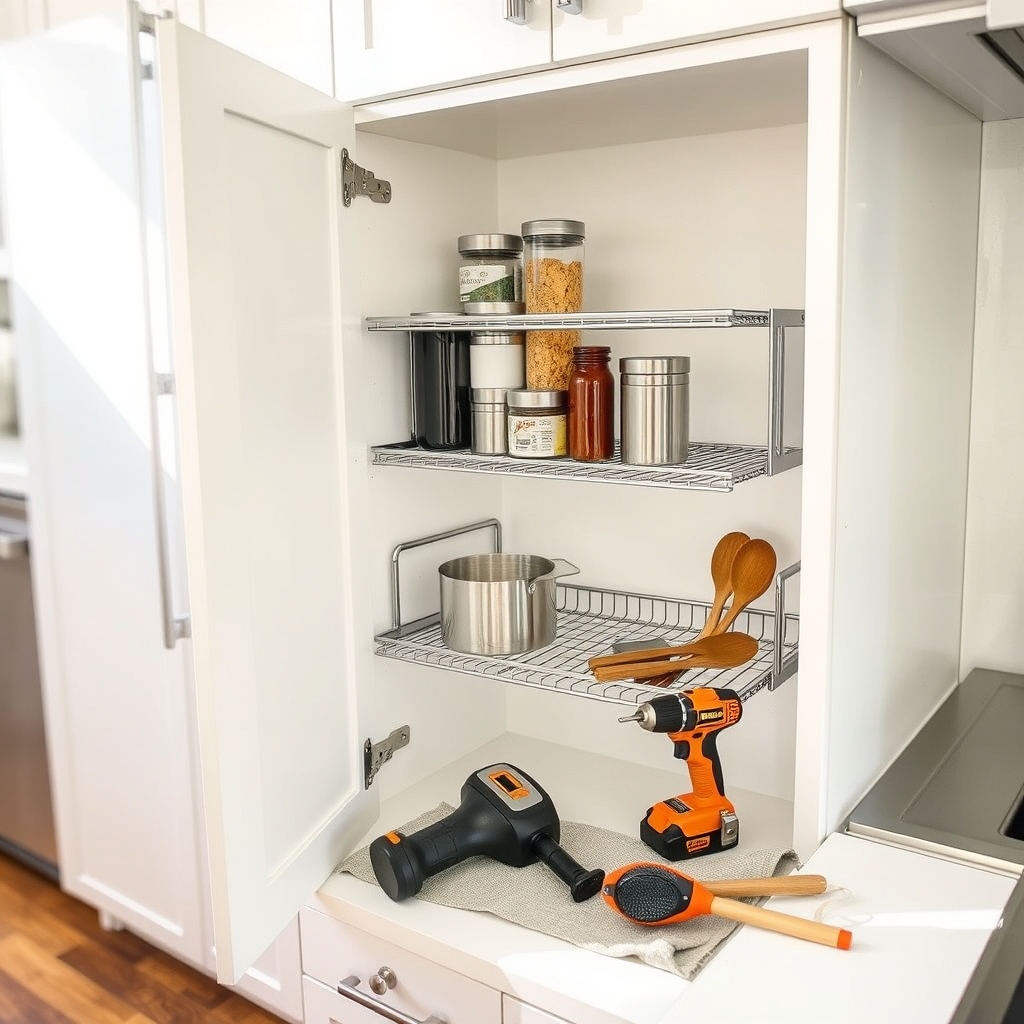
Pull-out cabinet organizers are game-changers for small kitchen spaces, transforming hard-to-reach cabinet areas into easily accessible storage zones. These sliding systems maximize vertical space while eliminating the need to remove multiple items to reach those stored in the back of cabinets.
Installing pull-out organizers can increase your cabinet storage capacity by up to 50% while making every item visible and reachable. This organization method is particularly valuable for corner cabinets, under-sink areas, and deep cabinets where items often get lost or forgotten.
Required Items:
- Pull-out cabinet organizer kit
- Measuring tape
- Pencil
- Drill and drill bits
- Screwdriver
- Level
- Wood screws
- Mounting brackets
- Cabinet door bumpers
- Safety glasses
Start by measuring your cabinet’s interior dimensions, including width, depth, and height. Remove existing shelves if necessary. Mark the locations for mounting brackets, ensuring they’re level and properly aligned.
Install the sliding hardware according to the manufacturer’s specifications, typically starting with the bottom rails. Secure all mounting points with appropriate screws.
Test the sliding mechanism before attaching the organizer baskets or shelves. Once confirmed working smoothly, attach the organizing components to the slides. Adjust the tension and stops as needed to ensure smooth operation and prevent over-extension.
To maximize your newly installed pull-out organizers, group similar items together and use additional containers or dividers within the pull-out shelves.
Consider installing drawer liners to prevent items from sliding around, and regularly clean the tracking system to maintain smooth operation. For heavy items, distribute weight evenly and stay within the manufacturer’s recommended weight limits to ensure longevity of the system.
Create a Multi-Functional Kitchen Island on Wheels
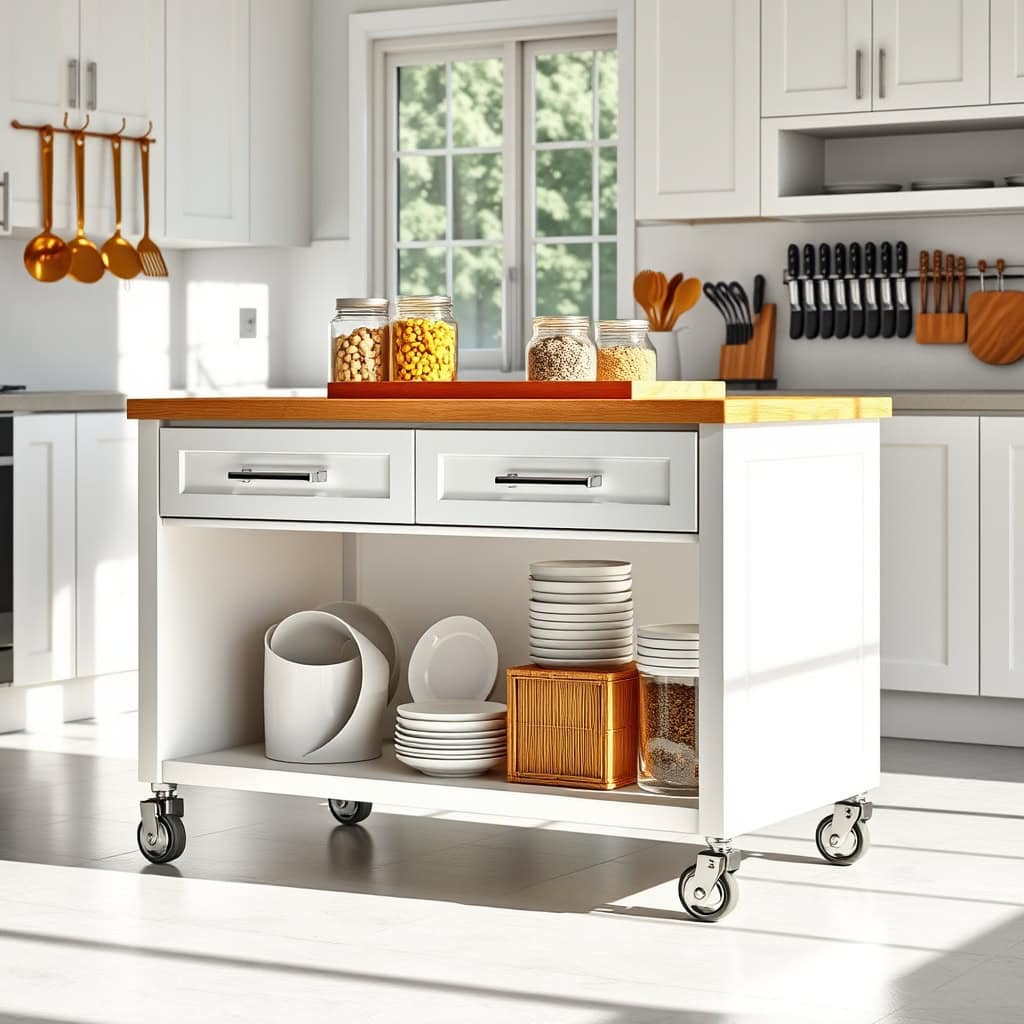
A mobile kitchen island is a game-changing solution for small kitchens, offering flexibility and additional workspace without permanently sacrificing precious floor space. This versatile piece can serve as a prep station, dining area, storage unit, and even a serving cart for entertaining, making it an essential addition to any compact kitchen.
The key to maximizing a kitchen island on wheels lies in thoughtful organization and strategic design choices that align with your specific needs. When properly organized, this mobile workspace can significantly reduce clutter on permanent countertops while providing easy access to frequently used items.
Required Items:
- Rolling kitchen cart or island
- Storage containers and bins
- Drawer organizers
- S-hooks or hanging accessories
- Magnetic strips
- Clear storage jars
- Label maker
- Non-slip drawer liners
- Tension rods
- Shelf risers
Start by determining the primary functions of your rolling island and divide it into distinct zones. The top surface should remain clear for food prep or dining, while incorporating a cutting board that can be easily stored on one side.
Organize the upper drawer for frequently used utensils and tools, using drawer dividers to prevent items from sliding around during movement. The middle section can house clear containers for dry goods or cooking ingredients, arranged by frequency of use.
For the lower portion, install tension rods vertically to create divisions for storing cutting boards, baking sheets, or serving trays. Utilize the sides of the island by adding magnetic strips for knife storage or S-hooks for hanging commonly used utensils, kitchen towels, or small baskets.
If space permits, consider adding a fold-down leaf or pull-out surface for additional workspace when needed.
Additional success tips: Choose storage containers that seal tightly to prevent spills during movement, and use non-slip mats on each shelf to keep items secure.
Regularly reassess the items stored in your island, keeping only what you use frequently and rotating seasonal items as needed. Consider adding wheel locks to keep the island stable during food preparation, and maintain clear paths for the island to move throughout your kitchen space.
Utilize Door-Mounted Storage Racks and Hooks
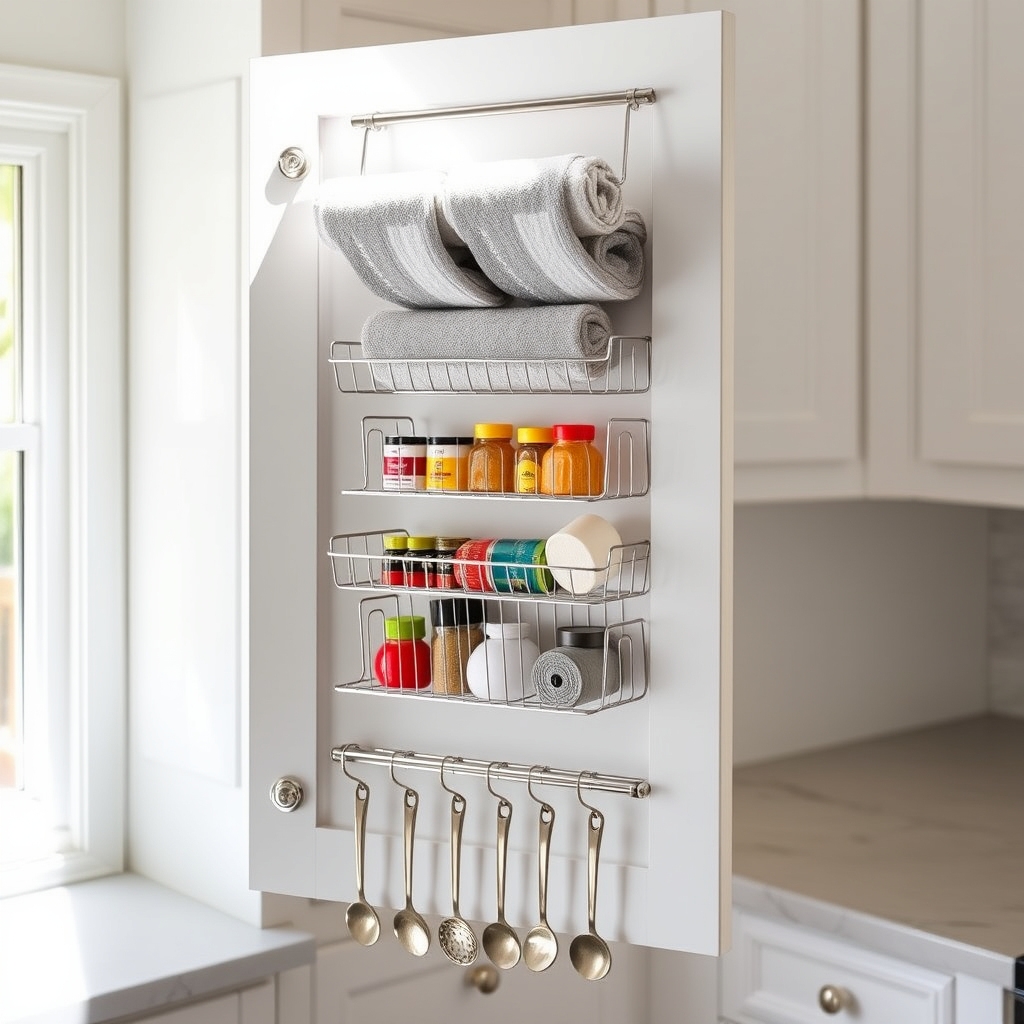
Cabinet and pantry doors represent some of the most underutilized spaces in small kitchens. By incorporating door-mounted storage solutions, you can instantly create additional storage space without sacrificing valuable counter or cabinet real estate. This vertical storage approach is particularly effective for frequently used items, spices, cleaning supplies, and cooking utensils.
Door-mounted organization systems not only maximize space but also improve accessibility to everyday items. Rather than digging through crowded cabinets or drawers, items become immediately visible and reachable, streamlining cooking processes and maintaining an organized kitchen environment.
Required Items:
- Over-the-door storage racks
- Adhesive hooks
- Command strips
- Measuring tape
- Screwdriver
- Door-mounted spice racks
- Wire baskets
- Level
- Pencil
- Door-mounted towel bars
- Mounting hardware
Start by measuring your cabinet or pantry doors, including thickness and available clearance when closed. Select appropriate door-mounted organizers that won’t interfere with door closure or adjacent cabinets. Install over-the-door racks first, ensuring they’re level and secure.
For adhesive solutions, clean the door surface thoroughly with alcohol before application. Mount wire baskets at varying heights to accommodate different item sizes, keeping frequently used items at eye level.
When arranging items, group similar products together and consider weight distribution. Place heavier items in lower baskets to maintain stability. Use smaller hooks for lightweight items like measuring spoons or dish towels. Install spice racks on upper cabinet doors near your primary cooking area for easy access during meal preparation.
To maintain the effectiveness of your door-mounted storage system, regularly check mounting hardware for security and clean both the organizers and door surfaces. Avoid overloading racks beyond their weight capacity, and periodically rotate items to ensure nothing gets forgotten at the back of deeper baskets. Consider adding labels to maintain organization and make items easier to locate quickly.
Implement Smart Corner Cabinet Solutions
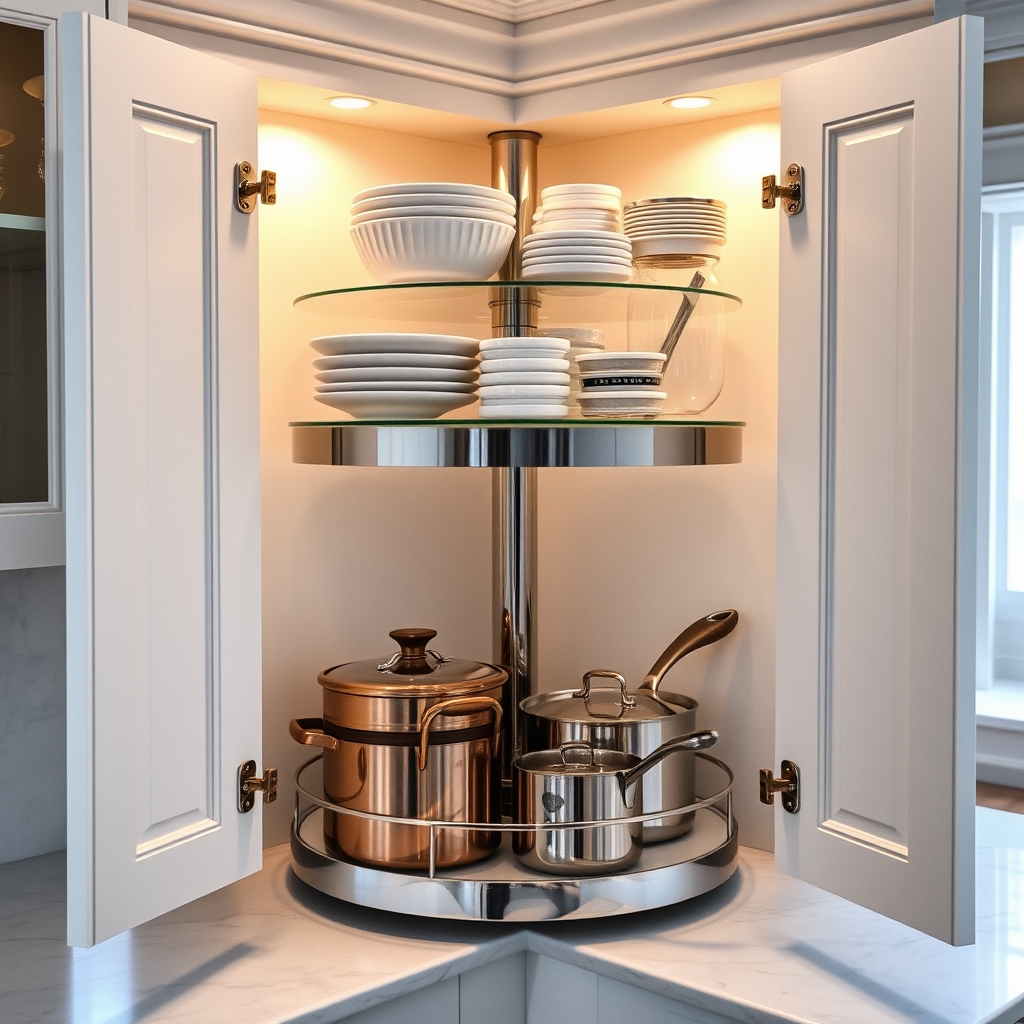
Corner cabinets are often the most challenging spaces to organize in a kitchen, frequently becoming black holes where items disappear or remain unused.
These awkward angles can actually become prime storage real estate when properly organized, potentially offering up to 50% more usable space than standard cabinets.
Maximizing corner cabinet efficiency not only increases storage capacity but also improves workflow in the kitchen.
Well-organized corner spaces reduce the time spent searching for items and make frequently used items more accessible, transforming what was once wasted space into a functional storage solution.
Required Items:
- Lazy Susan (single or double-tier)
- Pull-out corner organizer system
- Clear storage containers
- Label maker
- Measuring tape
- Cabinet liner
- LED stick-on lights
- Shelf risers
- Storage bins
- Cleaning supplies
Start by completely emptying the corner cabinet and thoroughly cleaning all surfaces.
Measure the cabinet’s dimensions carefully, including depth, width, and height, to determine which organization solutions will fit properly.
Install your chosen corner system, whether it’s a Lazy Susan or pull-out organizer, following manufacturer instructions precisely.
For Lazy Susan installations, ensure the mechanism is level and spins freely before securing it permanently.
Group similar items together before returning them to the cabinet, placing frequently used items on the most accessible level.
Heavy items should go on the bottom tier or closer to the cabinet’s center for better stability.
For pull-out systems, distribute weight evenly across shelves to prevent binding or damage to the sliding mechanism.
Additional Tips:
Consider installing motion-sensor LED lights to illuminate dark corners.
Use clear containers to easily identify contents, and implement a regular maintenance schedule every three months to prevent clutter accumulation.
Items that haven’t been used within six months should be relocated or donated to maintain optimal organization.
Transform Dead Space Into Hidden Storage Areas
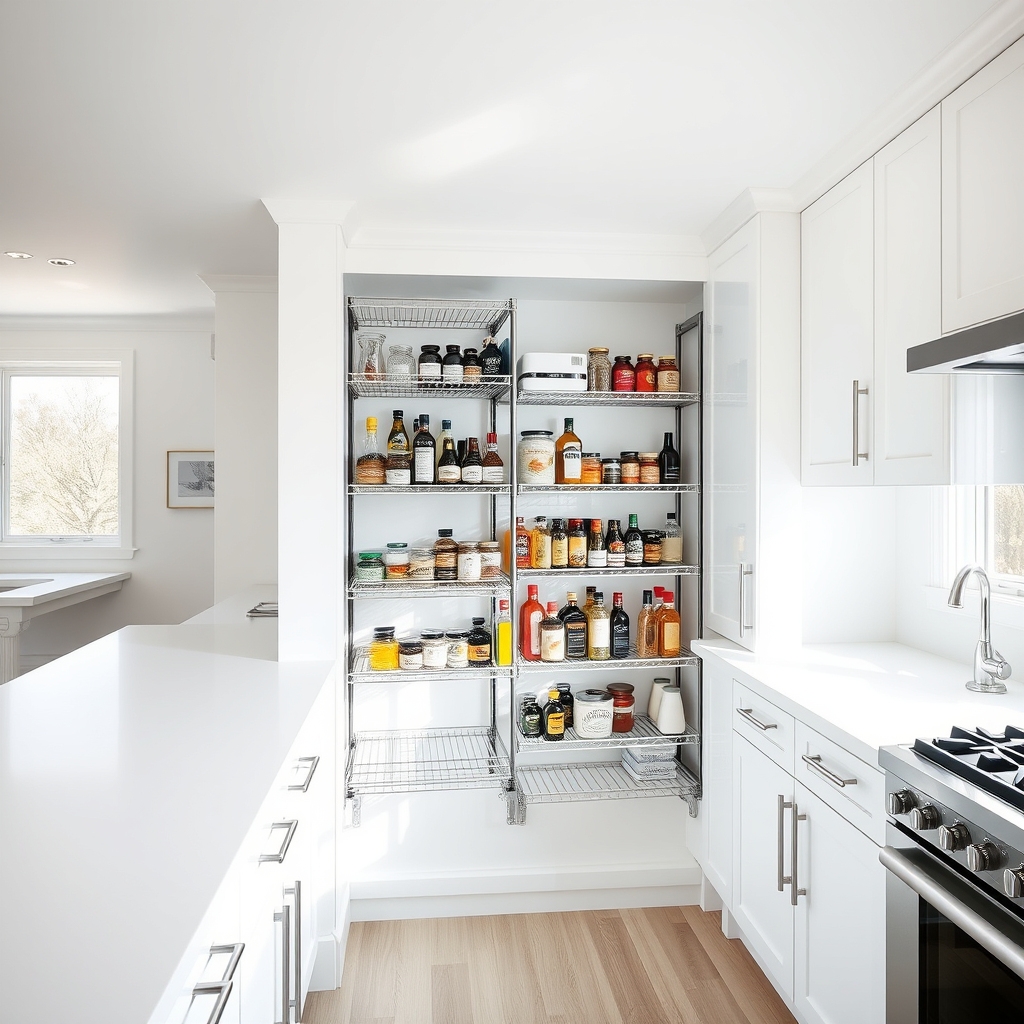
In small kitchens, every inch of space counts, and often the most valuable storage areas go unnoticed. Dead spaces – those awkward gaps between appliances, unused corners, and overlooked vertical areas – represent untapped potential for maximizing kitchen storage. By identifying and transforming these neglected spaces, you can significantly increase your kitchen’s storage capacity without compromising its aesthetic appeal.
Converting dead space into functional storage not only helps declutter countertops and organize essentials but also adds value to your kitchen’s overall functionality. These hidden storage solutions can accommodate everything from pantry items and cooking utensils to small appliances and cleaning supplies, making your kitchen more efficient and enjoyable to use.
Required Items:
- Tension rods
- Over-the-door organizers
- Command hooks
- Pull-out cabinet organizers
- Magnetic strips
- Cabinet door mounted racks
- Under-sink sliding organizers
- Corner cabinet carousel
- Slim rolling cart
- Clear storage containers
Start by identifying potential dead spaces in your kitchen, such as the gaps between appliances, the space above cabinets, and unused wall areas. Install tension rods between cabinets or in unused vertical spaces to hang cleaning supplies or create additional shelving.
Mount magnetic strips on wall spaces to store knives or metal containers. For corner cabinets, install a lazy Susan or pull-out organizer to maximize accessibility.
Transform the space between your refrigerator and wall by installing a slim rolling cart for canned goods or spices. Utilize the inside of cabinet doors by mounting organizers for cutting boards, pot lids, or cleaning supplies.
For upper cabinets that don’t reach the ceiling, use decorative baskets or containers to store rarely-used items while maintaining a clean appearance.
To ensure long-term success with your hidden storage solutions, regularly assess and adjust your organization system. Label containers clearly, keep frequently used items easily accessible, and maintain a rotation system for stored goods.
Consider using clear containers to easily identify contents and implement a regular cleaning schedule to prevent forgotten items from accumulating in these newly created storage spaces.
Organize With Clear Containers and Labels
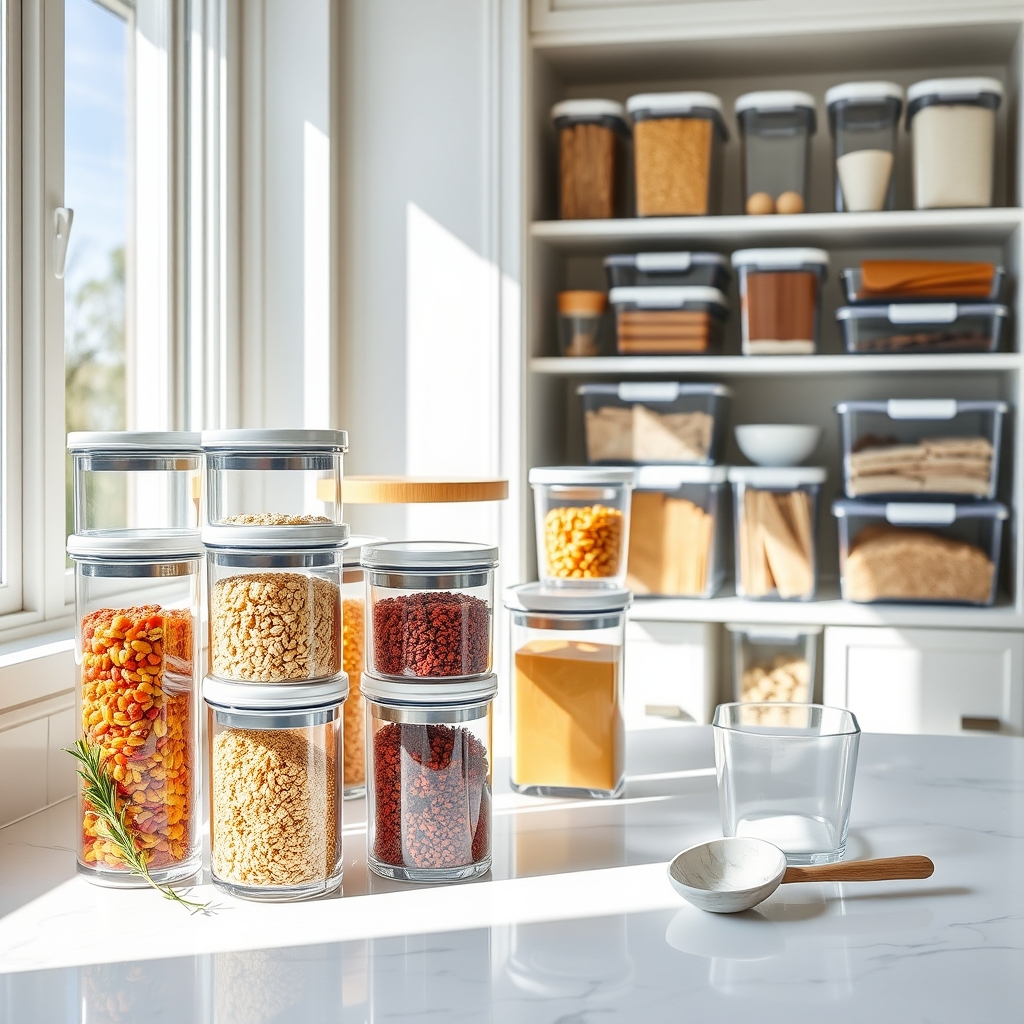
Clear containers and proper labeling form the backbone of an efficient kitchen organization system. When everything is visible and clearly marked, you can instantly locate ingredients, reduce food waste, and maintain a clutter-free space that makes cooking more enjoyable.
Converting to a clear container system transforms both the functionality and aesthetics of your kitchen storage. Not only does it keep food fresher longer, but it also creates a uniform, visually appealing look while maximizing space in cabinets and pantry areas. The transparency allows you to quickly assess inventory levels and maintain organized shopping lists.
Required Items:
- Clear airtight containers in various sizes
- Label maker or waterproof labels
- Measuring cups
- Dry-erase marker
- Container cleaning supplies
- Funnel set
- Storage basket for extra lids
- Small scoop set
- Shelf liner (optional)
- Clear bins for grouping containers
Empty your pantry items into appropriately sized clear containers, ensuring each vessel can accommodate the full contents of its designated ingredient. Transfer items like flour, sugar, grains, and pasta into containers, using a funnel to prevent spills. Create detailed labels including the item name, purchase date, and expiration date.
Group similar items together in clear bins for additional organization. Arrange containers by frequency of use, with everyday items at eye level and occasional-use items higher up or lower down. Stack containers efficiently by choosing square or rectangular shapes that maximize space. For ingredients purchased in bulk, keep the original packaging with cooking instructions and store it behind the container or in a designated folder.
Additional Tips: Measure the interior dimensions of your cabinets and shelves before purchasing containers to ensure proper fit. Clean containers thoroughly before first use and establish a regular schedule for washing and maintaining them.
Keep a small inventory list inside a cabinet door to track when items need replenishing. Consider using drawer organizers or lazy Susans to maximize corner spaces and improve access to containers in deep cabinets.
Add Over-Sink Cutting Boards and Drying Racks
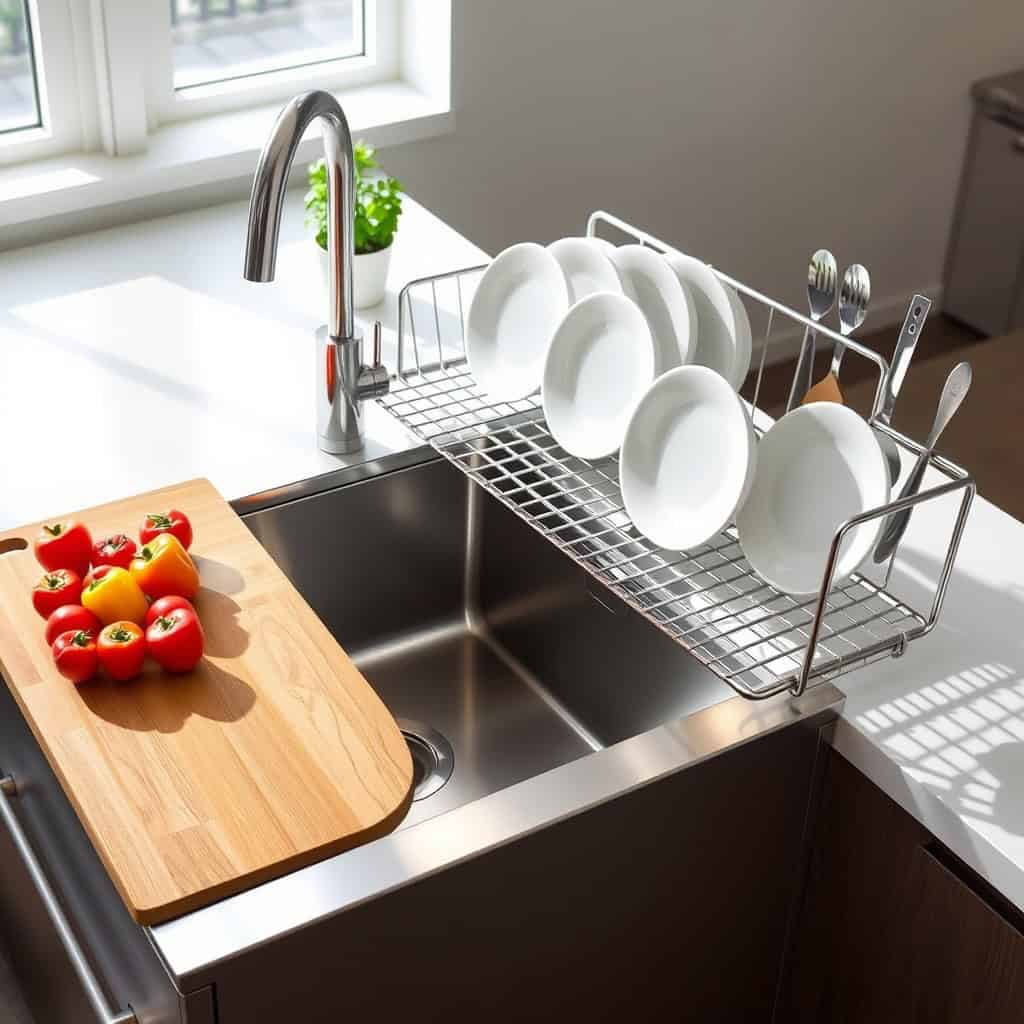
Making the most of limited counter space is crucial in small kitchens, and the area above your sink represents valuable unused real estate. Over-sink cutting boards and drying racks create an additional work surface while maximizing vertical space, effectively doubling your food prep area without requiring permanent modifications.
These versatile additions transform your sink area into a multi-functional workspace, allowing you to prep food, wash produce, and dry dishes simultaneously. This organization method is particularly valuable for kitchens where counter space is at a premium, and it helps maintain a cleaner, more organized workflow during meal preparation.
Required Items:
- Adjustable over-sink cutting board
- Expandable dish drying rack
- Non-slip rubber grips or stabilizers
- Measuring tape
- Sink-compatible colander
- Dish drainage tray
- Sink protectors
- Mounting brackets (if needed)
Start by measuring your sink’s width and depth to ensure proper fit for your over-sink accessories. Install sink protectors along the edges where the cutting board will rest to prevent scratching. Position the cutting board across the sink, ensuring it’s level and stable. For permanent solutions, attach mounting brackets to secure the board when in use.
For the drying rack, extend it to fit your sink width and place it securely on the edges. Most racks feature adjustable arms that can be positioned to accommodate different sink sizes. Place the drainage tray underneath to catch water and prevent splashing. Arrange the rack’s compartments strategically – typically with utensil holders on one side and plate slots on the other.
To maximize effectiveness, maintain clear zones for different activities – designate one side of the over-sink area for food prep and the other for drying dishes. Consider investing in collapsible options that can be stored away when not in use, and regularly clean underneath both the cutting board and drying rack to prevent moisture buildup or mold growth.
Keep frequently used items within arm’s reach to maintain an efficient workflow in your newly organized sink area.
Design a Strategic Pantry System With Stackable Containers
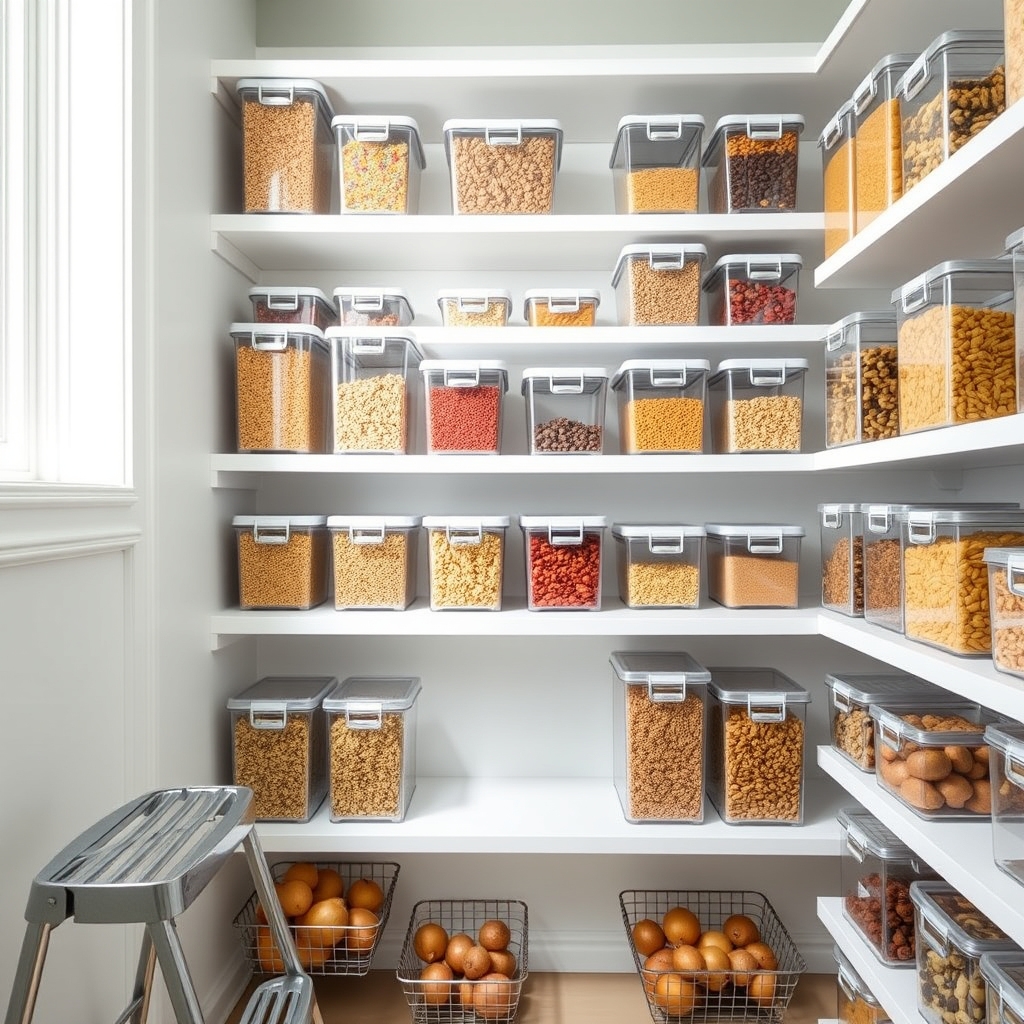
A well-organized pantry system is the backbone of an efficient small kitchen, allowing you to maximize vertical space while keeping ingredients visible and accessible. When everything has its designated spot in stackable containers, you eliminate the chaos of half-open bags and boxes while extending the shelf life of your dry goods.
Strategic container organization transforms how you interact with your pantry space, making inventory management effortless and grocery shopping more precise. This system not only creates a visually appealing storage solution but also prevents food waste by keeping contents fresh and allowing you to quickly identify when supplies run low.
Required Items:
- Clear stackable containers (various sizes)
- Label maker or waterproof labels
- Measuring tape
- Shelf liner
- Container cleaning supplies
- Storage baskets or bins
- Airtight food-grade containers
- Step stool
- Dry-erase marker
Start by removing everything from your pantry and measuring the available space, including shelf depths and heights. Sort items by category (grains, snacks, baking supplies) and frequency of use. Transfer dry goods into appropriately sized stackable containers, ensuring each container is thoroughly cleaned and dried before use.
Choose containers that maximize vertical space while maintaining easy access to contents. When positioning containers, place frequently used items at eye level and arrange similar items together. Stack containers strategically, with heavier items on bottom shelves and lighter ones on top. Implement a front-to-back organization system, placing newer items behind older ones to maintain proper rotation.
Additional Success Tips:
Maintain the system by checking container seals regularly, wiping down containers monthly, and adjusting organization as needed. Use clear containers whenever possible to easily identify contents, and consider implementing a regular inventory check to prevent overbuying or running out of essentials. Keep a few empty containers on hand for new purchases or reorganization needs.

