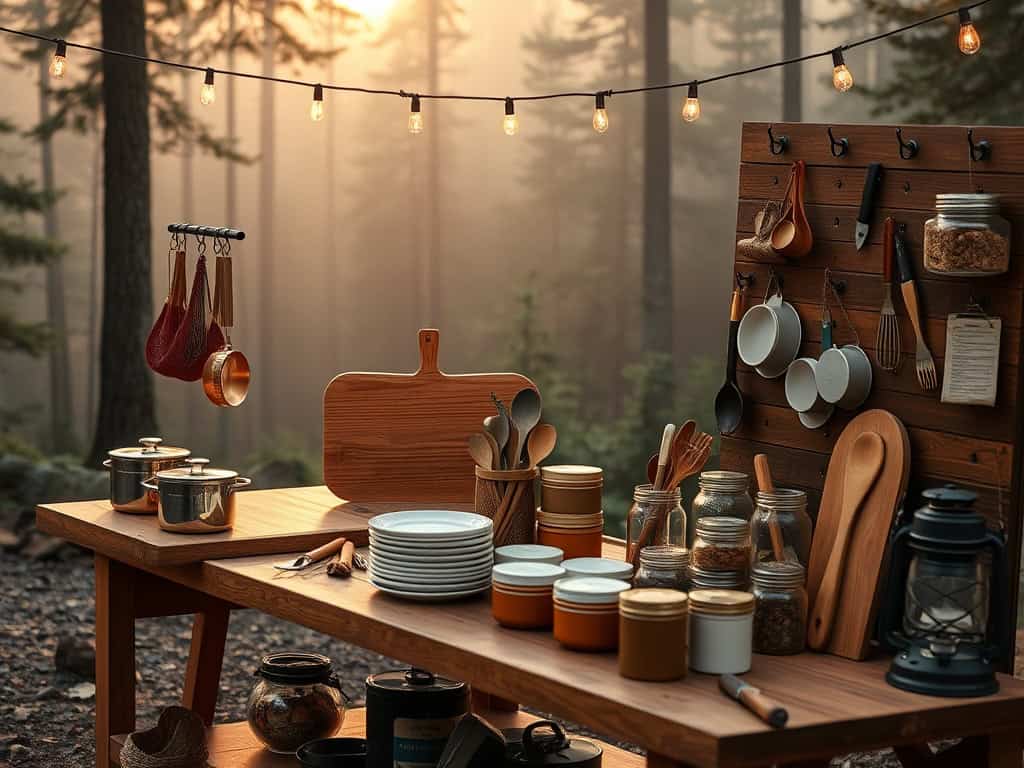
You might think a well-organized camp kitchen is a luxury, but it’s actually essential for any serious outdoor adventure. As someone who’s learned the hard way after countless trips with jumbled gear and misplaced utensils, I’ve discovered that smart organization can transform your campsite cooking from chaotic to effortless. From multi-zone layouts to clever storage hacks, there’s an art to creating the perfect outdoor kitchen setup – and I’m excited to share these game-changing strategies with you.
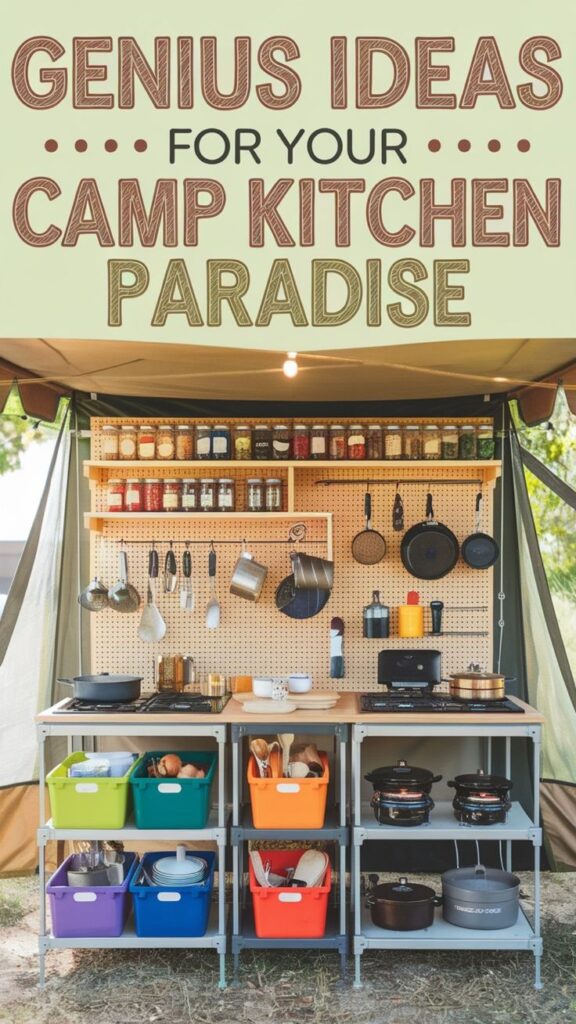
Create a Multi-Zone Camp Kitchen Layout
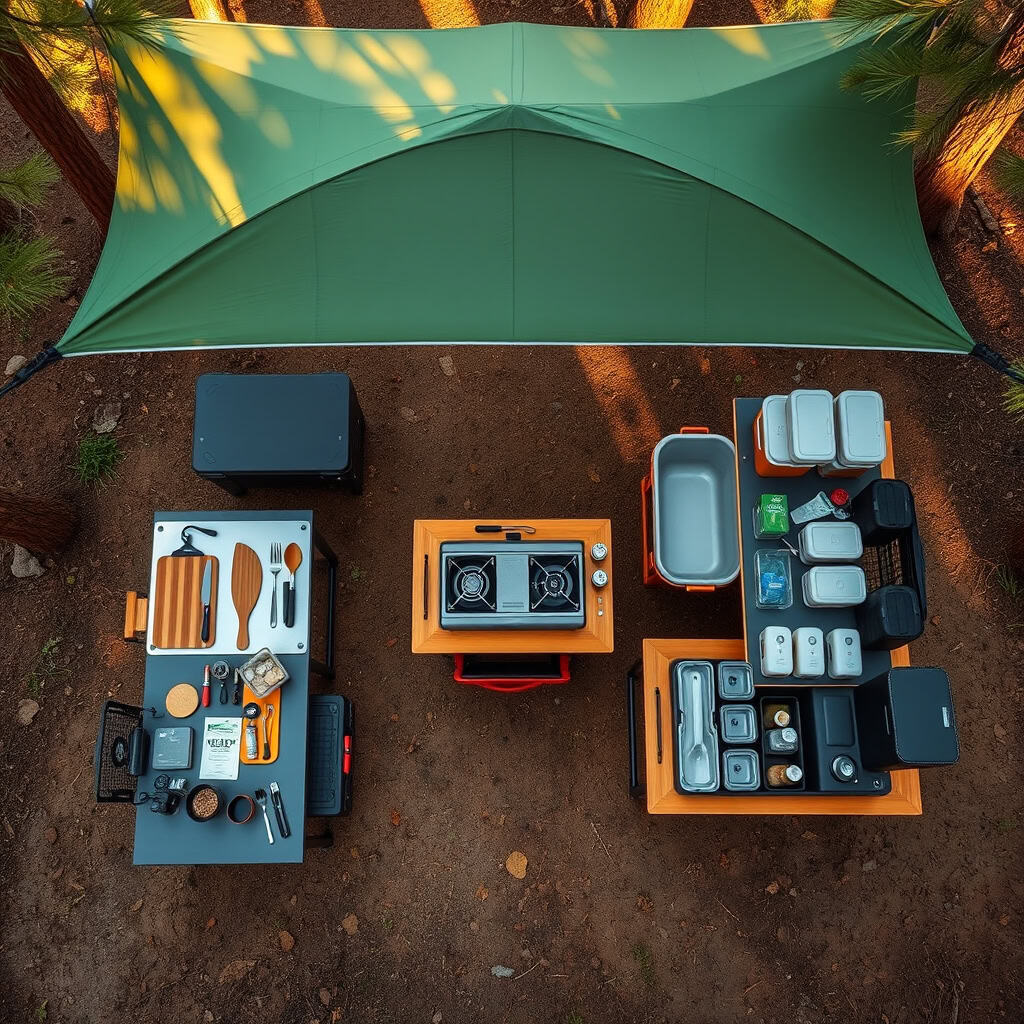
A well-organized camp kitchen is essential for creating an efficient and enjoyable outdoor cooking experience. When meals are prepared in the wilderness, having designated zones helps maintain cleanliness, prevents cross-contamination, and makes the entire cooking process more streamlined and manageable.
Creating distinct zones in your camp kitchen mirrors the efficiency of a home kitchen while adapting to the unique challenges of outdoor cooking. This systematic approach not only saves time but also ensures food safety and makes cleanup easier, allowing you to spend more time enjoying the outdoors rather than struggling with meal preparation.
Required Items:
- Folding camp tables (2-3)
- Waterproof tarps or canopy
- Storage bins
- Cutting boards
- Sanitizing supplies
- Dish washing station
- Prep surface materials
- Cooking equipment storage containers
- Food storage containers
- Garbage bags and bins
- Camp stove
- Water containers
Set up your camp kitchen by first establishing four primary zones: food storage, prep area, cooking area, and cleaning station. Position the food storage zone furthest from the ground and away from direct sunlight, using sealed containers and hanging systems when possible.
Create a prep zone on a stable table surface, ensuring it’s adjacent to both the food storage and cooking areas. The cooking zone should be centered around your camp stove or fire pit, with essential tools and ingredients within arm’s reach.
Finally, establish a cleaning station downwind from the cooking area, complete with wash, rinse, and sanitize basins.
Consider factors such as wind direction, sun exposure, and natural hazards when positioning each zone. Maintain a minimum distance of 100 feet between your kitchen and sleeping area to avoid attracting wildlife.
Set up your zones in a logical workflow pattern, moving from storage to prep to cooking to cleaning, creating an efficient triangle or square configuration.
To maximize the effectiveness of your camp kitchen zones, implement a “clean as you go” system and keep frequently used items easily accessible. Use clear containers and labels to identify contents quickly, and consider creating a simple map or diagram of your kitchen layout to help fellow campers maintain organization.
Always secure food items and dispose of waste properly to maintain a safe and wildlife-resistant camp environment.
Master the Art of Container Stacking and Nesting
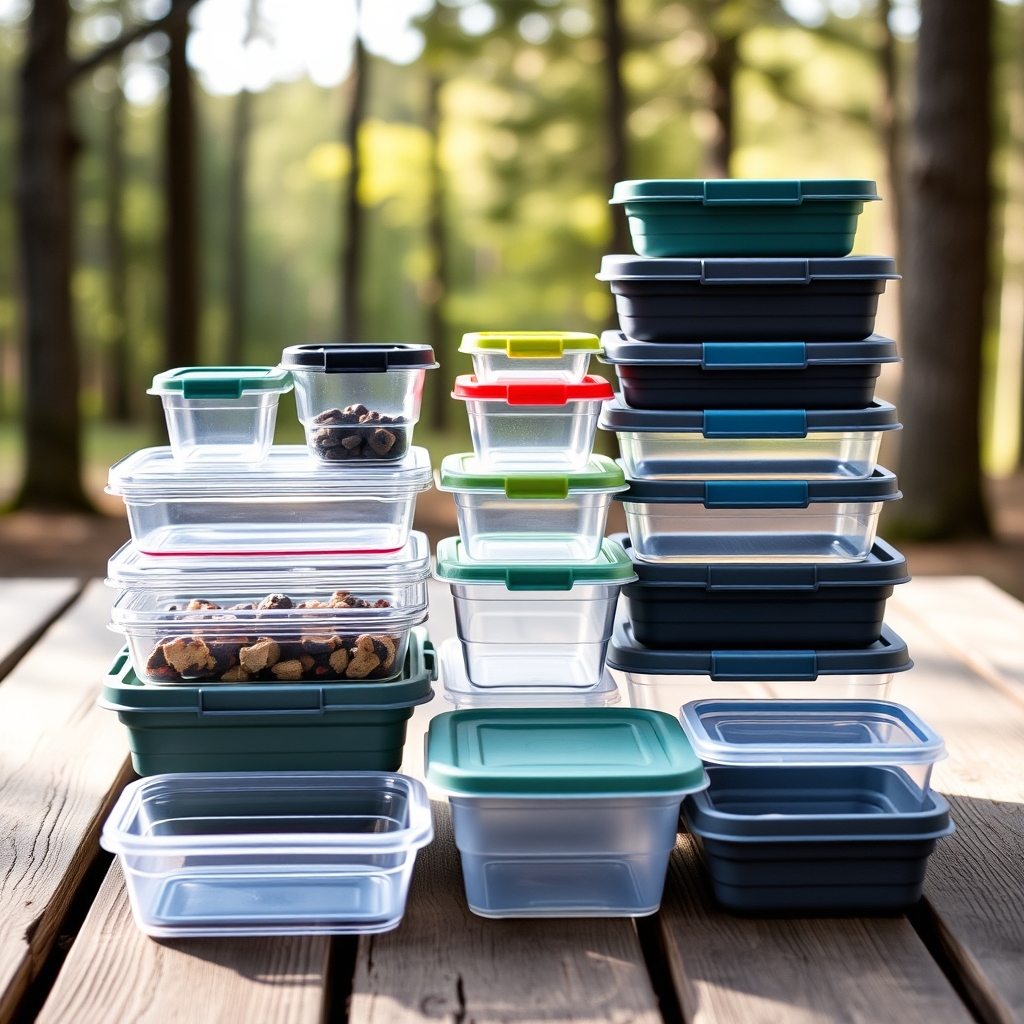
Efficient container stacking and nesting is the cornerstone of a well-organized camping kitchen. When space is at a premium in your camping gear, proper container organization can mean the difference between a cramped, chaotic cooking experience and a smooth, enjoyable meal preparation process.
Strategic container organization not only maximizes limited storage space but also protects your food and cooking supplies from the elements while keeping them easily accessible. Proper stacking and nesting techniques prevent containers from shifting during transport and help maintain an orderly system throughout your camping adventure.
Required Items:
- Square or rectangular storage containers
- Collapsible silicone containers
- Nesting bowls set
- Stackable measuring cups
- Labeled container lids
- Container dividers
- Rubber bands or straps
- Storage bags in various sizes
- Dry bags
- Container inventory list
Start by sorting containers by size and shape, prioritizing square or rectangular containers as they stack more efficiently than round ones. Group similar-sized containers together and test different stacking combinations to find the most space-efficient arrangement.
Place the largest, heaviest containers at the bottom and work your way up to smaller, lighter ones. Insert smaller containers into larger ones when possible, using any empty space inside containers to store lightweight items like utensils or cloth napkins.
For optimal organization, store container lids separately in a dedicated storage solution, such as a large zip-top bag or slim container. Keep frequently used containers easily accessible by placing them near the top of stacks.
Use collapsible containers when possible, as they can be compressed when empty to save space. Consider using a combination of hard and soft containers to maximize space efficiency and adapt to different storage needs.
Additional Tips: Implement a color-coding system or clear labeling scheme to quickly identify container contents. Use rubber bands or straps to secure stacked containers during transport, preventing shifts and spills.
Always pack a few extra empty containers for unexpected storage needs, and regularly assess your container system to eliminate rarely used items that take up valuable space. Keep an inventory list to track what’s stored where, making it easier to locate items quickly when needed.
Build a DIY Camp Kitchen Storage Station
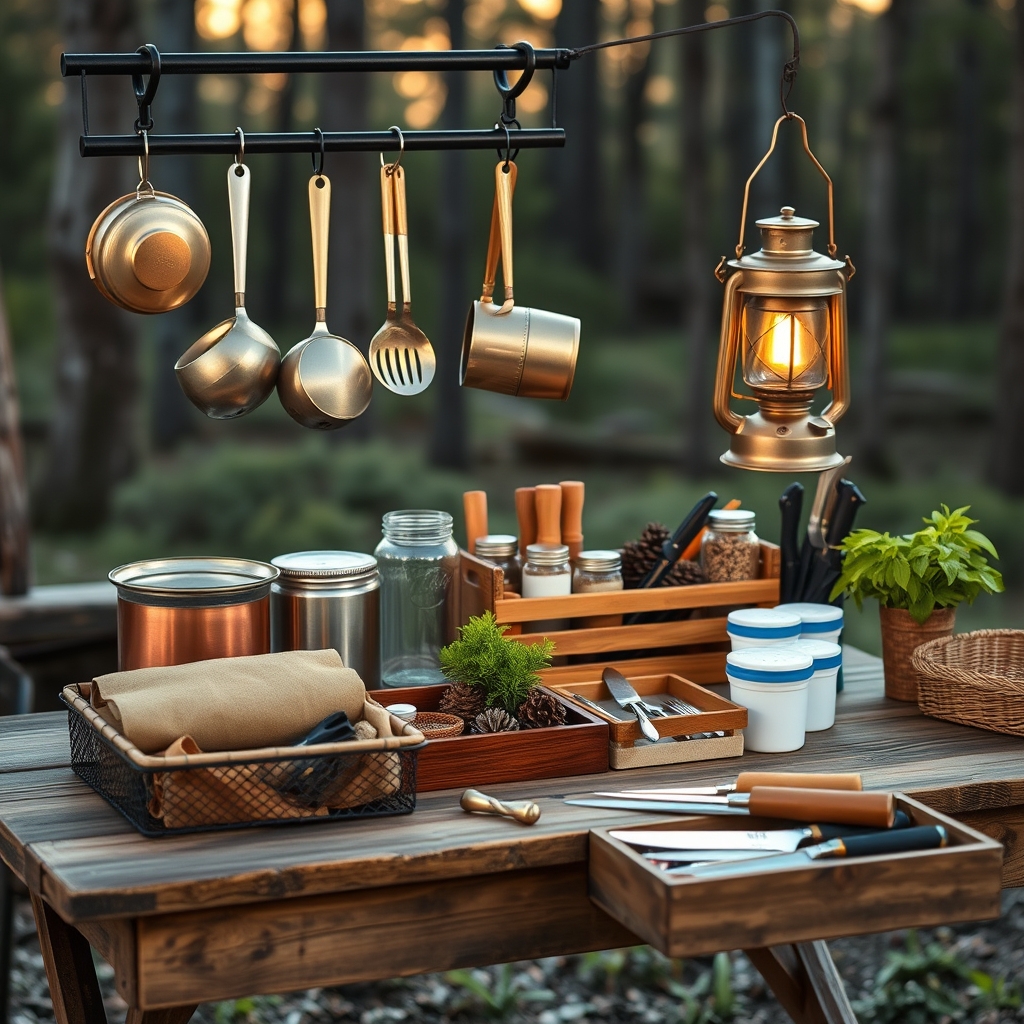
A well-organized camp kitchen storage station serves as the heart of any camping experience, making meal preparation efficient and enjoyable while keeping essential items protected from the elements and wildlife. Rather than rummaging through boxes and bags, a proper storage station allows quick access to cooking equipment, utensils, and ingredients, transforming campsite cooking from a challenge into a pleasure.
Building a DIY camp kitchen storage station not only enhances your camping experience but also helps maintain cleanliness and order in your outdoor cooking area. This organization system can be customized to your specific needs and can be easily transported, set up, and packed away, making it an invaluable addition to your camping gear.
Required Materials:
- Foldable table or sturdy work surface
- Plastic storage containers with lids
- Mesh bags or baskets
- Bungee cords or straps
- Hanging hooks
- Weather-resistant storage bins
- Label maker or waterproof labels
- Tool roll or utensil organizer
- Shelf liner or non-slip material
- Waterproof storage cases
- Portable spice rack
- Multi-pocket organizer
Start by selecting a stable, weather-resistant table as your base. Create distinct zones on the table surface: cooking area, prep area, and cleaning station. Install hooks along the edges for hanging frequently used utensils and tools. Set up vertical storage using stackable containers, ensuring they’re secured with bungee cords to prevent tipping in windy conditions.
Organize your supplies by category, using clear containers for easy visibility. Place frequently used items at eye level and heavier items at the bottom for stability. Install a roll-out drawer system or pull-out baskets for efficient access to cooking equipment. Create a designated space for cleaning supplies and establish a separate area for food storage, using airtight containers to protect against moisture and pests.
Additional Tips: Consider adding a collapsible windscreen around your cooking area to protect from gusts and create a more controlled environment. Use magnetic strips to keep metal utensils organized and easily accessible. Incorporate a paper towel holder and trash bag system into your station design. Always include a first-aid kit and fire extinguisher in your setup, and remember to secure all items before leaving the campsite or during adverse weather conditions.
Implement a Hanging Gear System
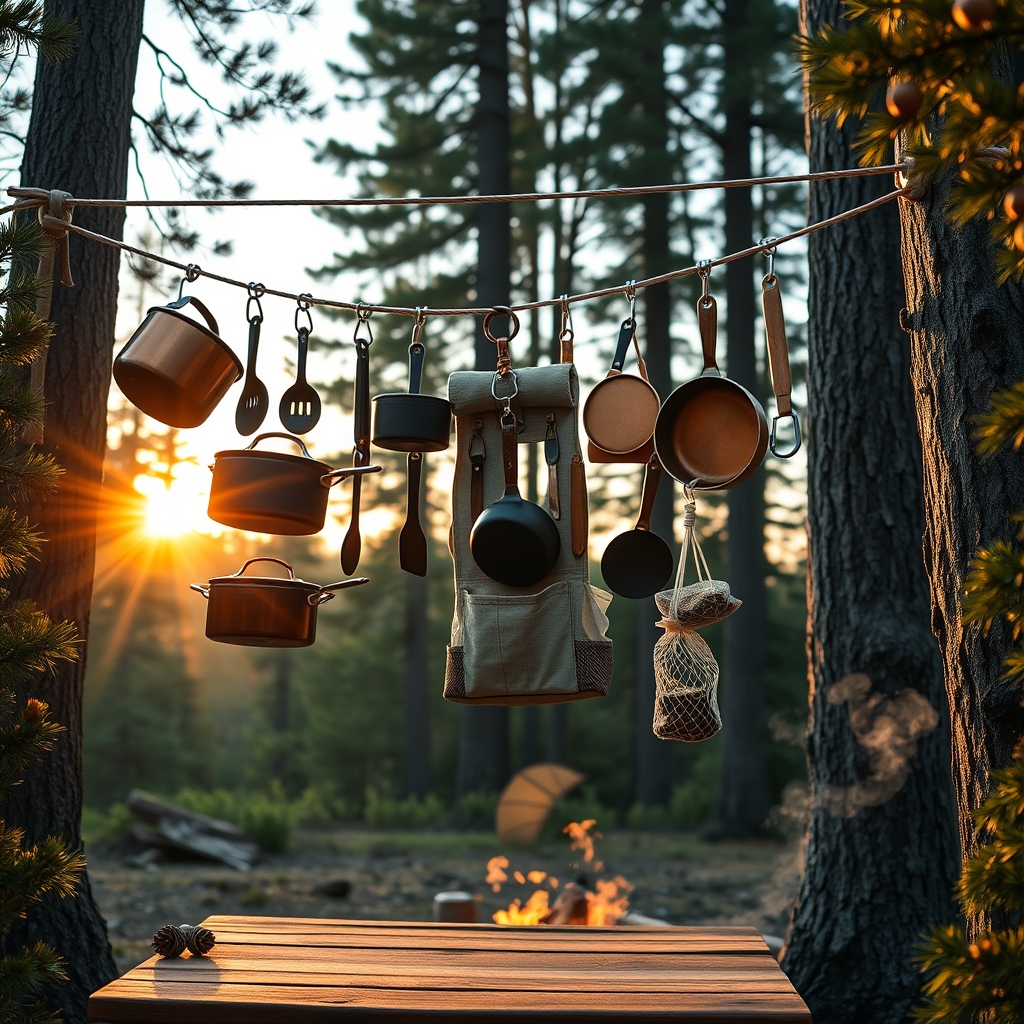
A well-organized hanging gear system transforms any camping kitchen from a chaotic mess into an efficient cooking space. By utilizing vertical space, campers can keep essential tools within arm’s reach while maintaining a clutter-free workspace, making meal preparation smoother and more enjoyable.
Implementing a hanging system not only maximizes limited camping space but also protects cooking equipment from dirt and moisture by keeping items off the ground. This organization method allows for quick access to frequently used items and helps maintain a hygienic cooking environment, essential for outdoor food preparation.
Required Items:
- Paracord or strong rope
- S-hooks or carabiners
- Tension rod or expandable pole
- Mesh storage bags
- Bungee cords
- Command hooks
- Lightweight storage containers
- Fabric organizer with pockets
- Scissors
- Zip ties
Start by identifying sturdy anchor points between trees or on your camping structure. Install the tension rod or string paracord between these points at approximately head height. Create multiple hanging zones: one for cooking utensils, another for pots and pans, and a third for pantry items. Secure the main line using proper knots or hardware appropriate for your anchor points.
Attach S-hooks or carabiners to the main line at regular intervals. Use these to hang mesh bags containing grouped items (such as spices, utensils, or cleaning supplies). For heavier items like cast iron pans, ensure the hanging points can support the weight.
Install the fabric organizer with pockets on one end of the system for frequently accessed items.
Organization Tip: Create a modular system where items can be easily removed and reattached as needed. Consider using color-coded carabiners or hooks to identify different categories of items, and always pack a few extra hanging supplies for backup or expansion.
When breaking camp, this system allows for quick dismantling and compact storage of your kitchen gear.
Design a Weather-Proof Storage Solution
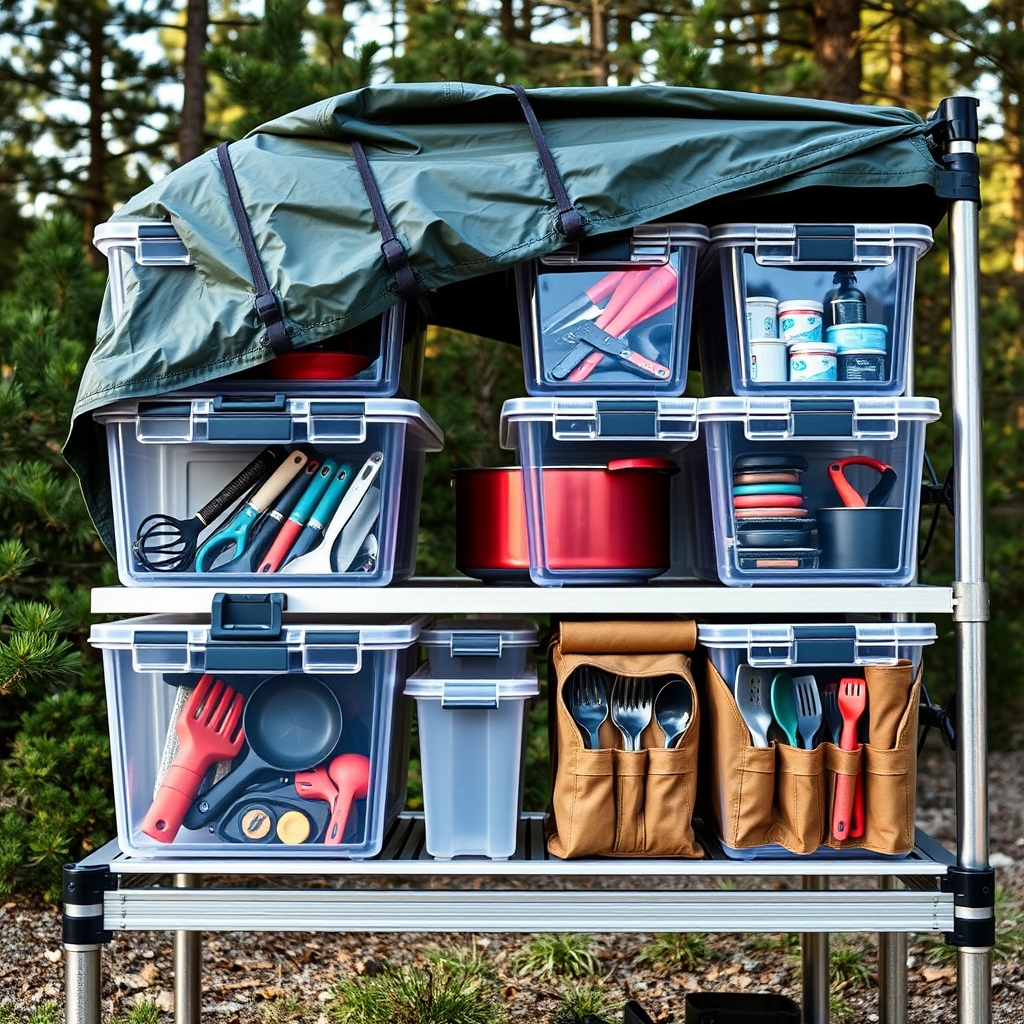
A well-designed weather-proof storage system is crucial for protecting your camping kitchen essentials from rain, humidity, and unexpected weather changes. Without proper protection, your food supplies, utensils, and cooking equipment can become damaged, rusty, or contaminated, potentially ruining your outdoor cooking experience and compromising food safety.
Creating a weather-resistant kitchen storage solution not only preserves your equipment but also streamlines your camping experience. An organized, protected setup allows you to focus on enjoying the outdoors rather than worrying about moisture damage or dealing with wet, unusable supplies during meal preparation.
Required Items:
- Heavy-duty plastic storage containers with secure lids
- Silica gel packets
- Weatherproof tarps
- Bungee cords or cargo straps
- Plastic zip-lock bags (various sizes)
- Label maker or waterproof labels
- Stackable bins with rubber gaskets
- Canvas storage bags with waterproof coating
- Plastic shelf unit or storage rack
- Waterproof tool roll
Start by categorizing your camping kitchen items into groups based on their sensitivity to moisture and frequency of use. Store your most sensitive items, such as matches, paper products, and seasonings, in airtight containers with silica gel packets.
Place metal utensils and cookware in plastic bins with rubber gaskets, adding a layer of canvas or cloth between items to prevent scratching and condensation buildup.
Create a modular storage system using stackable containers that can be easily secured and transported. Position frequently used items in easily accessible containers near the top of your storage setup.
Implement a clear labeling system using waterproof labels to identify contents quickly, and establish a logical arrangement that groups related items together.
Additional Tips: Consider using a combination of hard and soft storage solutions to maximize space efficiency and protection. Regularly inspect weather seals and container integrity, replacing any damaged items promptly.
Keep a repair kit with spare gaskets and sealing materials in your camping supplies. Create an inventory checklist laminated or stored in a waterproof sleeve to track items and ensure nothing is forgotten when packing up.
Develop a Smart Meal Prep Station
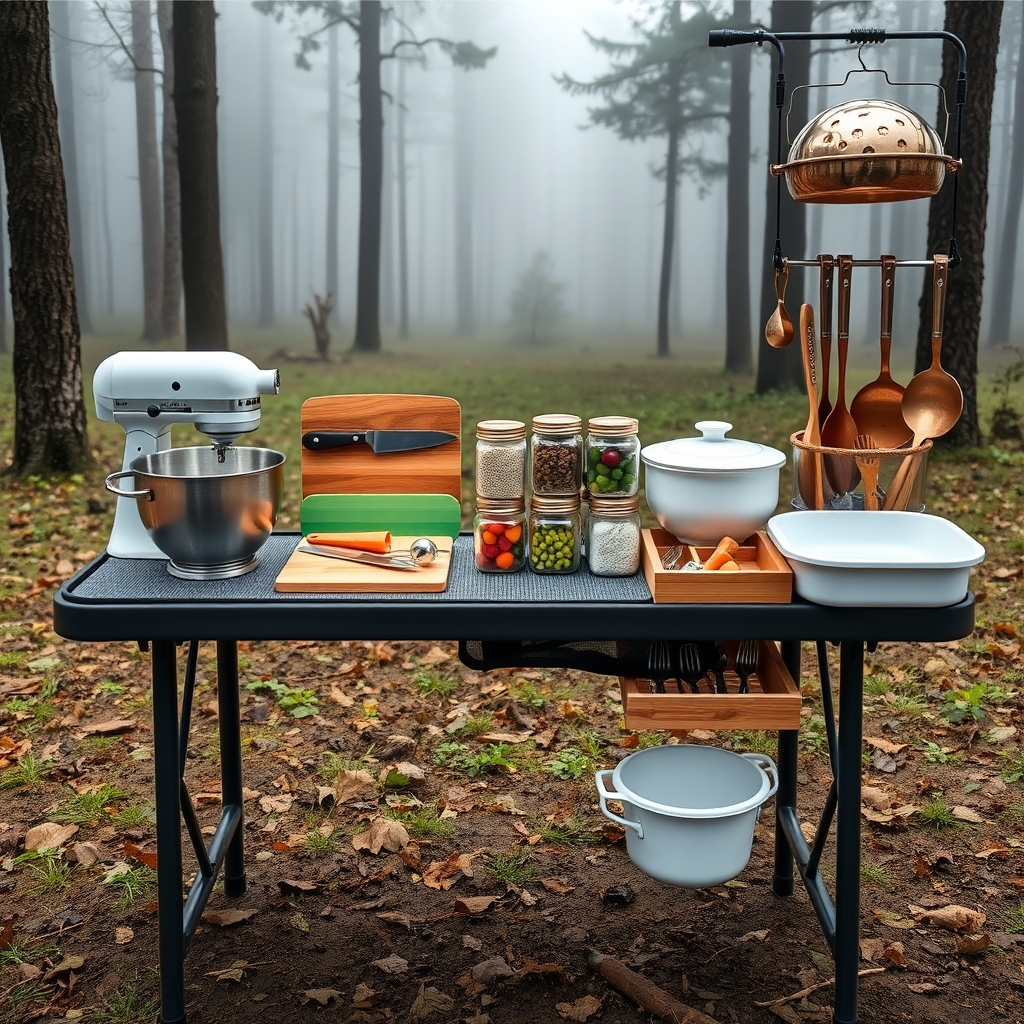
A well-organized meal prep station transforms camping cooking from a chaotic chore into an efficient, enjoyable experience. Having everything in its proper place allows you to focus on creating delicious meals rather than searching for utensils or ingredients in multiple containers and bags.
Creating a designated meal prep area is essential for maintaining food safety and cooking efficiency while camping. A properly organized station minimizes cross-contamination risks, reduces prep time, and ensures all necessary tools are within arm’s reach, making the entire cooking process more streamlined and enjoyable.
Required Items:
- Folding camp table
- Storage containers with lids
- Cutting boards (2-3 different colors)
- Knife roll or protective storage
- Utensil organizer
- Paper towel holder
- Sanitizing solution
- Trash bags
- Multi-compartment storage bins
- Zip-top bags
- Labels and marker
- Non-slip shelf liner
- Mesh bags for produce
Set up your meal prep station by first selecting a flat, stable area away from foot traffic but close to your cooking area. Place your folding table on level ground and cover it with a non-slip liner.
Arrange your storage containers in zones: one for dry ingredients, another for tools and utensils, and a third for cleaning supplies. Create a dedicated space for cutting boards and knives, keeping them elevated and protected from moisture. Position frequently used items within easy reach and store less-used items in clearly labeled containers underneath the table.
Store all food items in airtight containers and arrange them by meal type or cooking order. Use different colored cutting boards for various food groups to prevent cross-contamination. Keep cleaning supplies in a separate, easily accessible container to maintain proper food safety protocols throughout meal preparation.
Additional Tips: Implement a “clean as you go” system by keeping a small trash bag and sanitizing solution readily available. Use mesh bags for produce to allow air circulation and prevent spoilage.
Consider creating a checklist of commonly used items and tape it inside your storage containers for quick reference when packing and unpacking. Always break down and sanitize your prep station immediately after use to prevent attracting wildlife and maintain campsite cleanliness.
Establish an Efficient Cleaning and Waste Station
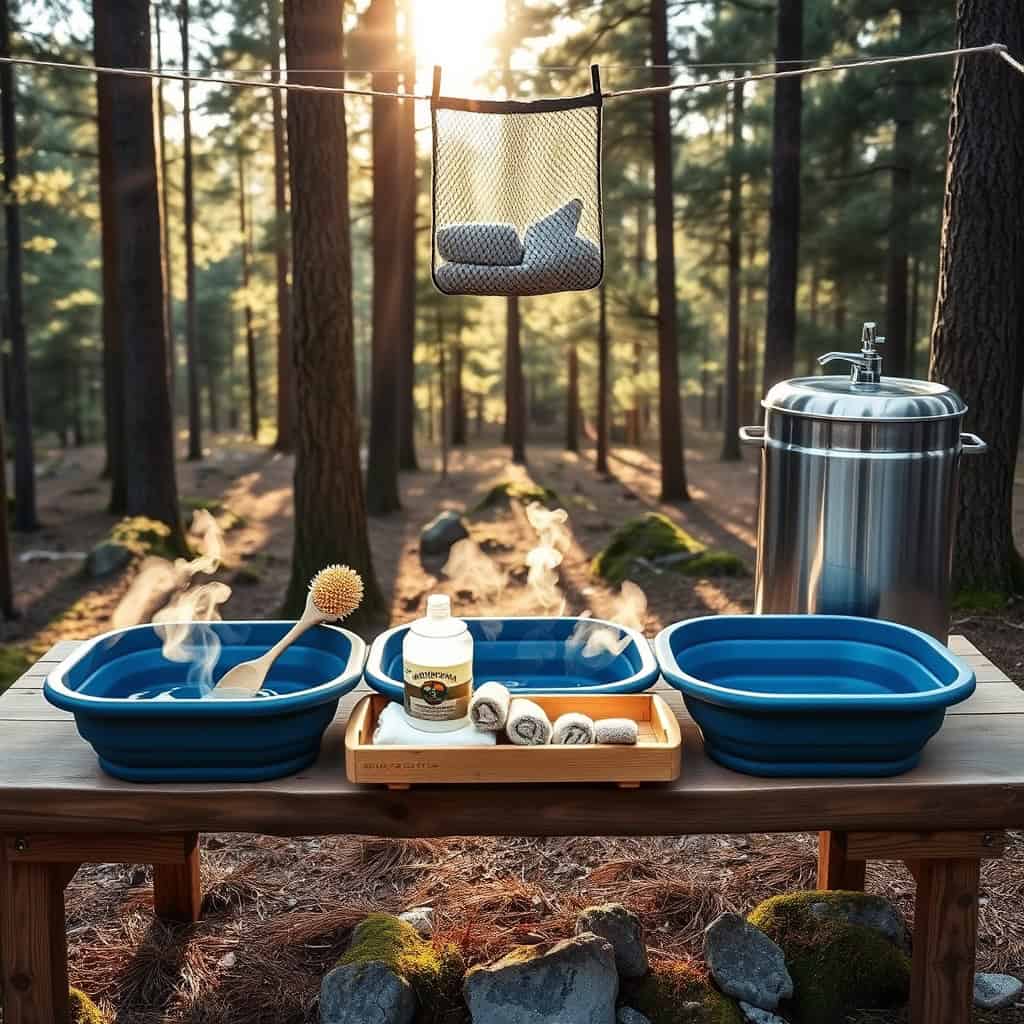
A well-organized cleaning and waste station is crucial for maintaining hygiene and environmental responsibility while camping. Without proper organization, dirty dishes can pile up, waste can attract wildlife, and cross-contamination can lead to health risks during your outdoor adventure.
Creating a designated cleaning and waste station not only streamlines your campsite operations but also ensures compliance with Leave No Trace principles. An efficient system makes it easier to maintain cleanliness, properly dispose of different types of waste, and keep your camping area safe and enjoyable for everyone.
Required Items:
- Collapsible wash basins (3)
- Biodegradable camp soap
- Scrub brushes and sponges
- Mesh drying bag
- Microfiber towels
- Heavy-duty trash bags
- Recycling bags
- Food waste container with secure lid
- Hand sanitizer
- Paper towels
- Rubber gloves
- Portable water container
- Strainer/filter for food particles
- Clothesline or drying rack
Set up your cleaning station by positioning three collapsible wash basins in a row – one for washing, one for rinsing, and one for sanitizing. Place the basins on a stable, level surface away from your main cooking area but still within easy reach.
Install your drying rack or clothesline nearby, ensuring it’s elevated and receives adequate airflow. Position your waste station several yards away from both the cleaning area and your main campsite, using separate, clearly marked containers for trash, recycling, and food waste.
Establish a workflow that moves from left to right: scraping plates into the food waste container, washing in the first basin with biodegradable soap, rinsing in the second basin, and sanitizing in the third basin with appropriate solution. Install the strainer in the first basin to catch food particles.
Create a designated spot for cleaning supplies above or beside the wash basins, keeping them easily accessible but protected from the elements.
Additional Tips: Implement a gray water disposal system by digging a small hole (if permitted by campground regulations) at least 200 feet from water sources. Use minimal soap and strain all wastewater before disposal.
Consider setting up a basic handwashing station near the cleaning area for convenient hygiene maintenance. Regularly inspect waste containers for proper sealing to prevent wildlife encounters, and establish a schedule for emptying containers before they become full.

