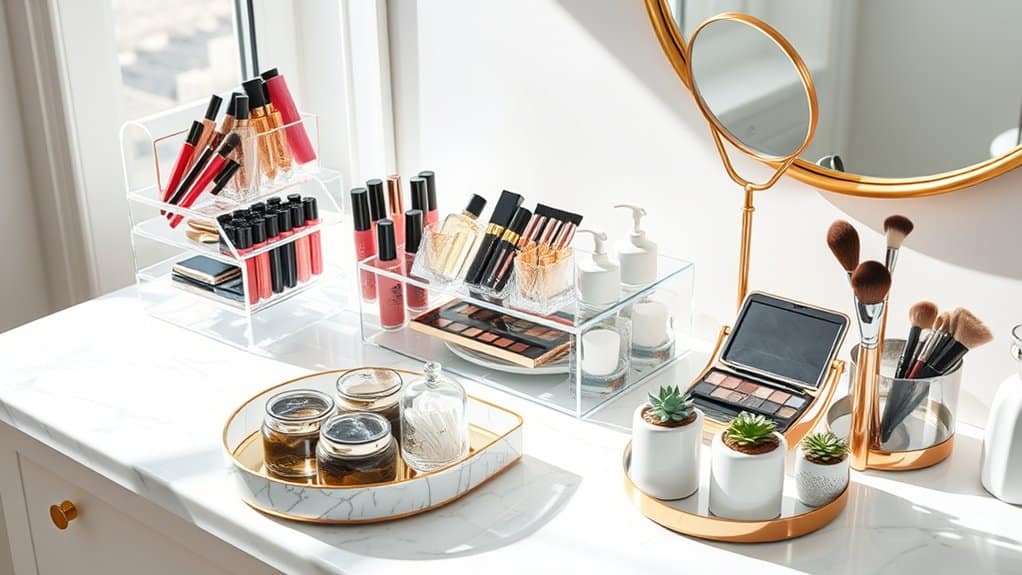
If you’re tired of digging through cluttered makeup bags or hunting for that perfect shade of lipstick, it’s time to transform your bathroom countertop into an organized beauty command center. I’ve spent years perfecting my makeup storage systems, and I’ve discovered nine genius solutions that’ll make your daily routine so much smoother. From sleek acrylic organizers to creative DIY options, these ideas won’t just save you time – they’ll turn your countertop into an Instagram-worthy display that’ll make getting ready feel like a luxurious spa experience.
Tiered Acrylic Organizers: The Clear Choice for Cosmetics
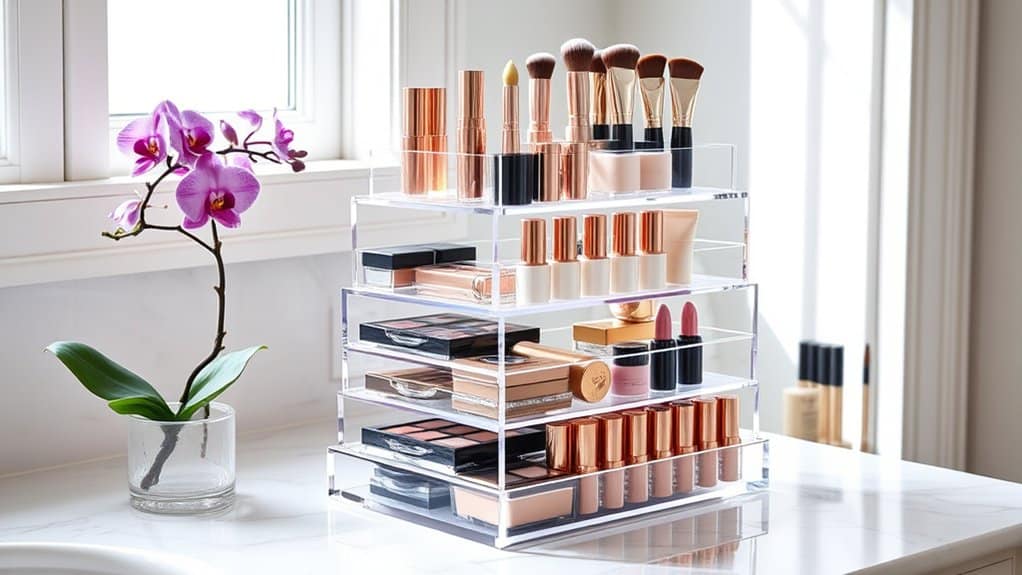
A well-organized makeup collection is essential for maintaining the quality of your cosmetics and streamlining your daily beauty routine. When makeup items are properly arranged and visible, you’re more likely to use what you have and less likely to buy duplicate products unnecessarily.
Tiered acrylic organizers represent the perfect solution for makeup storage, offering clarity, durability, and sophisticated organization. These transparent storage solutions allow you to see all your products at a glance while protecting them from bathroom moisture and dust, making them an ideal choice for any vanity or counter space.
Required Items:
- Tiered acrylic makeup organizer
- Cleaning cloth
- Disinfectant spray
- Measuring tape
- Label maker (optional)
- Small drawer dividers
- Dust-proof lid (if available)
- Cotton swabs for cleaning corners
Start by measuring your available counter space and selecting an appropriately sized tiered organizer. Clean the organizer thoroughly with disinfectant spray and let it dry completely.
Sort your makeup items by category: face products (foundation, concealer, powder), eye products (shadows, liners, mascara), lip products, and brushes. Place the most frequently used items in the most accessible tiers, typically the middle rows. Reserve the top tier for taller items like brushes and mascara tubes.
Position heavier items like palettes and compacts on the bottom tiers for stability. Use the smaller compartments for individual lipsticks, pencils, and other slim items. If your organizer includes drawers, utilize drawer dividers to prevent products from sliding around. Arrange products with labels facing forward for easy identification.
Additional Tips: Maintain the organization by cleaning the acrylic organizer weekly with a gentle cleaner to prevent product buildup. Consider placing non-slip material underneath to prevent sliding on smooth surfaces.
Rotate seasonal products to the front when needed, and regularly assess the contents to remove expired items. If storing in direct sunlight, opt for an organizer with UV protection to preserve your makeup’s quality.
Rotating Carousel Storage Solutions
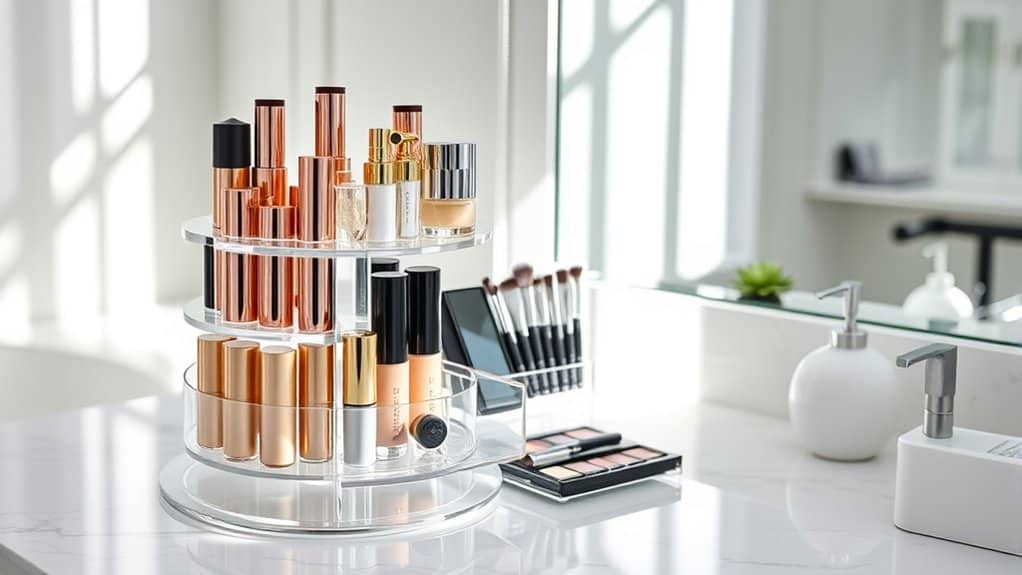
A well-organized rotating carousel system transforms chaotic makeup collections into an easily accessible, efficient setup that saves precious counter space and morning routine time.
By implementing a carousel organization system, you can immediately see and reach all your cosmetics without digging through drawers or knocking items over.
Rotating carousels provide a practical solution for storing various sizes of makeup products while keeping them protected from bathroom moisture and dust.
This organization method allows for customization based on your specific collection and ensures that frequently used items remain within arm’s reach.
Required Items:
- Multi-tier rotating makeup carousel
- Clear acrylic dividers
- Small containers or cups for brushes
- Label maker
- Measuring tape
- Cleaning cloths
- Drawer liner or non-slip mat
- Small organizational bins
- Cotton swabs for cleaning
Start by measuring your available counter space and selecting an appropriately sized carousel.
Remove all makeup items from their current storage and thoroughly clean both the carousel and makeup packaging.
Group similar items together: face products, eye products, lip products, and tools.
Position the carousel in your designated space, ensuring it can rotate freely without hitting walls or mirrors.
Place heavier items like palettes and foundations on the bottom tier for stability.
Arrange frequently used products at eye level for easy access.
Use small containers within the carousel to keep brushes upright and protected.
Consider implementing a color-coding system or labels for different categories to maintain organization long-term.
For optimal maintenance and longevity of your carousel organization system, clean the rotating mechanism monthly and wipe down product containers weekly to prevent product buildup.
Reassess your arrangement every few months, removing expired products and adjusting the layout based on seasonal makeup changes.
Consider keeping a small cleaning kit nearby for quick touch-ups and maintaining the pristine organization of your rotating carousel system.
Magnetic Makeup Board Systems
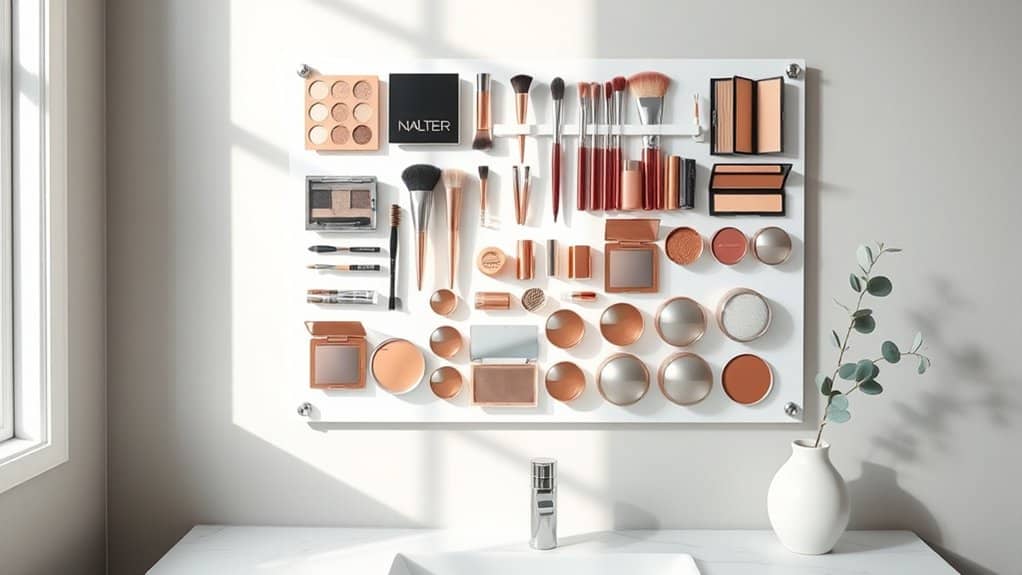
A well-organized magnetic makeup board system transforms your bathroom from a cluttered space into an efficient beauty command center. By displaying your makeup products vertically, you maximize counter space while keeping everything visible and easily accessible.
The magnetic organization method not only protects your cosmetics from bathroom moisture and potential contamination but also creates an aesthetically pleasing display that can inspire creativity in your daily makeup routine. This system works particularly well for metal-cased products and can be customized to fit any space or collection size.
Required Items:
- Large magnetic board or sheet metal
- Strong magnets (various sizes)
- Double-sided adhesive tape
- Metal mounting brackets
- Screws and wall anchors
- Magnetic strips
- Small magnetic containers
- Labels or label maker
- Cleaning supplies
- Wire cutters (optional)
- Magnetic palette cases
Start by selecting and mounting your magnetic board securely to the wall, ensuring it’s level and at a comfortable height for daily use. Apply strong magnets to the back of makeup products that don’t naturally stick to the board – most metal cosmetic containers will adhere naturally, but plastic items will need magnetic strips or dots attached with strong adhesive.
Group similar items together, creating zones for face products, eye makeup, and lip products. For loose items or small products, use magnetic containers to keep them organized and prevent loss.
Arrange your products with frequently used items at eye level and place heavier items toward the bottom of the board for stability. Consider using magnetic labels or a color-coding system to quickly identify products. Leave some empty space for new additions and rearranging as needed.
To maintain the system’s effectiveness, regularly clean both the magnetic board and product cases with appropriate sanitizing solutions. Test the strength of attached magnets periodically and replace any that show signs of weakening.
Consider rotating your products seasonally and removing expired items to keep your collection current and prevent overcrowding on the board.
Repurposed Mason Jar Beauty Stations
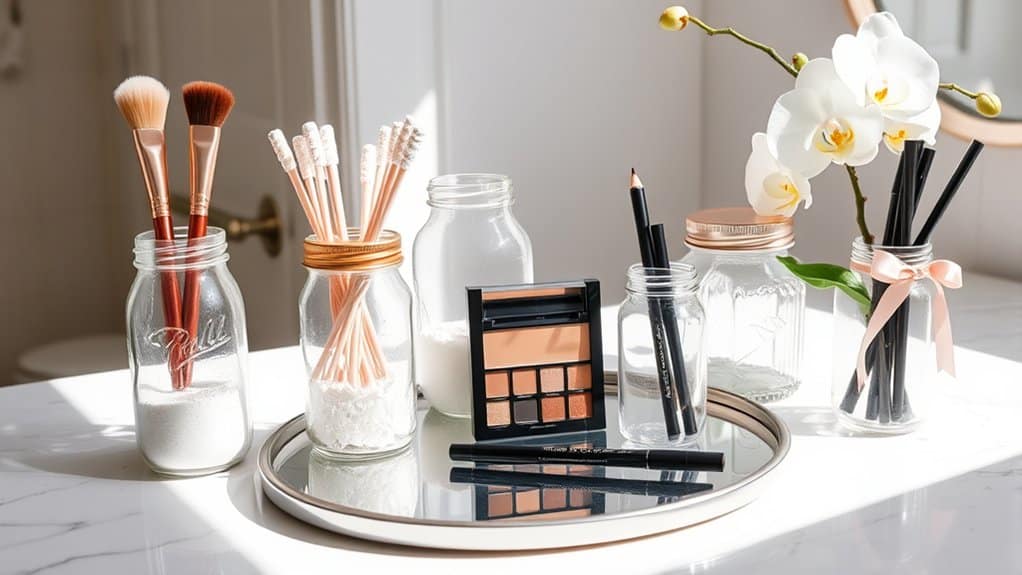
A well-organized beauty station can transform your morning routine from chaotic to calm, saving precious time and reducing stress. Mason jars offer an elegant, practical solution for organizing makeup and beauty tools while adding a touch of vintage charm to your bathroom decor.
Creating designated spaces for different categories of beauty items not only protects your products but also ensures everything remains visible and easily accessible. Mason jars are particularly effective because they’re durable, washable, and their clear glass allows you to quickly identify contents while keeping items protected from bathroom moisture and dust.
Required Items:
- Various sized mason jars (wide-mouth preferred)
- Glass cleaner
- Decorative ribbon or twine (optional)
- Labels or label maker
- Small pebbles or glass beads
- Clear silicone sealant
- Small organizational dividers
- Bathroom-safe spray paint (optional)
- Storage tray or platform
Position mason jars strategically based on product categories and frequency of use. Place smaller jars toward the front for items like cotton swabs, makeup brushes, and frequently used cosmetics. Fill the bottom quarter of brush-holding jars with small pebbles or glass beads to keep implements upright and provide stability.
For items sensitive to moisture, apply a thin bead of silicone sealant around the jar’s rim before securing the lid. Group similar items together – face products in one jar, eye products in another, and tools in a separate container.
Label each jar clearly to maintain organization and consider color-coding for different beauty categories. Ensure adequate spacing between jars for easy access and cleaning. For additional aesthetic appeal, paint jar lids in coordinating colors or wrap decorative ribbon around the jar’s neck.
To maintain your mason jar beauty station, clean jars monthly with glass cleaner and replace pebbles or beads every few months. Keep lids tightly secured when not in use, and periodically assess the contents to remove expired products.
Consider rotating seasonal items to the back and keeping daily essentials within easy reach. Storing brushes bristle-up prevents damage and extends their lifespan while creating an attractive display.
Floating Shelf Vanity Extensions
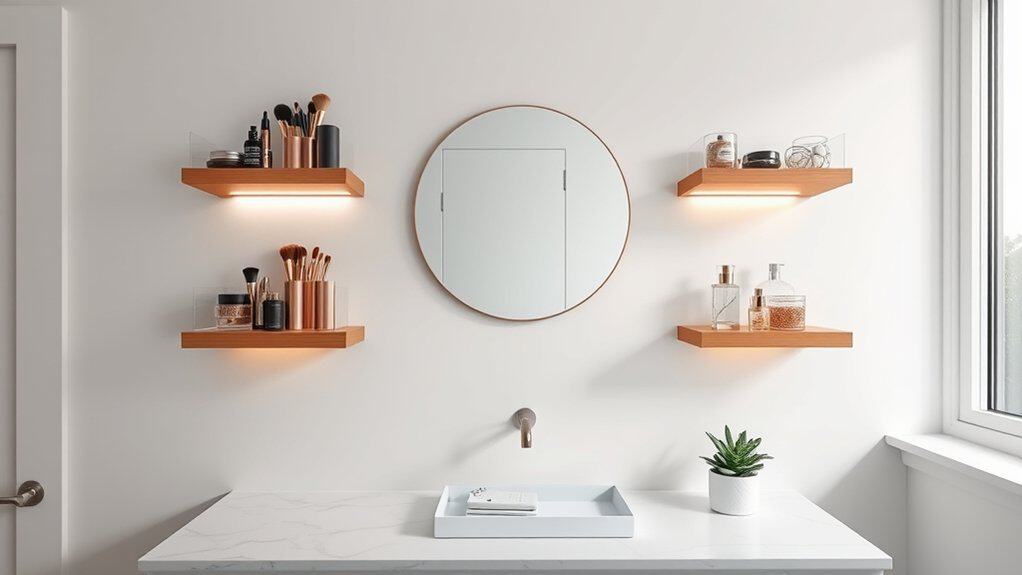
Floating shelf vanity extensions offer a smart solution for expanding your bathroom’s storage capacity without sacrificing floor space. These wall-mounted additions create a sleek, modern look while providing valuable real estate for organizing makeup, skincare products, and beauty tools that often clutter countertops.
By utilizing vertical wall space with floating shelves, you can transform your bathroom into an efficient beauty station that keeps essential items within arm’s reach. This organization method not only improves functionality but also adds a decorative element to your bathroom while maintaining a clean, minimalist aesthetic.
Required Items:
- Floating shelves (various sizes)
- Wall anchors and screws
- Level
- Drill
- Measuring tape
- Pencil
- Clear acrylic organizers
- Small storage containers
- Decorative baskets or boxes
- Non-slip shelf liner
- Glass jars or containers
Installing and organizing floating shelf vanity extensions requires careful planning and execution. First, measure the available wall space and mark the desired shelf locations, ensuring they’re at comfortable reaching height.
Install the shelves according to manufacturer instructions, using proper wall anchors for security. Group similar items together and assign specific zones on each shelf – frequently used items should be placed at eye level, while less-used products can go higher or lower.
Maximize shelf space by incorporating clear acrylic organizers and small containers to separate different categories of makeup and beauty products. Place taller items at the back of the shelves and shorter items in front for better visibility.
Use decorative boxes or baskets to conceal items that don’t need to be displayed, and consider adding glass jars for cotton balls, swabs, and other small items.
To maintain organization long-term, implement a regular cleaning schedule and audit products monthly to remove expired items. Consider adding LED strip lighting under shelves for better visibility, and use drawer liners to prevent items from sliding.
Label containers clearly and rotate products seasonally to ensure everything remains accessible and fresh.
Drawer Divider and Insert Combinations
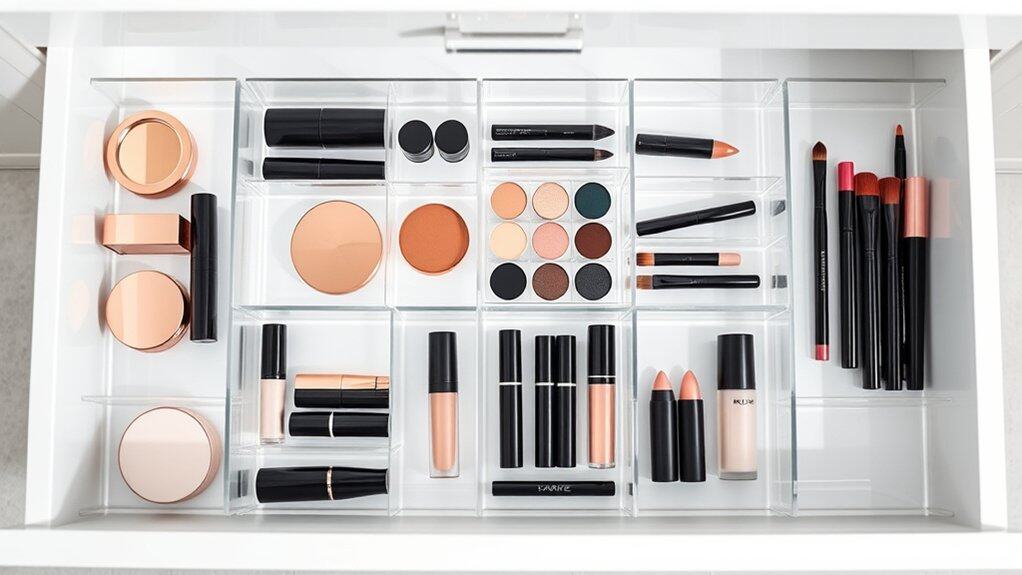
Organizing makeup drawers with proper dividers and inserts transforms a chaotic mess into an efficient, easy-to-navigate storage system. When cosmetics are properly separated and categorized, you’ll save time during your daily routine and extend the life of your products by preventing damage from disorganization.
The right combination of drawer dividers and inserts creates designated spaces for different types of makeup, from small items like individual eyeshadows to larger palettes and brushes. This systematic approach not only protects your investment in cosmetics but also helps you keep track of what you own and when products need replacement.
Required Items:
- Drawer dividers (adjustable)
- Clear plastic organizer inserts
- Drawer liner (non-slip)
- Measuring tape
- Cleaning supplies
- Labels
- Small containers for loose items
- Drawer depth extenders (if needed)
Start by emptying the drawer completely and cleaning it thoroughly. Measure the drawer’s dimensions and map out sections based on your makeup collection’s needs. Install non-slip liner to prevent organizers from sliding.
Position larger dividers first to create main sections for categories like face products, eye makeup, and lip products. Layer in smaller organizer inserts within these main sections, ensuring they fit snugly against dividers. Create specific spaces for frequently used items toward the front of the drawer, with less-used products toward the back.
Stack similar items together vertically when possible to maximize space, using depth extenders if necessary. For optimal organization maintenance, implement a regular review system where you check products every three months. Remove expired items promptly, clean dividers and inserts monthly, and adjust the layout as your collection changes.
Consider using clear dividers to maintain visibility and keep labels updated to reflect any organizational changes you make.
Stackable Modular Storage Cubes
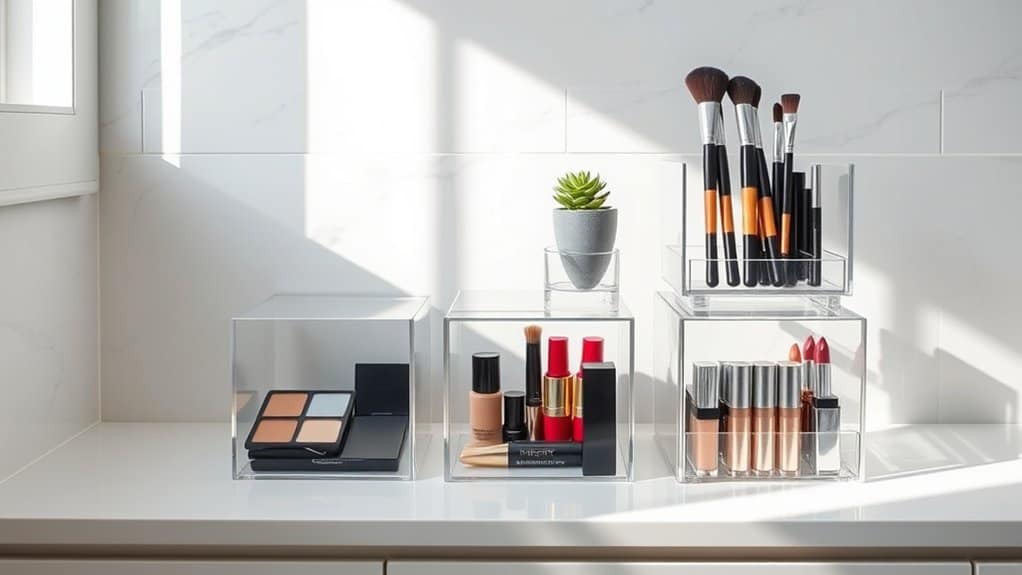
Organizing makeup using stackable modular storage cubes is a game-changing solution for any bathroom space. These versatile units maximize vertical storage while keeping cosmetics easily accessible and visible, preventing forgotten products from expiring unused in the depths of traditional makeup bags or drawers.
The modular nature of these storage cubes allows for customization based on your specific collection and space requirements. Whether you have an extensive collection of lipsticks or need specialized compartments for brushes and palettes, stackable cubes can be configured to create a personalized organization system that grows or changes with your needs.
Required Items:
- Clear acrylic stackable storage cubes
- Drawer dividers or small organizer inserts
- Non-slip drawer liners
- Measuring tape
- Label maker (optional)
- Cleaning cloths
- Antibacterial wipes
Start by measuring your available counter space or drawer area to determine how many cubes you can accommodate. Clean each cube thoroughly with antibacterial wipes before use.
Begin stacking the cubes from bottom to top, placing heavier items in lower cubes for stability. Sort makeup by category (face products, eye products, lips) and assign each category to specific cubes or drawers.
Install drawer dividers or small organizer inserts within each cube to create designated spaces for different product types. Place frequently used items in easily accessible middle cubes, while seasonal or special occasion products can go in top cubes.
Use non-slip liner in each drawer to prevent products from sliding around when opening and closing.
To maintain the effectiveness of your modular storage system, regularly assess your makeup collection and adjust cube configurations as needed. Consider using clear cubes for daily essentials and frosted or colored cubes for backup products or special occasion items.
Clean the cubes monthly and check that stacking remains secure to prevent any accidents or product damage.
Vertical Wall-Mounted Beauty Stations
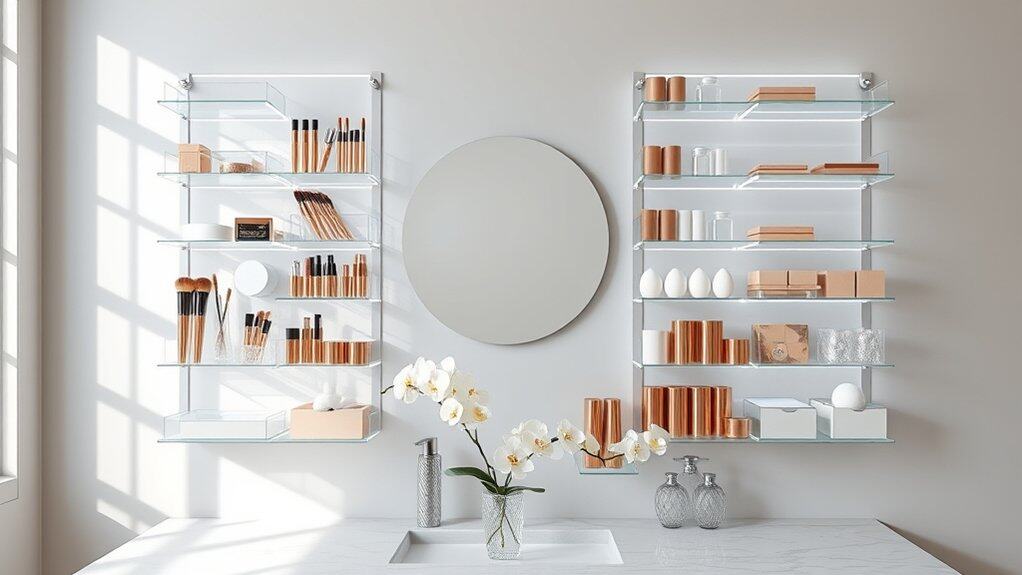
Maximizing bathroom space while keeping makeup and beauty products easily accessible is crucial for maintaining an efficient morning routine. A vertical wall-mounted beauty station transforms unused wall space into a functional organization system that keeps products visible, within reach, and protected from counter clutter and moisture.
Wall-mounted organization not only creates a dedicated space for beauty essentials but also adds a sophisticated, spa-like element to your bathroom décor. This setup prevents products from being forgotten in drawers or cabinets and allows you to quickly assess your inventory while keeping everything dust-free and properly stored.
Required Items:
- Wall-mounted organizer or magnetic board
- Clear acrylic containers
- Mounting hardware
- Level
- Drill and screwdriver
- Wall anchors
- Measuring tape
- Pencil
- Small hooks or clips
- Clear dividers
- Labels or label maker
Installing a vertical beauty station begins with selecting the ideal wall space – typically an area with good lighting and easy reach. Measure the space carefully and mark the mounting points, ensuring they’re level. Install wall anchors if needed, then securely mount the main organizer unit.
Arrange acrylic containers and holders based on product categories, with frequently used items at eye level. Consider incorporating a combination of enclosed storage for sensitive items and open storage for daily essentials.
The organization process continues with sorting products by category and frequency of use. Place foundations, concealers, and daily makeup items in easily accessible containers. Install small hooks or magnetic strips for tools like brushes and eyelash curlers. Use clear dividers to separate smaller items like lipsticks and eye shadows, and ensure all containers are securely attached to prevent accidents.
Additional Tips: Implement a regular cleaning schedule for both the organizers and products. Consider adding LED strip lighting around the station for better visibility. Rotate products seasonally, keeping summer items like sunscreen more accessible during warmer months. Always ensure ventilation in the area to prevent moisture buildup, and periodically check that mounting hardware remains secure.
Decorative Vanity Trays and Compartments
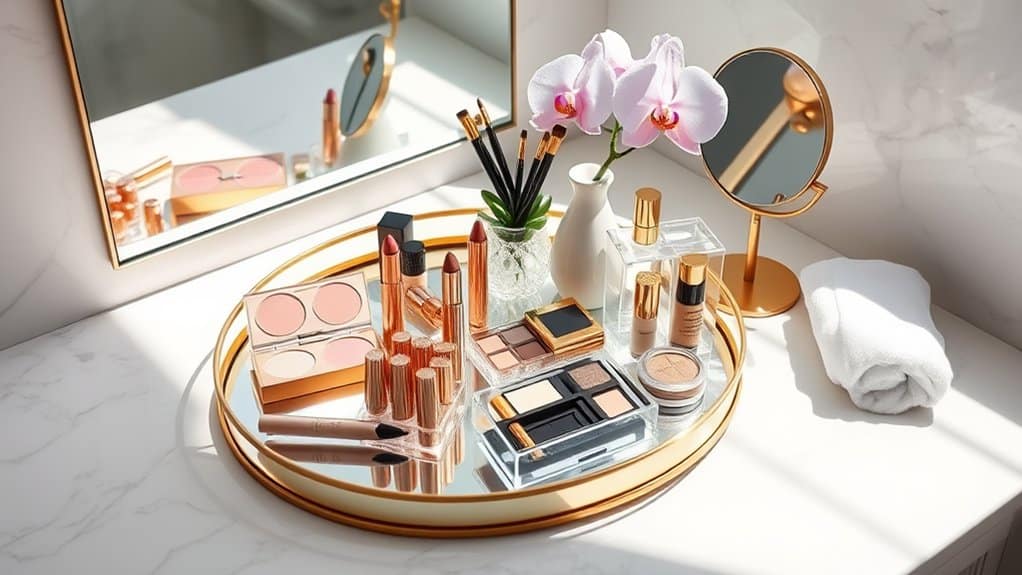
A well-organized vanity area transforms your daily beauty routine from chaotic to serene, allowing you to locate products quickly and maintain a clutter-free bathroom space.
Decorative trays and compartments not only serve a practical purpose but also elevate the aesthetic appeal of your bathroom, creating an inviting space that makes your morning and evening routines more enjoyable.
When properly arranged, vanity trays and compartments protect your bathroom counter from spills and stains while keeping frequently used items within arm’s reach. This organizational system helps extend the life of your makeup products by preventing them from being knocked over or exposed to excess moisture, ultimately saving you money and maintaining product quality.
Required Items:
- Decorative vanity tray
- Small compartment organizers
- Clear acrylic dividers
- Drawer organizers
- Label maker
- Cleaning cloths
- Makeup brush holders
- Small storage containers
- Decorative jars
- Non-slip drawer liner
Start by thoroughly cleaning your vanity surface and measuring the available space for trays and compartments. Group similar items together: face products, eye makeup, lip products, and brushes.
Select a main decorative tray that complements your bathroom décor and fits your space requirements. Place smaller compartment organizers within the tray, ensuring frequently used items are most accessible.
Arrange products by height, with taller items at the back and shorter ones in front for easy visibility. Consider using tiered organizers or risers to maximize vertical space. Keep daily essentials in the main tray while storing backup products and less frequently used items in drawers or cabinets.
For optimal organization maintenance, clean your trays and compartments weekly, reassess product placement monthly, and rotate seasonal items as needed.
Consider using clear containers to easily identify products, and implement a regular inventory system to prevent accumulation of expired makeup. Adding small decorative elements like a fresh flower or a scented candle can enhance the overall aesthetic while maintaining functionality.

