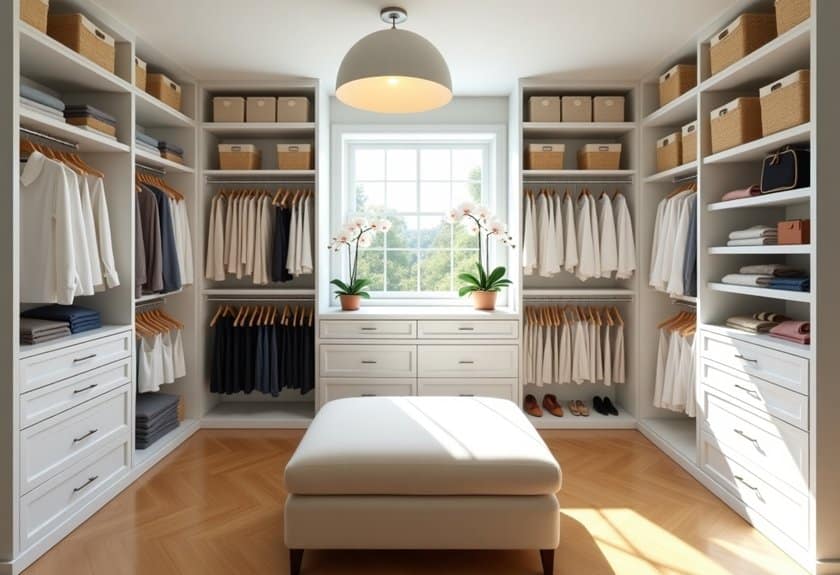
Ever noticed how a disorganized closet can make your entire bedroom feel chaotic? I’ve been there – staring at a jumbled mess of clothes and wondering where that favorite sweater disappeared to. Your closet doesn’t have to be a source of daily frustration, though. With some clever organization strategies and a touch of style, you can transform that cluttered space into an Instagram-worthy wardrobe that makes getting dressed a joy. Let me share some game-changing ideas that’ll revolutionize your closet setup.
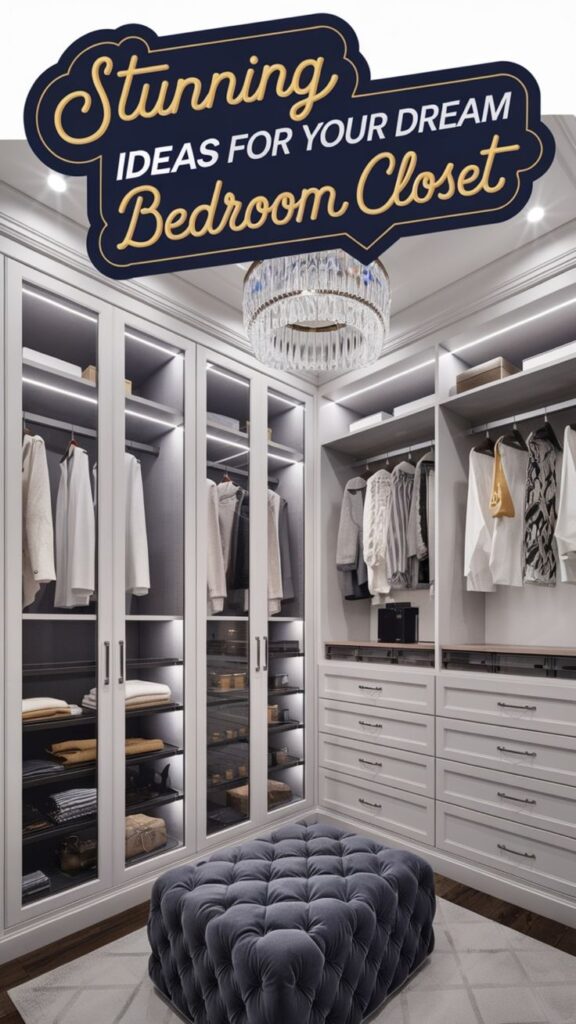
Maximize Vertical Space With Hanging Organizers
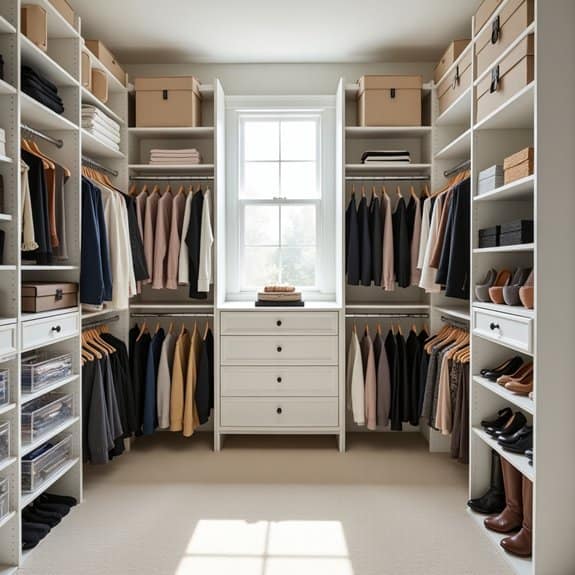
Making the most of vertical space in your closet is crucial for maximizing storage capacity and maintaining an organized wardrobe. Many closets have significant unused vertical space that, when properly utilized with hanging organizers, can double or triple the available storage area.
Hanging organizers transform dead space into functional storage zones, creating designated areas for accessories, shoes, sweaters, and other items that might otherwise end up in messy piles. This systematic approach not only keeps belongings easily accessible but also protects them from damage and helps maintain their condition over time.
Required Items:
- Over-the-door hanging organizers
- Cascading hangers
- Hanging shelf units
- Vertical shoe organizers
- Heavy-duty hooks
- Closet rod extenders
- Hanging accessory organizers
- Storage bins or baskets
- Label maker
- Measuring tape
Start by measuring your closet’s height and available hanging space to determine which hanging organizers will fit best. Install closet rod extenders if needed to create multiple hanging levels.
Begin with the largest hanging organizers first, such as shelf units or clothing cascaders, positioning them toward the back of the closet. Add specialized organizers for shoes, accessories, and smaller items toward the front where they’re easily accessible. Utilize over-the-door space by installing hooks or pocket organizers for additional storage.
When arranging items within the hanging organizers, place frequently used items at eye level and between shoulder and knee height for easy access. Store seasonal or rarely used items in higher or lower compartments.
Group similar items together and use storage bins within hanging shelf units to contain smaller items and maintain organization.
To maintain the system’s effectiveness, regularly assess and adjust the arrangement based on usage patterns. Consider using clear storage containers to easily identify contents, and implement a one-in-one-out rule when adding new items to prevent overcrowding.
Remember to periodically check that all hanging organizers remain securely fastened to prevent accidents or damage to stored items.
Install a Custom Shoe Storage System
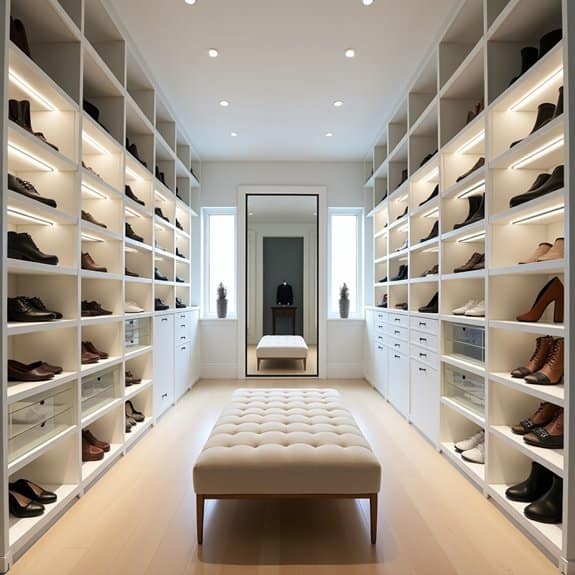
A well-organized shoe storage system is essential for maintaining order in your closet while protecting your footwear investment. Without proper organization, shoes can become damaged, misplaced, or forgotten, leading to unnecessary purchases and cluttered spaces that make getting dressed more stressful than it needs to be.
Installing a custom shoe storage system transforms your closet into an efficient, boutique-like space where every pair is visible, accessible, and properly stored. This organization method not only extends the life of your shoes but also makes it easier to coordinate outfits and maintain a clear inventory of your collection.
Required Items:
- Measuring tape
- Level
- Drill and drill bits
- Screwdriver
- Wall anchors
- Adjustable shoe racks or shelving units
- Shelf dividers
- Clear shoe boxes (optional)
- Dust bags for delicate shoes
- Label maker
- Cleaning supplies
Start by measuring your closet space and taking inventory of your shoe collection. Group shoes by category (formal, casual, athletic) and frequency of use. Install wall-mounted or free-standing shoe racks at appropriate heights, ensuring adequate space between shelves for different shoe types. For boots and taller footwear, plan additional vertical space or specialized boot storage solutions.
Mount the shelving units securely using wall anchors and ensure they’re level. Arrange shoes with the left shoe facing forward and the right shoe facing backward to maximize visibility and space efficiency. Place frequently worn shoes at eye level and seasonal items higher up or lower down. For delicate shoes, use clear boxes or dust bags for protection while maintaining visibility.
For optimal organization maintenance, implement a one-in-one-out rule when purchasing new shoes, and conduct seasonal reviews of your collection. Consider using shelf dividers between different shoe types and adding labels to boxes for quick identification. Store special occasion shoes in their original boxes with photos attached for easy reference, and keep a small shoe care kit nearby for immediate maintenance when needed.
Implement Seasonal Rotation Strategies
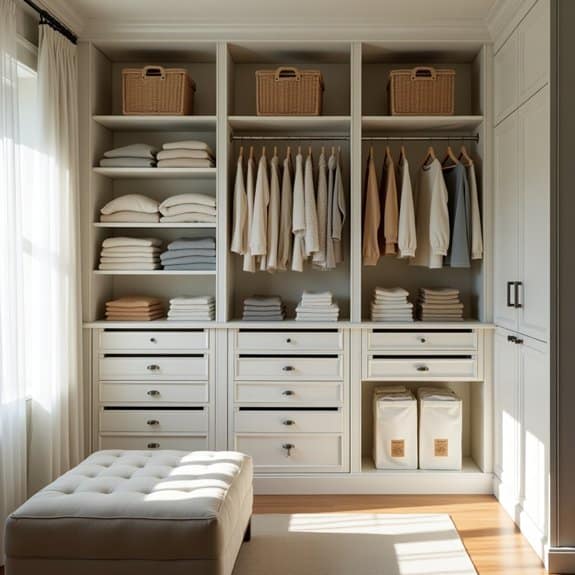
Implementing a seasonal rotation system in your closet is essential for maximizing space and maintaining an organized wardrobe throughout the year. By properly storing off-season clothing and rotating items as the weather changes, you can reduce closet clutter and better preserve your garments.
A well-executed seasonal rotation strategy allows you to focus on currently wearable items while protecting valuable pieces from unnecessary wear, dust, and damage. This systematic approach not only makes daily dressing more efficient but also provides natural opportunities to assess, clean, and maintain your wardrobe twice yearly.
Required Items:
- Storage containers or vacuum bags
- Cedar blocks or lavender sachets
- Labels and marker
- Garment cleaning supplies
- Storage boxes for shoes
- Garment bags
- Climate-controlled storage space
- Inventory checklist
- Cleaning cloths
- Mothballs or moth deterrent (optional)
The rotation process begins with a thorough assessment of your current wardrobe at the start of each major season (spring/summer and fall/winter). Sort clothes into three categories: current season, next season, and year-round items.
Clean all garments thoroughly before storage, ensuring they’re completely dry to prevent mildew. Pack off-season items in appropriate containers, using vacuum bags for bulky items like sweaters and coats.
Store packed items in a cool, dry place, preferably climate-controlled, with cedar blocks or lavender sachets to protect against moths and maintain freshness. Label each container clearly with contents and season. Keep an inventory list of stored items to prevent unnecessary purchases and ensure nothing gets lost between seasons.
Additional Tips:
Use the rotation process as an opportunity to evaluate your wardrobe. As you pack and unpack, assess items for wear and tear, fit, and relevance to your current lifestyle.
Donate or sell pieces that no longer serve you, and make note of any gaps that need filling in your seasonal wardrobe. Consider taking photos of stored items for quick reference and maintaining a digital inventory of your clothing collection.
Create a Color-Coded Wardrobe System

A color-coded wardrobe system transforms a chaotic closet into an efficient, visually appealing space that streamlines your daily routine. When clothes are organized by color, finding specific items becomes intuitive, reducing the time spent searching through hangers and folded piles while getting dressed each morning.
This systematic approach not only makes outfit selection easier but also helps identify gaps in your wardrobe and prevents unnecessary duplicate purchases. Color coordination creates a boutique-like atmosphere in your closet, making it more enjoyable to maintain organization while providing a clear visual inventory of your clothing collection.
Required Items:
- Matching hangers
- Closet dividers or markers
- Storage boxes
- Labels or label maker
- Drawer organizers
- Color wheel (optional)
- Clothing rack (temporary, for sorting)
- Storage bins
- Garment bags
Start by removing all clothing items from your closet and sorting them into color groups. Arrange colors in a logical progression following the rainbow spectrum: whites, creams, yellows, oranges, reds, pinks, purples, blues, greens, browns, grays, and blacks.
Within each color category, organize items by type (shirts, pants, dresses) and shade intensity (light to dark). Use matching hangers throughout to maintain visual consistency and hang items facing the same direction.
Install closet dividers or markers between color sections to maintain clear boundaries. For folded items in drawers, implement the same color-coding system using drawer organizers. Store seasonal items in clearly labeled storage boxes, maintaining the color coordination system even in storage.
Additional Tips: Take photos of your organized system for reference, and maintain the organization by returning items to their designated color sections immediately after laundering.
Consider implementing a “one-in-one-out” rule when adding new items to prevent overcrowding. Review your color-coded system seasonally, adjusting categories as needed and removing items that no longer serve your wardrobe needs.
Add Smart Lighting Solutions
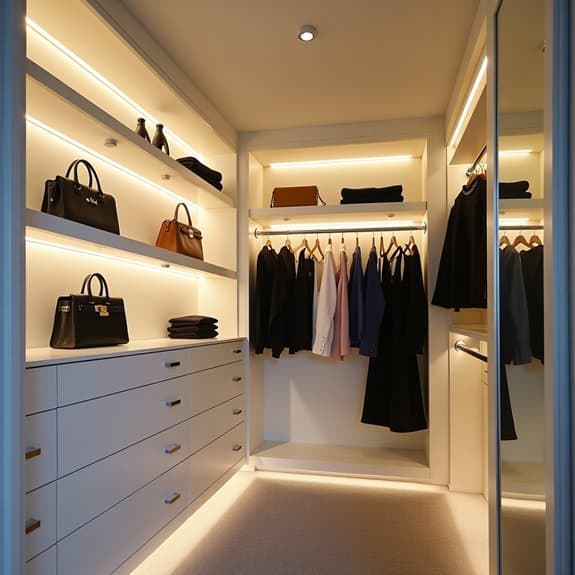
Proper lighting in a closet is essential for creating a functional and efficient storage space. Poor lighting can make it difficult to distinguish colors, find specific items, and maintain an organized system. Well-planned lighting not only improves visibility but also transforms a dark, cramped closet into an inviting space that makes daily routines more enjoyable.
Smart lighting solutions have revolutionized closet organization by offering customizable, energy-efficient options that can be controlled through smartphones or voice commands. These modern solutions can include motion sensors, dimming capabilities, and even color temperature adjustments to provide the perfect lighting for different times of day or specific tasks.
Required Items:
- LED strip lights
- Motion sensors
- Smart light bulbs
- Light fixtures
- Wireless switches
- Smart hub (if needed)
- Cable clips
- Wire connectors
- Mounting tape
- Basic tools (screwdriver, wire stripper)
- Smart device or controller
Installation and organization begin with assessing your closet’s layout and identifying dark zones that need illumination. Start by installing a main overhead light fixture with a smart bulb for general illumination.
Next, add LED strip lights under shelves and along hanging rods, securing them with mounting tape and cable clips. Position motion sensors near the closet entrance, ensuring they’ve a clear line of sight. Connect all components to your smart home system or hub according to manufacturer instructions, then program automated routines for different scenarios.
Additional Tips: Consider installing battery-operated lights in areas where electrical wiring isn’t feasible. Use warm white lighting (2700-3000K) for a more flattering effect on clothes and opt for high CRI (Color Rendering Index) bulbs to ensure accurate color representation.
Create different lighting zones within the closet and set up schedules to automatically turn lights off when not in use to save energy. Regular maintenance, including dusting fixtures and checking connections, will help maintain optimal performance of your smart lighting system.
Utilize Door and Wall Space
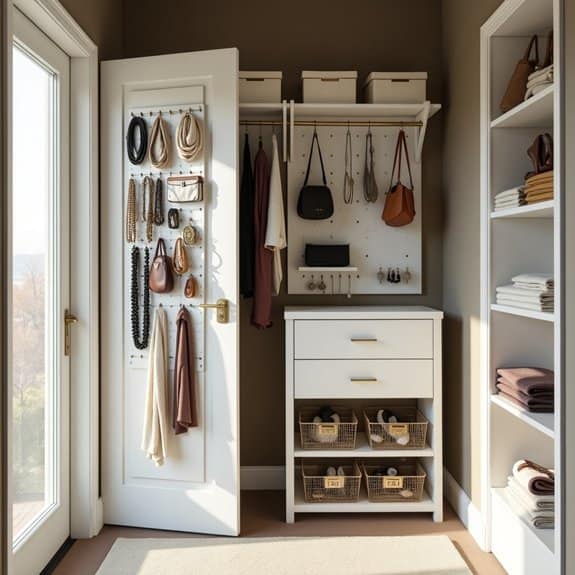
Making the most of vertical space in your closet is a game-changer for storage optimization. While most people focus on hanging rods and shelves, doors and walls offer untapped potential for organizing everything from accessories to shoes and daily essentials. These often-overlooked surfaces can effectively double your storage capacity without taking up precious floor space.
Proper utilization of door and wall space transforms a cramped closet into an efficient storage haven. By implementing vertical storage solutions, you’ll create easy access to frequently used items while maintaining a clutter-free environment that maximizes every square inch of available space.
Required Items:
- Over-the-door hooks
- Over-the-door organizers
- Command hooks or mounting hardware
- Wall-mounted shoe racks
- Belt and tie racks
- Wire baskets
- Pegboard and hooks
- Measuring tape
- Level
- Screwdriver
- Wall anchors
- Storage bins or containers
Start by measuring your door and wall dimensions to determine suitable storage solutions. Install an over-the-door organizer on the main closet door, utilizing pockets for smaller items like accessories, jewelry, or toiletries.
Mount hooks at various heights for bags, robes, or clothing items you access frequently. For wall space, install a pegboard system or series of mounted organizers approximately 12 inches apart. Position shoe racks at eye level for easy access, and mount belt and tie racks slightly lower.
Use wall-mounted wire baskets for storing folded items or accessories, ensuring they’re properly anchored to support the weight.
Additional Tips:
Consider incorporating clear storage solutions to easily identify items, and label everything for quick retrieval. Rotate seasonal items to keep frequently used pieces at eye level. Leave some wall space empty to prevent visual crowding and maintain easy access to all stored items.
Remember to check weight limits for adhesive solutions and use appropriate wall anchors for heavier items to ensure long-term stability and safety.
Incorporate Multi-Purpose Storage Furniture
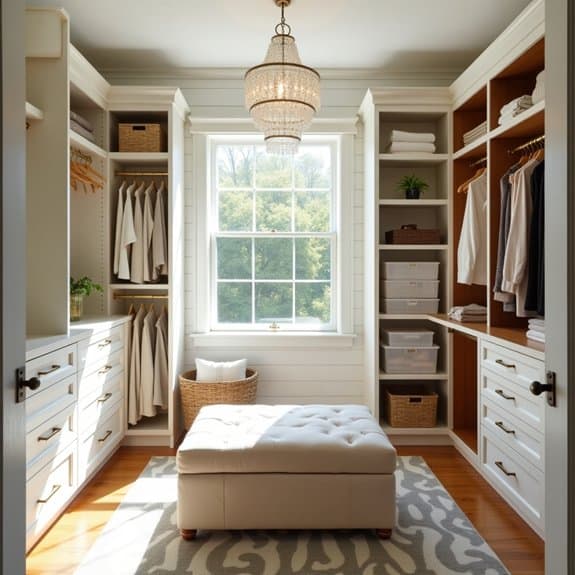
Maximizing closet space through multi-purpose storage furniture is essential for modern living, especially in homes where space comes at a premium. These versatile pieces serve double or triple duty, combining storage solutions with functional furniture that can transform how you use your closet space.
Multi-purpose storage furniture not only helps declutter your closet but also creates additional functional areas within the same footprint. From ottomans that store seasonal items to fold-down desks that double as storage units, these pieces can dramatically increase your closet’s utility while maintaining an organized and aesthetic appeal.
Required Items:
- Measuring tape
- Storage ottoman or bench
- Fold-down desk or table
- Multi-drawer storage units
- Over-the-door organizers
- Storage boxes or baskets
- Labels
- Level
- Basic tools (screwdriver, drill)
- Mounting hardware
Start by measuring your closet space carefully, noting height, width, and depth dimensions. Select multi-purpose pieces that fit these measurements while leaving adequate clearance for movement.
Position larger pieces first, such as storage benches or ottomans, against walls where they won’t impede daily access. Install fold-down surfaces at comfortable heights, ensuring they’ve proper support and can bear intended weight loads.
When arranging drawer units, place frequently accessed items in middle drawers, keeping heavier items in bottom drawers for stability. Utilize vertical space by mounting over-the-door organizers and installing adjustable shelving systems that can adapt to changing storage needs.
Create designated zones within each piece of furniture, using storage boxes or baskets to separate different categories of items.
For optimal organization maintenance, regularly assess how each piece of multi-purpose furniture is serving your needs. Consider rotating seasonal items between storage spaces, label all containers clearly, and establish a system where items are returned to their designated spots after use.
Remember to leave some empty space in each storage solution to accommodate new items and maintain flexibility in your organization system.
Design an Accessory Organization Station
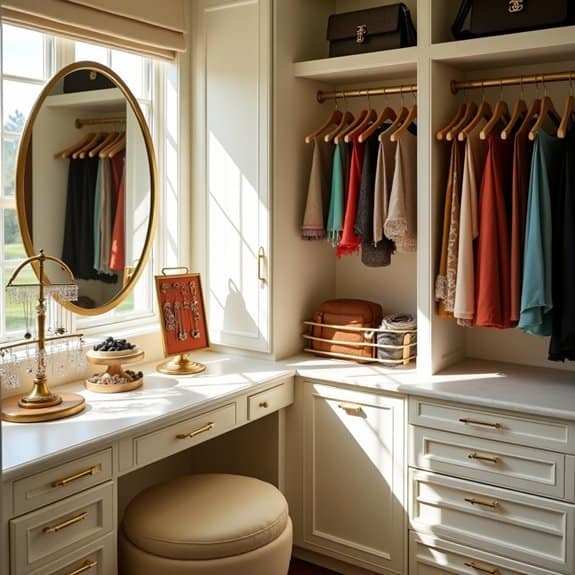
A well-designed accessory organization station transforms a chaotic collection of jewelry, scarves, belts, and other accessories into an easily accessible, visually appealing display. When accessories are properly organized, you can quickly locate what you need, prevent tangling and damage, and actually wear more of your collection instead of forgetting pieces hidden in drawers or boxes.
Creating a dedicated space for accessories not only protects your investment but also turns the daily ritual of selecting accessories into an enjoyable experience. An organized station can save valuable time during morning routines and help maintain the condition of delicate items, ultimately extending their lifespan and preserving their beauty.
Required Items:
- Jewelry stand or tree
- Belt hooks or rack
- Scarf hangers
- Clear drawer organizers
- Small boxes or trays
- Wall-mounted hooks
- Hanging organizer with pockets
- Mirror
- Shelf or flat surface
- Command strips or mounting hardware
- Drawer liner material
- Labels
Start by selecting a visible, accessible location within your closet or dressing area. Mount a mirror at eye level, then install shelving or a small table beneath it as your base station. Position jewelry stands and trees on the flat surface, arranging them by category (necklaces, bracelets, rings).
Install wall-mounted hooks nearby for frequently used pieces and longer necklaces. Use drawer organizers with separate compartments for smaller items like earrings and rings, lining each compartment with protective material to prevent scratching.
For scarves and belts, install dedicated hooks or specialized hangers on a nearby wall or closet rod. Arrange items by color or length for easy identification. Utilize a hanging organizer with clear pockets for clutches, small purses, or rolled scarves. Ensure all items are visible and easily accessible without having to move other pieces.
Additional Tips: Incorporate adequate lighting to help you see all items clearly. Photograph your organized accessories and create a digital inventory for insurance purposes and outfit planning. Consider rotating seasonal accessories to maintain organization and prevent overcrowding. Clean and maintain your organizing tools regularly, checking for wear and replacing as needed to protect your accessories.
Sort With Clear Storage Containers
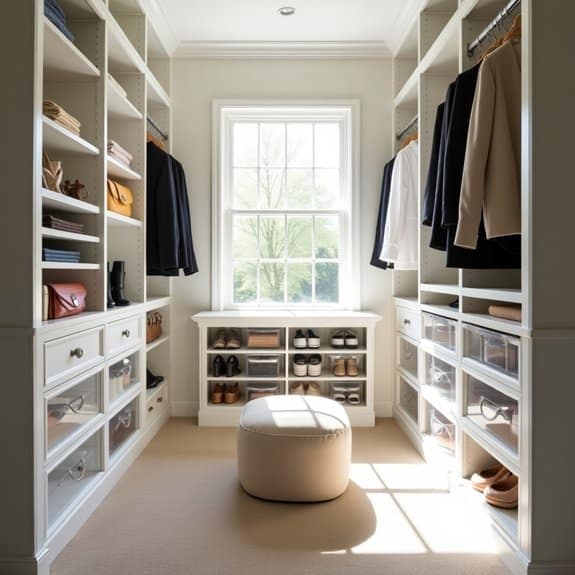
Clear storage containers are game-changers when it comes to closet organization, offering visibility and protection for your belongings while maintaining a cohesive, streamlined look.
These versatile tools eliminate the frustration of searching through opaque boxes and bags, allowing you to quickly locate items without disrupting your entire organizational system.
The implementation of clear containers transforms a chaotic closet into an efficiently managed space, similar to a retail display. This visibility not only saves time but also helps maintain organization long-term, as you’re more likely to return items to their designated spots when you can clearly see where everything belongs.
Required Items:
- Clear plastic storage bins (various sizes)
- Labels and label maker
- Measuring tape
- Box cutter or scissors
- Shelf liner (optional)
- Drawer dividers
- Clear shoe boxes
- Clear garment bags
- Dust cloths
Begin by measuring your closet space and determining appropriate container sizes for different areas. Sort items into categories such as seasonal clothing, accessories, shoes, and special occasion wear.
Select containers that fit your shelving units and maximize vertical space. Always choose stackable options with secure lids to protect against dust and moisture.
For implementation, start with the top shelf, working your way down. Place less-frequently used items in larger containers on higher shelves. Use medium-sized containers at eye level for regularly accessed items, and smaller containers for accessories and delicate pieces.
Install clear shoe boxes along the bottom of the closet or on dedicated shoe shelving. Ensure all containers are properly labeled, even if contents are visible, to maintain organization when switching seasonal items.
Additional Tips: Resist the urge to overfill containers, which can lead to damaged items and difficult access. Consider using silica gel packets in containers storing delicate fabrics to prevent moisture damage.
Review container contents every six months, removing items that haven’t been used. When selecting new storage containers, stick to one brand or style to ensure consistent stacking and aesthetic appeal. Always leave some empty space in each container to accommodate new items or seasonal rotations.
Master the Art of Folding and Hanging
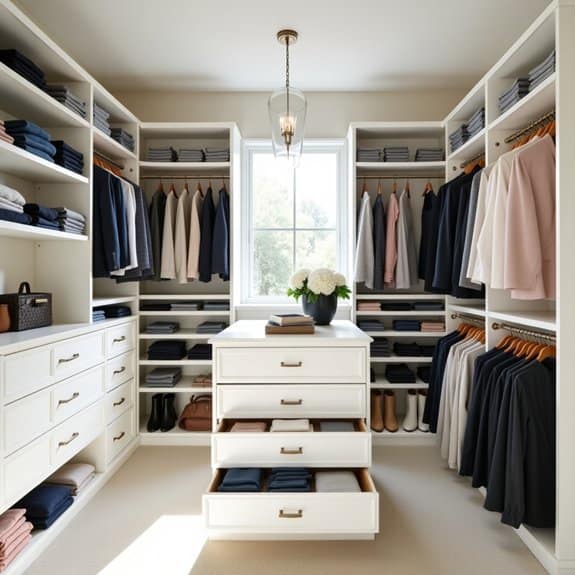
Proper folding and hanging techniques form the foundation of an organized closet system. When clothes are stored correctly, they maintain their shape, remain wrinkle-free, and become easily accessible, ultimately extending their lifespan and preserving their quality. This fundamental skill transforms a chaotic closet into an efficient, functional space.
Learning the correct methods for folding and hanging different types of garments not only maximizes storage space but also creates a visually appealing and systematic arrangement. When each item has its designated place and is stored appropriately, getting dressed becomes effortless, and maintaining order becomes second nature.
Essential Tools:
- Sturdy hangers (wooden, velvet, or plastic)
- Drawer dividers
- Folding board
- Shelf dividers
- Garment clips
- Storage boxes
- Hanging rod organizers
- Sweater bags
Start by sorting clothes into categories: hanging items versus folding items. Hang structured pieces like blazers, dresses, dress shirts, and trousers using appropriate hangers – wooden for suits, padded for delicate items, and velvet-coated for everyday wear. Button all buttons and zip all zippers before hanging.
For knits and casual wear, master the basic fold: lay the item face-down, fold in the sleeves, and fold into thirds lengthwise, then in half or thirds horizontally depending on drawer depth. For delicate items like silk blouses, use padded hangers and avoid hanging knit items that can stretch.
Implement the file-folding method for drawers, storing clothes vertically rather than stacked, making each item visible and accessible. Utilize shelf dividers to prevent stacked items from toppling, and incorporate storage boxes for seasonal or occasional items.
To maintain your organized system, regularly assess hanging items for proper spacing, allowing approximately two finger-widths between garments. Refold items that become disheveled, and consider implementing a one-in-one-out rule to prevent overcrowding.
Rotate seasonal items to maintain easy access to current wardrobe pieces, and periodically review your folding and hanging techniques to ensure they continue to serve your needs effectively.

