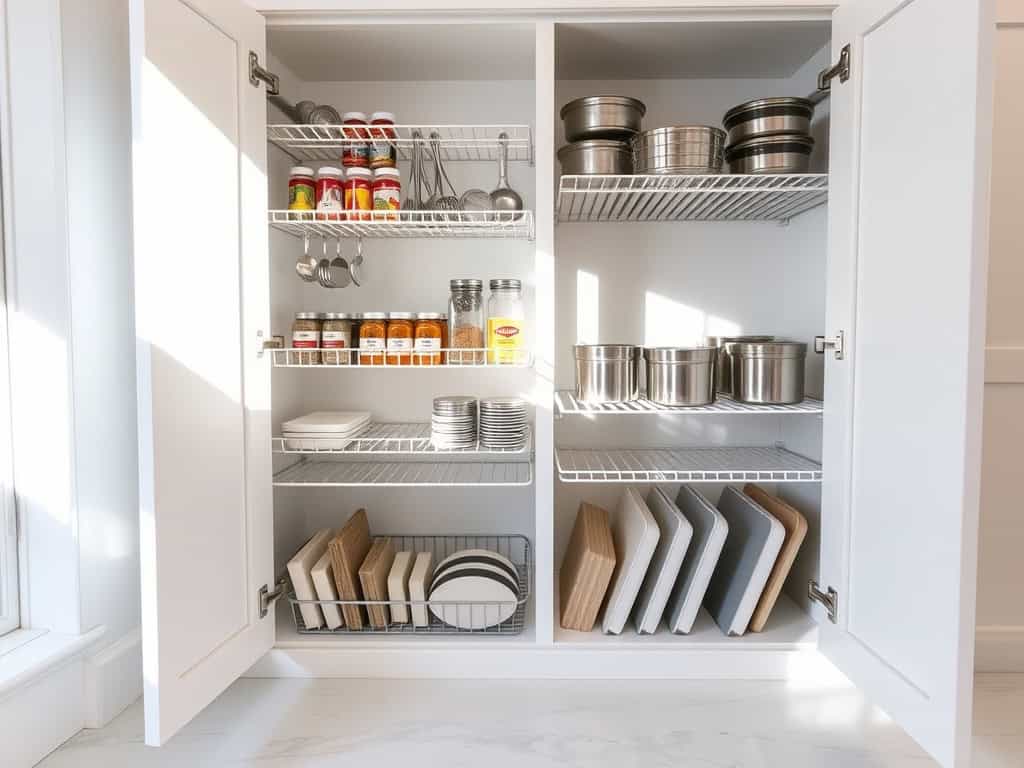
Did you know that the average person wastes up to 30% of their kitchen cabinet space due to poor organization? If you’re dealing with a cramped kitchen, you’re probably familiar with the frustration of digging through cluttered cabinets to find what you need. I’ve been there too, and after years of trial and error, I’ve discovered eight game-changing organization tricks that’ll transform your small kitchen into a storage powerhouse. Let me show you how to reclaim every precious inch of space.
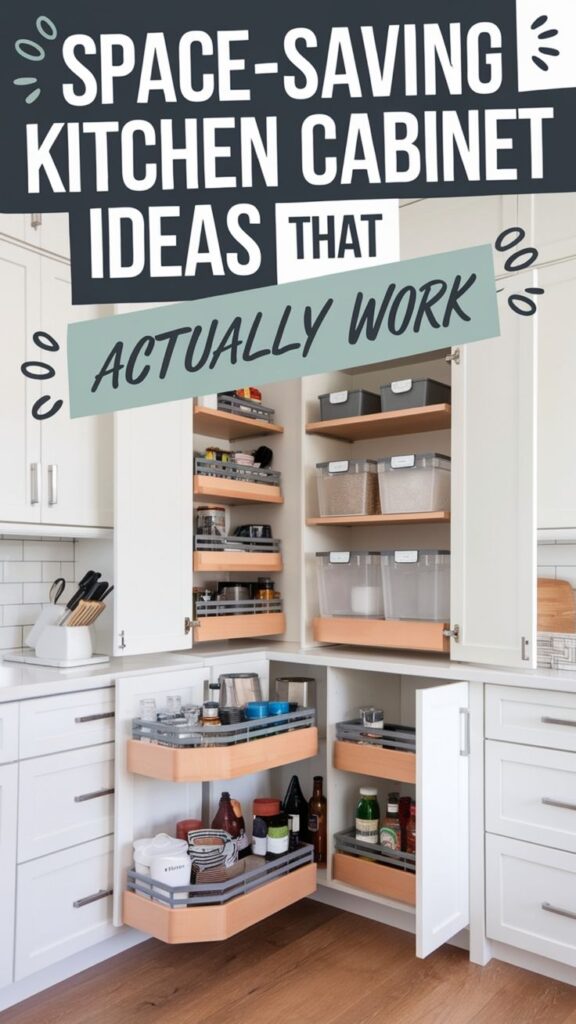
Install Pull-Out Cabinet Organizers and Shelves
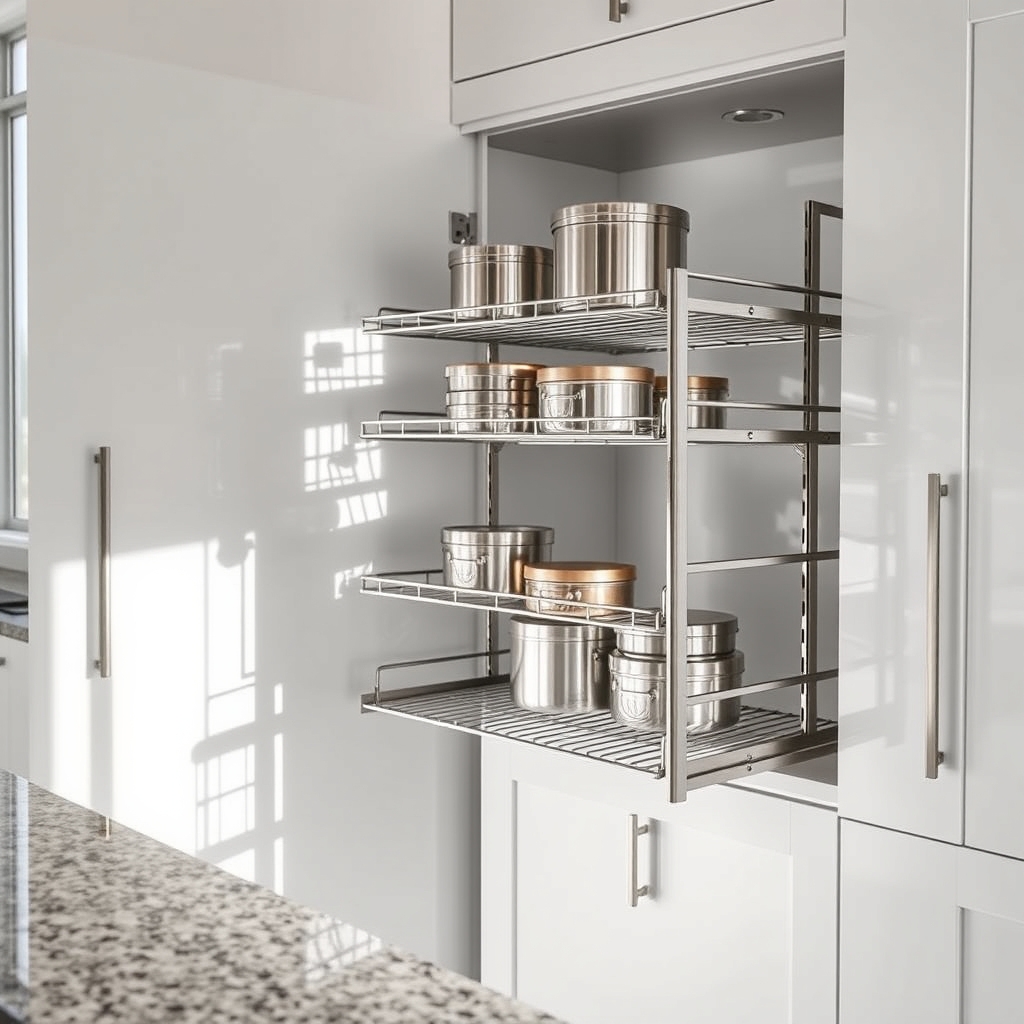
Pull-out cabinet organizers and shelves are game-changers for small kitchen storage, transforming hard-to-reach spaces into easily accessible storage areas. These innovative solutions maximize vertical space while keeping items visible and within arm’s reach, eliminating the need to dig through deep cabinets or struggle to access items in back corners.
Installing pull-out organizers can double or triple your usable cabinet space by creating multiple layers of storage that glide smoothly in and out. This organization method is particularly effective for storing pots, pans, cleaning supplies, and pantry items, making them instantly accessible while maintaining a clutter-free environment.
Required Items:
- Pull-out cabinet organizers
- Measuring tape
- Screwdriver
- Drill and drill bits
- Level
- Pencil
- Installation hardware (screws, brackets)
- Safety glasses
- Work gloves
- Installation manual
Start by measuring your cabinet interior dimensions carefully, including width, depth, and height. Account for any hinges or obstacles that might interfere with the sliding mechanism. Remove all items from the cabinet and clean the interior thoroughly.
Following the manufacturer’s instructions, mark mounting points for the slide hardware, ensuring they’re level and properly aligned. Install the slide mechanisms first, typically attaching them to the cabinet sides. Most systems use pre-drilled holes or require you to drill pilot holes for proper mounting.
Once the slides are secure, attach the pull-out shelf or organizer to the sliding mechanism, testing for smooth operation and proper alignment before loading items.
Additional Tips:
Consider weight capacity when selecting pull-out organizers and distribute weight evenly when loading them. Install bump stops to prevent over-extension, and regularly clean and lubricate the sliding mechanisms for optimal performance.
For frequently accessed items, install pull-outs at comfortable reaching heights, and use non-slip liner material to prevent items from shifting during operation.
Maximize Door Space With Over-The-Door Storage
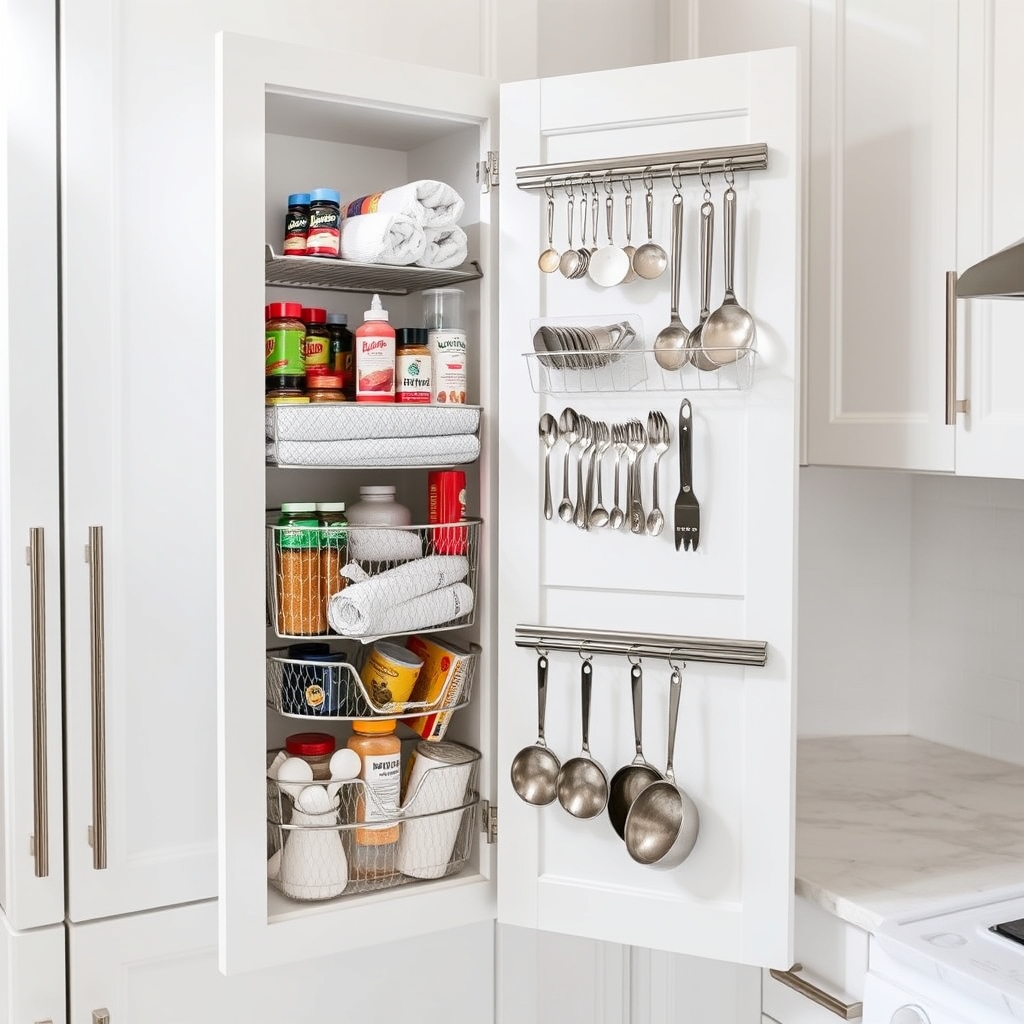
Cabinet doors represent valuable but often overlooked storage real estate in small kitchens. These vertical surfaces can effectively double your storage capacity when properly utilized, providing easy access to frequently used items while keeping countertops and cabinet interiors less cluttered.
Making use of cabinet door space is particularly valuable for apartment dwellers and those with limited kitchen storage. Over-the-door organizers can accommodate everything from spices and cleaning supplies to pot lids and cutting boards, transforming previously unused space into functional storage zones.
Required Items:
- Over-the-door basket organizers
- Command hooks or adhesive hooks
- Door-mounted spice racks
- Cabinet door brackets
- Measuring tape
- Screwdriver
- Level
- Pencil
- Door-mounted towel bars
- Plastic storage pouches with adhesive backs
Installation and organization begins with measuring your cabinet doors‘ dimensions, including thickness, to ensure proper fit of organizing tools. Select appropriate door-mounted organizers based on your specific storage needs and door specifications.
Install brackets or hooks according to manufacturer instructions, ensuring they don’t interfere with cabinet closure or shelving. Position heavier items lower on the door to prevent strain on hinges, and arrange frequently used items at eye level for easy access.
When organizing items within the door-mounted storage, group similar items together. Place cleaning supplies on one door, cooking ingredients on another, and kitchen tools on a third.
Consider using clear containers or labeled bins within the door organizers to maintain organization and make items easily identifiable.
Additional Tips:
Use rubber bumpers or felt pads where organizers contact the cabinet frame to prevent scratching and noise. Regularly check mounting hardware for security, especially on frequently used doors.
Consider weight distribution across multiple doors rather than overloading a single door, and periodically rotate items to ensure even wear on hinges and mounting hardware.
Use Stackable Clear Containers for Pantry Items
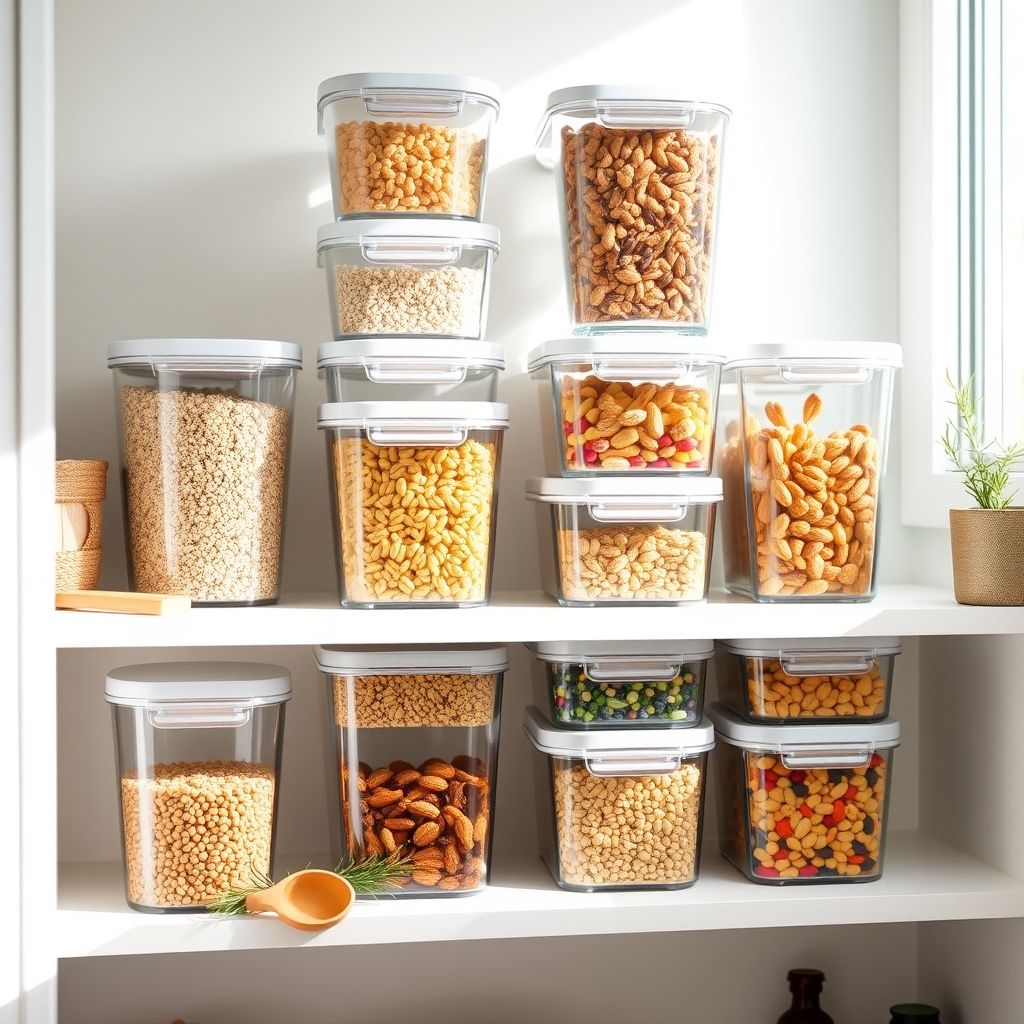
Organizing pantry items in stackable clear containers is a game-changing strategy for maximizing cabinet space in small kitchens. These containers not only create a streamlined, uniform appearance but also protect food items from moisture and pests while making it easy to see when supplies are running low.
The transformation from cluttered boxes and bags to neat, stackable containers can double your usable space while reducing food waste. Clear containers allow you to quickly identify ingredients, eliminate duplicate purchases, and maintain freshness longer through proper sealing.
Required Items:
- Various sizes of clear, airtight containers
- Label maker or waterproof labels
- Measuring cups
- Funnel
- Clean cloth or paper towels
- Container cleaning brush
- Food storage guide
- Clear plastic bins for grouping containers
Start by emptying your pantry items and checking expiration dates. Sort foods into categories like grains, snacks, baking supplies, and breakfast items. Measure your cabinet spaces, including shelf height, to determine appropriate container sizes.
Select containers that stack efficiently and fit your space constraints. Transfer dry goods into your containers, using a funnel to prevent spills. Leave enough headspace in each container to allow for easy pouring and scooping.
Create clear, detailed labels that include the item name, expiration date, and any crucial preparation instructions. Group similar items together in clear bins for additional organization.
For optimal results, measure your most-used ingredients to choose appropriate container sizes, and buy a few extra containers for future needs. Implement a “first in, first out” rotation system, and clean containers thoroughly before refilling.
Consider keeping a small inventory list inside your cabinet door to track when items need replenishing.
Add Vertical Dividers for Bakeware and Cutting Boards
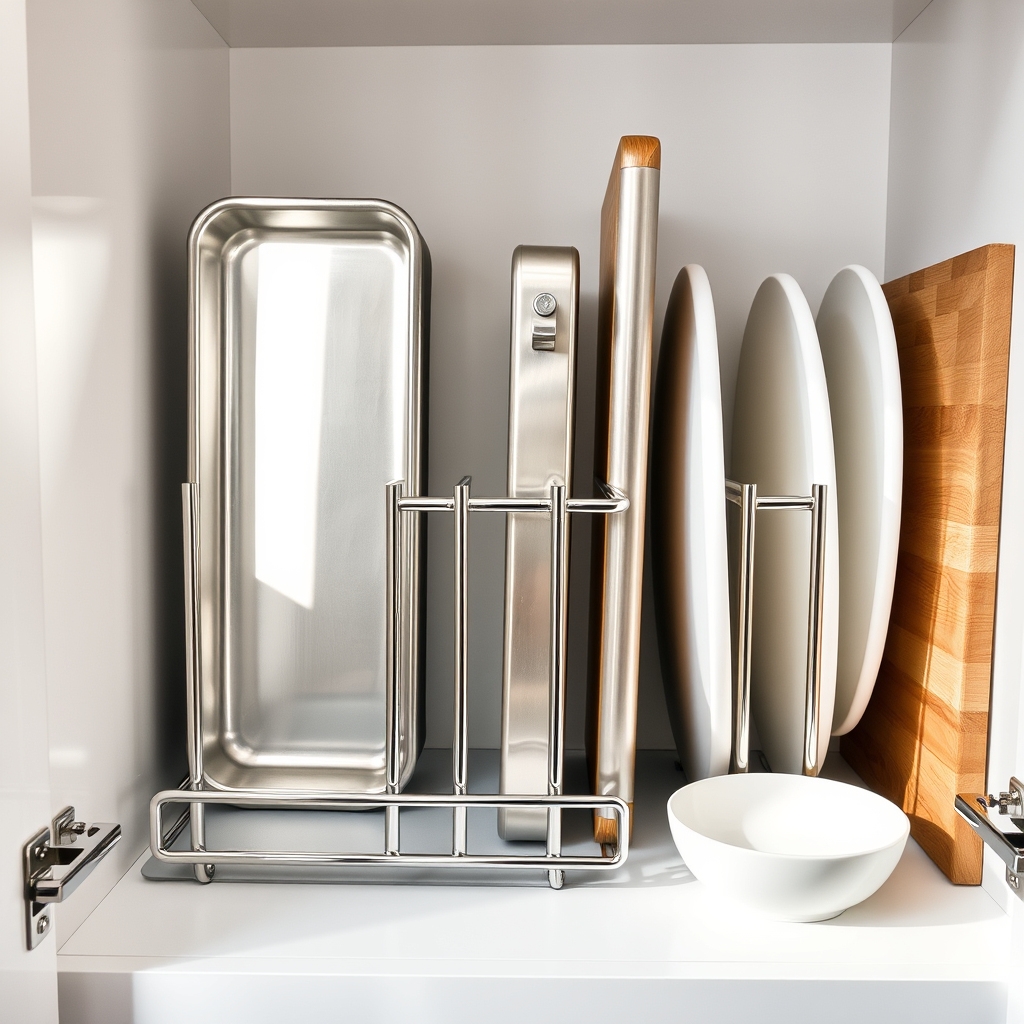
Vertical storage solutions are crucial in small kitchens where every inch of cabinet space counts. When bakeware and cutting boards are stacked horizontally, they create an unstable pile that’s difficult to access, often resulting in an avalanche of items when trying to retrieve a single piece.
Installing vertical dividers transforms chaotic cabinet spaces into efficient storage zones, allowing easy access to individual items while maximizing vertical space. This organization method not only protects your bakeware and cutting boards from scratches but also helps prevent warping of wooden items by storing them upright.
Required Items:
- Tension rods or spring-loaded dividers
- Cabinet organizer rack
- Measuring tape
- Non-slip shelf liner
- Adhesive hooks (optional)
- Label maker (optional)
- Cleaning supplies
Start by removing all items from the cabinet and measuring the interior height, width, and depth. Install non-slip liner on the cabinet bottom to prevent sliding.
Position tension rods vertically or install a pre-made organizer rack, ensuring proper spacing between dividers to accommodate your largest items. Create sections based on item size, keeping frequently used pieces toward the front for easy access. For deeper cabinets, consider installing a second row of dividers toward the back for additional storage capacity.
When placing items back into the cabinet, organize them by size and frequency of use. Position larger baking sheets and cutting boards toward the outer edges, with smaller items in the center sections. Store similar items together, such as all plastic cutting boards in one section and wooden ones in another.
If using adhesive hooks, attach them to the cabinet door or walls for hanging lightweight items or measuring tools.
Maintain this system by regularly wiping down dividers and reviewing the arrangement every few months to ensure it still meets your needs. Consider adding labels to designated spaces to help family members maintain the organization.
For best results, avoid overcrowding the spaces between dividers, as this defeats the purpose of vertical storage and makes items difficult to retrieve.
Create Custom Corner Solutions With Lazy Susans
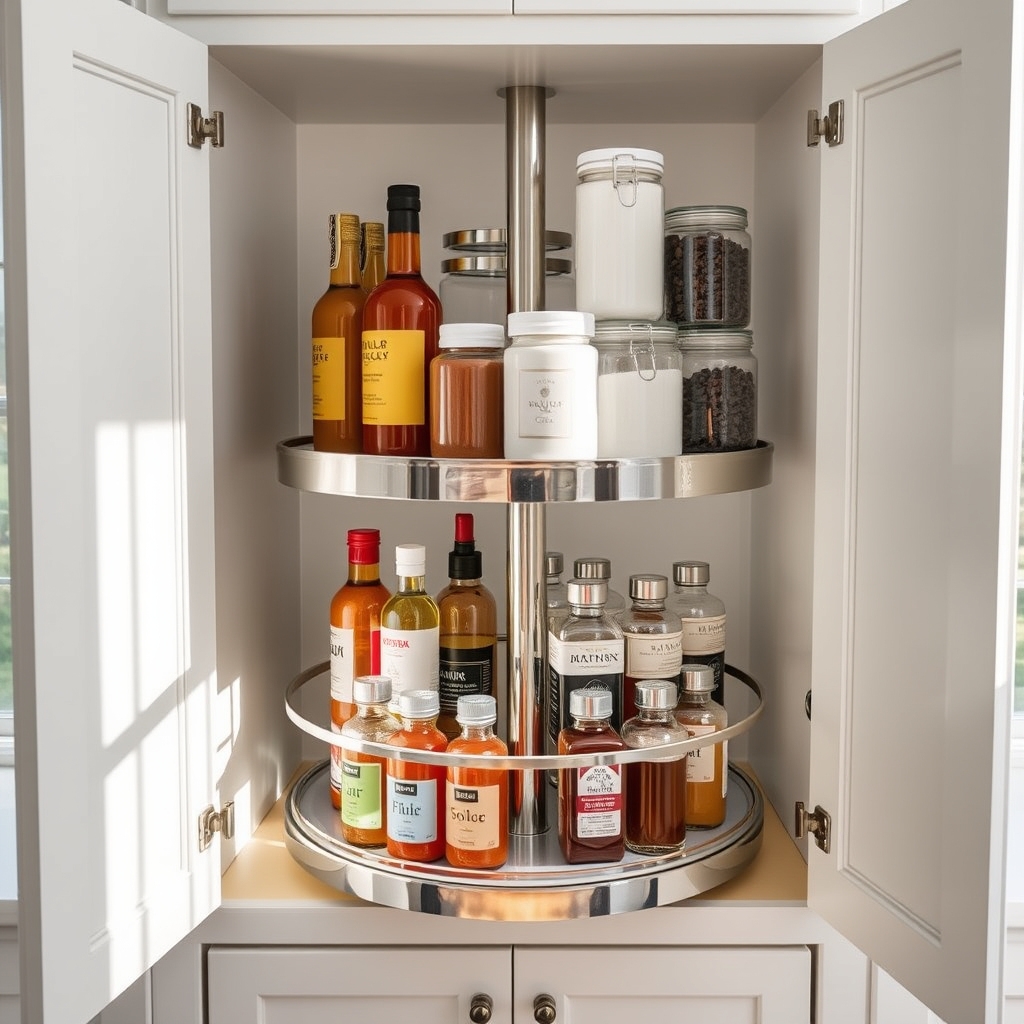
Corner cabinets often become dead spaces where items disappear into a dark abyss, never to be seen again. These awkward angles can waste valuable storage space in already cramped kitchens, making it frustrating to access items stored there.
Implementing lazy Susan solutions transforms these problematic corners into functional storage areas that maximize every inch of space. Installing lazy Susan systems in corner cabinets creates easy access to items that would otherwise be difficult to reach. This rotating storage solution allows you to store everything from small appliances to pantry items while keeping them visible and within arm’s reach, effectively doubling the usable space in corner cabinets.
Required Items:
- Lazy Susan turntables (single or multi-tier)
- Measuring tape
- Cabinet cleaning supplies
- Non-slip liner
- Storage containers or bins
- Labels
- Screwdriver (if mounting)
- Level
Start by removing everything from the corner cabinet and thoroughly cleaning the space. Measure the cabinet’s dimensions carefully, accounting for both width and depth, to ensure your lazy Susan will fit properly and rotate freely.
For double-corner cabinets, consider installing a two-tier system to maximize vertical space. Position the lazy Susan mechanism, ensuring it’s centered and level. If using a mounted system, secure it according to manufacturer instructions.
Once installed, organize items by category, placing frequently used items toward the front of each section. Store similar items together, such as baking supplies on one level and cooking oils on another. Use containment solutions like bins or baskets to prevent small items from falling off during rotation, and consider adding non-slip liner to prevent items from shifting.
To maintain organization long-term, implement a regular maintenance schedule to wipe down the lazy Susan and check that items haven’t shifted. Label sections clearly to maintain organization systems, and consider keeping a small flashlight nearby for better visibility in these typically dark corners.
Remember to periodically review and adjust item placement based on usage patterns to ensure the most efficient arrangement for your needs.
Implement Multi-Tier Drawer Systems
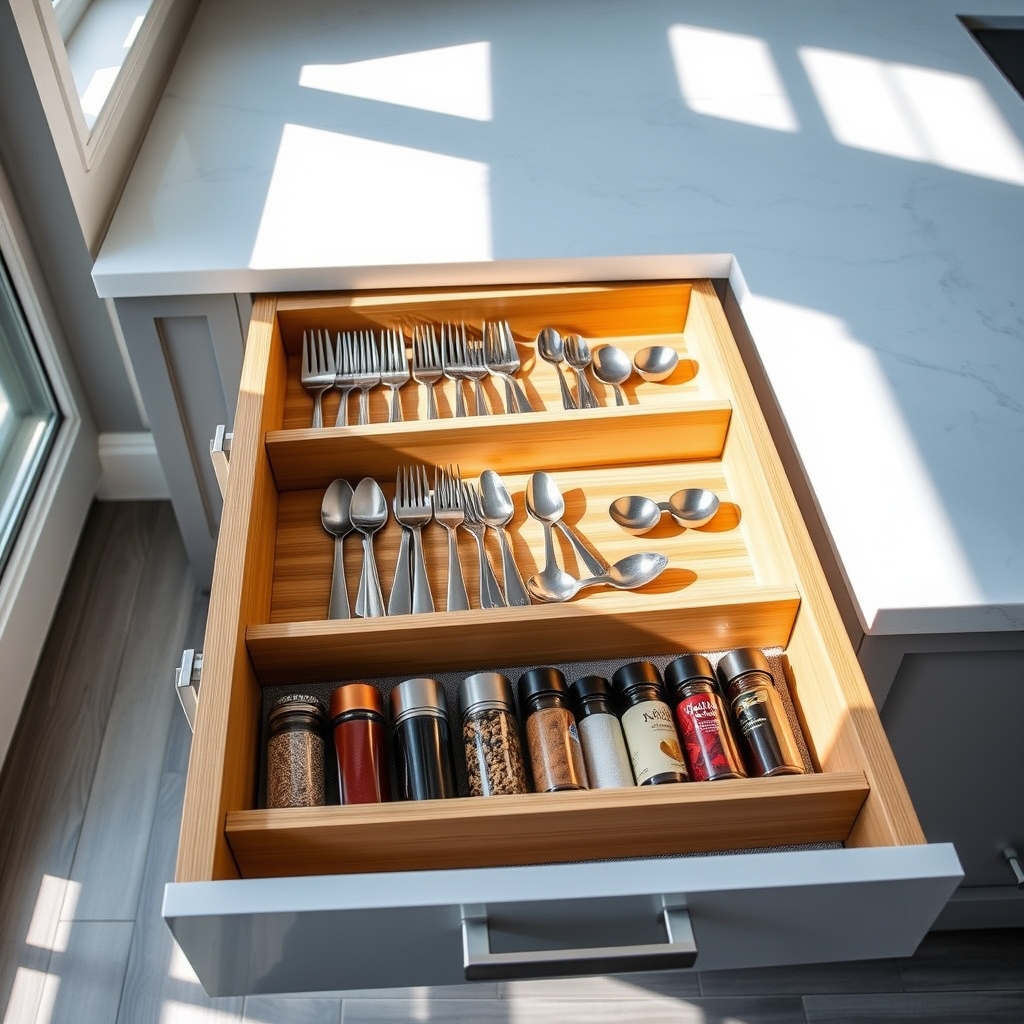
Multi-tier drawer systems represent a game-changing solution for maximizing vertical space in kitchen cabinets. By utilizing multiple levels within a single drawer, you can effectively double or triple your storage capacity while maintaining easy access to all items. This organizational approach is particularly valuable in small kitchens where every inch of space counts.
Traditional single-level drawers often lead to stacked items, making it difficult to access things at the bottom and creating cluttered, inefficient storage. Multi-tier drawer systems solve this problem by creating designated spaces for different items, allowing for better categorization and preventing the frustration of digging through piled items to find what you need.
Required Items:
- Drawer organizer inserts
- Expandable drawer dividers
- Multi-tier drawer trays
- Measuring tape
- Cabinet-grade drawer slides
- Mounting hardware
- Non-slip drawer liners
- Label maker
- Storage containers (various sizes)
Start by removing all items from your existing drawers and measuring the interior dimensions carefully. Install drawer slides that can support the weight of multiple tiers if necessary.
Place the bottom tier tray first, typically reserved for heavier or less frequently used items. Add the secondary tier, ensuring it slides smoothly and doesn’t interfere with the drawer’s closure. Secure each tier properly to prevent shifting.
Sort items by frequency of use and size, placing frequently used items in the top tier for easy access. Utilize drawer dividers within each tier to create designated spaces for specific categories of items. Consider implementing a diagonal or stepped configuration in deeper drawers to maintain visibility of items in the back.
To maintain the effectiveness of your multi-tier system, regularly assess and adjust the organization as needed. Use drawer liners to prevent items from sliding around, and consider installing soft-close mechanisms to protect the system from damage caused by forceful closing.
Label each section clearly to ensure all household members maintain the organizational system, and periodically clean and inspect the drawer slides to ensure smooth operation.
Mount Magnetic Storage Strips for Spices
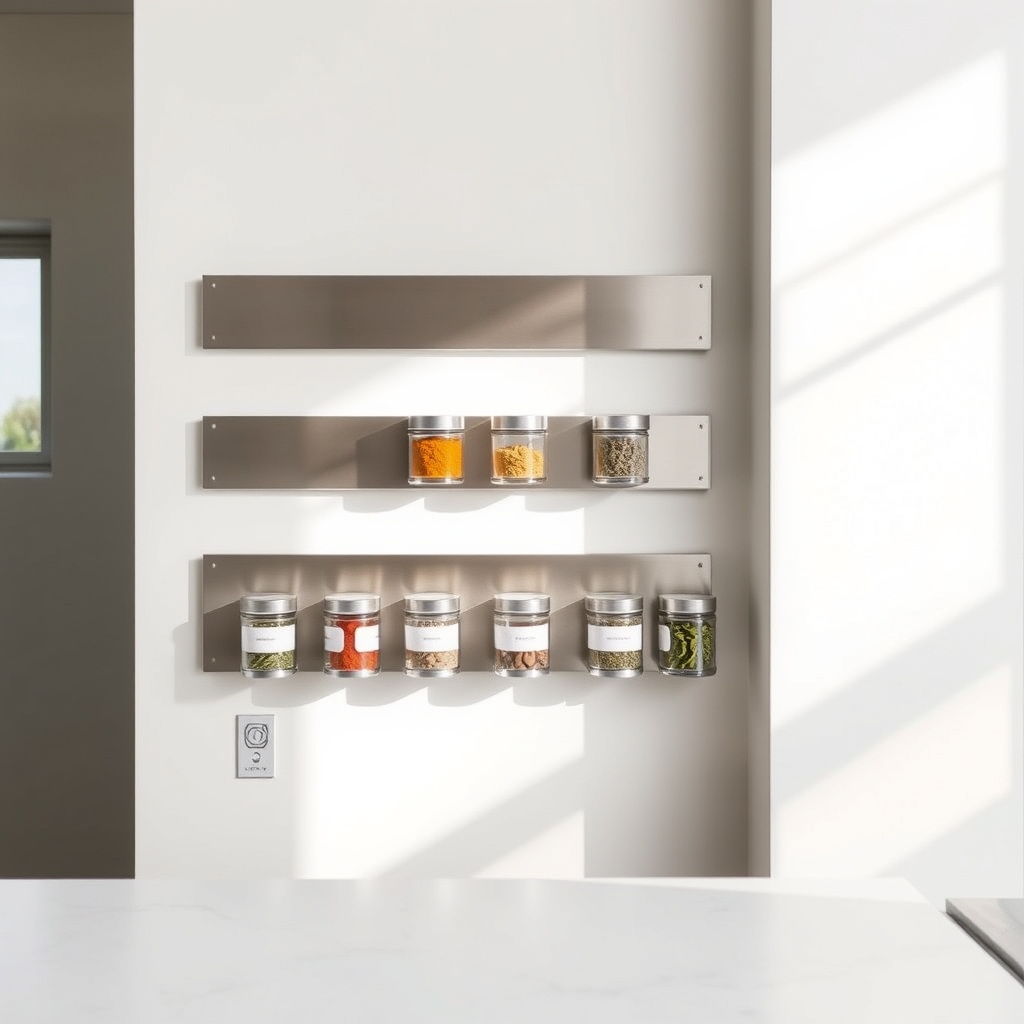
Spice organization is a crucial aspect of maintaining an efficient kitchen workflow. When spices are scattered throughout cabinets or drawers, cooking becomes more time-consuming and frustrating as you search for specific ingredients. Magnetic storage strips offer an innovative solution by utilizing vertical wall space, keeping spices visible and easily accessible.
Installing magnetic spice storage not only maximizes space but also transforms your spices into an attractive kitchen display. This organization method eliminates the need to dig through cluttered cabinets and ensures you can quickly spot when supplies run low, making grocery shopping more efficient.
Required Items:
- Magnetic knife strips or dedicated spice strips
- Mounting hardware (screws and anchors)
- Level
- Pencil
- Drill
- Screwdriver
- Metal spice containers
- Labels
- Measuring tape
Select an easily accessible wall space near your primary cooking area, ensuring it’s away from direct heat sources and sunlight. Measure and mark the desired height for your magnetic strips, using a level to ensure straight alignment. Install wall anchors if mounting on drywall, then secure the magnetic strips firmly with screws.
Transfer spices into metal containers, clearly labeling each one with contents and date of purchase. Arrange the containers on the strips in a logical order, such as grouping cooking spices separate from baking spices, or alphabetically for easy location.
For optimal organization success, regularly audit your spice collection to remove expired items and clean the containers and magnetic strips. Consider installing multiple strips at different heights to accommodate various container sizes, and always ensure spice containers are completely dry before placing them on the strips to prevent rust.
Keep frequently used spices at eye level for convenient access during meal preparation.
Declutter and Group Similar Items Together
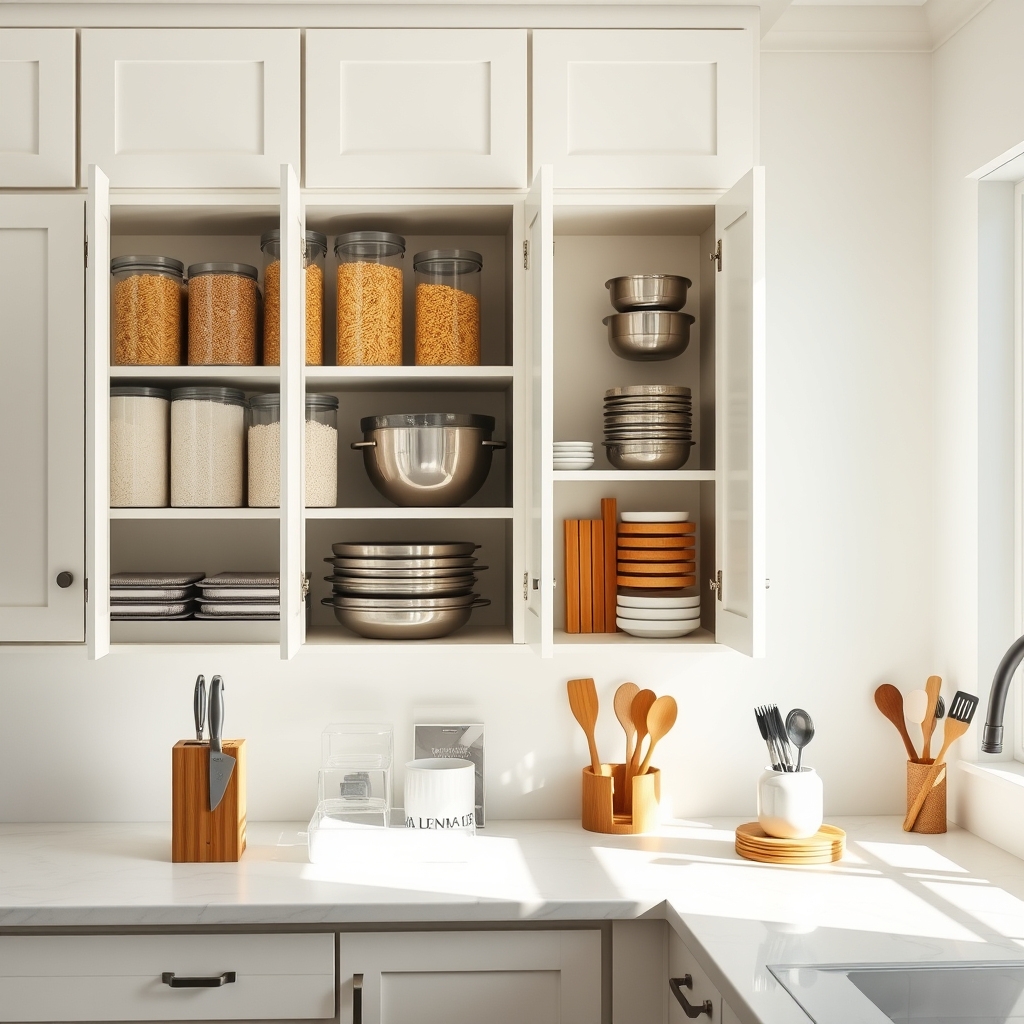
A well-organized kitchen cabinet system starts with proper decluttering and logical grouping of items. When similar items are stored together, you eliminate the frustration of searching through multiple cabinets to find what you need, ultimately saving time during meal preparation and cooking. This systematic approach also helps prevent duplicate purchases and ensures you’re aware of all your kitchen inventory.
The process of decluttering and grouping items creates a foundation for long-term kitchen organization success. By establishing designated zones for specific categories, you maintain order while maximizing your available space, making your kitchen more functional and enjoyable to use.
Required Items:
- Large sorting boxes or bins
- Cleaning supplies
- Labels and marker
- Measuring tape
- Storage containers
- Drawer dividers
- Clear bins or organizers
- Garbage bags
- Timer (optional)
Start by removing everything from your cabinets and placing items on a clear counter or table. Sort items into distinct categories such as baking supplies, canned goods, cooking tools, and serving pieces. During this process, check expiration dates and assess each item’s condition.
Create three piles: keep, donate/sell, and dispose. Once sorted, thoroughly clean the empty cabinets before returning items.
Group items based on both frequency of use and logical workflow. Store frequently used items at eye level and within easy reach. Place similar items together, such as all baking supplies in one area or all food storage containers in another.
Consider creating zones that align with your cooking habits – morning coffee station, baking corner, or cooking prep area.
For optimal organization maintenance, implement the “one in, one out” rule when adding new items to your kitchen. Regularly review your cabinet contents every three to six months, adjusting groupings as your needs change.
Use clear containers and labels to maintain your system, and ensure family members understand the new organization method to maintain long-term success.

