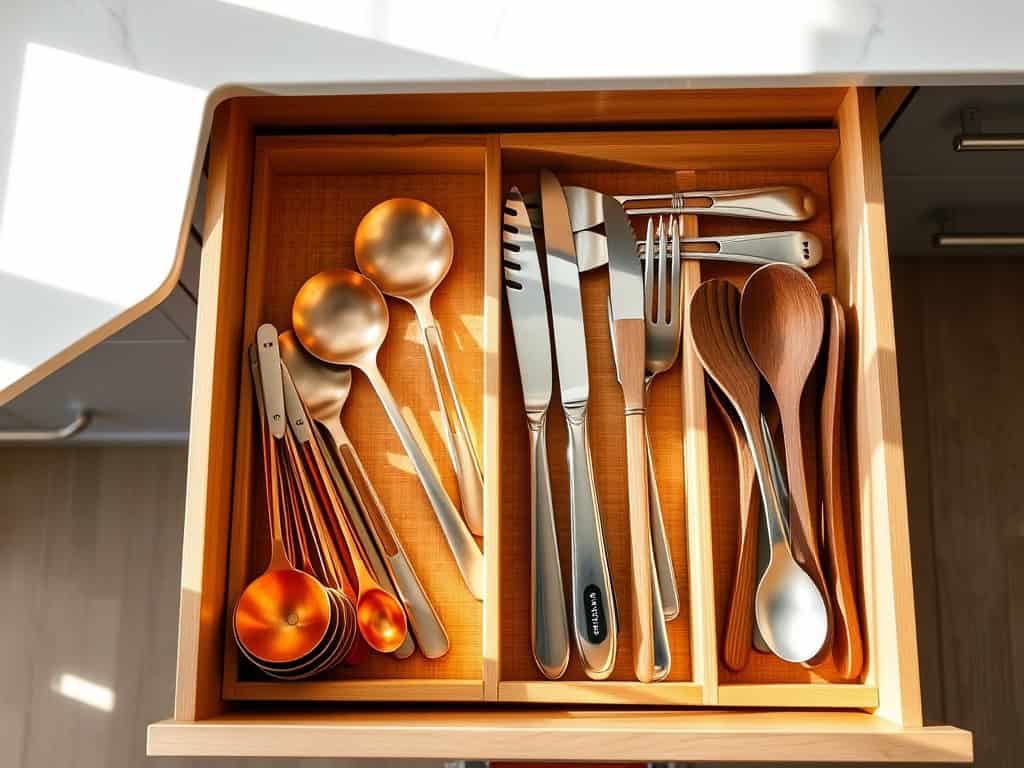
If you’re tired of rummaging through messy kitchen drawers looking for that one spatula, you’re not alone! I’ve been there – wrestling with tangled utensils and playing hide-and-seek with measuring spoons. But here’s the good news: transforming your chaotic drawers into organized spaces isn’t as challenging as you might think. After testing dozens of organization methods in my own kitchen, I’ve discovered seven clever solutions that’ll help you reclaim valuable drawer space and keep everything within easy reach.

Custom DIY Drawer Dividers
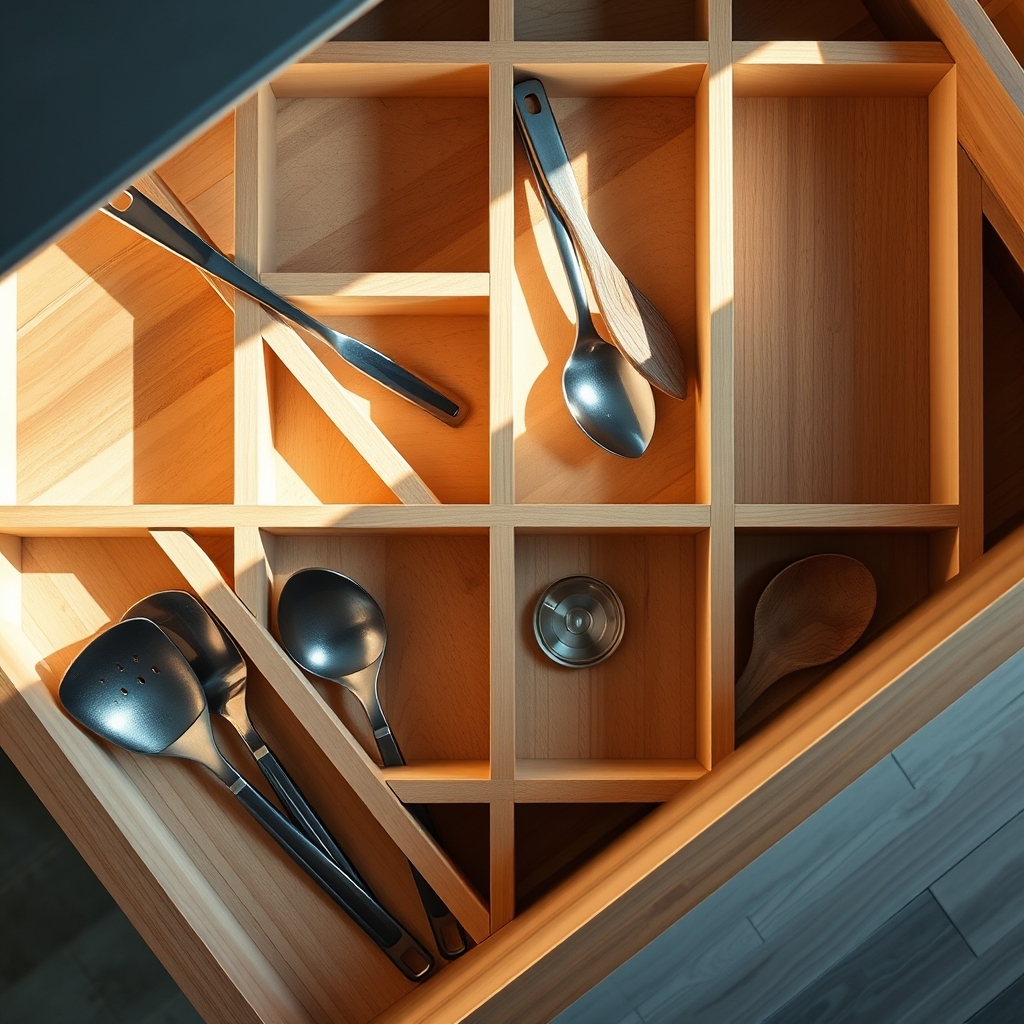
Well-organized kitchen drawers are essential for maintaining an efficient cooking space and reducing daily frustration. When utensils, tools, and gadgets are properly separated and easily accessible, meal preparation becomes smoother and more enjoyable. Custom drawer dividers offer a personalized solution that maximizes every inch of drawer space while keeping items neatly compartmentalized.
Creating your own drawer dividers allows you to design storage that perfectly fits your specific items and drawer dimensions. Unlike pre-made organizers, DIY dividers can be customized to accommodate oddly-shaped utensils or create sections that match your exact needs, ensuring no space goes to waste.
Required Materials:
- Measuring tape
- Pencil
- Thin plywood or sturdy cardboard
- Saw (if using wood)
- Scissors (if using cardboard)
- Wood glue or strong adhesive
- Sandpaper
- Clear finish or paint (optional)
- Ruler
- Level
Start by measuring the interior dimensions of your drawer, including depth and height. Draw a detailed plan of how you want to divide the space, considering the size and quantity of items you need to store. Cut your chosen material (plywood or cardboard) to size, ensuring the height of dividers is slightly lower than the drawer sides for smooth operation.
Create interlocking notches in pieces that need to intersect, typically cutting halfway through each piece at the intersection points. Sand all edges smooth if using wood.
Apply adhesive to secure the base of each divider to the drawer bottom, using a level to ensure straight placement. For intersecting pieces, apply glue to the notched joints before sliding them together. Allow the adhesive to dry completely before organizing items into the newly created compartments.
Consider applying felt strips to the bottom of dividers to prevent sliding, and label each section for easy identification. Regularly assess the effectiveness of your arrangement and adjust divider placement as needed to accommodate changing storage needs.
Remember to measure twice and cut once to avoid wasting materials, and always leave a small gap between dividers and drawer sides to account for wood expansion and drawer movement.
Stack & Store Vertical Organizers
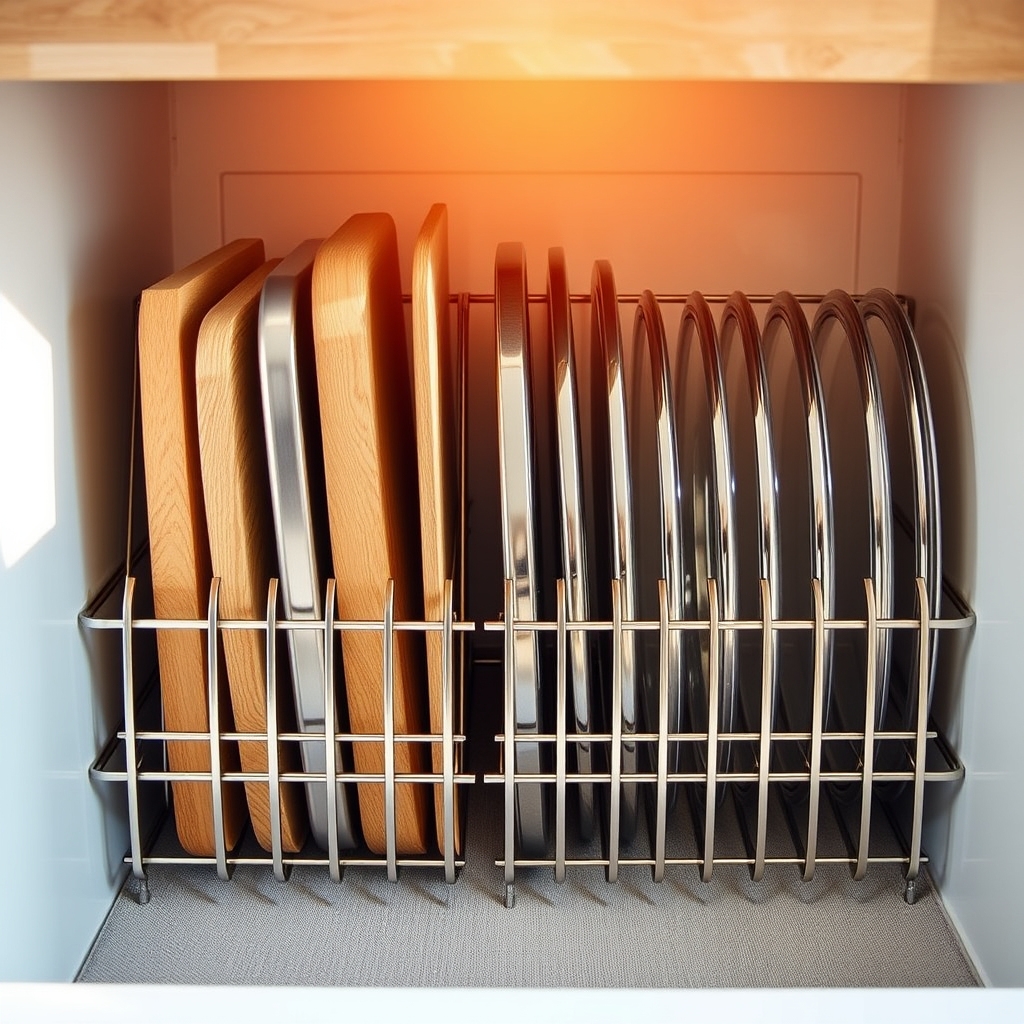
Vertical storage solutions represent a game-changing approach to drawer organization, maximizing space by utilizing the full height of deep drawers. Instead of letting items lay flat and create cluttered layers, vertical organizers transform chaotic drawers into well-ordered storage systems where every item is visible and easily accessible.
When properly implemented, vertical organizers can double or even triple your storage capacity while eliminating the frustration of digging through piles to find what you need. This organization method is particularly effective for storing items like cutting boards, baking sheets, pot lids, serving platters, and food storage containers.
Required Items:
- Drawer dividers
- Vertical file organizers
- Tension rods
- Measuring tape
- Drawer liner (non-slip)
- Labels
- Cleaning supplies
- Storage containers (if needed)
- Cable ties or organizer clips
- Drawer depth stops
Start by emptying the drawer completely and cleaning it thoroughly. Measure the drawer’s dimensions, paying special attention to the height, to ensure your vertical organizers will fit properly. Install non-slip liner material on the drawer bottom to prevent organizers from sliding.
Position tension rods or drawer dividers to create sections based on the size and quantity of items you need to store. For maximum efficiency, arrange items by frequency of use, with most-used items at the front of the drawer.
For containers and lids, use file organizers or specialized vertical storage solutions, positioning them so that items can be easily slid in and out. Group similar items together, such as storing all baking sheets in one section and cutting boards in another. Ensure adequate spacing between dividers to prevent items from becoming wedged or difficult to remove.
Additional Tips: Regularly assess and adjust your vertical organization system as needs change. Consider using clear dividers to maintain visibility of all items, and implement a regular cleaning schedule to prevent dust accumulation in vertical spaces.
Label the tops of dividers or sections to maintain organization when multiple family members use the drawer. Remove items that haven’t been used in six months to maintain an efficient system.
Multi-Tier Utensil Solutions
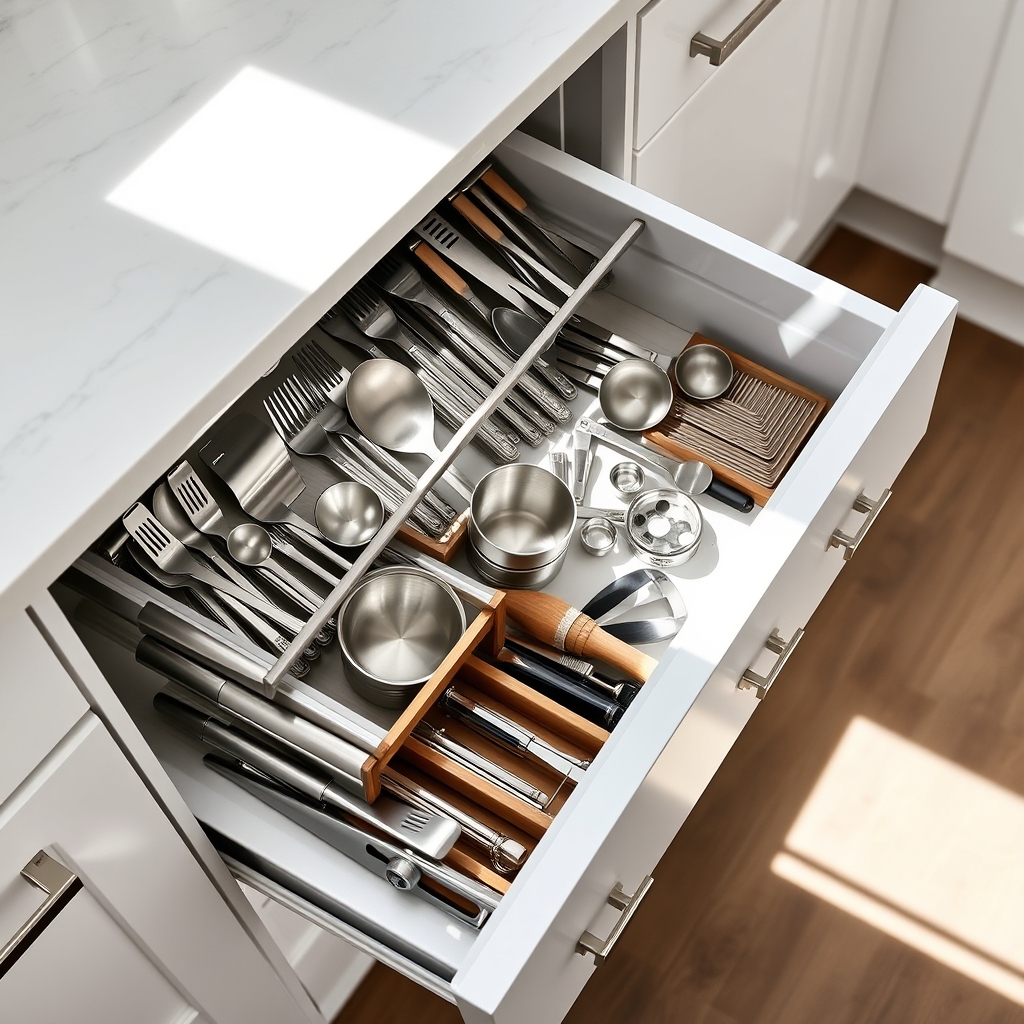
Proper utensil organization transforms a cluttered, frustrating drawer into an efficient cooking command center. When utensils are stacked haphazardly, valuable time is wasted searching for needed tools, and delicate items can become damaged from constant shuffling and improper storage.
Multi-tier utensil organization maximizes vertical space while keeping tools visible and easily accessible. This system prevents overcrowding, protects specialized equipment, and allows for logical grouping of items based on function or frequency of use. A well-organized multi-tier system can effectively double your storage capacity while maintaining order.
Required Items:
- Multi-tier drawer organizers
- Drawer measuring tape
- Drawer liner material
- Labels or label maker
- Divider inserts
- Expandable utensil trays
- Clear storage containers
- Drawer stops
- Shelf liner
Start by removing everything from the drawer and measuring the interior dimensions carefully. Install drawer liner material to prevent sliding and protect the drawer bottom. Select multi-tier organizers that fit your drawer dimensions, leaving small gaps for smooth opening and closing.
Position larger utensils like spatulas and serving spoons on the top tier, with smaller items like measuring spoons and specialty tools on lower tiers. Group similar items together based on function: everyday cooking tools in one section, baking utensils in another, and specialty items in a separate area.
Arrange frequently used items toward the front of each tier for easy access. For optimal organization, use clear dividers between sections and consider adding small containers for items like bag clips or corn holders.
Create a maintenance routine by regularly wiping down organizers and evaluating items for usefulness. Remove seasonal tools to alternate storage when not needed, and adjust dividers as your collection changes.
Consider using drawer stops to prevent organizers from shifting, and periodically check that all items remain in their designated spaces to maintain long-term organization.
Roll-Out Drawer Systems
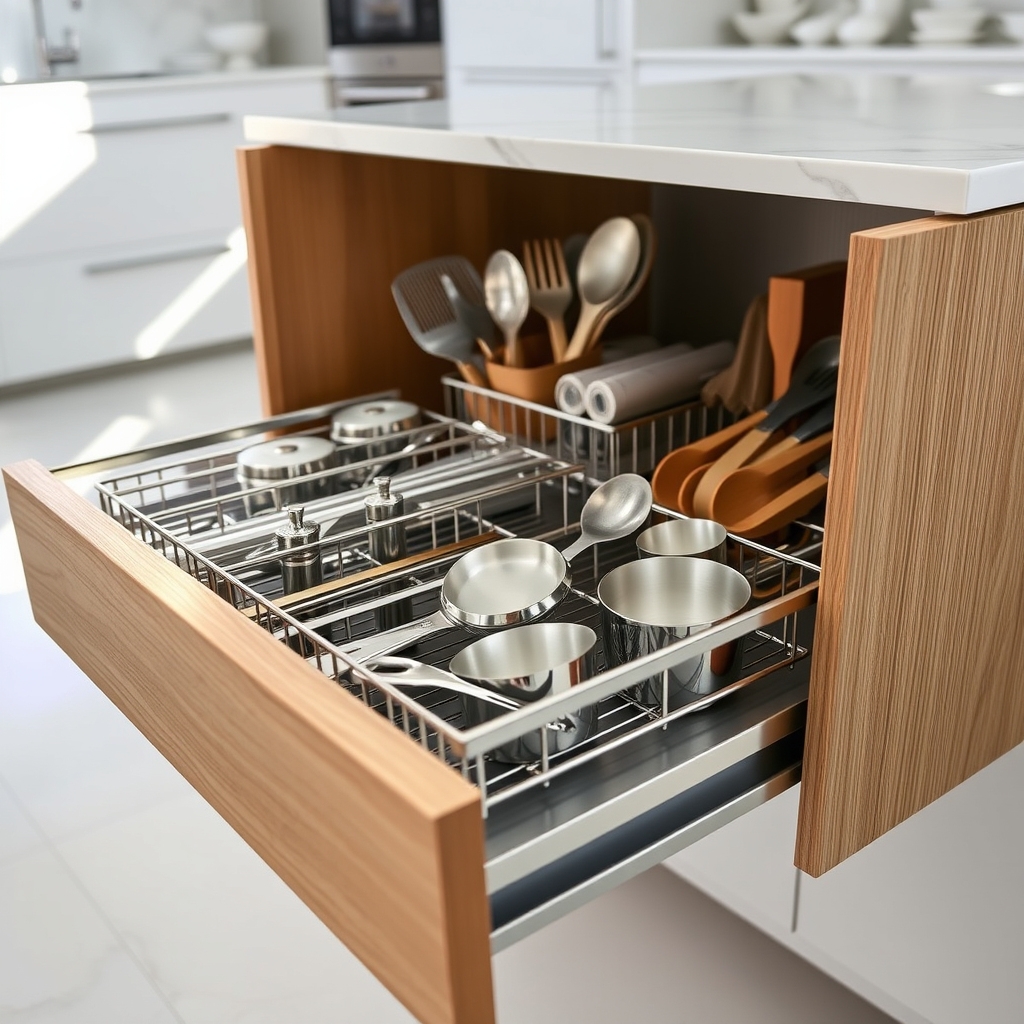
Roll-out drawer systems represent a revolutionary solution to the age-old problem of accessing items stored in deep cabinet spaces. These systems transform awkward, hard-to-reach storage areas into easily accessible, organized spaces that maximize every inch of available cabinet space while minimizing the frustration of digging through cluttered drawers.
By implementing roll-out drawer systems, you can effectively double your usable storage space and create designated zones for different categories of items. This organization method not only improves visibility and accessibility but also protects your items from damage and helps maintain a cleaner, more efficient kitchen environment.
Required Items:
- Roll-out drawer slides
- Pre-made drawer units or custom drawer boxes
- Mounting brackets
- Screwdriver
- Measuring tape
- Level
- Pencil
- Wood screws
- Drawer dividers
- Non-slip liner
- Labels
Installation and organization begins with measuring your cabinet interior dimensions carefully, ensuring proper clearance for the roll-out mechanisms.
Mount the slide hardware according to manufacturer specifications, typically starting with the bottom drawer and working upward. Once the slides are secure, attach the drawer boxes and test their movement to ensure smooth operation.
Create zones within each drawer using dividers, designating specific areas for different categories of items based on frequency of use and logical groupings. For optimal organization, position frequently used items in the top drawers and heavier items in bottom drawers.
Install drawer dividers perpendicular to the drawer’s movement to prevent items from shifting during opening and closing. Line each drawer with non-slip material to keep items in place, and apply clear labels to the drawer fronts or handles for easy identification.
Additional Tips: Consider installing soft-close mechanisms to prevent drawer slamming and reduce wear on hardware. Leave approximately 20% of drawer space empty to allow for future additions and easier access to items.
Regularly maintain the drawer slides by cleaning and lubricating them every six months to ensure smooth operation and longevity of the system.
Magnetic Strip Organization
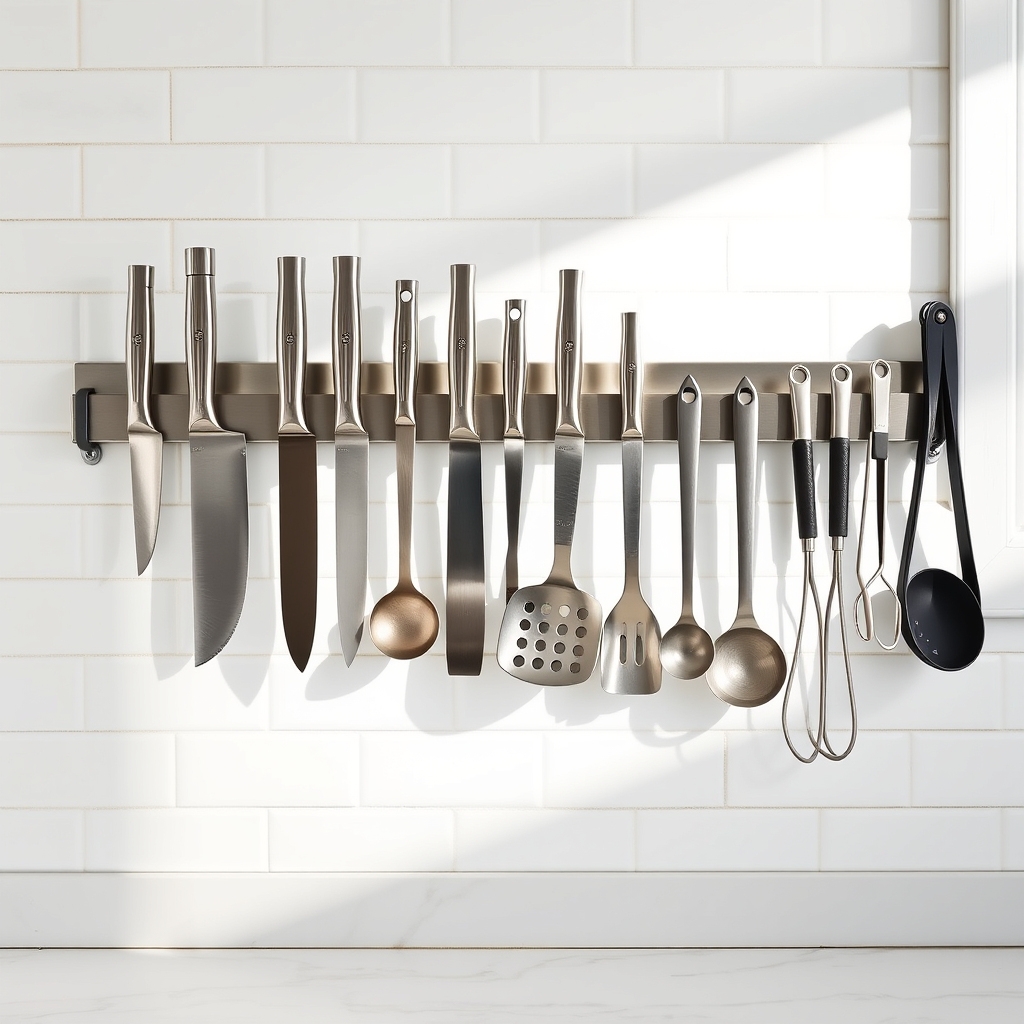
Magnetic strip organization represents one of the most innovative and space-saving solutions for kitchen drawer management, particularly for metal utensils and tools. By utilizing vertical space on walls or inside cabinet doors, this method frees up valuable drawer space while keeping frequently used items easily accessible.
The magnetic strip system not only creates a cleaner, more organized kitchen environment but also protects knife blades from damage that can occur when stored in traditional knife blocks or cluttered drawers. This organization method also allows for quick visual identification of tools and immediate access during food preparation, making cooking more efficient and enjoyable.
Required Items:
- Heavy-duty magnetic strips
- Mounting screws and anchors
- Power drill
- Screwdriver
- Level
- Pencil
- Measuring tape
- Clean cloth
- Surface cleaner
- Metal utensils and tools for organizing
Mount the magnetic strip by first selecting an appropriate location, either on the wall or inside a cabinet door, ensuring it’s within easy reach but away from heat sources. Clean the mounting surface thoroughly and mark the installation points using a level to ensure straight alignment. Install wall anchors if necessary, then secure the magnetic strip using the provided mounting hardware, making sure it’s firmly attached and can support the weight of your tools.
For optimal organization, arrange your metal items by frequency of use and size, placing frequently used tools at eye level or within easy reach. Ensure each item makes full contact with the magnetic surface for secure holding. Consider grouping similar items together, such as keeping all measuring spoons in one section and knife sets in another, to maintain a logical arrangement that supports efficient cooking workflows.
Additional Tips: Regularly clean both the magnetic strip and the tools to maintain strong magnetic contact and prevent dust accumulation. Test the magnetic strength before hanging heavier items, and consider using multiple strips at different heights for better organization of various tool sizes. Keep sharp items like knives positioned higher to prevent accidents, and periodically check that the mounting remains secure, especially in areas with high humidity or temperature fluctuations.
Adjustable Drawer Compartments
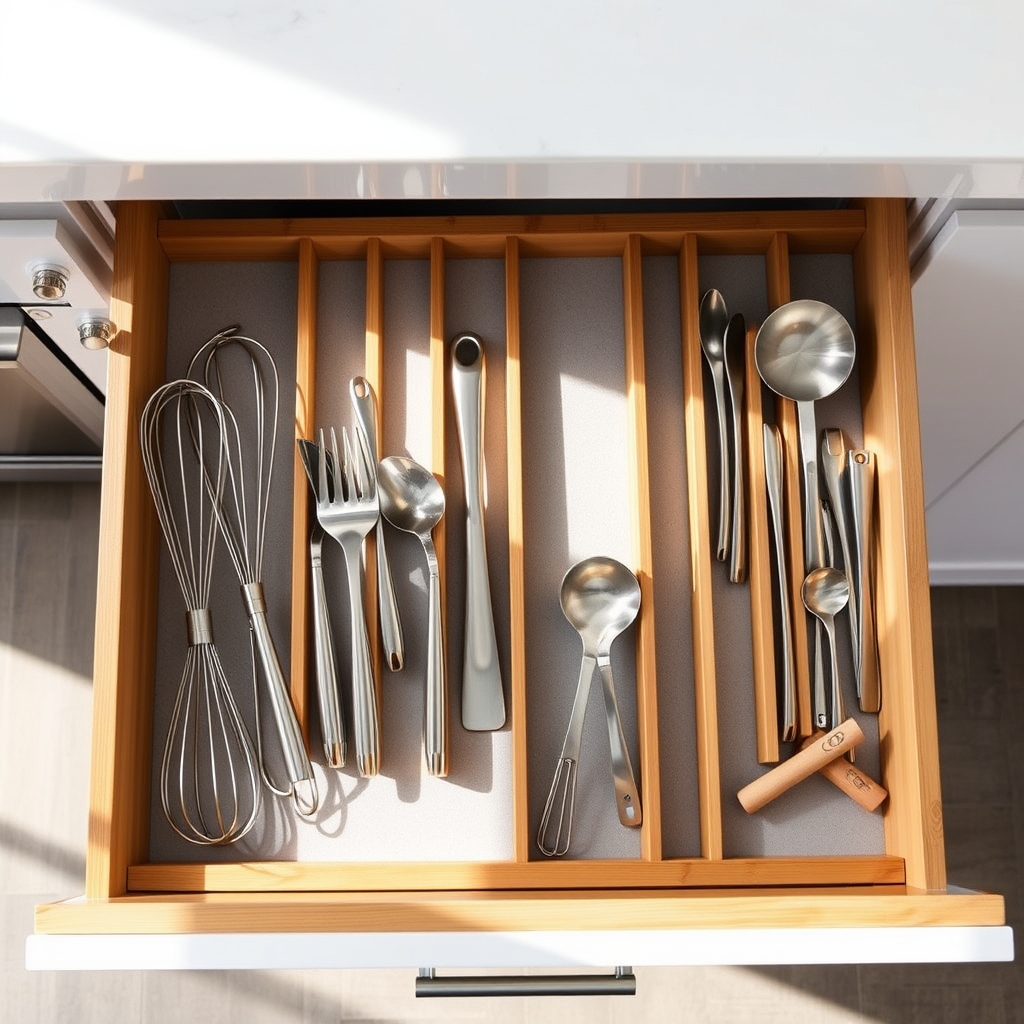
A well-organized kitchen drawer system serves as the foundation for efficient meal preparation and cooking workflow. When items are properly compartmentalized and easily accessible, cooking becomes more enjoyable and time-efficient, reducing the frustration of searching through cluttered drawers for necessary tools.
Adjustable drawer compartments offer a customizable solution that adapts to various drawer sizes and changing storage needs. Unlike fixed organizers, these versatile systems can be reconfigured as your kitchen tools and requirements evolve, ensuring long-term organizational success while maximizing available drawer space.
Required Items:
- Adjustable drawer dividers
- Measuring tape
- Drawer liner (non-slip)
- Clean cloth
- Pencil and paper
- Labels (optional)
- Cleaning solution
- Storage containers for excess items
Empty the drawer completely and clean it thoroughly. Measure the drawer’s dimensions and sketch a rough plan of how you want to arrange your items. Group similar items together and determine the space needed for each category.
Install the adjustable dividers according to your plan, ensuring they’re securely fastened. Place the most frequently used items in easily accessible locations, and arrange less-used items toward the back. Test the configuration by opening and closing the drawer several times to ensure nothing shifts or catches.
For optimal results, regularly assess and adjust your drawer organization system. Consider implementing a quarterly review of your storage setup, removing rarely used items, and readjusting compartments as needed.
Label sections if desired, and maintain a consistent system of returning items to their designated spots after use. This practice ensures the longevity of your organizational system and continued kitchen efficiency.
Deep Drawer Storage Maximizers
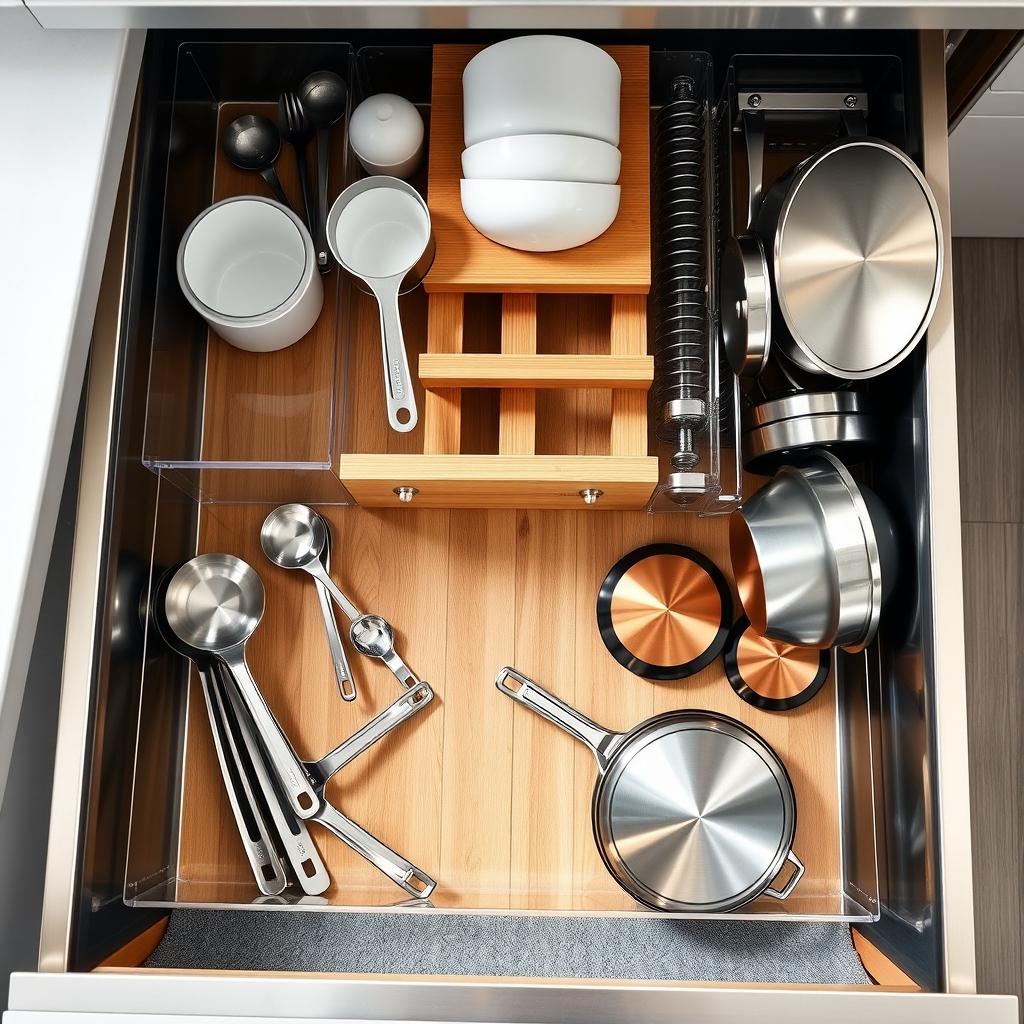
Deep drawers are often the most underutilized spaces in kitchen storage, frequently becoming cluttered catch-alls that waste valuable space. When properly organized, these deeper drawers can efficiently store more items while keeping them easily accessible, transforming chaotic spaces into functional storage solutions.
Maximizing deep drawer storage is essential for modern kitchens where space is at a premium. These drawers are perfect for storing larger items, stacking cookware, or creating multi-level organization systems that can double or triple your storage capacity while maintaining easy access to all items.
Required Items:
- Drawer dividers (adjustable)
- Shelf risers or tiered organizers
- Non-slip drawer liners
- Drawer bins or containers
- Label maker
- Measuring tape
- Storage pegs or dowels
- Stackable containers
- Drawer organizer rails
Start by removing everything from the drawer and measuring its dimensions, including depth, width, and height. Plan your organization system by grouping similar items together and determining which items need to be easily accessible.
Install non-slip liner on the drawer bottom to prevent items from sliding around. Position adjustable dividers to create designated spaces for different categories of items, ensuring they’re properly secured.
For maximum efficiency, implement a tiered organization system using shelf risers or stackable containers. Place frequently used items at the front of the drawer or on the top level, with less-used items toward the back or bottom.
Install pegs or dowels to create custom spaces for specific items like pots, pans, or lid storage. Use vertical space by storing items upright when possible, supported by dividers or organizer rails.
Additional Tips: Consider installing drawer slides that support the full weight of your organized items, especially for heavy cookware. Regularly assess the functionality of your organization system and adjust as needed.
Use clear containers to easily identify contents, and implement a regular maintenance schedule to prevent the drawer from becoming disorganized over time. Remember to leave some empty space for future additions and to make accessing items easier.

