You’ve probably noticed that no matter how big your home is, storage space always seems limited. I’ve been there – staring at cluttered countertops and overflowing closets, wondering where it all went wrong. But here’s the exciting part: transforming your space doesn’t require a massive renovation or Marie Kondo-level minimalism. These 10 brilliant storage solutions will help you maximize every square inch of your home, and I can’t wait to share how they’ve revolutionized my own living space.

Hidden Storage Ottoman Solutions
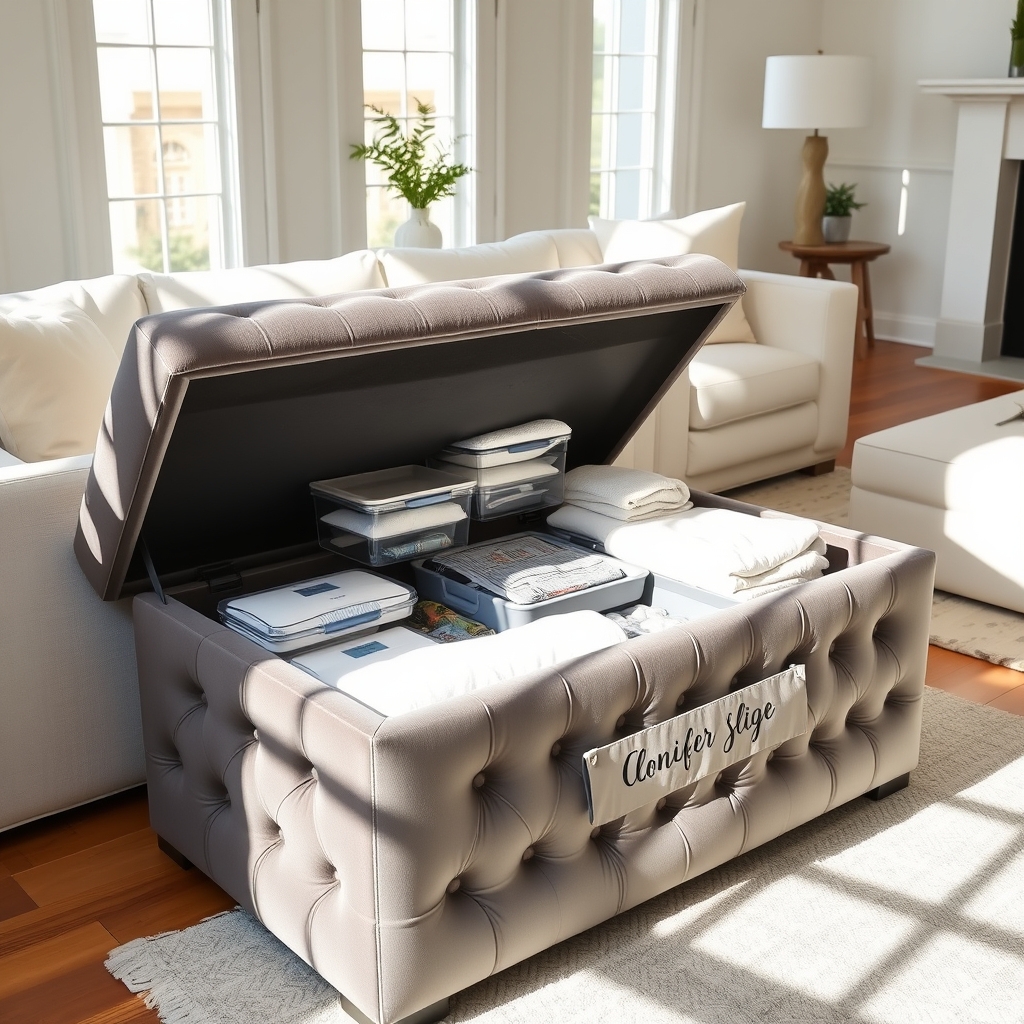
Storage ottomans serve as versatile pieces of furniture that combine seating, style, and storage capabilities. In today’s compact living spaces, maximizing every square inch of storage potential is crucial, and storage ottomans offer an elegant solution that doesn’t compromise the aesthetic appeal of your living space.
These dual-purpose pieces can store anything from extra blankets and pillows to books and electronics, while maintaining a clutter-free environment. The key to maximizing their potential lies in thoughtful organization that considers both accessibility and protection of stored items.
Required Items:
- Storage bins or fabric containers
- Drawer organizers or dividers
- Labels
- Vacuum storage bags
- Clear plastic containers
- Moisture absorbers
- Anti-slip mats
- Drawer liners
- Inventory list
- Measuring tape
Start by emptying the ottoman completely and measuring its interior dimensions. Divide the space into zones based on the items you plan to store, using appropriate containers that fit the dimensions perfectly.
For fabric items like blankets and throws, use vacuum storage bags to maximize space while protecting against dust and moisture. Install drawer organizers or dividers to create designated spaces for smaller items, ensuring they don’t mix or shift when the ottoman is moved.
Layer items strategically, placing frequently used items on top and seasonal items at the bottom. Use clear containers for small items to maintain visibility and easy access. If storing electronics or sensitive items, include moisture absorbers to prevent damage.
Line the bottom of the ottoman with anti-slip mats to prevent containers from sliding.
Additional Tips: Create and maintain an inventory list of stored items, updating it whenever contents change. Consider using stackable containers to maximize vertical space, and implement a rotation system for seasonal items. Regular maintenance checks every three months will help prevent forgotten items and maintain organization.
For ottomans in high-traffic areas, prioritize durability in storage solutions and avoid storing delicate items that could be damaged by frequent movement.
Vertical Wall Organization Systems
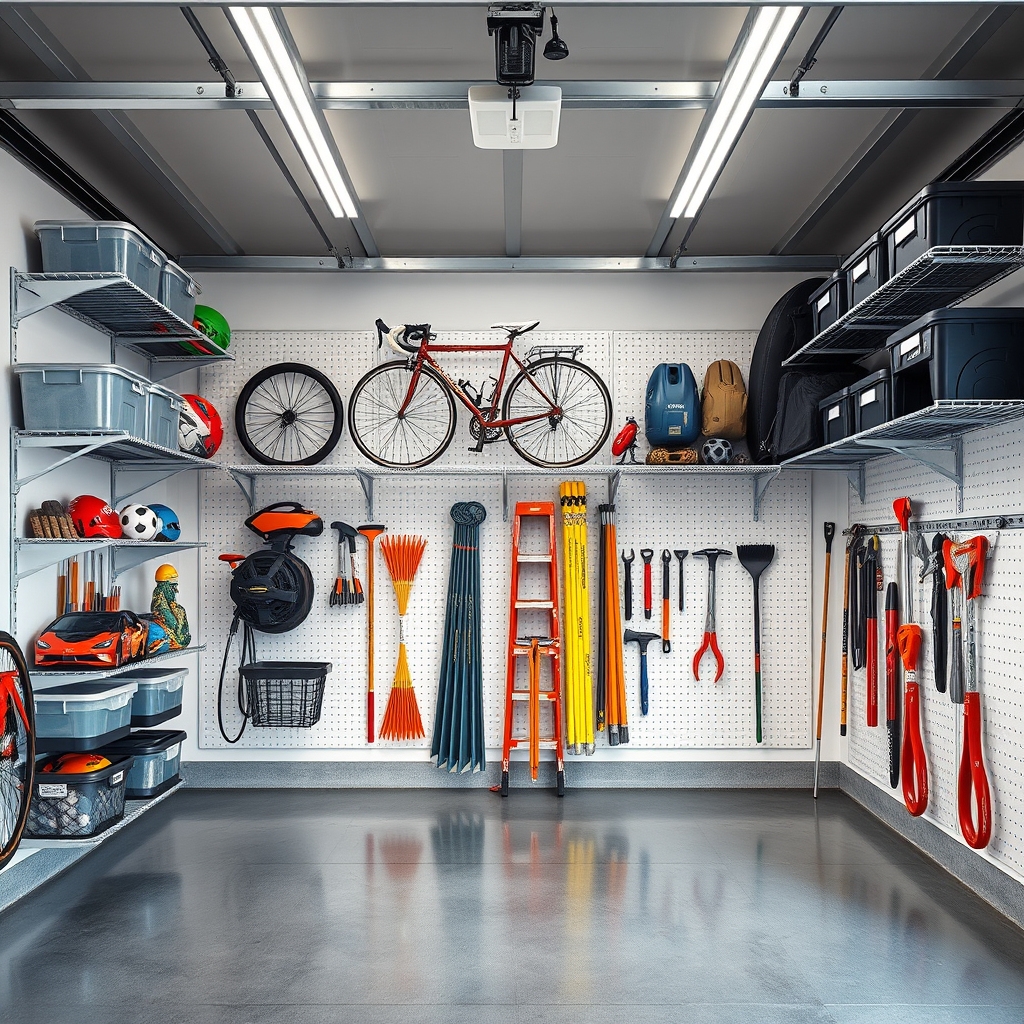
Maximizing vertical wall space has become increasingly crucial in modern homes where square footage is at a premium. By utilizing walls effectively, homeowners can free up valuable floor space while creating organized, accessible storage solutions that transform cluttered areas into functional zones.
Vertical wall organization systems offer versatility and efficiency, allowing for customization based on specific storage needs. Whether in garages, home offices, kitchens, or craft rooms, these systems can accommodate everything from tools and sporting equipment to office supplies and household items, making them an essential component of smart home organization.
Required Items:
- Wall studs finder
- Level
- Drill and drill bits
- Screwdriver
- Anchors and screws
- Measuring tape
- Pencil
- Track systems or wall panels
- Hooks, baskets, and shelves
- Storage bins or containers
- Labels
- Safety goggles
- Work gloves
Start by thoroughly assessing your wall space and measuring the dimensions of the area you plan to organize. Using a stud finder, locate and mark wall studs to ensure secure mounting. Clean the wall surface and repair any damage before installation.
Install the main tracking system or panels according to manufacturer specifications, ensuring they’re perfectly level and properly anchored into studs or using appropriate wall anchors.
Once the main system is secure, plan your arrangement of hooks, shelves, and accessories based on the items you need to store. Group similar items together and position frequently used items at easily accessible heights.
Install your chosen components, ensuring each is properly locked into place and tested for weight capacity. For optimal results, implement a labeling system to maintain organization long-term, and leave some empty space for future additions.
Consider installing adjustable components that can be reconfigured as your storage needs change over time. Regularly assess the system’s effectiveness and make adjustments to ensure it continues to meet your organizational needs efficiently.
Under-Bed Rolling Storage Drawers
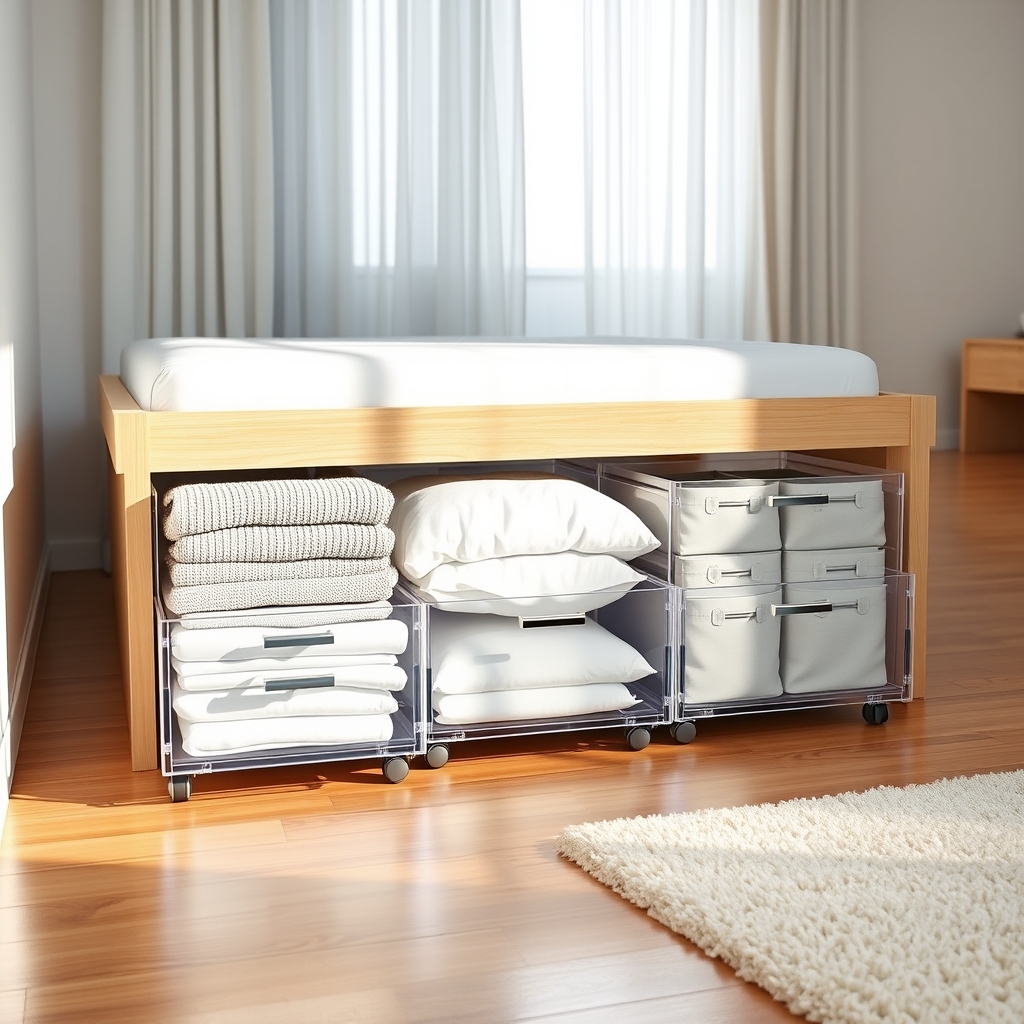
Making use of under-bed space is one of the most effective ways to maximize storage in any bedroom. This often-overlooked area can provide significant square footage for storing seasonal items, extra bedding, clothing, or rarely used possessions.
When properly organized, under-bed storage can help maintain a clutter-free living space while keeping items easily accessible. Rolling storage drawers specifically designed for under-bed use offer the perfect solution for this space, combining accessibility with protection from dust and debris.
These containers slide out smoothly when needed and tuck away neatly when not in use, making them ideal for both frequent and occasional access to stored items.
Required Items:
- Under-bed rolling storage containers
- Drawer dividers or organizers
- Labels and label maker
- Measuring tape
- Dust cloth
- Vacuum cleaner
- Storage bags or compression bags
- Small boxes or containers for compartmentalizing
Start by measuring the available space under your bed, considering both height and width clearances. Clean the area thoroughly with a vacuum and dust cloth.
Sort items into categories that make sense for your lifestyle – perhaps seasonal clothing in one drawer, extra bedding in another, and special occasion items in a third. Use compression bags for soft items like clothing or linens to maximize space.
When loading the drawers, place heavier items toward the back where the wheels provide the most support. Create zones within each drawer using smaller containers or drawer dividers.
Always position frequently accessed items toward the front for easy reach. Apply clear labels to both the front and top of each drawer to quickly identify contents without pulling them out completely.
For optimal organization maintenance, regularly review stored items every three to six months. Consider installing bed risers if additional height is needed for larger storage containers.
Keep a small handheld vacuum nearby for periodic cleaning, and avoid storing anything that could attract pests or create moisture issues. Maintain clear pathways around the bed to ensure easy drawer access from all sides.
Multi-Purpose Kitchen Island Designs
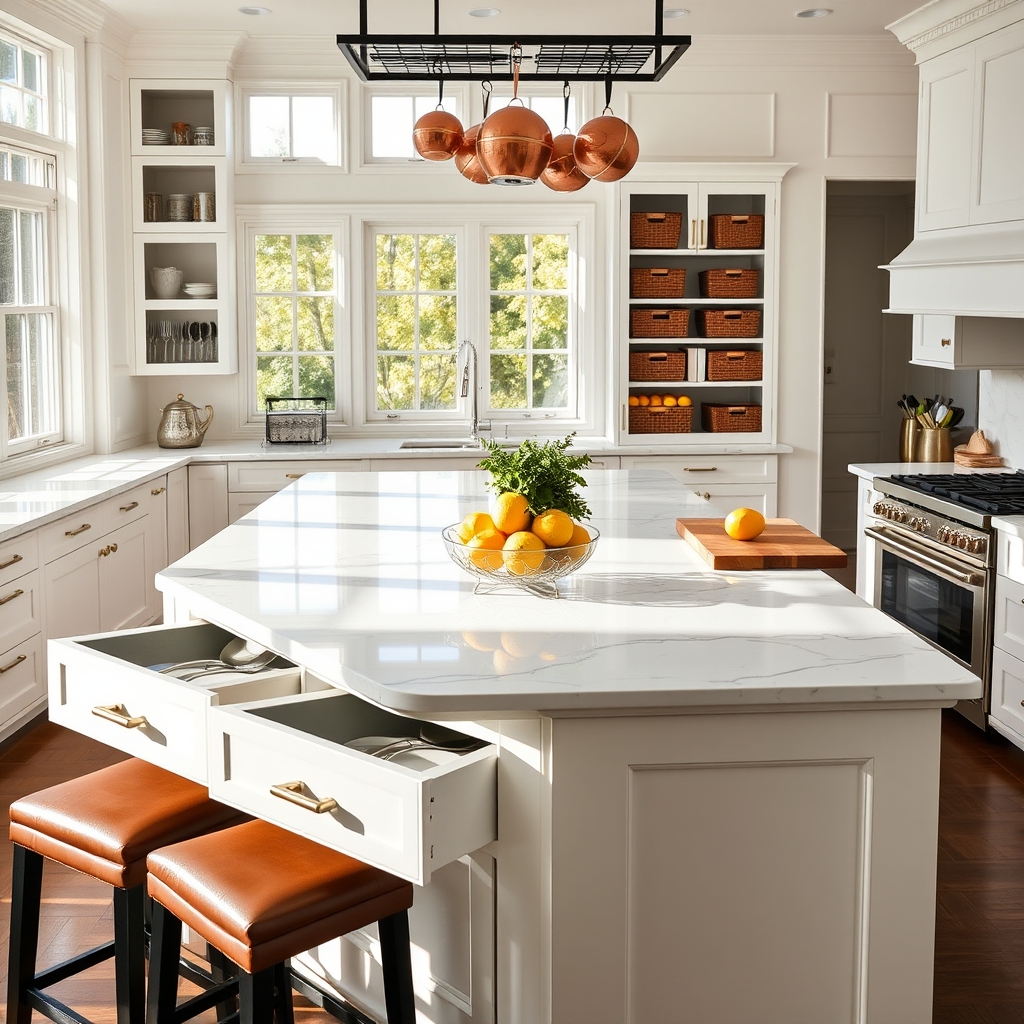
A well-organized kitchen island serves as the heart of modern kitchen functionality, combining workspace, storage, and often a gathering spot for family and friends. When properly organized, a multi-purpose kitchen island can dramatically increase your kitchen’s efficiency while reducing clutter and creating a more inviting atmosphere.
Maximizing the potential of a kitchen island requires careful planning and thoughtful organization of both its surface area and interior storage spaces. The key is to create designated zones for different activities while maintaining easy access to frequently used items and ensuring the space remains both functional and aesthetically pleasing.
Required Items:
- Drawer organizers
- Cabinet shelf risers
- Pull-out baskets
- Clear storage containers
- Label maker
- Measuring tape
- Non-slip drawer liners
- Hooks or hanging racks
- Storage bins
- Drawer dividers
The organization process starts with dividing your kitchen island into distinct zones based on function. Designate specific areas for food prep, cooking equipment storage, and casual dining or workspace. Install drawer organizers and dividers to separate utensils, cooking tools, and smaller items.
Utilize cabinet space efficiently by adding pull-out baskets or shelf risers, ensuring frequently used items are easily accessible. For islands with seating, create a clear boundary between dining and prep areas while maintaining a clean, uncluttered surface.
If your island includes electrical outlets or appliances, arrange storage around these features to maintain safety and accessibility. Group similar items together, such as baking supplies in one section and cooking utensils in another.
Consider installing hooks or racks on the sides of the island for frequently used items or decorative elements that don’t require precious counter or drawer space.
Additional Tips:
Regularly assess and adjust your organization system based on usage patterns. Remove items that aren’t frequently used, and consider seasonal rotation of kitchen tools and equipment.
Keep cleaning supplies nearby for quick wipe-downs, and establish a weekly maintenance routine to prevent clutter from accumulating. Remember to leave some open space for flexibility in your kitchen workflow and avoid overcrowding the island’s surface.
Closet Space Maximizing Techniques
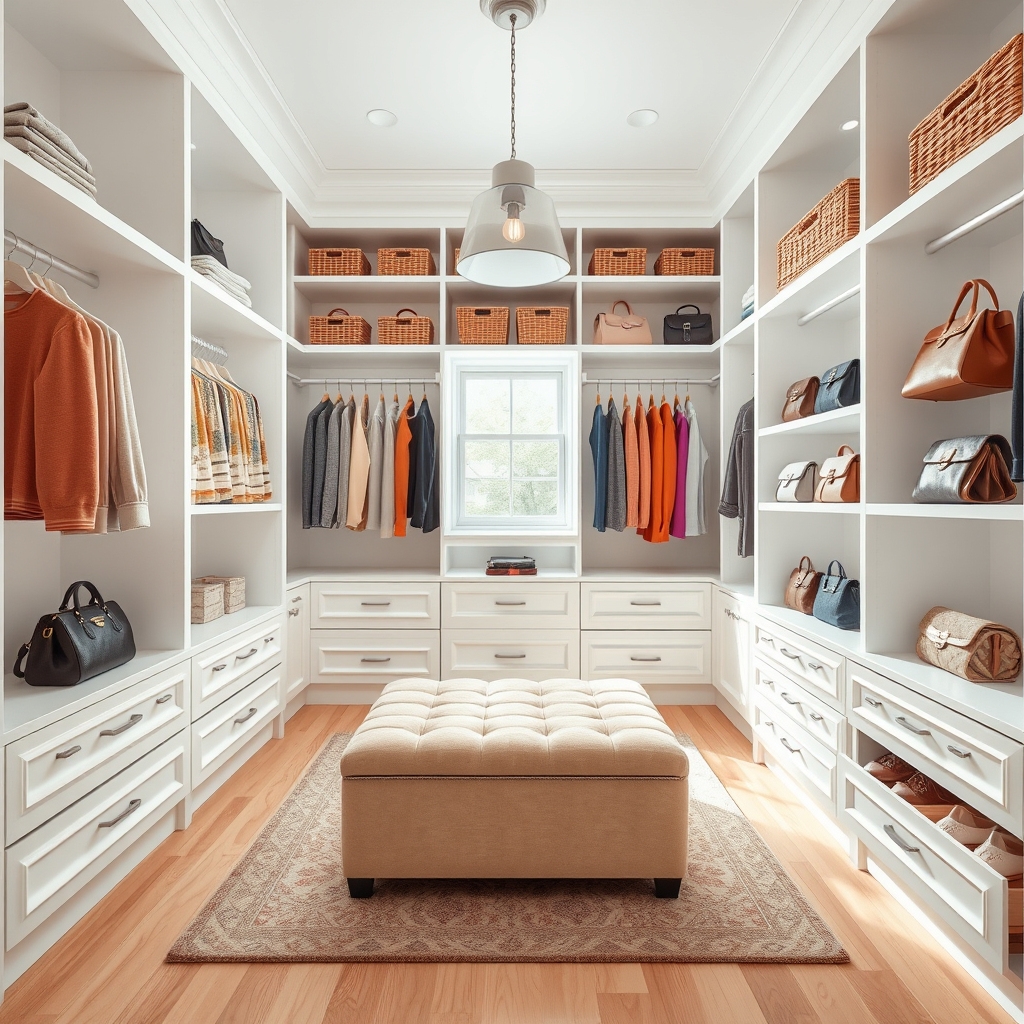
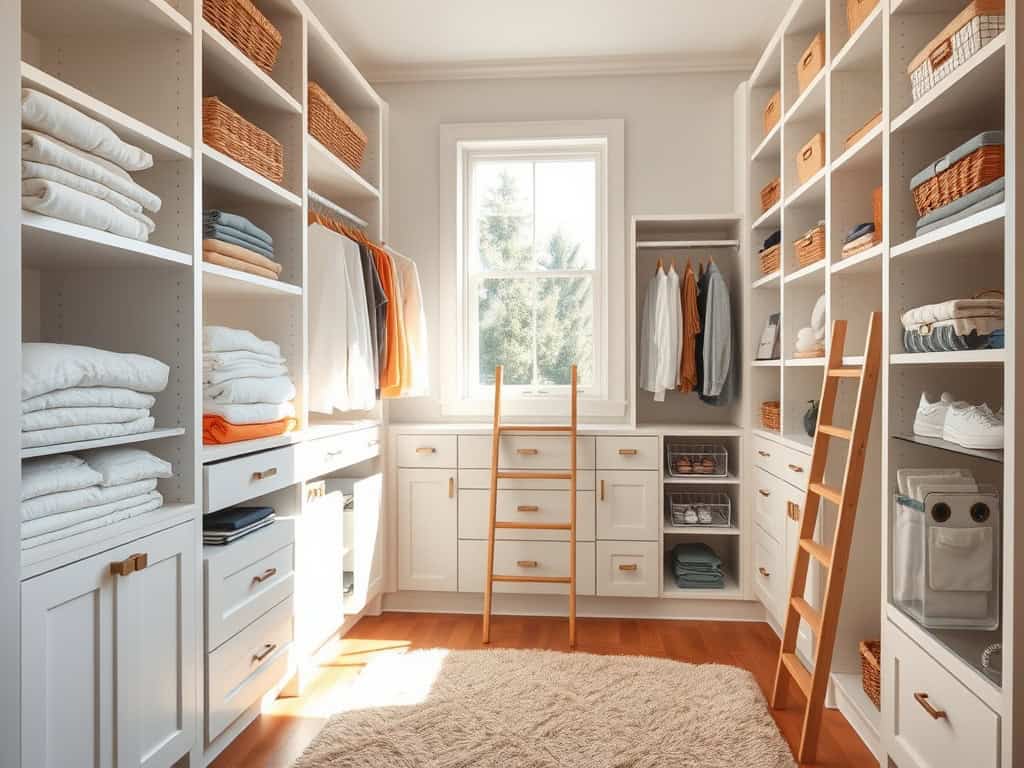
A well-organized closet serves as the foundation for an efficient daily routine, eliminating the stress of searching for clothes and accessories while maximizing every inch of available space.
Whether dealing with a walk-in closet or a compact wardrobe, proper organization can transform a chaotic storage space into a functional system that accommodates your entire wardrobe.
Implementing effective closet organization techniques not only creates more storage capacity but also helps maintain order long-term. A systematic approach to closet organization can increase your storage space by up to 40% while making items more accessible and visible, reducing the tendency to purchase duplicate items unnecessarily.
Required Items:
- Clothing rod dividers
- Hanging organizers
- Storage boxes
- Clear containers
- Shelf dividers
- Drawer organizers
- Labels
- Hangers (uniform style)
- Over-the-door hooks
- Storage bins
- Measuring tape
Start by removing everything from the closet and sorting items into categories: keep, donate, and discard. Measure your closet space and assess the vertical storage potential.
Install a double-rod hanging system where possible, with longer items like dresses on the top rod and shorter items below. Group similar items together, using uniform hangers to create a cohesive look and maximize space.
Utilize vertical space by adding shelf dividers and stackable containers for items like sweaters and accessories. Install hooks on empty wall space or the back of doors for bags, belts, and scarves.
Incorporate drawer organizers for smaller items and clear containers for seasonal storage. Position frequently used items at eye level and store seasonal items in labeled containers on higher shelves or under-bed storage.
For optimal maintenance, implement the one-in-one-out rule: when adding new items, remove an equivalent amount of clothing. Consider installing motion-sensor lights to illuminate dark corners, and leave some empty space for future additions.
Review and adjust your organization system every three months to ensure it continues to meet your needs and maintain its efficiency.
Bathroom Cabinet Door Organizers
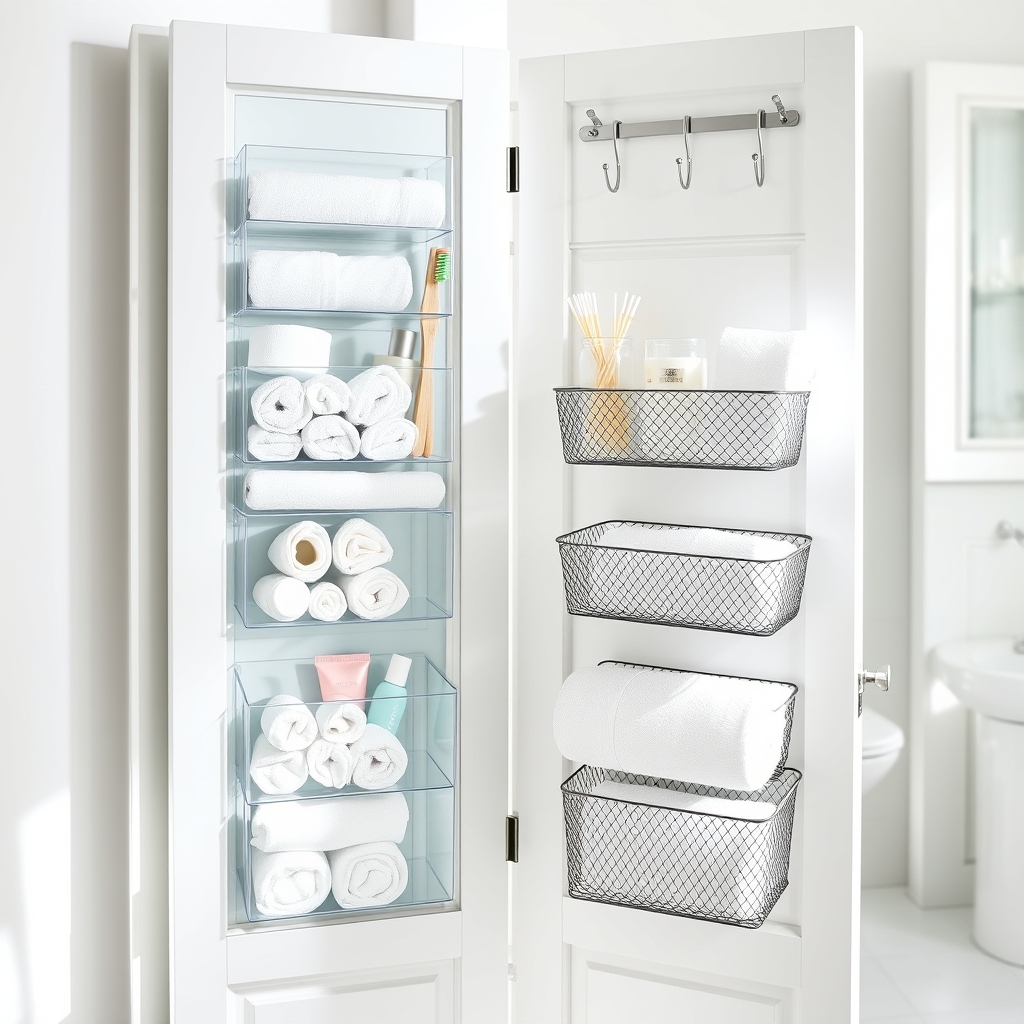
A well-organized bathroom cabinet door can transform your daily routine from chaotic to streamlined. The often-overlooked space behind cabinet doors offers valuable storage potential that, when properly utilized, can keep toiletries, cleaning supplies, and personal care items easily accessible while maximizing limited bathroom space.
Cabinet door organizers serve as an excellent solution for bathrooms of any size, creating vertical storage where items might otherwise become cluttered or forgotten. This organization method keeps frequently used items at eye level and prevents the need to dig through deep cabinets, saving time and reducing frustration during busy mornings.
Required Items:
- Over-the-door hanging organizers
- Adhesive hooks
- Clear storage pockets
- Measuring tape
- Command strips
- Small bins or baskets
- Label maker
- Cleaning supplies
- Screwdriver (if mounting required)
- Wire organizers
The organization process begins with measuring your cabinet door dimensions, including depth clearance when closed. Remove everything from the existing cabinet and clean all surfaces thoroughly.
Install your chosen door organizing system, whether it’s an over-the-door unit or adhesive-mounted organizers, ensuring proper weight distribution and secure attachment. Sort items by frequency of use and category, placing daily essentials at eye level and less-used items toward the bottom.
Group similar items together in the organizers – hair products in one section, dental care in another, and so on. Consider using clear pockets for better visibility of contents. For items that don’t fit well in hanging organizers, utilize small bins or baskets that can be mounted directly to the door.
Ensure all containers are securely fastened and test the door’s ability to close properly with the new organizational system in place.
Additional Tips: Implement a regular maintenance schedule to prevent accumulation of expired products and maintain organization. Use waterproof labels to identify contents, and consider installing a small mirror on the opposite side of the door organizer to maximize functionality.
Regularly check mounting hardware and adhesive strips to ensure they remain secure, especially in humid bathroom conditions. Replace items in their designated spots immediately after use to maintain the organizational system’s effectiveness.
Floating Shelves and Corner Storage
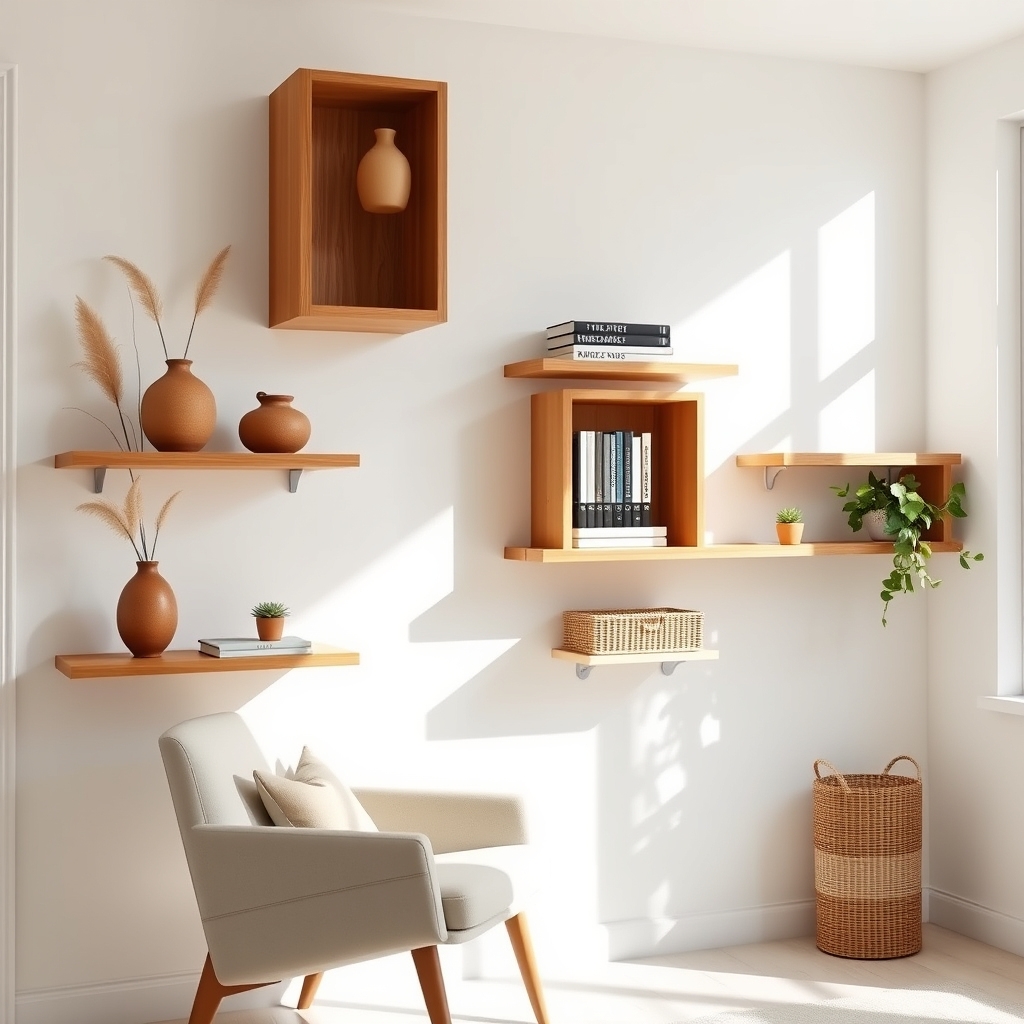
Maximizing vertical wall space and utilizing corner areas has become essential in modern homes where square footage is at a premium. Floating shelves and corner storage solutions offer elegant ways to display items while keeping floors clear and maintaining a clean, organized aesthetic. These storage options work particularly well in smaller spaces, allowing homeowners to take advantage of otherwise unused areas.
Strategic placement of floating shelves and corner units can transform dead space into functional storage areas while adding architectural interest to any room. Whether in living rooms, bathrooms, or kitchens, these storage solutions provide accessible organization without compromising style or taking up valuable floor space.
Required Items:
- Level
- Stud finder
- Drill and drill bits
- Screwdriver
- Wall anchors
- Floating shelf brackets
- Corner shelf units
- Measuring tape
- Pencil
- Clean cloth
- Storage bins or baskets
- Decorative containers
- Label maker
Start by measuring your wall space and corners, marking potential shelf locations with a pencil. Use a stud finder to locate wall studs and mark them clearly. Install floating shelves at varying heights, ensuring proper weight distribution and considering the items you plan to store. For corners, begin with lower shelves and work your way up, maintaining consistent spacing between units.
When organizing items on floating shelves, place heavier items closer to the wall where brackets provide the most support. Group similar items together and use decorative containers or baskets to corral smaller objects. In corners, arrange items in a pyramid-style configuration, with larger items at the bottom and smaller ones toward the top.
To maintain organization and maximize these storage solutions, regularly assess items for relevance and rotate seasonal decorations. Consider using clear containers to easily identify contents, and implement a labeling system for boxes or baskets. Keep frequently used items at eye level and store rarely used items on higher shelves.
Remember to periodically check bracket stability and clean shelves to prevent dust accumulation.
Garage Storage and Tool Organization
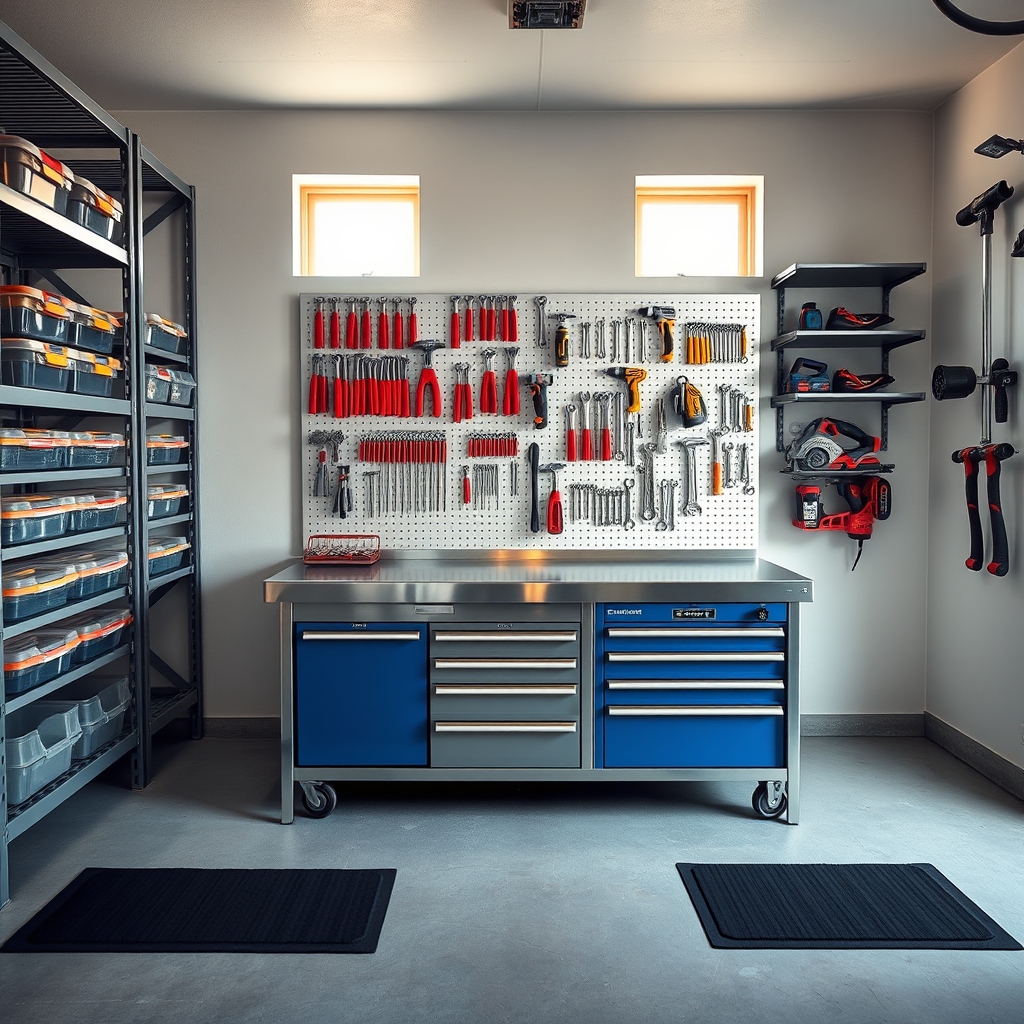
A well-organized garage with properly stored tools is essential for any homeowner or DIY enthusiast. When tools and equipment are systematically arranged, projects become more efficient, maintenance tasks are completed faster, and valuable items are protected from damage or loss.
An organized garage also maximizes available space and creates a safer working environment. Transforming a cluttered garage into a functional workspace not only increases productivity but also preserves the lifespan of tools through proper storage and protection from moisture, dust, and temperature fluctuations.
An organized system helps track inventory, prevents unnecessary duplicate purchases, and ensures tools are readily accessible when needed.
Required Items:
- Pegboards and hooks
- Tool cabinets or chests
- Wall-mounted storage racks
- Clear plastic bins
- Label maker
- Industrial shelving units
- Magnetic strips
- Tool holders
- Storage containers
- Work bench
- Drawer organizers
- Mounting hardware
The organization process begins with a complete clearing of the garage space and sorting tools into categories: hand tools, power tools, garden equipment, automotive tools, and seasonal items.
Install a sturdy workbench as your primary workspace, then mount pegboards above it for frequently used tools. Position heavy-duty shelving units along walls, ensuring proper anchoring for safety. Utilize wall-mounted storage solutions to keep items off the floor and maximize vertical space.
Create designated zones within the garage based on tool usage frequency and function. Store frequently used items at eye level, while seasonal or rarely used tools can be placed in higher storage areas. Implement a clear labeling system for all storage containers and drawers.
For power tools, consider custom-fitted foam drawer inserts to prevent movement and damage.
Additional Tips: Implement a “return-to-home” policy where tools are immediately returned to their designated spots after use. Consider lighting improvements to ensure all storage areas are visible.
Create an inventory list with locations noted, and review the organization system quarterly to make adjustments based on changing needs. Use silica gel packets in toolboxes to prevent rust, and install rubber mats under storage areas to protect both tools and flooring.
Mudroom Drop Zone Solutions
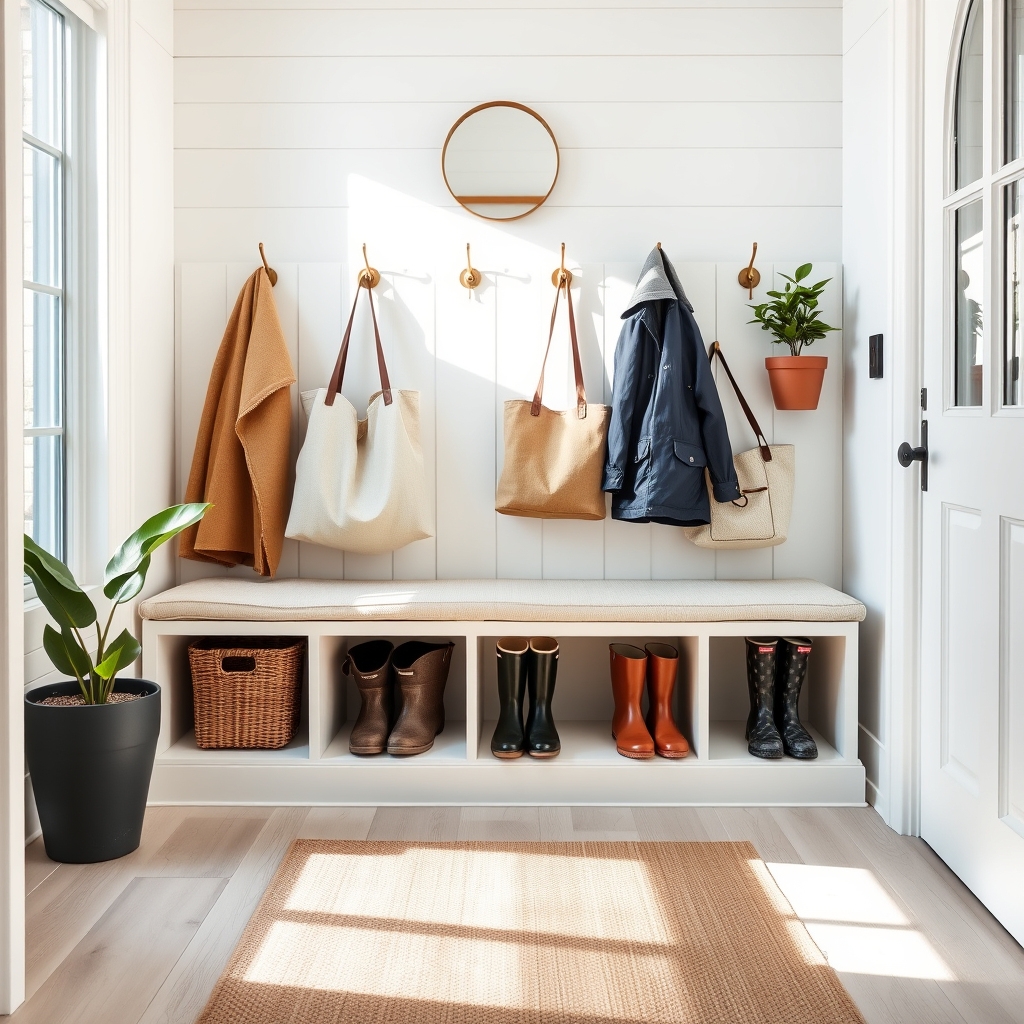
A well-organized mudroom drop zone serves as the first line of defense against household chaos, preventing clutter from spreading throughout your home. This transitional space captures outdoor elements, daily essentials, and seasonal items before they make their way into living areas, making it crucial for maintaining an organized household.
Creating an efficient mudroom drop zone system can transform your daily routines, reducing morning stress and streamlining your family’s comings and goings. When properly organized, this space helps family members quickly locate necessary items while keeping dirt, moisture, and clutter contained in one designated area.
Required Items:
- Wall hooks or pegs
- Storage bench with cubbies
- Boot tray or mat
- Weather-resistant flooring
- Storage baskets or bins
- Label maker
- Wall-mounted mail sorter
- Key hooks
- Shoe rack or storage
- Coat hangers
- Storage containers for seasonal items
The organization process starts with establishing designated zones for each family member, marked clearly with labels or color-coding. Install sturdy hooks at appropriate heights for coats and bags, ensuring accessibility for all users.
Position a storage bench with built-in cubbies underneath the hooks, creating a seamless flow for removing shoes and storing personal items.
Create a system for managing incoming items by installing a mail sorter and key hooks near the entrance. Place a boot tray beneath the bench for wet or dirty shoes, and implement additional shoe storage solutions based on your family’s needs.
Incorporate weatherproof storage solutions for seasonal items like umbrellas, gloves, and sports equipment.
Maximize your mudroom’s effectiveness by implementing a regular maintenance schedule. Rotate seasonal items quarterly, clean boot trays weekly, and establish family rules for maintaining the space.
Consider adding moisture-absorbing products during wet seasons and installing additional lighting to ensure the space remains functional year-round. Regular purging of outgrown items and unused accessories will help maintain the system’s efficiency.
Small Space Storage Furniture Hacks
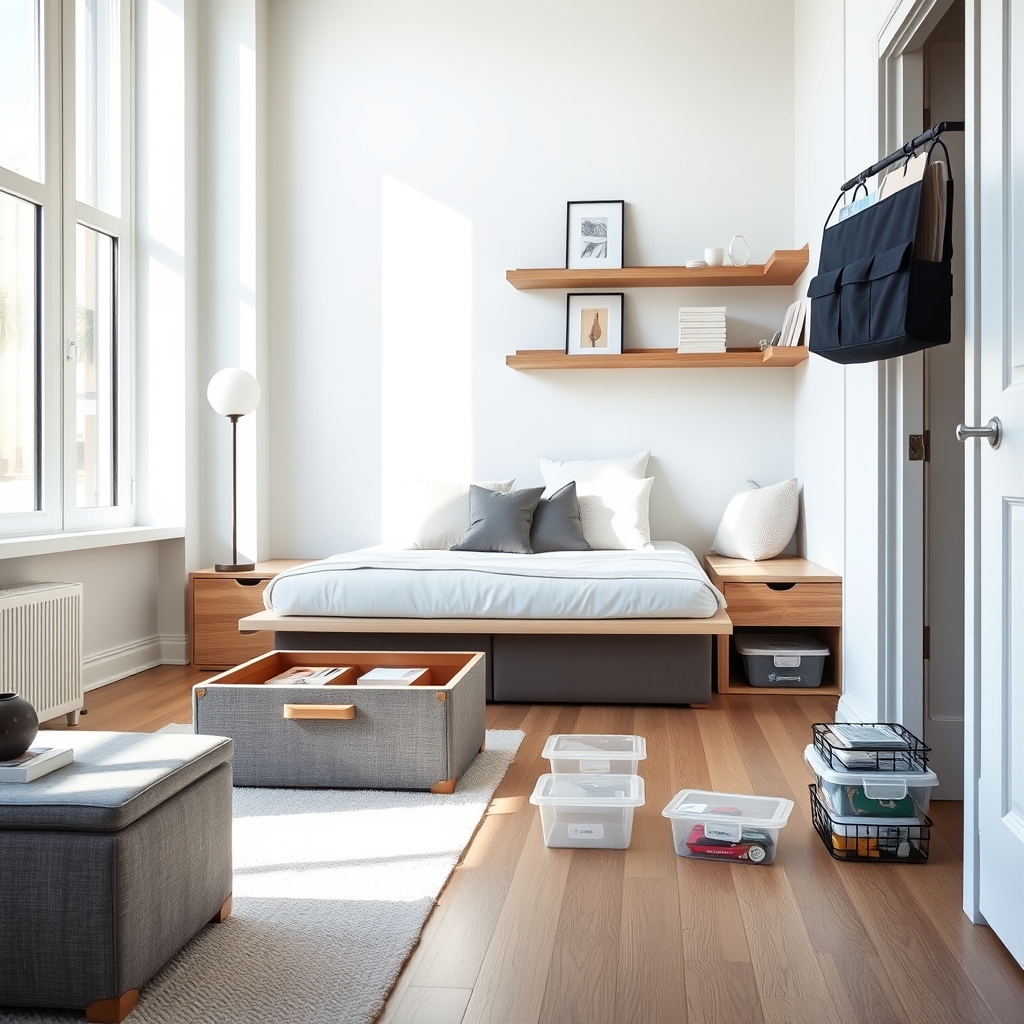
Living in a small space doesn’t mean sacrificing organization or comfort. Smart furniture storage solutions can transform cramped quarters into efficient, well-organized spaces that maximize every square inch while maintaining style and functionality. Proper organization of storage furniture can double your available space and create a more peaceful living environment.
Making the most of furniture storage requires strategic planning and creative thinking about how everyday pieces can serve multiple purposes. From ottomans with hidden compartments to beds with built-in drawers, the right combination of storage furniture can eliminate clutter while preserving precious floor space.
Required Items:
- Measuring tape
- Storage ottomans
- Under-bed storage containers
- Over-door organizers
- Floating shelves
- Multi-purpose furniture (coffee tables with storage, fold-down desks)
- Storage bench seating
- Drawer organizers
- Clear storage bins
- Labels
- Command hooks
Start by measuring your space and mapping out zones for different activities. Install floating shelves high on walls to maximize vertical storage while keeping floor space clear. Replace traditional furniture with multi-functional pieces – swap regular ottomans for storage versions, and consider a platform bed with built-in drawers.
Position storage bench seating along walls or in entryways to create additional hidden storage space. Organize items by frequency of use, storing daily necessities in easily accessible furniture pieces. Utilize under-bed storage for seasonal items or less-frequently used belongings.
Install over-door organizers on closet doors and bedroom doors to maximize otherwise unused space. Label all storage containers clearly to maintain organization long-term.
Additional Tips:
Think vertically when selecting storage furniture and stack compatible pieces when possible. Rotate stored items seasonally and reassess storage needs every six months. Consider furniture with wheels for added flexibility in small spaces, and always choose pieces that complement your existing decor to maintain a cohesive look while maximizing storage capacity.

