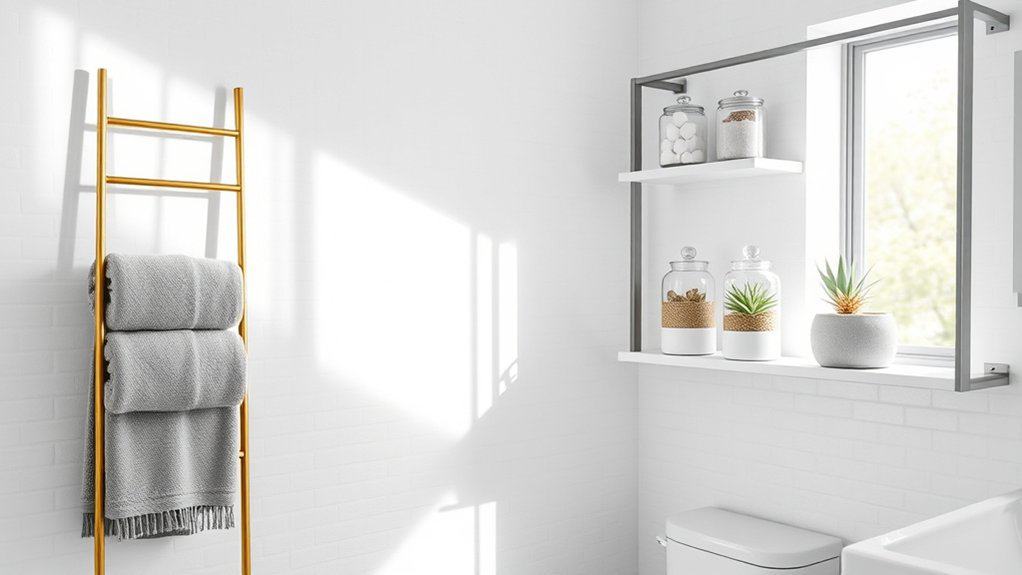
Did you know that the average person spends over 400 days of their life in the bathroom? With so much time spent in this essential space, it’s surprising how many of us struggle with cluttered counters and disorganized walls. I’ve transformed countless cramped bathrooms into efficient sanctuaries using clever wall organization, and I’m excited to share my favorite space-saving solutions. Whether you’re dealing with a tiny powder room or a shared family bathroom, these eight ingenious ideas will help you reclaim valuable real estate.

Floating Shelves: The Ultimate Wall-Mounted Storage Solution
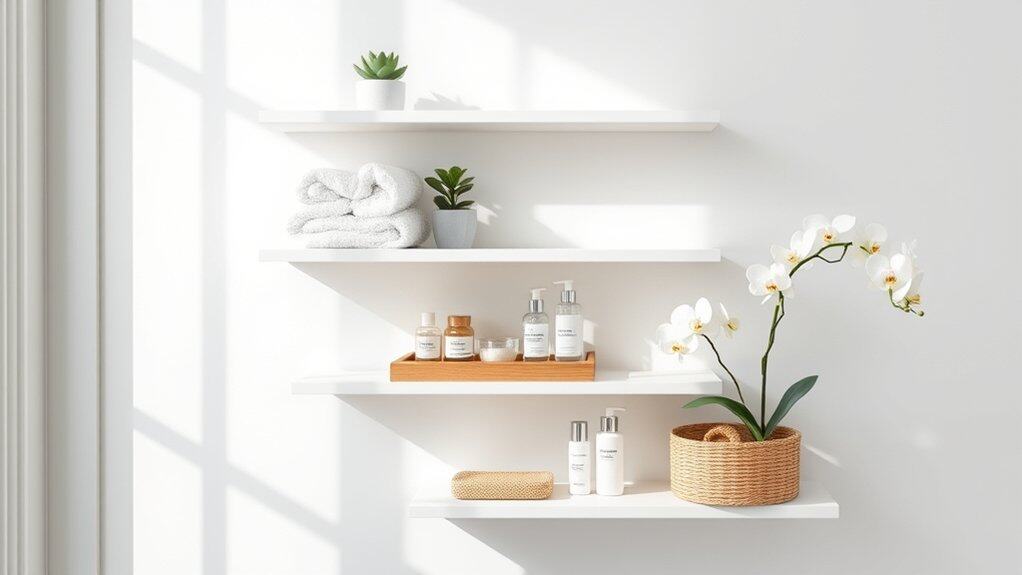
Floating shelves have revolutionized bathroom organization by providing sleek, modern storage solutions without consuming valuable floor space. These wall-mounted units create an illusion of weightlessness while offering practical storage for everyday essentials, making them perfect for bathrooms of any size.
Maximizing vertical wall space through floating shelves not only keeps toiletries and accessories within easy reach but also adds an architectural element to your bathroom design. When properly organized, these shelves can transform a cluttered space into an efficient, spa-like environment that promotes relaxation and order.
Required Items:
- Floating shelves
- Level
- Drill and drill bits
- Wall anchors
- Screwdriver
- Measuring tape
- Pencil
- Storage baskets or containers
- Clear organizing bins
- Labels
- Cleaning supplies
Start by determining the optimal placement for your floating shelves, considering height and accessibility. Install the shelves following manufacturer instructions, ensuring they’re level and securely anchored to wall studs or using appropriate wall anchors. Space shelves approximately 12-15 inches apart vertically to accommodate various item heights.
Once mounted, organize items by frequency of use, placing daily essentials at eye level and less-used items on higher shelves. Group similar items together using clear containers or decorative baskets: one for hair care products, another for skincare, and separate containers for dental hygiene and first aid supplies.
Reserve some open shelf space for decorative elements like plants or candles to maintain a balanced aesthetic.
Additional Tips: Maintain organization by implementing a regular cleaning schedule and reassessing items monthly to prevent clutter accumulation. Use shelf liners to protect the surfaces and make cleaning easier.
Consider installing small LED strip lights under shelves for enhanced visibility and ambiance. Keep heavy items closer to the wall’s edge where support is strongest, and maintain some empty space for visual breathing room and future storage needs.
Magnetic Strips for Metal Accessories
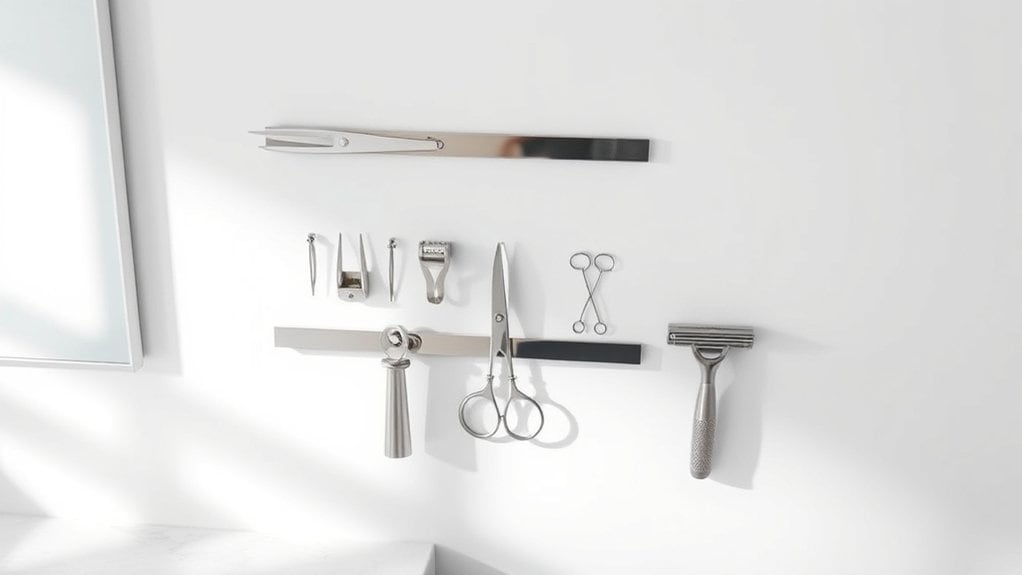
Small metal items in bathrooms often create clutter and get lost in drawers or cabinets, making daily routines more time-consuming and frustrating. Magnetic strips offer an elegant solution to organize metal grooming tools and accessories while maximizing vertical wall space and keeping essential items within easy reach.
Installing magnetic strips transforms unused wall space into functional storage areas, particularly beneficial in smaller bathrooms where counter space is limited. This organization method not only declutters your bathroom but also protects metal items from moisture damage that can occur when stored in drawers or on countertops.
Required Items:
- Heavy-duty magnetic strips
- Mounting hardware (screws and anchors)
- Level
- Pencil
- Drill
- Screwdriver
- Measuring tape
- Cleaning supplies
- Safety glasses
Mount the magnetic strips strategically on your bathroom wall, ensuring they’re at a comfortable height for daily access. Begin by cleaning the wall surface thoroughly and marking the desired placement with a pencil, using a level to ensure straight alignment. Install wall anchors if mounting on drywall, then secure the magnetic strips firmly with screws.
Test the magnetic strength before placing all items to ensure they hold securely. Position metal items with consideration for frequency of use and aesthetic appeal. Arrange bobby pins, nail clippers, tweezers, and other small metal tools in organized patterns. Keep heavier items like scissors or metal razors toward the center of the strip where magnetic pull is strongest.
Consider installing multiple strips at different heights to create distinct zones for different categories of items.
Additional Tip: Protect your magnetic strips from bathroom moisture by applying a thin coat of clear sealant around the edges where they meet the wall. Periodically check that all items remain strongly magnetized and rotate their positions to prevent wear on specific areas of the strips. Clean both the strips and metal items regularly with a dry cloth to maintain magnetic strength and prevent rust formation.
Over-the-Door Hanging Organizers
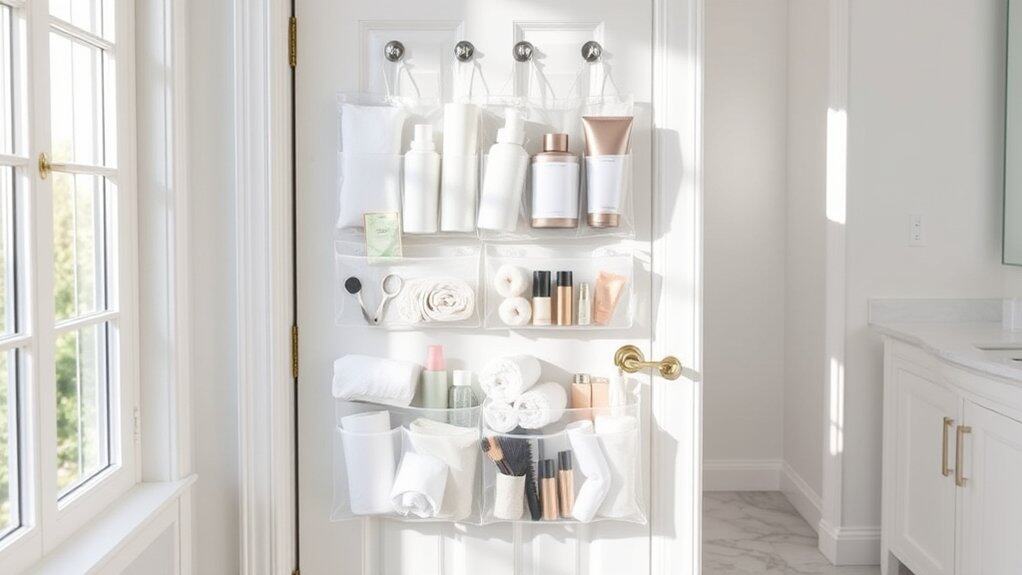
Making the most of vertical space in your bathroom is essential, especially in smaller homes or apartments where storage space comes at a premium. Over-the-door hanging organizers provide an elegant solution to maximize unused space while keeping bathroom essentials within easy reach.
These versatile organizers transform dead space into functional storage, preventing cluttered countertops and cabinets while maintaining a clean, organized appearance. The right over-the-door system can store everything from toiletries and cosmetics to hair tools and cleaning supplies.
Required Items:
- Over-the-door hanging organizer
- Door hooks or brackets
- Level
- Measuring tape
- Screwdriver (if mounting brackets)
- Command strips (optional)
- Storage bins or baskets (optional)
- Label maker (optional)
Start by measuring your bathroom door’s width and thickness to ensure proper fit of the organizer. Install the door hooks or mounting brackets according to the manufacturer’s instructions, ensuring they’re level and secure.
If using adhesive strips for additional stability, clean the door surface thoroughly before application. Sort bathroom items into categories (hair products, skincare, cleaning supplies, etc.) and arrange them in the organizer’s pockets or shelves, placing frequently used items at eye level.
For deeper pockets, consider using small bins or baskets to prevent items from getting lost or disorganized. To maintain organization long-term, regularly assess stored items and remove those that are expired or unused.
Consider using clear containers to easily identify contents, and implement a labeling system for shared bathrooms. Position items strategically based on usage frequency, and avoid overloading the organizer beyond its weight capacity to prevent damage to both the organizer and door.
Vertical Storage Towers and Cabinets
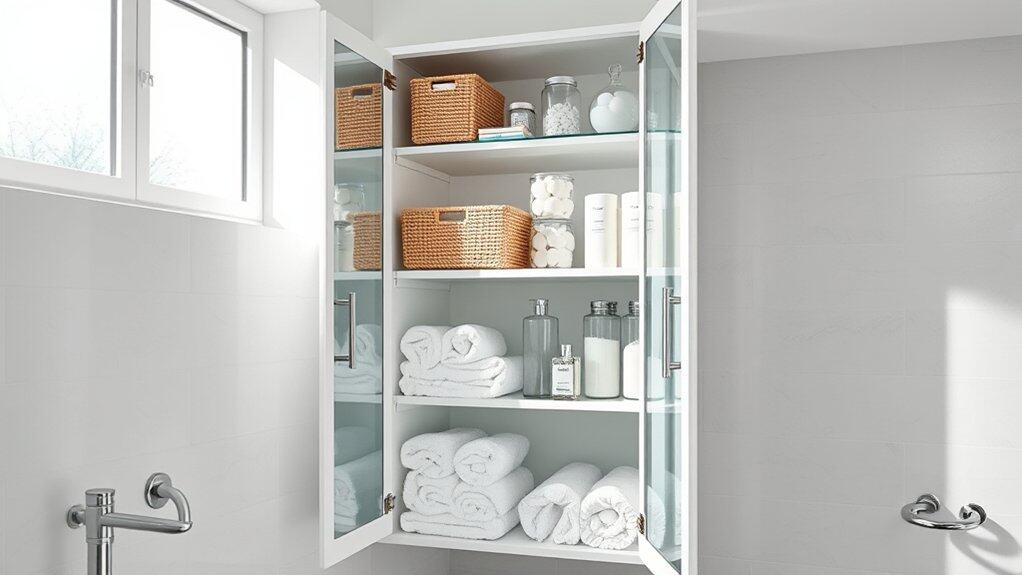
Maximizing vertical space in your bathroom is essential for creating an organized and efficient environment, especially in smaller spaces. Vertical storage towers and cabinets provide a practical solution by utilizing wall height rather than precious floor space, offering multiple levels of storage for toiletries, towels, and other bathroom essentials.
These storage solutions not only help declutter your bathroom but also make items more accessible while adding a stylish element to your decor. When properly organized, vertical storage can transform a chaotic bathroom into a spa-like retreat where everything has its designated place.
Required Items:
- Vertical storage tower or cabinet
- Adjustable shelves
- Drawer organizers or bins
- Labels
- Measuring tape
- Level
- Wall anchors
- Screwdriver
- Cleaning supplies
- Storage baskets or containers
- Clear bins (optional)
- Door hooks (optional)
Start by positioning your vertical storage unit in a location that doesn’t interfere with door swing or daily movement patterns. Install the unit securely using appropriate wall anchors and ensure it’s level.
Arrange items by frequency of use, placing daily essentials at eye level and less-used items on higher or lower shelves. Sort items into categories (hair care, dental hygiene, first aid) and use bins or baskets to keep similar items together. For cabinets with doors, utilize the door’s interior space by adding hooks or over-the-door organizers for additional storage.
When organizing the contents, implement a top-to-bottom strategy: place lightweight items on upper shelves, everyday items at mid-height, and heavier items at the bottom for stability. Use clear containers to easily identify contents and maintain order.
Consider adding pull-out drawers or sliding organizers within the cabinet to maximize depth and accessibility. To maintain your organized vertical storage system, regularly assess the contents and purge expired items.
Consider installing battery-operated LED lights for better visibility in enclosed cabinets, and use shelf liners to protect surfaces and prevent items from sliding. Remember to leave some empty space for future additions and maintain flexibility in your organization system as your needs change over time.
Wall-Mounted Baskets and Bins
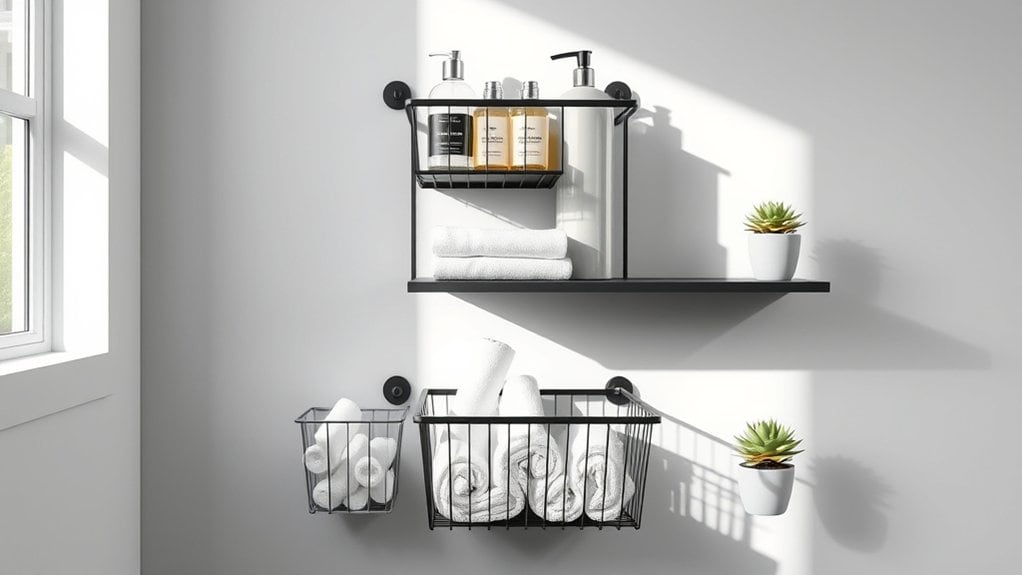
Wall-mounted baskets and bins represent one of the most efficient solutions for maximizing vertical storage space in bathrooms of any size. By utilizing wall space effectively, these organizational tools help keep essential items within easy reach while freeing up valuable counter and cabinet space.
The strategic placement of wall-mounted storage solutions not only enhances the functionality of your bathroom but also creates a cleaner, more organized aesthetic. These versatile storage options can accommodate everything from toiletries and cosmetics to extra toilet paper and towels, making them an indispensable addition to any bathroom organization system.
Required Items:
- Wall-mounted baskets or bins
- Wall anchors
- Screws
- Level
- Drill
- Pencil
- Measuring tape
- Stud finder
- Screwdriver
- Command strips (optional)
Select appropriate mounting locations by first identifying the most convenient spots for frequently accessed items. Using a stud finder, mark wall studs and determine if additional wall anchors are needed. Measure and mark mounting points, ensuring baskets will be level and properly spaced.
Install wall anchors if necessary, then securely attach mounting brackets or hooks according to manufacturer specifications. For wire baskets or bins with integrated mounting hardware, screw directly into studs when possible for maximum stability. Test the security of each mounted unit before loading items.
Additional bins can be arranged in various configurations – vertical stacks for maximizing narrow wall spaces, horizontal rows for broader coverage, or clustered arrangements for visual interest.
Consider creating zones based on usage patterns: morning routine items at eye level, cleaning supplies lower, and less frequently used items higher up.
To maximize the effectiveness of wall-mounted storage, use clear bins when possible to easily identify contents, and label opaque containers. Implement a regular rotation system to prevent items from becoming stagnant or expired.
Consider using removable adhesive strips for lighter items or renters who can’t make permanent wall modifications. Periodically review and adjust the organization system to ensure it continues meeting your changing needs and maintains optimal functionality.
Space-Saving Towel Racks and Hooks
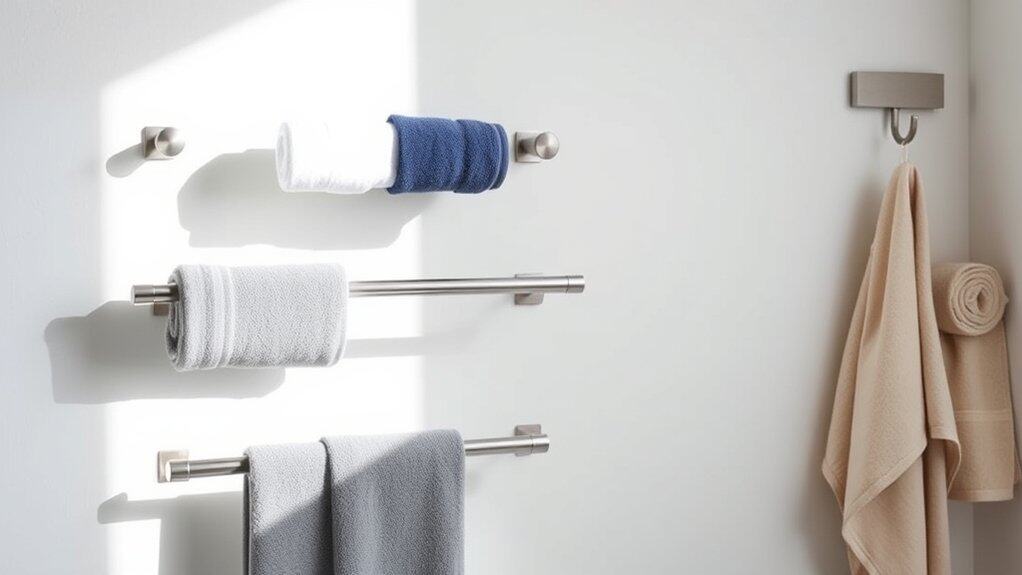
Proper towel organization is essential for maintaining a clutter-free and functional bathroom space. When towels are haphazardly hung or stuffed into cabinets, they not only create visual chaos but can also lead to moisture-related issues and unpleasant odors. A well-planned towel storage system maximizes vertical wall space while keeping towels accessible and properly aired out.
Implementing space-saving towel racks and hooks transforms your bathroom into an efficient, hotel-like space where every towel has its designated spot. This organization method prevents towels from ending up on the floor, reduces laundry frequency, and creates a more hygienic environment by allowing proper air circulation between uses.
Required Items:
- Measuring tape
- Level
- Drill and drill bits
- Wall anchors
- Screwdriver
- Pencil
- Over-the-door hooks
- Wall-mounted towel bars
- Robe hooks
- Command hooks (for renters)
- Vertical towel rack
- Multi-tier towel rack
Start by measuring your available wall space and mapping out optimal locations for towel storage. Install the largest towel bars first, typically 18-24 inches wide, at comfortable reaching height (approximately 48 inches from the floor) for bath towels.
Mount shorter towel bars or hooks at staggered heights to maximize vertical space utilization. Consider installing an over-the-door rack for additional storage without drilling.
For shared bathrooms, assign specific hooks or bars to each family member using different heights or zones. Install robe hooks behind the door or in unused corner spaces for hanging wet towels or bathrobes.
If mounting options are limited, utilize adhesive hooks or tension rods between walls for temporary solutions.
Additional Tip: Incorporate a rotation system where fresh towels are placed at the back of the rack while the front positions hold currently-in-use towels. This prevents towel mixups and ensures even usage.
Consider installing a small shelf above towel racks for decorative storage baskets to hold extra washcloths or hand towels, maximizing vertical space while maintaining accessibility.
Built-In Wall Niches and Recessed Storage
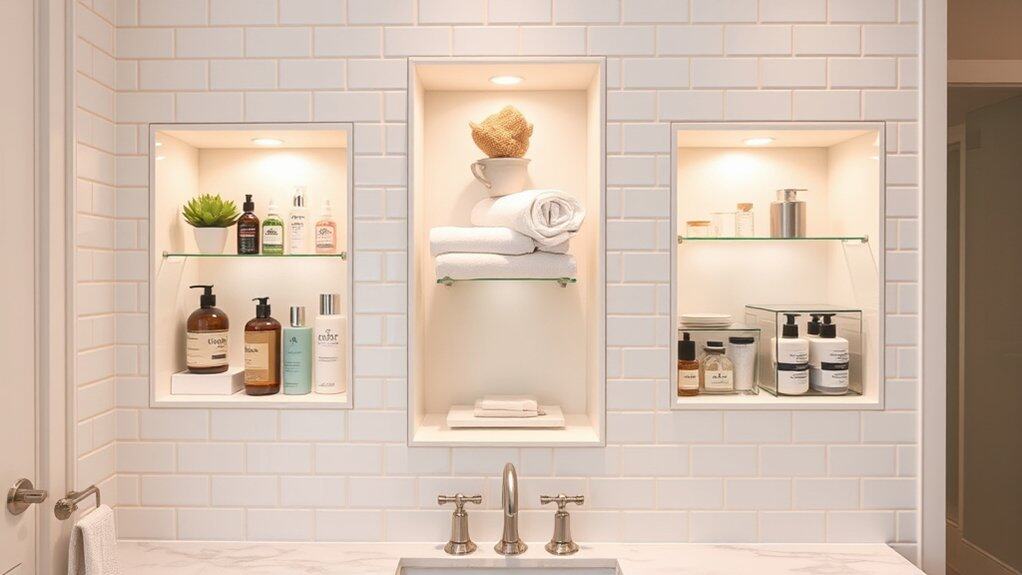
Built-in wall niches and recessed storage solutions represent one of the most elegant and space-saving approaches to bathroom organization. These architectural features transform otherwise unused wall cavity space into functional storage areas, creating a sleek, custom look while maintaining valuable floor space in typically cramped bathrooms.
When properly organized, wall niches and recessed storage spaces eliminate counter clutter and create designated homes for everyday essentials. These built-in features can be strategically placed near points of use – such as installing a shower niche near bathing areas or a recessed cabinet near the vanity – maximizing efficiency and enhancing the overall bathroom experience.
Required Items:
- Clear storage containers
- Waterproof labels
- Non-slip shelf liners
- Small organizing baskets
- Moisture-resistant bins
- Glass or plastic jars
- Drawer dividers
- Waterproof tape
- Level
- Measuring tape
The organization process begins with thoroughly cleaning and drying all niches and recessed areas. Measure each space carefully and install non-slip liners to protect surfaces and prevent items from sliding.
Group similar items together based on function and frequency of use – daily essentials should be placed at eye level, while less frequently used items can go higher or lower. For shower niches, arrange products by family member or purpose, using clear containers to maintain visibility.
In recessed medicine cabinets or storage areas, implement a zone system: top shelf for first aid and medicines, middle shelves for daily grooming items, and bottom shelves for backup supplies.
For optimal organization success, rotate items seasonally and conduct monthly maintenance checks to remove expired products and assess organization effectiveness. Use clear, water-resistant labels to maintain order and consider installing small LED lights in deeper recessed areas to improve visibility.
Remember that vertical space in niches can be maximized by using stackable containers or installing additional mini-shelves within larger recessed areas.
Corner Shelving Units That Maximize Dead Space
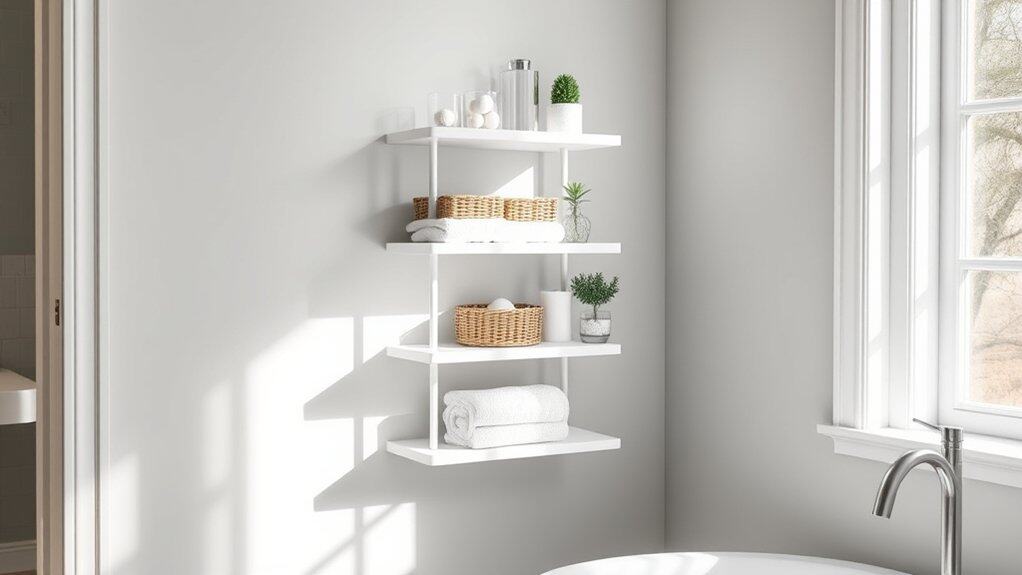
Bathroom corners often become wasted space, collecting dust and remaining underutilized in an area where storage is paramount. Corner shelving units offer an elegant solution to transform these dead zones into functional storage areas, maximizing every square inch of your bathroom while maintaining a clean, organized appearance.
Installing corner shelves not only creates additional storage but also adds visual interest to your bathroom design. These units can hold everything from toiletries and cosmetics to decorative items and essential supplies, effectively doubling your storage capacity without encroaching on valuable floor space.
Required Items:
- Corner shelving unit (floating or standing)
- Level
- Drill and drill bits
- Wall anchors
- Screwdriver
- Measuring tape
- Pencil
- Stud finder
- Cleaning supplies
- Storage containers or baskets
Start by thoroughly cleaning the corner area and using a stud finder to locate wall supports. Measure the space carefully, marking shelf heights that allow comfortable access while maximizing vertical space.
When installing floating shelves, ensure proper anchoring by using appropriate wall anchors and checking level alignment at each step. For standing units, assemble according to manufacturer instructions and secure to the wall if required for stability.
Group similar items together before placing them on shelves, keeping frequently used items at eye level. Consider using clear containers or labeled baskets to maintain organization and prevent items from getting lost in corners.
Arrange heavier items on lower shelves for stability, and maintain proper weight distribution across the unit.
Additional Tips: Incorporate proper lighting above or near your corner shelving to eliminate shadows and make items easily visible. Use shelf liners to protect surfaces and prevent items from sliding.
Regularly review and rotate items to ensure the most-used products remain easily accessible, and consider seasonal reorganization to accommodate changing needs throughout the year.

