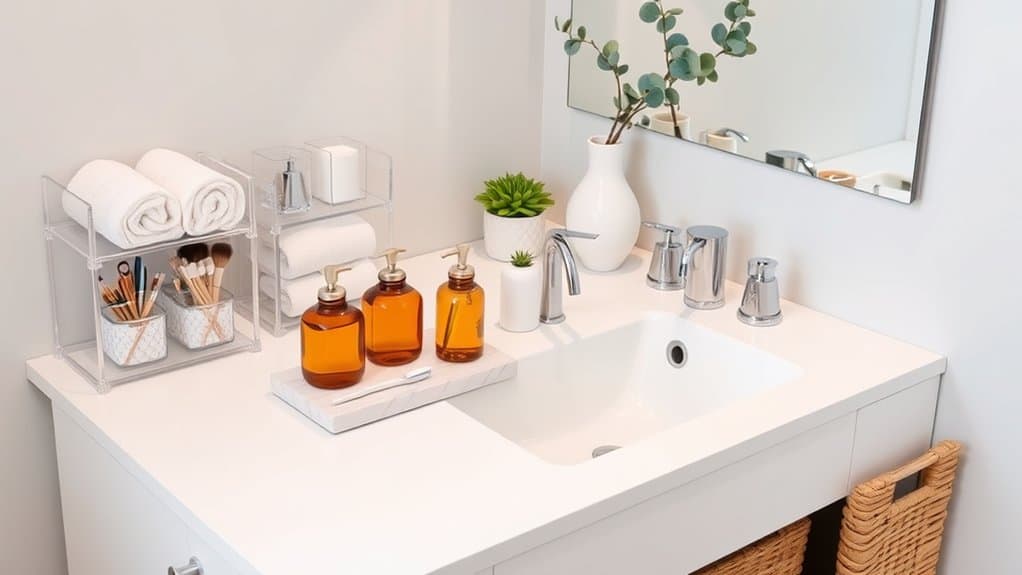
You’ve probably noticed how quickly your bathroom sink area can become a cluttered mess of toiletries, cosmetics, and daily essentials. I’ve been there too – staring at the chaos and wondering how to transform it into something more serene and functional. Whether you’re working with a tiny powder room or a spacious master bath, these seven organization ideas will help you create a beautifully organized space that matches your style and makes your morning routine so much smoother.
Utilize Decorative Trays and Vanity Organizers
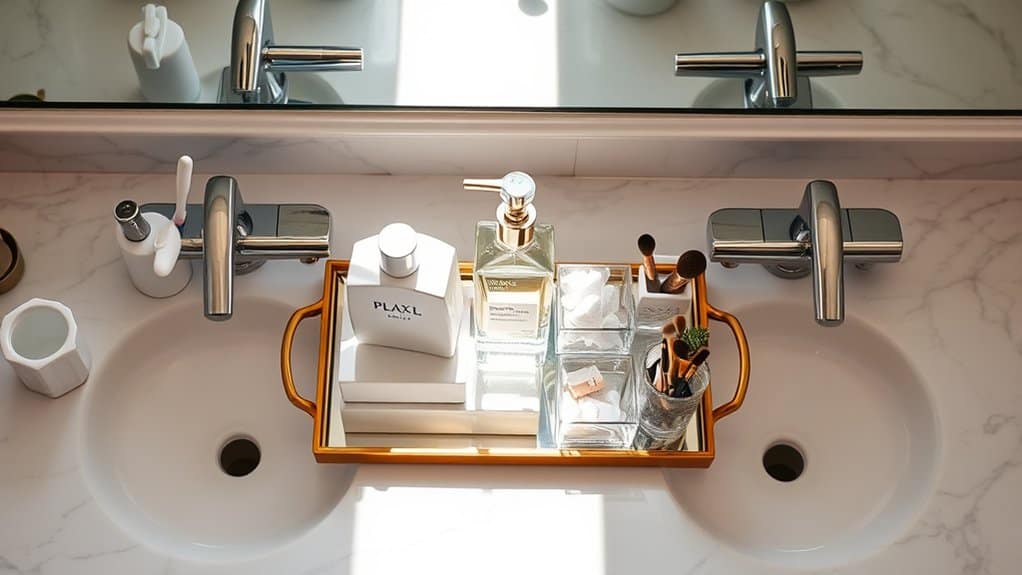
A well-organized bathroom sink area creates a serene and efficient space for daily grooming routines. When essential items are thoughtfully arranged on decorative trays and in vanity organizers, they become both functional and aesthetically pleasing, transforming a cluttered counter into an organized oasis.
Implementing an effective organization system using trays and vanity organizers not only maximizes counter space but also protects surfaces from water damage and product spills. This systematic approach ensures that frequently used items remain easily accessible while maintaining a clean, sophisticated appearance.
Required Items:
- Decorative vanity tray
- Small drawer organizers
- Clear acrylic containers
- Mason jars or decorative holders
- Drawer dividers
- Small storage baskets
- Label maker
- Cleaning supplies
- Measuring tape
- Cotton swab holders
- Toothbrush holder
Select appropriately sized trays and organizers for your counter space, measuring carefully to ensure proper fit. Place larger items like soap dispensers and lotion bottles on a decorative tray to contain spills and create a cohesive look.
Utilize clear acrylic organizers or small containers within the tray to separate items by category – one for dental care, another for skincare, and a third for frequently used makeup items. Position these groupings based on your dominant hand and daily routine for maximum efficiency.
For items that don’t require daily access, implement drawer organizers beneath the sink, creating designated spaces for backup supplies, extra toiletries, and occasional-use items. Install drawer dividers to maintain organization and prevent items from sliding around when opening and closing drawers.
Additional Success Tips: Regularly assess and adjust your organization system every few months. Remove items that haven’t been used, clean trays and containers thoroughly, and reorganize based on changing needs or seasons.
Consider using water-resistant materials for trays and organizers to ensure longevity, and maintain a consistent cleaning schedule to prevent product buildup and maintain the organized appearance.
Install Wall-Mounted Storage Solutions
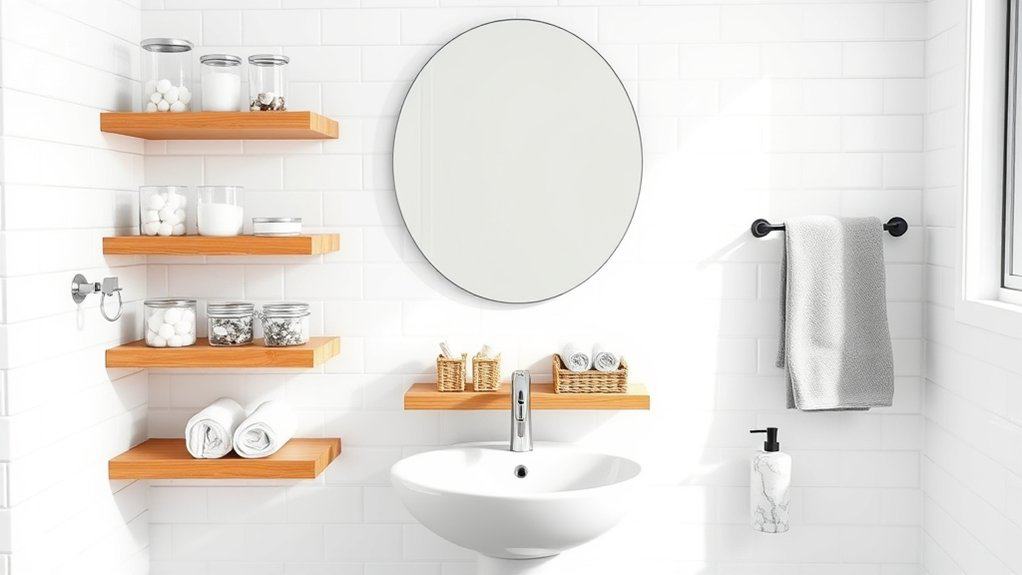
Wall-mounted storage solutions represent one of the most efficient ways to maximize bathroom space while keeping essential items within easy reach. By utilizing vertical space, these installations help keep countertops clear and create a more organized, clutter-free environment that’s both functional and aesthetically pleasing.
Installing wall-mounted storage near your bathroom sink transforms previously unused wall space into valuable storage real estate. This approach not only improves organization but also adds a modern, sophisticated touch to your bathroom while making daily routines more efficient by keeping frequently used items readily accessible.
Required Items:
- Stud finder
- Level
- Drill and drill bits
- Screwdriver
- Wall anchors
- Screws
- Measuring tape
- Pencil
- Wall-mounted shelves or cabinets
- Wall-mounted toothbrush holder
- Towel bars or hooks
- Storage baskets or containers
First, survey your wall space and measure the available area, marking potential mounting locations with a pencil. Use a stud finder to locate wall studs for secure mounting, particularly for heavier storage units. For areas without studs, ensure you use appropriate wall anchors rated for the weight of your storage solutions.
Install the largest storage units first, such as medicine cabinets or floating shelves, making sure they’re level and securely mounted. Follow with smaller organizers like toothbrush holders, soap dispensers, and towel bars, positioning them at comfortable heights for daily use.
Group similar items together and consider the natural flow of your morning and evening routines when deciding placement.
Additional Tip:
Consider installing adjustable or modular wall storage systems that can be reconfigured as your needs change. Use clear containers or labels on wall-mounted storage to maintain organization, and regularly assess the functionality of your setup, making adjustments as necessary to optimize your space and daily routine.
Maximize Under-Sink Space With Pull-Out Systems
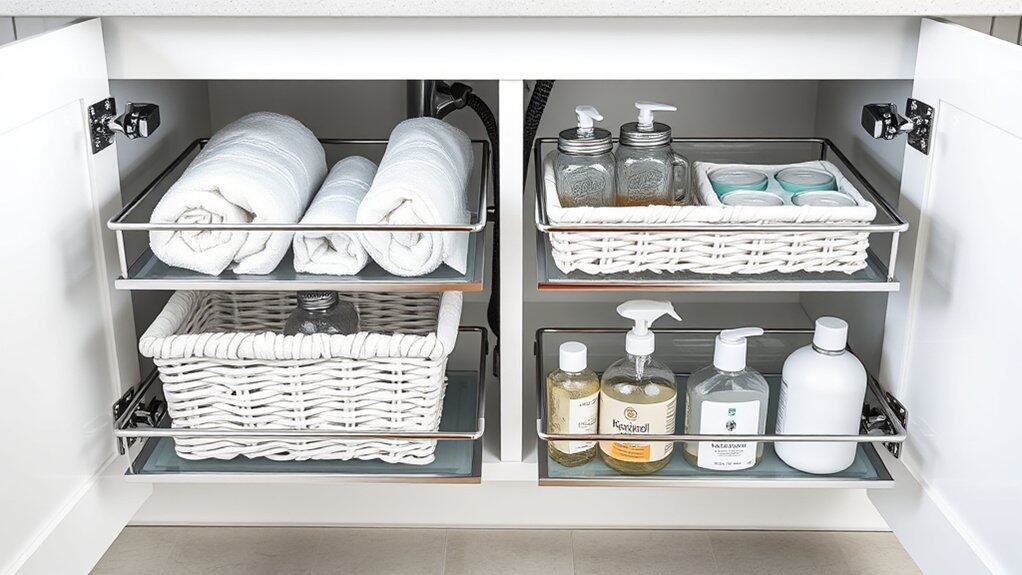
The space under your bathroom sink represents prime real estate for storage, yet it often becomes a cluttered catch-all for cleaning supplies, toiletries, and forgotten items.
Installing pull-out systems transforms this traditionally awkward space into an efficiently organized storage solution that maximizes every square inch while keeping items easily accessible.
Pull-out organizers eliminate the need to crawl on hands and knees, searching for items buried in the back of the cabinet. These systems bring everything into view with a simple sliding motion, making it easier to maintain organization and quickly locate needed items, ultimately saving time during daily routines.
Required Items:
- Pull-out drawer systems (sized to fit cabinet)
- Measuring tape
- Screwdriver
- Cabinet-mounting hardware
- Drawer dividers
- Clear storage containers
- Labels
- Non-slip liner
- Cleaning supplies
Start by removing everything from under the sink and measuring the interior cabinet dimensions, accounting for plumbing fixtures.
Install the pull-out system according to manufacturer instructions, ensuring proper clearance around pipes. Most systems come with adjustable brackets to accommodate plumbing obstacles.
Once the pull-out drawers are securely mounted, categorize items by frequency of use and type.
Place frequently used items in the top drawer or front of pulls for easy access. Use clear containers to group similar items, such as hair products, cleaning supplies, or first aid materials.
Install drawer dividers to prevent items from shifting when opening and closing the pulls.
Consider vertical storage opportunities by mounting small organizers on cabinet doors or utilizing stackable containers in pull-out drawers.
Apply non-slip liner to prevent containers from sliding, and label everything clearly to maintain organization.
Clean the space regularly and reassess storage needs every few months to ensure the system continues working efficiently.
Success Tips: Conduct regular audits of stored items, removing expired products and consolidating duplicates.
Position taller items toward the back of pull-outs and shorter items in front for better visibility.
Keep cleaning supplies in leak-proof containers and store them separately from personal care items to prevent contamination.
Maintain a small margin of empty space to accommodate new items without disrupting the organization system.
Create Custom Drawer Organization Systems
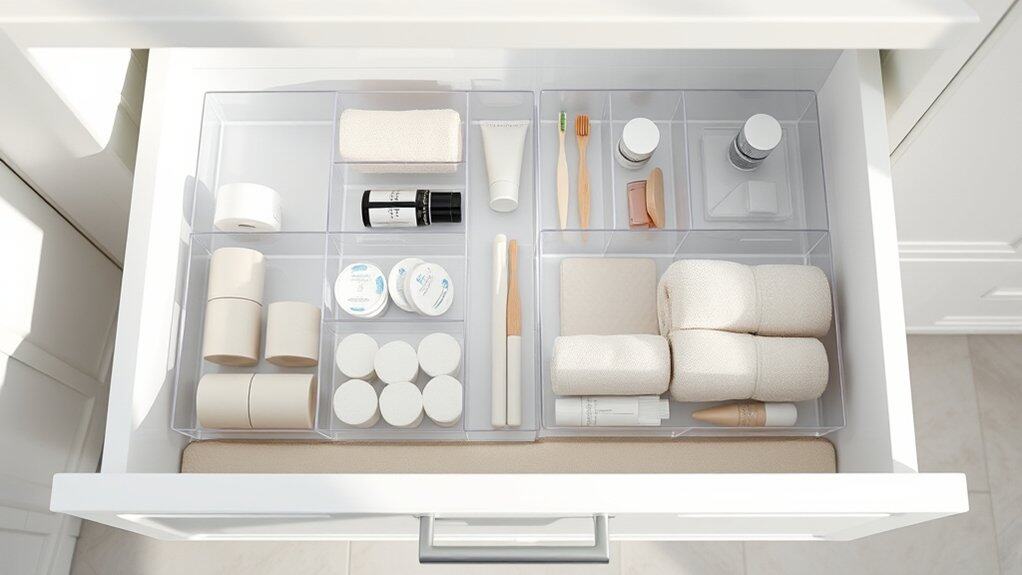
A well-organized bathroom drawer system transforms a chaotic space into an efficient, time-saving solution for daily routines. When items have designated spots, you eliminate the frustration of searching through jumbled contents and reduce the likelihood of purchasing duplicate products you already own but can’t find.
Custom drawer organization allows you to maximize every inch of available space while accommodating your specific collection of toiletries, cosmetics, and personal care items. This personalized approach ensures that your storage solution perfectly matches your needs rather than forcing your belongings to fit into pre-made organizers that may not utilize space efficiently.
Required Items:
- Drawer dividers (adjustable or fixed)
- Measuring tape
- Small containers or bins
- Drawer liner
- Label maker or labels
- Clear plastic organizer trays
- Scissors
- Cleaning supplies
- Small boxes or compartment organizers
Start by removing everything from the drawer and thoroughly cleaning the space. Measure the drawer’s dimensions, including depth, to ensure any organizers or dividers will fit properly. Sort items into categories such as daily essentials, cosmetics, hair accessories, and dental care products. Discard expired items and duplicates to work only with what you actually need and use.
Install drawer liners to protect the surface and keep items from sliding. Position adjustable dividers or place individual organizing containers to create designated zones for different categories. Consider frequency of use when deciding placement – keep daily items toward the front and occasional-use items toward the back.
Arrange similar items together in clear containers or compartments, making sure containers are appropriately sized for their contents. For optimal long-term success, implement a regular maintenance schedule to review and reset drawer organization every three months.
Consider using clear containers to easily identify contents, and label sections to maintain the system. Leave about 20% of space empty to accommodate new items and prevent overcrowding, which can quickly lead to disorganization.
Add Vertical Storage With Over-The-Door Solutions
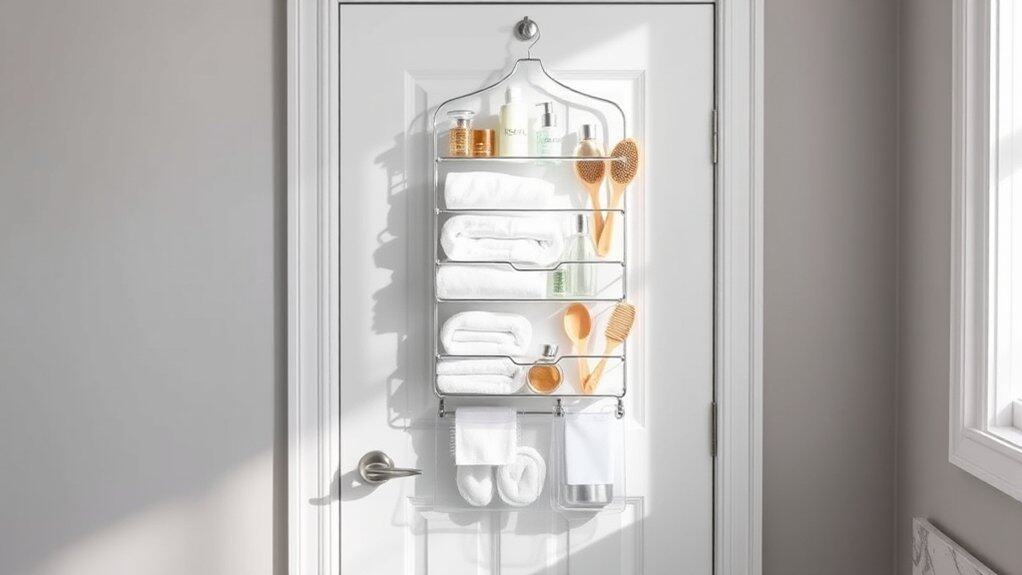
Making the most of vertical space in your bathroom is crucial, especially when dealing with limited counter space around the sink area. Over-the-door storage solutions provide an efficient way to maximize unused space while keeping essential items within easy reach, transforming what was once dead space into valuable storage real estate.
By implementing over-the-door storage systems, you can effectively declutter your sink area and create designated spaces for various bathroom items. This organization method not only improves accessibility but also helps maintain a cleaner, more organized environment while protecting your items from moisture and bathroom humidity.
Required Items:
- Over-the-door organizer with multiple pockets or shelves
- Command hooks or door hooks
- Measuring tape
- Storage bins or baskets
- Labels (optional)
- Clear containers (optional)
- Door bumpers or protective pads
- Basic tools for assembly (if required)
Select an over-the-door organizer that fits your bathroom door dimensions and install any necessary hooks or hanging hardware. Position the organizer at a height that allows easy access to all compartments while ensuring the door can still close properly.
Install door bumpers or protective pads to prevent damage to the door or wall. Sort bathroom items by category and assign specific pockets or shelves for each group, such as hair products, skincare items, or cleaning supplies.
For maximum effectiveness, place frequently used items at eye level and store lesser-used items in lower compartments. Consider using clear containers within the organizer pockets to prevent small items from getting lost and to maintain better organization. Label each section clearly if the organizer doesn’t have transparent pockets.
Additional Tip: Regularly assess the weight distribution of items in your over-the-door organizer to prevent stress on the door hinges. Rotate items periodically to ensure even wear on the organizer and maintain its stability.
Consider using waterproof materials or adding protective covers if the organizer is exposed to shower steam or moisture.
Incorporate Multi-Tier Corner Shelving
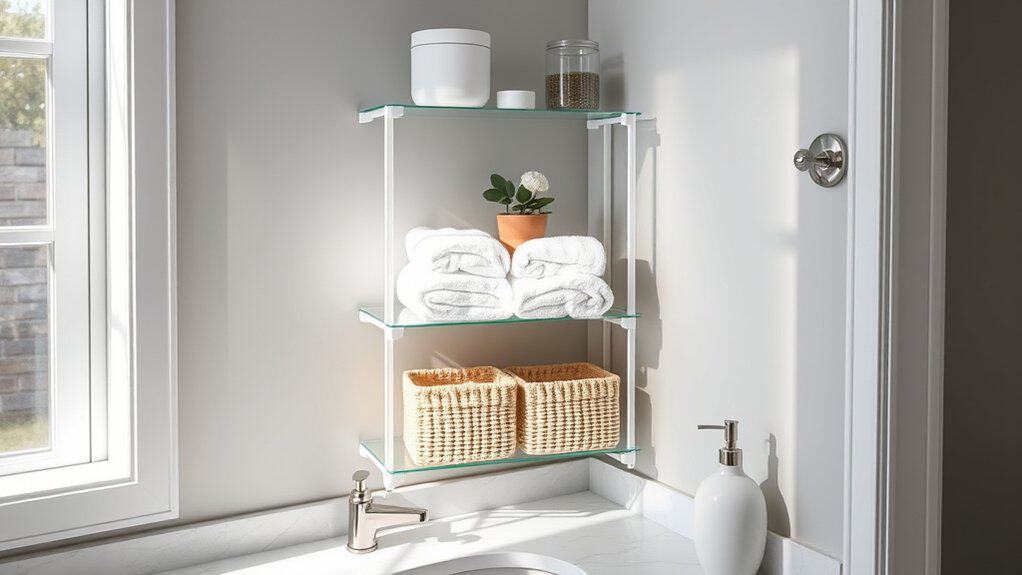
Maximizing corner space in your bathroom is one of the most effective ways to expand storage capacity without sacrificing valuable floor space. Multi-tier corner shelving provides a practical solution for organizing toiletries, cleaning supplies, and decorative items while keeping them easily accessible. This vertical storage approach helps maintain a clutter-free countertop while utilizing often-overlooked corner spaces.
Creating an organized corner shelving system transforms dead space into a functional storage area that can accommodate various items of different sizes. The multiple tiers allow for logical grouping of items based on frequency of use, size, or category, making it easier to maintain an organized bathroom environment while adding a touch of style to your space.
Required Items:
- Multi-tier corner shelf unit
- Level
- Drill and wall anchors
- Measuring tape
- Pencil
- Cleaning supplies
- Storage containers or baskets
- Labels
- Anti-slip shelf liners
Begin by thoroughly cleaning the corner area and measuring the available space from floor to ceiling and along both walls. Install the corner shelf unit according to manufacturer instructions, ensuring it’s level and properly anchored. Once secured, line each shelf with anti-slip liners to prevent items from sliding.
Organize items by frequency of use, placing daily essentials on middle shelves for easy reach. Reserve bottom shelves for heavier items and cleaning supplies, while top shelves can store backup supplies or less frequently used items. Use matching containers or baskets to group similar items together, such as hair products, dental care, or first aid supplies. Consider clear containers for easy identification of contents.
Additional Organization Tips: Implement a rotation system for products to prevent expire dates from being overlooked. Use drawer organizers or small bins within the shelving system to further compartmentalize smaller items. Regularly assess the contents and purge unused or expired products to maintain organization.
Consider adding small hooks to the sides of the unit for hanging items like loofahs or washcloths.
Design a Minimalist Countertop Setup
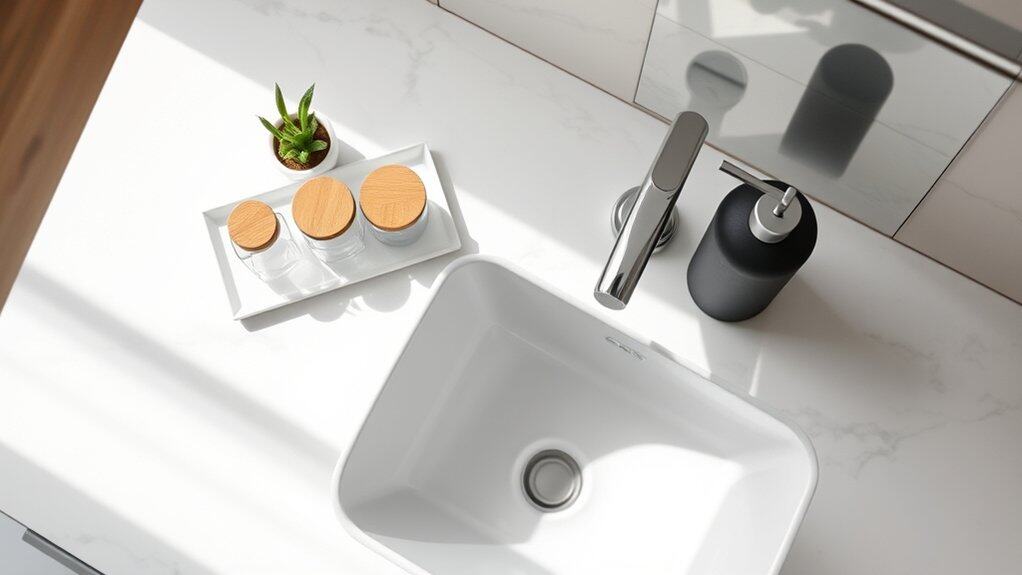
A clutter-free bathroom countertop creates a sense of calm and order in your daily routine, making morning and evening rituals more efficient and enjoyable. When everything has its designated space, you spend less time searching for items and more time focusing on what matters.
Minimalist countertop organization isn’t just about aesthetics; it’s about maintaining a functional space that’s easy to clean and manage. By keeping only essential items visible and storing others strategically, you create a spa-like atmosphere that reduces visual stress and promotes better hygiene.
Required Items:
- Small decorative tray
- Glass or ceramic containers
- Soap dispenser
- Small drawer organizers
- Clear storage containers
- Cabinet organizers
- Labels
- Cleaning supplies
- Storage baskets
- Drawer dividers
Start by removing everything from your countertop and thoroughly cleaning the surface. Sort items into three categories: daily essentials, weekly use items, and occasional use items. Keep only daily essentials on the counter, placing them on a decorative tray to create a cohesive look.
Install under-sink organizers or drawer systems for items used less frequently. Position your daily essentials strategically based on usage patterns. Place your soap dispenser near the faucet, followed by a small container for frequently used items like toothbrushes or cotton swabs.
If space allows, add one decorative element like a small plant or candle to maintain the minimalist aesthetic while adding personality. Store makeup, hair tools, and skincare products in drawers or cabinets, using clear containers and labels for easy identification.
Consider installing magnetic strips inside cabinet doors for metal items or adding small command hooks for hanging frequently used tools.
Additional Tips: Maintain your minimalist setup by implementing a weekly reset routine where you return misplaced items to their designated spots and wipe down all surfaces.
Consider the one-in-one-out rule when purchasing new bathroom items to prevent clutter from accumulating. Regularly assess your products and remove expired or unused items to maintain the simplified aesthetic.

