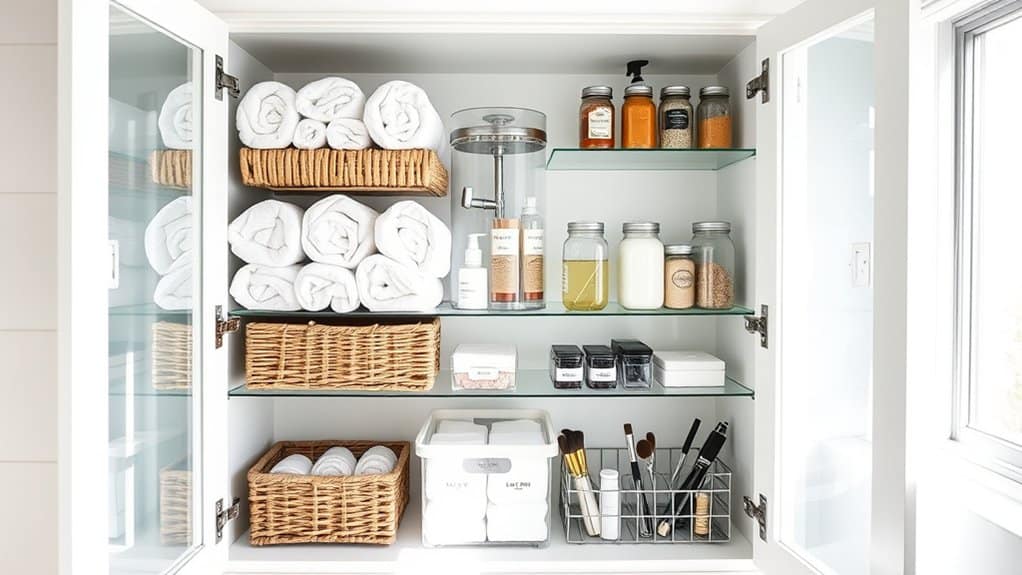
Picture opening your bathroom cabinet to find everything perfectly organized, with every item in its designated spot – no more endless searching or avalanches of toiletries! I’ve spent years perfecting my bathroom storage system through trial and error, and I’m excited to share these game-changing hacks that’ll transform your space. Whether you’re dealing with a tiny medicine cabinet or a spacious vanity, these smart solutions will help you maximize every inch while keeping your essentials within easy reach.
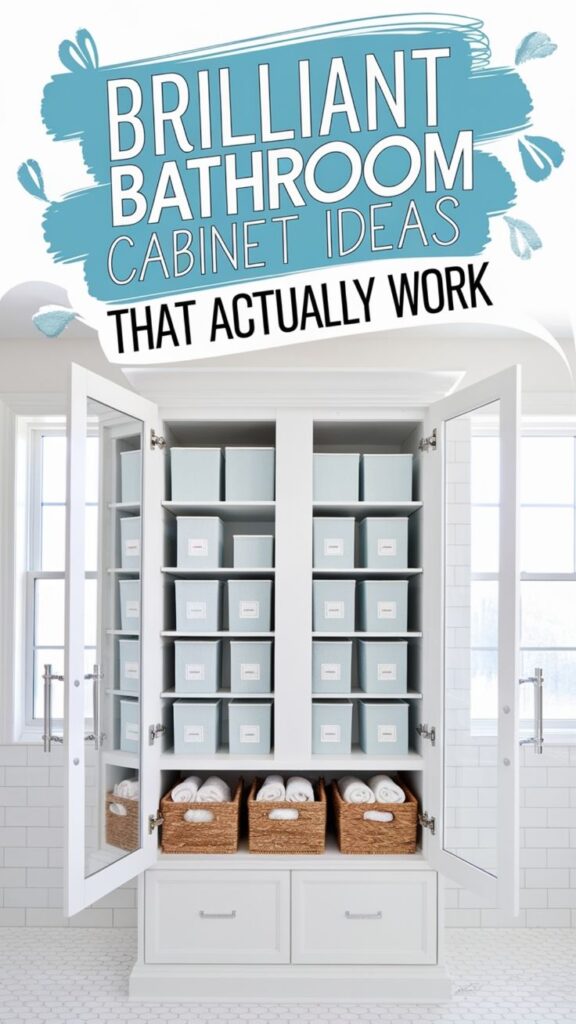
Install Clear Drawer Organizers and Dividers
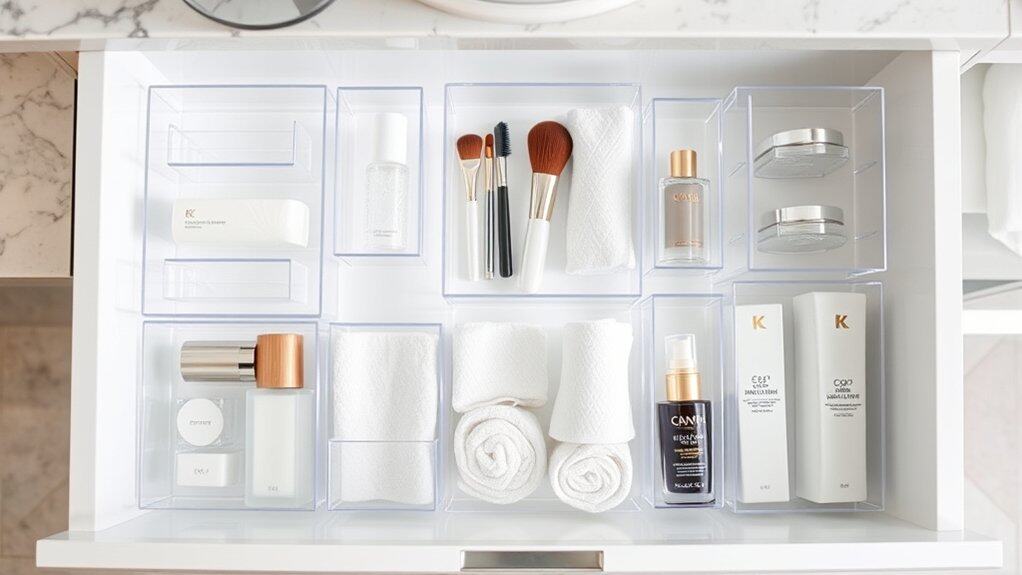
An organized bathroom drawer system is essential for maintaining order in one of the most frequently used spaces in your home. When toiletries, cosmetics, and personal care items are properly arranged in clear organizers, you can quickly locate what you need without rummaging through cluttered drawers.
Clear drawer organizers and dividers transform chaotic bathroom storage into an efficient system that saves time and reduces stress during daily routines. The transparency allows you to see all contents at a glance, while designated compartments prevent items from sliding around and becoming disorganized.
Required Items:
- Clear plastic drawer organizers
- Drawer dividers
- Measuring tape
- Scissors
- Double-sided tape
- Cleaning supplies
- Label maker (optional)
- Drawer liner (optional)
Start by removing everything from your drawers and thoroughly cleaning the surfaces. Measure the internal dimensions of each drawer, including depth, to ensure proper fit of organizers. Sort items into categories such as dental care, hair accessories, makeup, and first aid supplies.
Select appropriately sized clear organizers that maximize the available space while accommodating your sorted items. Position the largest organizers first, typically in the back of the drawer, and work forward with smaller containers. Use drawer dividers to create custom-sized sections for oddly shaped items or to separate categories further.
Secure organizers in place with double-sided tape to prevent shifting. Place items in their designated spots, keeping frequently used products toward the front for easy access.
Additional Tips: Maintain your organized system by regularly purging expired products and wiping down organizers. Consider using stackable containers to maximize vertical space, and implement a regular rotation system where new products are placed at the back while older items move forward.
Label the bottom of each organizer section to ensure items return to their designated spots after use, especially in shared bathrooms.
Use Door-Mounted Storage Racks
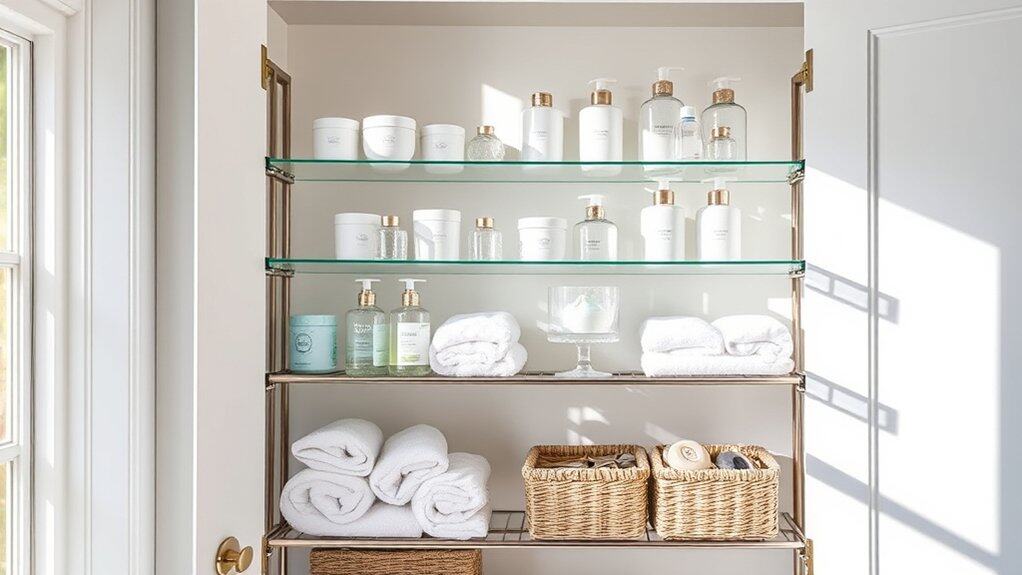
Making the most of vertical space in your bathroom is crucial for maximizing storage capacity, and the cabinet door presents a perfect opportunity for additional organization. Door-mounted storage racks transform unused door space into valuable storage real estate, providing easy access to frequently used items while keeping countertops and cabinet interiors less cluttered.
Installing door-mounted storage racks not only increases storage capacity but also improves visibility and accessibility of bathroom essentials. This organization method is particularly beneficial for small bathrooms where space is at a premium, and it helps maintain a cleaner, more organized environment by keeping items off other surfaces.
Required Items:
- Over-the-door storage rack or adhesive-mounted racks
- Measuring tape
- Screwdriver
- Level
- Command strips or mounting hardware
- Cabinet door bumpers
- Cleaning supplies
- Small storage bins or baskets (optional)
Installation and organization should begin with measuring the cabinet door’s dimensions to ensure proper fit of the storage rack. For over-the-door racks, simply hang the unit over the top of the door, adjusting it to sit level. For adhesive-mounted racks, clean the door surface thoroughly and mark mounting positions with a level before applying.
Once secured, organize items by frequency of use, placing daily essentials at eye level. Group similar items together, such as hair products, skincare items, or cleaning supplies. Consider using small bins within the racks to contain smaller items and prevent them from falling through.
To maintain the effectiveness of your door-mounted storage system, regularly check the security of mounting hardware or adhesive strips, and install door bumpers to prevent damage to the cabinet frame. Avoid overloading the racks beyond their weight capacity, and periodically review stored items to remove those that are expired or rarely used.
Consider labeling sections to maintain organization and make it easier for family members to return items to their designated spots.
Create a Daily Essentials Basket
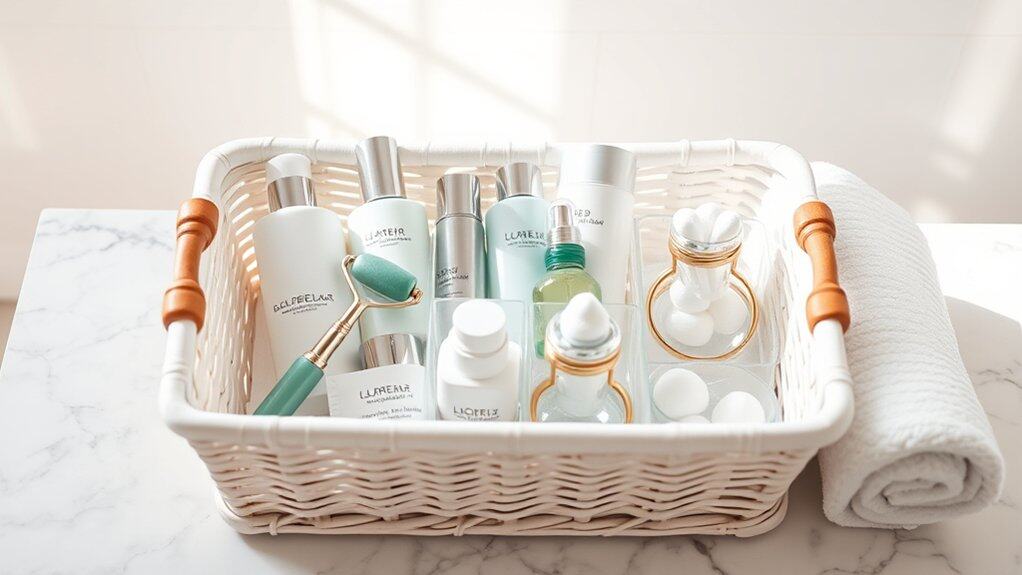
Organizing your daily essentials into a dedicated basket system transforms your morning and evening routines from chaotic to streamlined. By having frequently used items readily accessible, you eliminate the frustration of rummaging through drawers and cabinets while trying to get ready for the day.
A well-organized daily essentials basket not only saves precious time but also helps maintain the overall organization of your bathroom cabinet. When everyday items have a designated home, it prevents the buildup of clutter and makes it easier to keep track of supplies that need replenishing.
Required Items:
- Medium-sized basket with handles
- Small organizing containers or dividers
- Labels or label maker
- Clear storage containers
- Waterproof liner (optional)
- Measuring tape
- Cleaning supplies
- Storage pouches or bags
Select an appropriately sized basket that fits your cabinet space and gather your daily essentials. Sort items into categories such as dental care, skincare, hair care, and medications. Place frequently used items toward the front of the basket for easy access, using small containers or dividers to keep products upright and organized.
Consider transparent containers to easily identify contents. Position the basket at eye level or in an easily reachable location within your cabinet. Keep morning routine items separate from evening products if space allows. Install liner material if needed to protect against spills and make cleaning easier.
Label each section clearly to maintain organization and help other household members maintain the system.
Additional Tips: Review and refresh your daily essentials basket every month to remove expired products, clean containers, and reassess what truly belongs in the “daily” category.
Consider keeping a backup supply of essential items in a separate location to avoid overcrowding the daily basket. Adjust the organization system as needed based on seasonal changes or lifestyle modifications to ensure it continues serving its purpose effectively.
Implement a Tiered Shelf System
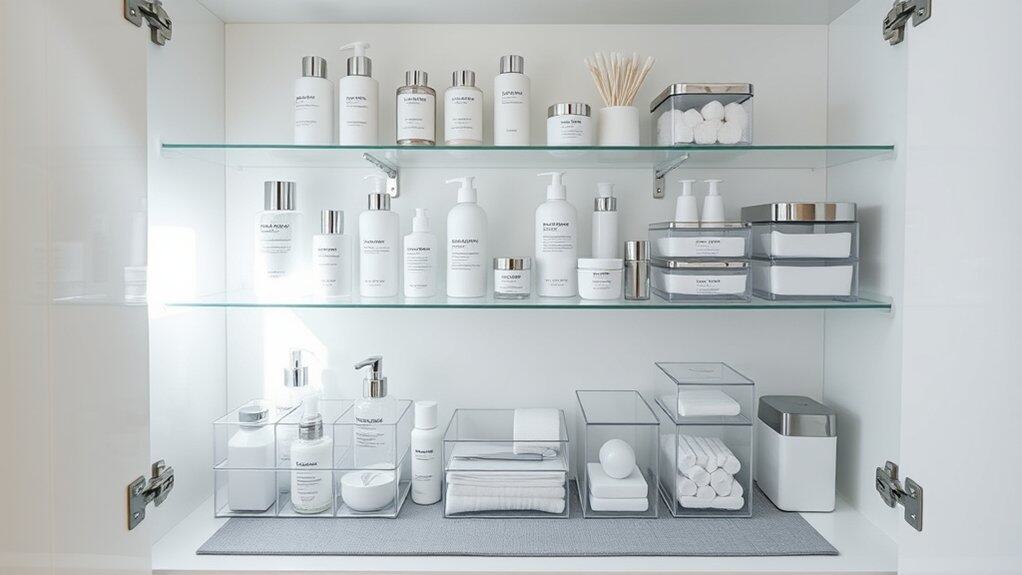
A well-organized bathroom cabinet with a tiered shelf system transforms a cluttered space into an efficient storage solution that maximizes vertical space while keeping items easily accessible. When items are arranged on different levels, you can quickly locate what you need without having to move multiple products around or dig through disorganized piles.
Implementing a tiered shelf system allows you to categorize items by frequency of use, size, or purpose, making your daily routine more streamlined. This organization method prevents products from getting lost in the back of cabinets and helps you keep track of inventory, ensuring you never run out of essential items.
Required Items:
- Expandable shelf risers
- Clear storage containers
- Measuring tape
- Label maker
- Drawer liner or non-slip mat
- Small bins or baskets
- Cleaning supplies
- Container for disposing of expired items
Start by removing everything from your cabinet and measuring the interior dimensions. Place drawer liner or non-slip mat on each shelf surface.
Position the largest expandable shelf risers toward the back of the cabinet, ensuring they fit properly with enough clearance for items stored below. Add smaller risers or stackable containers in front, creating a stadium-seating effect that allows visibility of all items.
Arrange items by height and frequency of use, with frequently used products in front and taller items on the back risers. Group similar items together, such as dental care, hair products, or first aid supplies. Store small items in clear containers to prevent them from getting lost or tipping over. Label each section clearly to maintain the organization system long-term.
To maintain your tiered shelf system effectively, conduct monthly reviews of your items, removing expired products and restocking essentials. Consider using clear storage containers with handles for easy removal, and keep a small notepad inside the cabinet to track items that need replenishing.
Always ensure heavier items are stored on lower tiers to prevent tipping and maintain cabinet stability.
Label Everything With Clear Categories
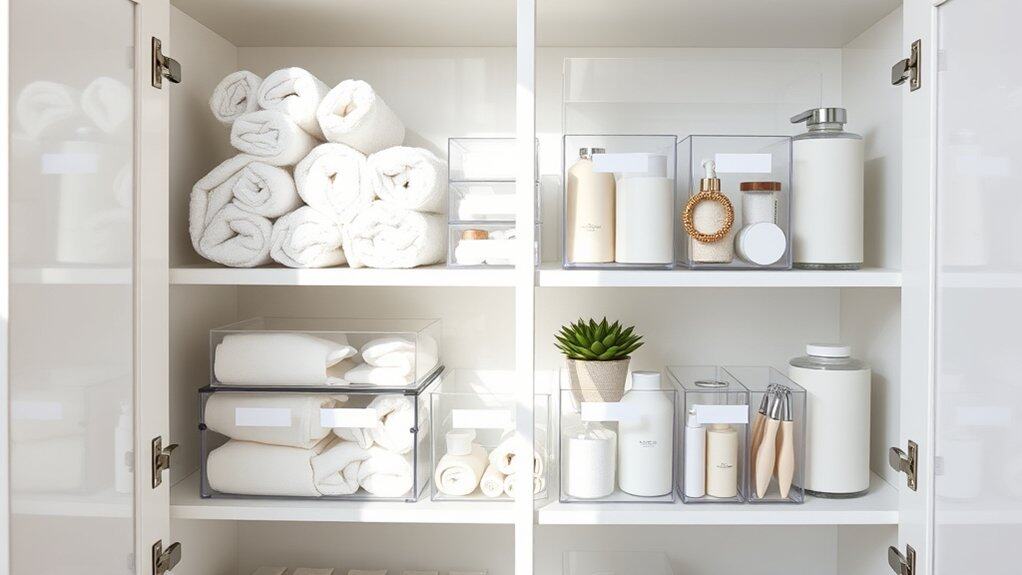
Proper labeling is the cornerstone of maintaining an organized bathroom cabinet system. Without clear categories and labels, even the most meticulously arranged items can quickly descend into chaos as family members struggle to remember where things belong. This organizational approach not only maintains order but also saves time during daily routines and ensures products are easily accessible.
Creating a logical labeling system transforms your bathroom cabinet into an efficient, user-friendly space that functions like a mini pharmacy or beauty store. When every container, shelf, and zone has a clear designation, it eliminates confusion, reduces clutter, and makes it significantly easier to maintain organization long-term.
Required Items:
- Label maker or waterproof labels
- Clear containers or bins
- Permanent marker
- Clear tape
- Measuring tape
- Category dividers
- Small adhesive hooks
- Storage baskets
- Clear plastic bags
Start by removing everything from your cabinet and grouping similar items together into clear categories. Common groupings include first aid, oral care, hair products, skincare, medications, and cleaning supplies. Once categories are established, select appropriately-sized containers for each group and create detailed labels that clearly state the contents. Ensure labels are waterproof and securely attached to withstand bathroom humidity.
Position the labeled containers strategically within the cabinet space, placing frequently used items at eye level and emergency supplies in easily accessible locations. Use vertical space efficiently by implementing shelf risers and drawer organizers, all clearly labeled with their designated contents. For items that come in small packages or quantities, create subcategories within larger containers, using additional labels to maintain organization.
For optimal success, review and adjust your labeling system every few months. Consider using color-coding for different family members or varying categories, and implement expiration date labels on applicable items. Remember to choose label sizes that are large enough to read easily but don’t overwhelm the containers, and maintain consistent font styles and sizes throughout your organizational system for a cohesive look.
Add Pull-Out Storage Solutions
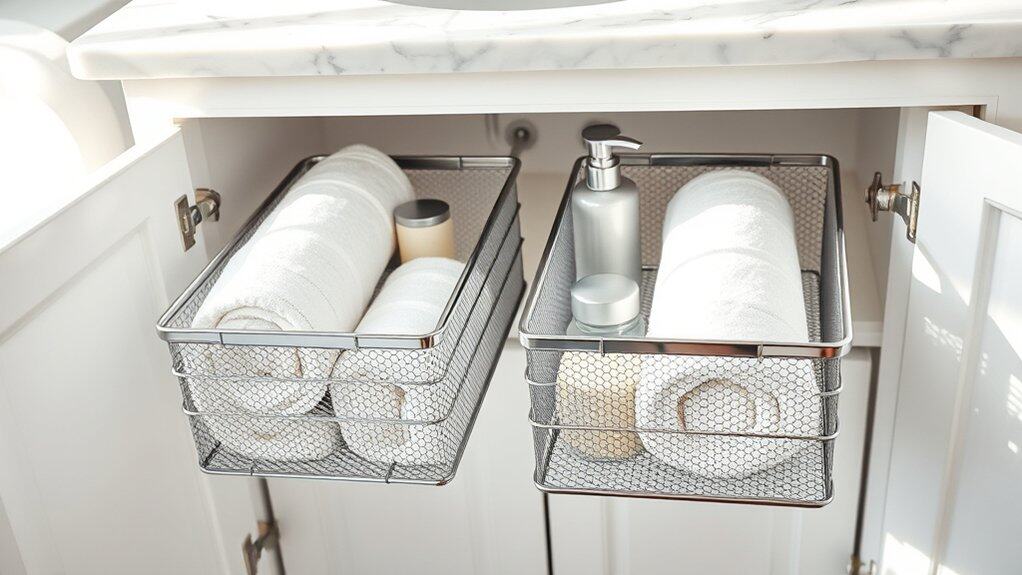
Maximizing the space in bathroom cabinets can feel like solving a complex puzzle, especially when dealing with deep or awkward spaces that make items hard to reach.
Pull-out storage solutions transform these challenging spaces into efficient, accessible storage areas that eliminate the need to crawl on hands and knees searching for items pushed to the back.
Adding pull-out organizers to your bathroom cabinets creates a systematic approach to storage that makes every item easily accessible while maximizing vertical and horizontal space. This organization method not only improves functionality but also helps maintain order long-term by giving every item a designated, reachable location.
Required Items:
- Pull-out drawer systems
- Measuring tape
- Screwdriver
- Mounting brackets
- Wood screws
- Level
- Pencil
- Drill
- Cabinet liner (non-slip)
- Installation instructions for specific products
Installing pull-out storage solutions requires careful planning and precise measurements.
Begin by emptying the cabinet completely and measuring the interior width, height, and depth. Select pull-out systems that fit within these dimensions, leaving adequate clearance for smooth operation.
Install the mounting brackets according to the manufacturer’s instructions, ensuring they’re level and securely fastened. Attach the slide mechanisms, then mount the pull-out drawers or shelves, testing them for stability and smooth movement before loading items.
For optimal organization, arrange items by frequency of use and category on the pull-out shelves.
Place frequently used items at eye level and toward the front, while storing backup supplies and less-used items toward the back. Consider using additional organizational tools like bins or dividers within the pull-out systems to further compartmentalize items and prevent shifting.
Additional Success Tips:
Consider installing motion-sensor lights inside the cabinet to improve visibility, and apply non-slip liner to the pull-out surfaces to prevent items from sliding.
Label the front edge of each pull-out shelf to easily identify contents without opening fully.
Regularly maintain the sliding mechanisms by cleaning and lubricating them every few months to ensure smooth operation and longevity of your organization system.
Maximize Corner Space With Rotating Organizers
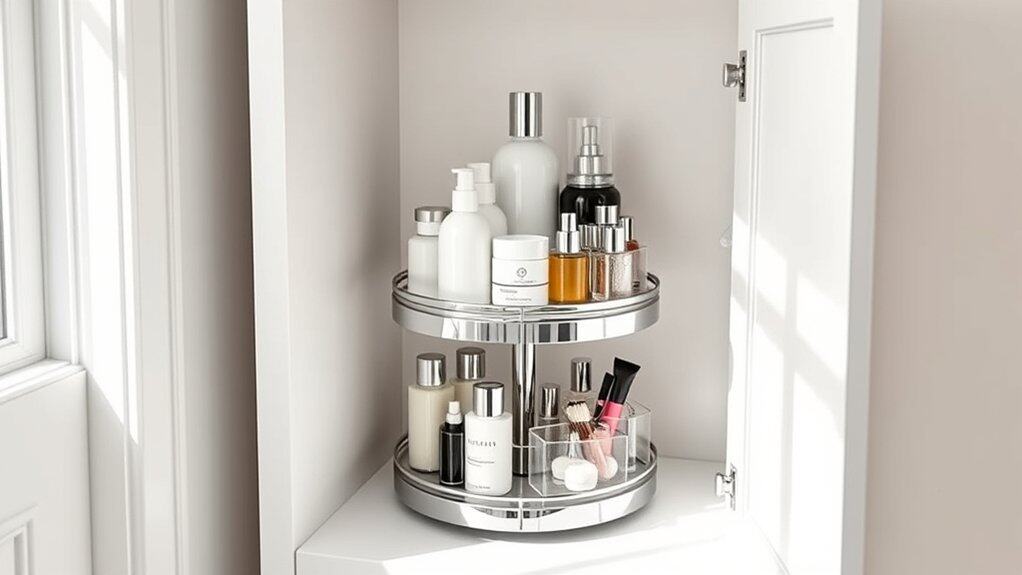
Corner spaces in bathroom cabinets often become dead zones where items get lost or forgotten, wasting valuable storage real estate. These awkward angles can actually become prime organization territory when properly utilized with rotating organizers, also known as lazy Susans or turntables.
Transforming corner cabinet spaces with rotating organizers creates easy access to all your bathroom essentials while maximizing every inch of available storage. This solution eliminates the need to reach blindly into dark corners or remove multiple items to access products in the back.
Required Items:
- Single or multi-tier rotating organizer
- Measuring tape
- Cabinet cleaning supplies
- Non-slip liner
- Labels (optional)
- Small containers or bins
- Organizing categories list
Start by measuring your corner cabinet space carefully, accounting for both width and height to ensure proper fit of your rotating organizer. Remove everything from the cabinet and clean thoroughly. Place non-slip liner on the cabinet base to prevent the organizer from sliding.
Position your rotating organizer, ensuring it can spin freely without hitting cabinet walls. Sort items into categories that make sense for your daily routine – for example, morning hygiene items on one level, evening skincare on another. Place frequently used items toward the front of each section for easy access.
If using a multi-tier organizer, consider arranging items by height, with taller items on the bottom tier and shorter ones on top.
Additional Tips: Use small containers or bins within the rotating organizer to prevent small items from falling off during rotation. Label each section clearly to maintain organization long-term. Consider keeping a small amount of empty space on each level to accommodate new items without disrupting the system.
Clean the rotating mechanism periodically to ensure smooth operation and prevent sticking.

