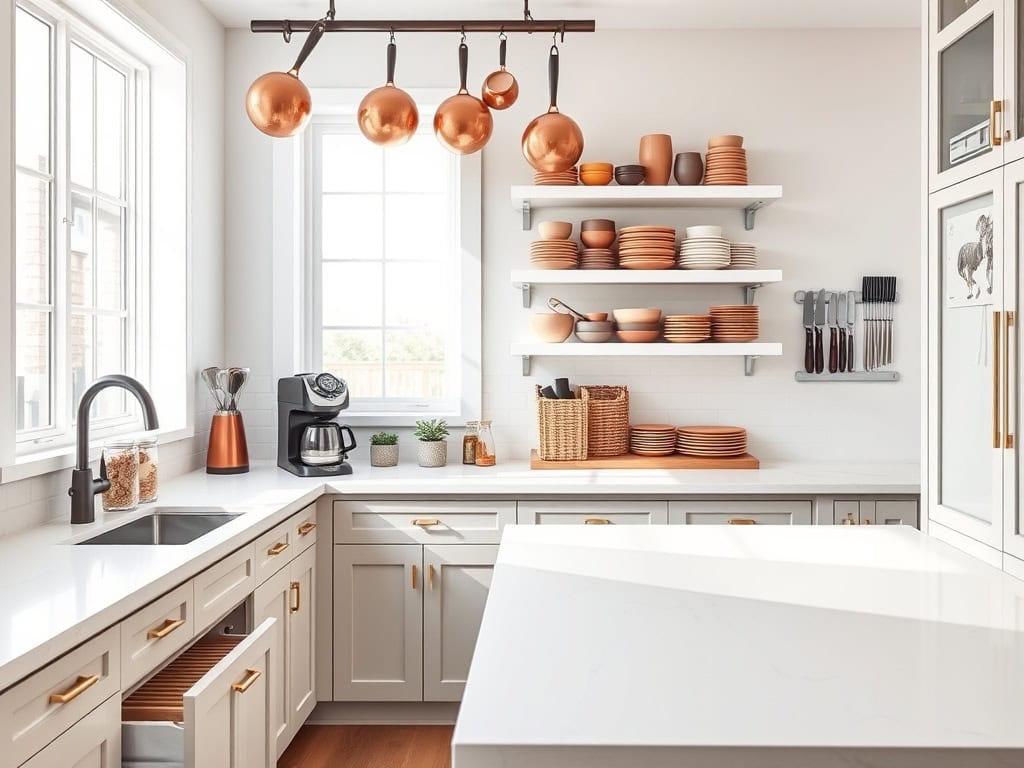
Just when you think you’ve mastered kitchen organization, a new container of measuring spoons appears out of nowhere! I’ve learned that keeping a clutter-free kitchen isn’t just about tidiness – it’s about creating a stylish space you’ll actually enjoy cooking in. After testing countless organization methods in my own kitchen (and making plenty of mistakes along the way), I’ve discovered nine game-changing tips that’ll transform your kitchen from chaos to Instagram-worthy. Let me show you how to make it happen.
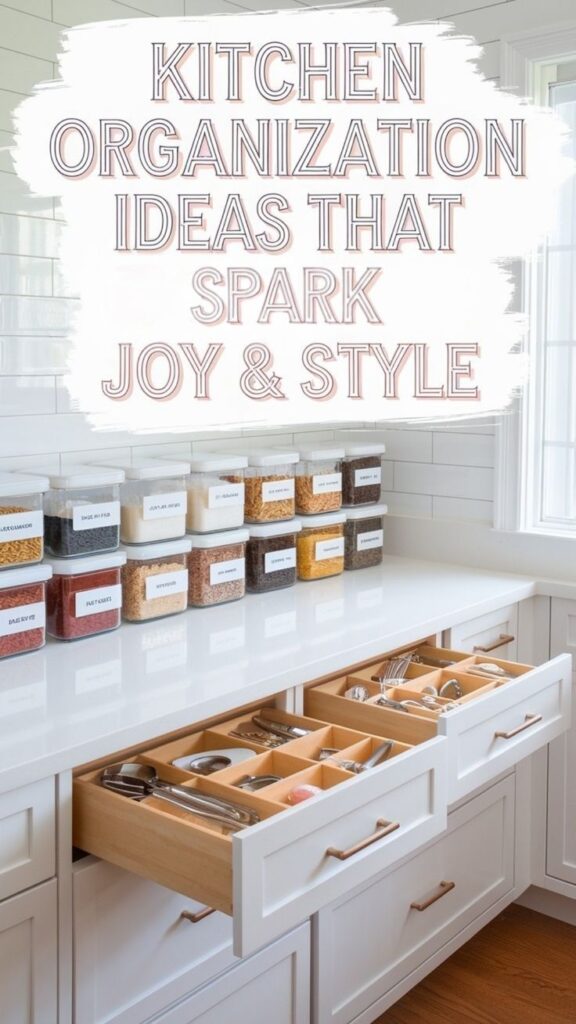
Maximize Vertical Space With Sleek Open Shelving
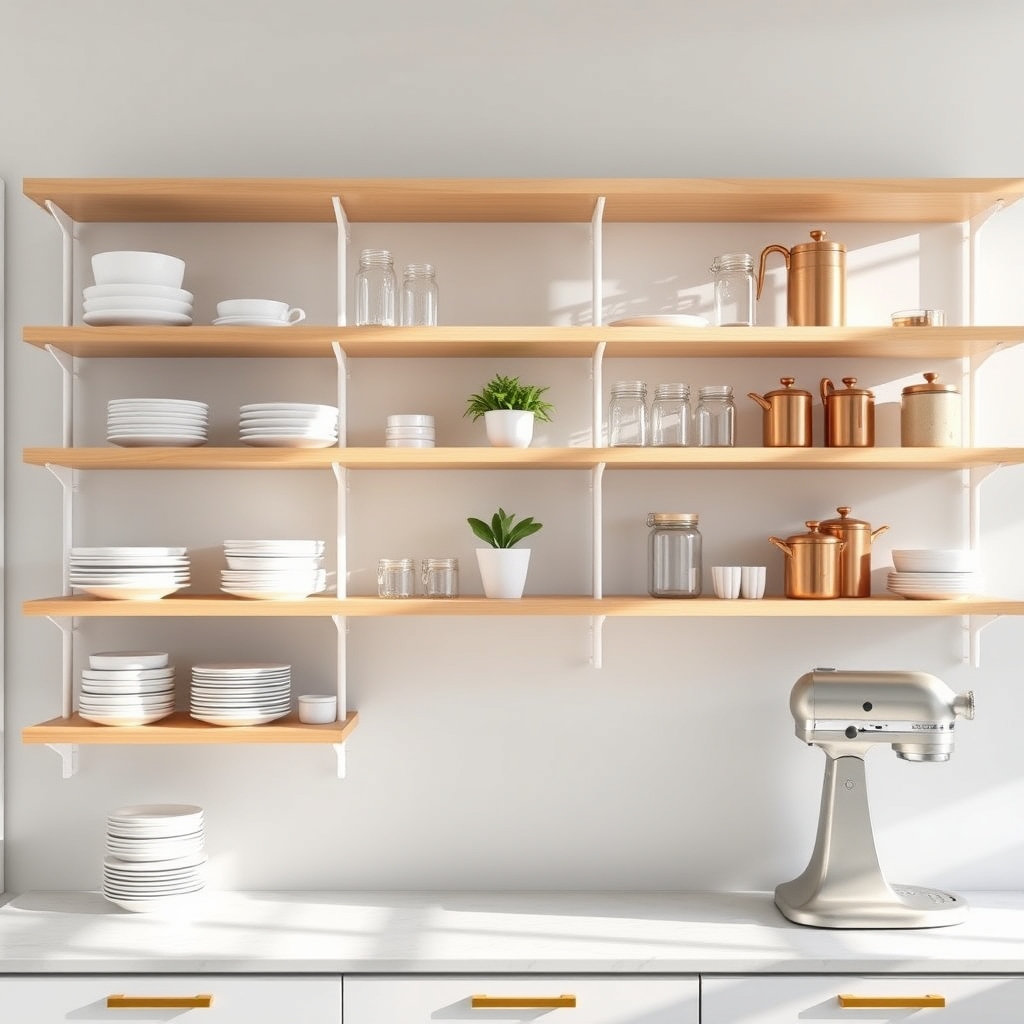
Vertical storage solutions have become increasingly essential in modern kitchens, where counter space is often limited and traditional cabinets may not fully utilize available wall height. Open shelving not only maximizes storage capacity but also creates an opportunity to display attractive kitchenware while keeping frequently used items within easy reach.
The key to successful open shelving lies in striking the perfect balance between functionality and visual appeal. When properly organized, these shelves can transform a cluttered kitchen into an efficient workspace while adding a sophisticated design element that makes the room feel more spacious and inviting.
Required Items:
- Mounting brackets
- Wall anchors
- Level
- Drill
- Screwdriver
- Measuring tape
- Pencil
- Sturdy shelves (wood or metal)
- Shelf liner (optional)
- Clean rags
- All-purpose cleaner
Installation and organization begins with careful planning and measurement. Mark shelf locations ensuring adequate spacing between levels for various item heights. Install brackets securely into wall studs or using appropriate anchors, maintaining perfect level alignment.
Once shelves are mounted, clean them thoroughly and apply liner if desired. Group items by function and frequency of use, placing everyday items at eye level and less-used pieces higher up. Arrange items in visually appealing clusters, using varying heights and depths to create interest while maintaining practical access.
A successful open shelving system requires regular maintenance and thoughtful arrangement. Stack plates and bowls in neat piles, group glasses by type, and use attractive containers for loose items like utensils or cooking tools.
Consider incorporating decorative elements such as potted herbs or vintage kitchen accessories to add personality while maintaining functionality.
Additional Tips: Rotate items seasonally to keep shelves fresh and relevant to current needs. Implement a weekly dusting routine to prevent buildup on exposed items. Use bookends or subtle dividers to keep items upright and organized.
Consider lighting options to highlight displays and improve visibility. Remember that less is more – maintain some open space to prevent a cluttered appearance and allow for easy access to items.
Create a Designer-Inspired Pantry Storage System
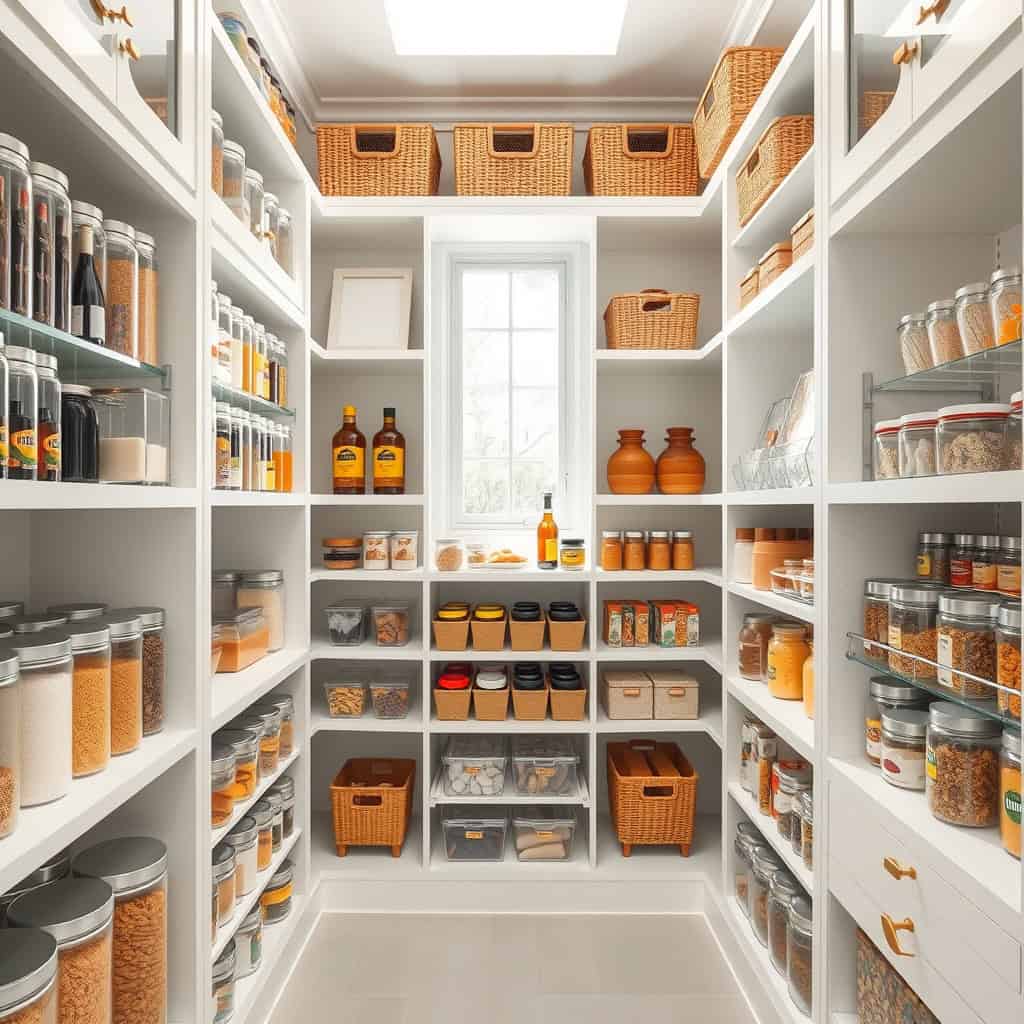
A well-organized pantry serves as the backbone of an efficient kitchen, transforming daily meal preparation from chaos to calm. When storage spaces are thoughtfully designed, not only does it become easier to locate ingredients, but it also helps prevent overbuying and reduces food waste.
Designer-inspired pantry systems elevate the space beyond mere functionality, incorporating aesthetic elements that make the storage area both beautiful and practical. Clear containers, uniform labeling, and strategic placement of items create a visually appealing space that motivates maintaining organization long-term.
Required Items:
- Clear airtight containers (various sizes)
- Label maker or decorative labels
- Clear bins or baskets
- Shelf liner
- Measuring tape
- Tiered shelf risers
- Lazy Susans
- Door-mounted racks
- Storage canisters
- Food category dividers
Empty the pantry completely and group similar items together. Install shelf liners and adjust shelving heights to accommodate various container sizes. Transfer dry goods into clear containers, ensuring proper labeling with product names and expiration dates.
Position frequently used items at eye level, with heavier items on lower shelves. Implement zones for different categories: baking, snacks, breakfast items, and cooking staples. Use tiered shelves and lazy Susans to maximize corner spaces and improve visibility of items stored toward the back.
Create specific zones within the pantry by using clear bins to contain like items. Position cooking oils and vinegars on lazy Susans for easy access. Install door-mounted racks for spices or narrow items. Place less frequently used items on higher shelves, keeping daily essentials within easy reach.
Maintain uniformity in container types and labeling style to achieve a cohesive, designer look. For optimal maintenance, schedule monthly check-ins to assess organization, rotate products, and clean containers.
Consider photographing the organized pantry to serve as a reference for maintaining the system. Keep a small basket near the pantry for items that need restocking, and maintain an inventory list to streamline grocery shopping and prevent duplicate purchases.
Transform Counter Spaces With Decorative Organizers
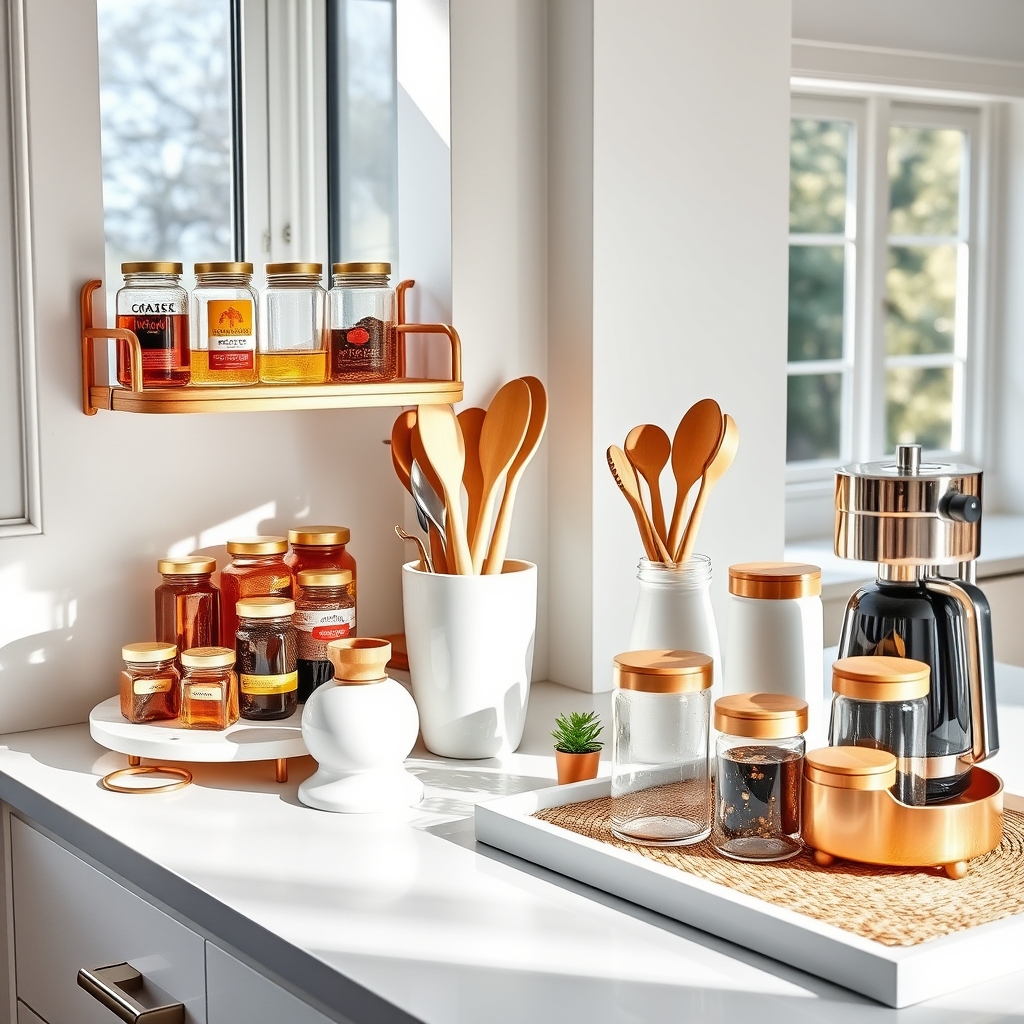
Counter space is prime real estate in any kitchen, serving as both a functional workspace and a visual focal point. When cluttered with appliances, utensils, and cooking supplies, these surfaces can quickly become chaotic and inefficient, making meal preparation more challenging and diminishing the overall aesthetic appeal of your kitchen.
Transforming your counter spaces with decorative organizers not only creates a more organized workflow but also elevates your kitchen’s style. The right combination of practical storage solutions and attractive organizing elements can turn a messy counter into an Instagram-worthy display while maintaining easy access to frequently used items.
Required Items:
- Tiered shelf organizers
- Decorative canisters or jars
- Stylish utensil holders
- Drawer organizers
- Lazy Susan turntables
- Small decorative trays
- Label maker
- Clear storage containers
- Matching baskets
- Counter mats
Start by clearing everything from your counters and thoroughly cleaning the surfaces. Group similar items together: cooking utensils, frequently used ingredients, and daily appliances.
Select decorative organizers that complement your kitchen’s style while providing practical storage solutions. Position larger items like canisters and utensil holders against the backsplash to maximize depth without sacrificing accessibility.
Create designated zones on your counters based on function: a coffee station, a cooking prep area, and a baking center. Use tiered shelves to add vertical storage while maintaining a clean look. Place frequently used items at eye level and store lesser-used items on higher tiers. Incorporate clear containers for dry goods and ingredients, ensuring they’re both functional and visually appealing.
Additional Tips: Maintain the organization by implementing a “one-in-one-out” rule for counter items. Regularly assess the usefulness of displayed items and rotate seasonal pieces.
Choose organizing solutions in a cohesive color scheme or material finish to create a polished, intentional look. Consider using cord organizers to manage appliance cables and maintain a cleaner appearance.
Streamline Cabinet Storage With Pull-Out Solutions
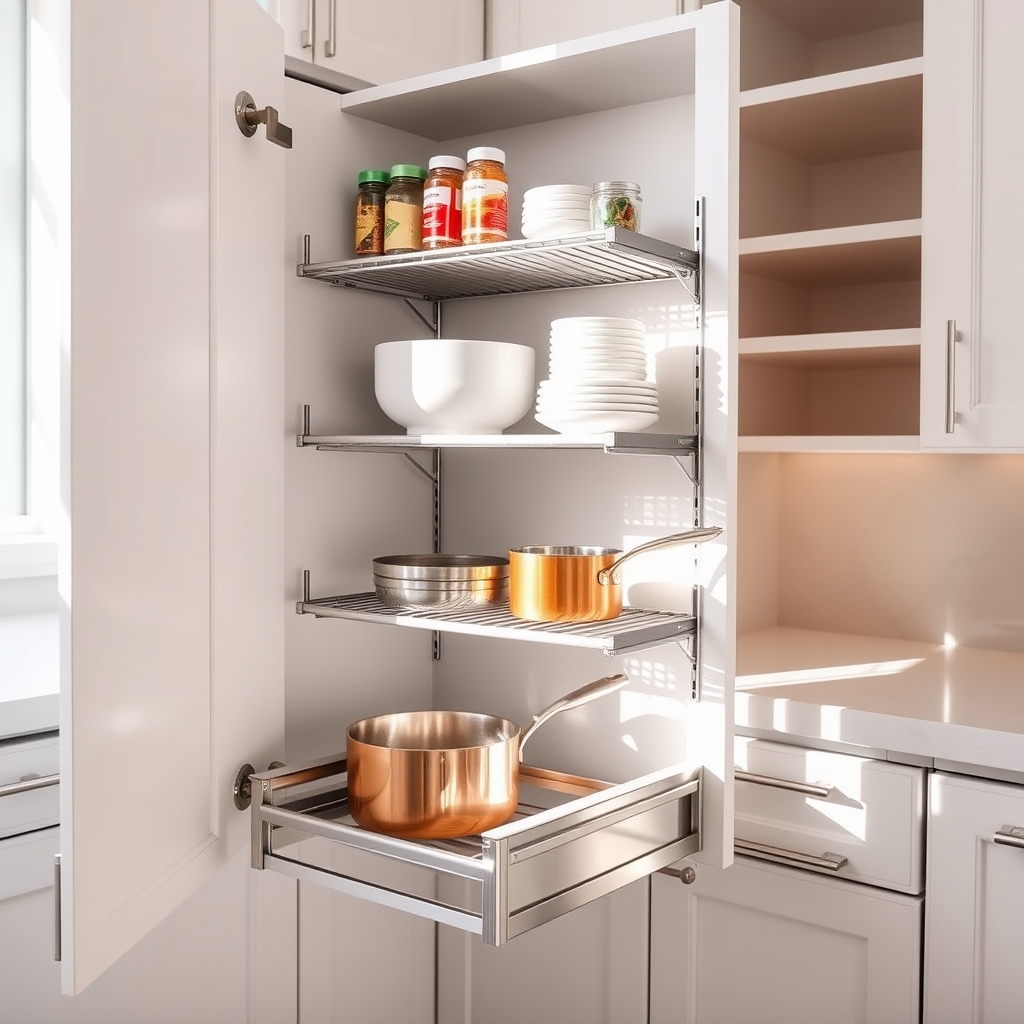
Cabinet organization can make or break a kitchen’s functionality. Poorly organized cabinets waste valuable storage space and create frustration when trying to locate items quickly during meal preparation.
Pull-out solutions transform cramped, hard-to-reach spaces into easily accessible storage areas that maximize every inch of cabinet space. Installing pull-out organizers eliminates the need to remove multiple items to reach those in the back of cabinets.
These solutions can increase usable storage space by up to 50% while making frequently used items instantly accessible. Pull-out systems are particularly valuable in corner cabinets and deep storage spaces where items often get lost or forgotten.
Required Items:
- Measuring tape
- Pull-out drawer systems
- Cabinet-grade screws
- Power drill
- Level
- Screwdriver
- Drawer slides
- Mounting brackets
- Wood shims
- Pencil
- Safety glasses
Installing pull-out solutions begins with measuring your cabinet interior dimensions carefully, including width, depth, and height. Remove existing shelving if necessary.
Mount the drawer slides according to manufacturer specifications, ensuring they’re level and properly aligned. Install mounting brackets, then attach the pull-out drawer or organizer system.
Test the mechanism several times to ensure smooth operation before loading items. When organizing items on pull-out solutions, place frequently used items at eye level and toward the front.
Group similar items together and use drawer dividers or bins to prevent items from shifting. Consider installing multiple pull-out systems at different heights to accommodate various item sizes and create an organized, layered storage approach.
To maintain optimal functionality, regularly clean and lubricate drawer slides, tighten any loose screws, and adjust alignment as needed.
Consider weight limits when loading items, and always distribute weight evenly across the pull-out system. Label contents clearly if using solid-front organizers to maintain efficient access to stored items.
Style Your Kitchen Island as a Functional Centerpiece
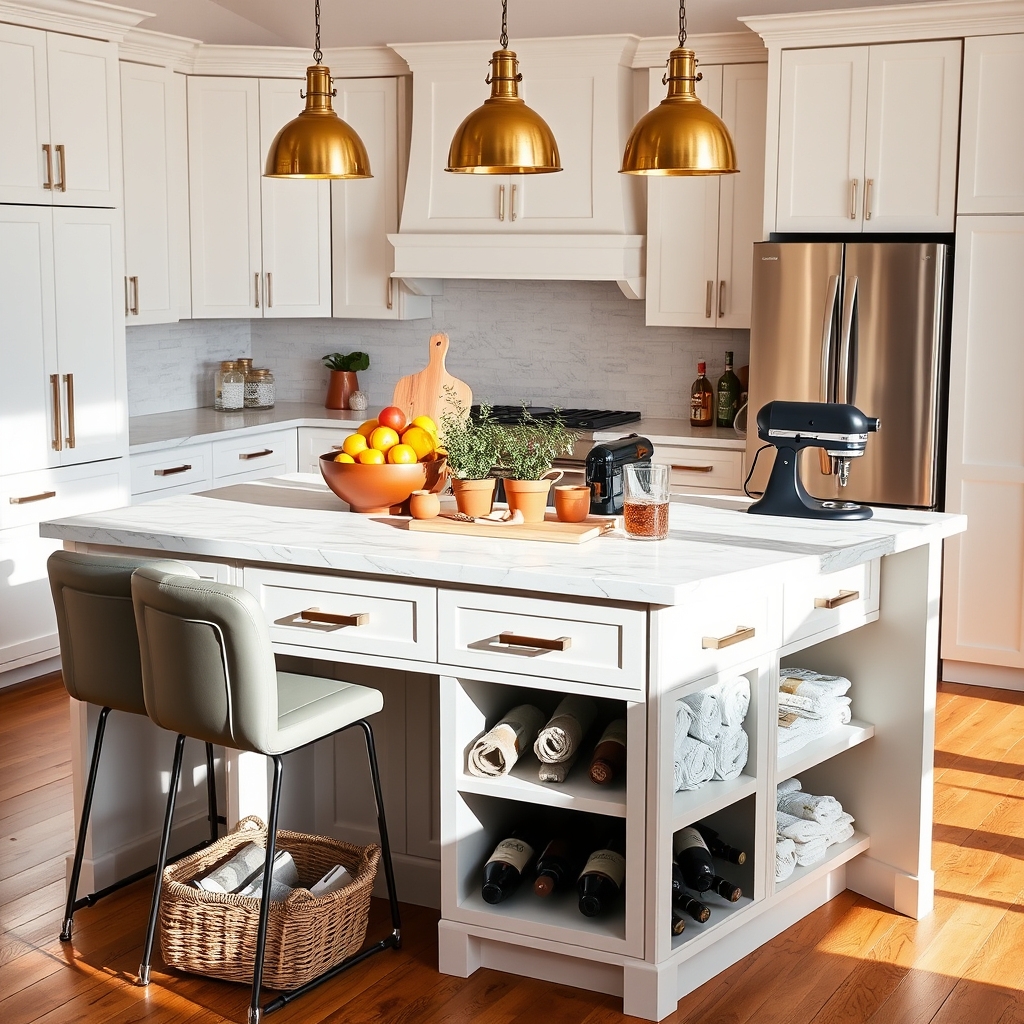
A well-organized kitchen island serves as both the visual anchor and operational hub of your kitchen. Beyond its aesthetic appeal, it’s a multipurpose workspace that can dramatically improve your cooking efficiency, entertainment capabilities, and daily household routines. When properly styled and organized, your island becomes an invaluable tool for meal prep, casual dining, and storage.
The key to a functional kitchen island lies in creating designated zones that serve specific purposes while maintaining a cohesive, uncluttered appearance. Whether you use your island primarily for food preparation, casual meals, or as a gathering spot during parties, thoughtful organization transforms this space from a catch-all surface into a purposeful centerpiece.
Required Items:
- Decorative trays or platters
- Kitchen canisters
- Drawer organizers
- Counter-height stools
- Small appliance storage solutions
- Baskets or bins
- Hooks or hanging racks
- Cutting boards
- Paper towel holder
- Under-counter storage containers
Start by clearing the entire island surface and sorting items by frequency of use. Create distinct zones: one for food prep, another for dining or working, and potentially a third for display or décor.
Install drawer organizers to maximize interior storage, grouping similar items together. Position frequently used small appliances within easy reach, using attractive canisters or containers to store cooking utensils and essential ingredients. For the under-counter area, implement a system of bins or baskets to organize less frequently used items while maintaining accessibility.
If your island includes a seating area, ensure it remains clutter-free by designating specific spots for essential items like napkins or placemats. Use vertical space efficiently by installing hooks or racks for hanging frequently used tools or decorative elements.
Consider incorporating a charging station or workspace area if the island serves as a multi-purpose hub.
Additional Tip: Regularly reassess your island’s organization every few months, adjusting zones and storage solutions based on changing needs and seasonal activities. Keep surfaces clear by implementing a “one in, one out” rule for new items and maintain a small decorative element, such as a fresh herb plant or fruit bowl, to add style without sacrificing functionality.
Incorporate Hidden Storage Behind Cabinet Doors
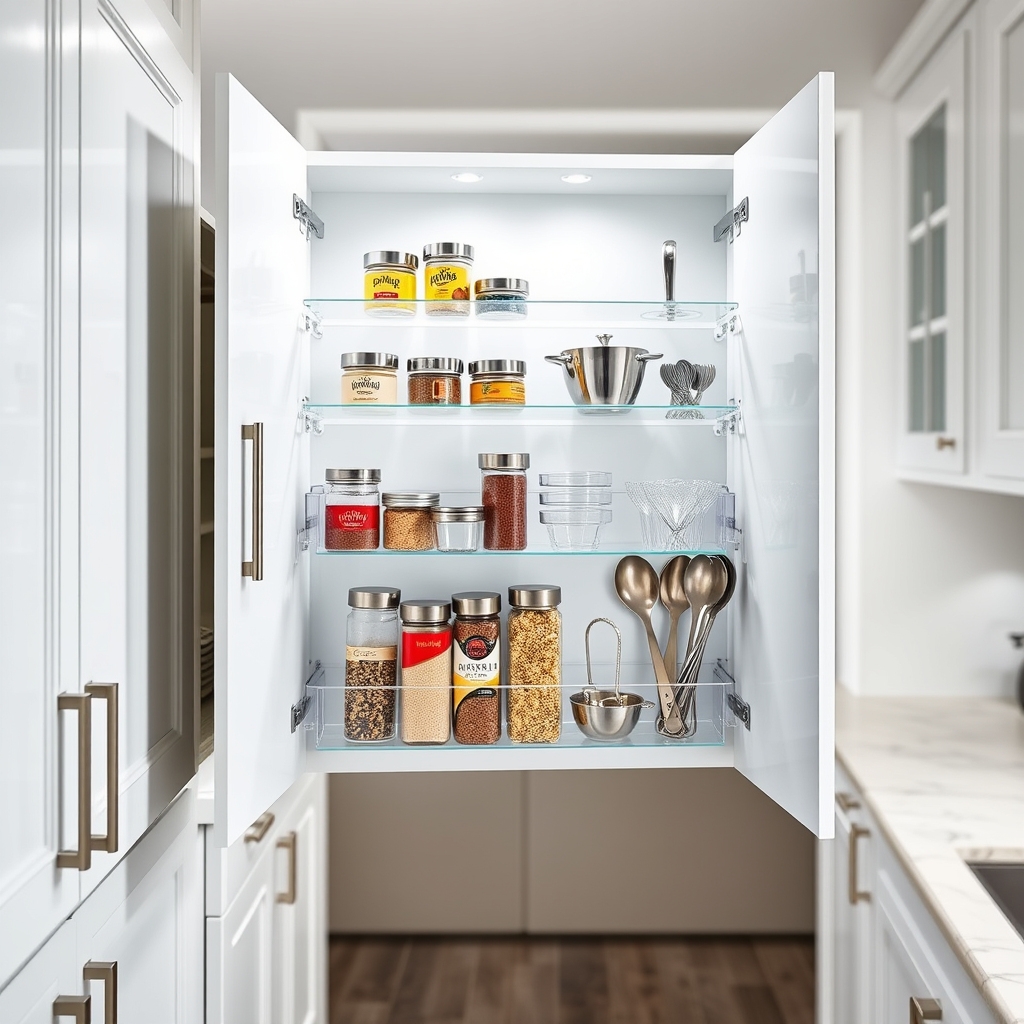
Maximizing the space behind cabinet doors is one of the most overlooked opportunities in kitchen organization. These often-unused surfaces can transform into valuable storage real estate, effectively doubling your cabinet’s functionality while keeping essential items within easy reach.
By utilizing the back of cabinet doors, you can create customized storage solutions that work specifically for your needs while maintaining a clean, clutter-free appearance in your kitchen. This approach is particularly valuable in smaller kitchens where every inch of space counts, but it’s equally beneficial in larger kitchens for keeping frequently used items organized and accessible.
Required Items:
- Over-the-door hanging organizers
- Adhesive hooks
- Command strips
- Clear plastic pockets
- Magnetic strips
- Small bins or baskets
- Measuring tape
- Pencil
- Level
- Screwdriver
- Cabinet door-mounted rack system
- Mounting hardware
Start by measuring the interior of your cabinet doors, accounting for any shelving or items that might interfere with door-mounted storage. Install door-mounted rack systems using appropriate mounting hardware, ensuring they’re level and secure.
For lighter items, apply adhesive hooks or command strips strategically, positioning them to accommodate specific items like measuring spoons, pot lids, or cleaning supplies.
Create zones within your door storage system based on frequency of use and item type. Mount magnetic strips for metal utensils or spice containers, and install clear plastic pockets for storing packet mixes or recipe cards. Ensure all mounted items allow the cabinet door to close completely without catching on interior shelving or contents.
Consider weight distribution when mounting items on cabinet doors to prevent strain on hinges. Test door movement frequently during installation, adjust as needed, and use door bumpers if necessary to prevent rattling.
Regular maintenance checks will ensure your hidden storage solutions remain secure and functional over time.
Design an Aesthetic Coffee and Tea Station
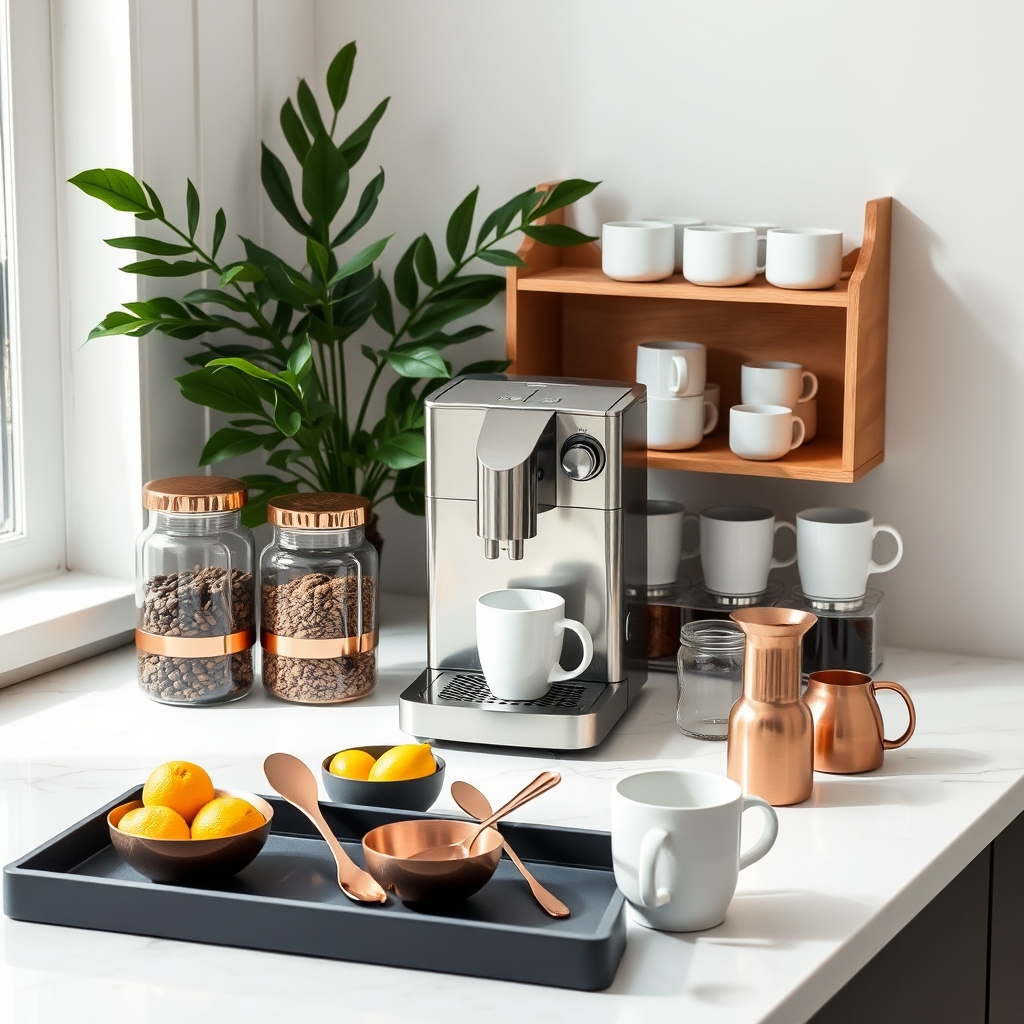
A well-organized coffee and tea station transforms your daily brewing ritual from a mundane task into an elegant experience. Having everything in its designated place not only streamlines your morning routine but also creates an inviting focal point in your kitchen that showcases your favorite beverages and accessories.
Creating a dedicated beverage station eliminates the frustration of searching for supplies across multiple cabinets and drawers. This organized approach allows you to maintain the quality of your coffee beans and tea leaves while displaying your collection in a way that’s both functional and visually appealing.
Required Items:
- Clear glass canisters or airtight containers
- Tiered shelf or riser
- Serving tray or wooden platform
- Coffee maker or electric kettle
- Mug rack or hooks
- Small baskets or drawer organizers
- Labels or label maker
- Coffee filters holder
- Spoon rest
- Coasters
Select a designated counter space or cart for your station, ensuring it’s near an electrical outlet for appliances. Start by grouping similar items together – coffee supplies in one section, tea accessories in another. Use clear containers to store coffee beans, loose tea, and sugar while maintaining freshness.
Position the coffee maker or kettle as the centerpiece, with frequently used items like mugs and spoons within easy reach. Implement vertical storage solutions by installing hooks under cabinets for mugs or using tiered shelves to maximize space while creating visual interest.
For enhanced organization, incorporate small bins or drawer organizers to store tea bags, coffee pods, or sweetener packets. Place these items in order of frequency of use, with daily essentials at the front and occasional items toward the back.
Use a decorative tray to corral smaller items like measuring spoons, honey dippers, or tea strainers, creating a cohesive look while preventing items from spreading across the counter.
Additional Tips: Rotate your coffee beans and tea collections regularly to maintain freshness, and consider seasonal adjustments to your station. Keep a small notepad nearby to track when supplies need replenishing.
Choose containers and accessories that complement your kitchen’s color scheme and style. Clean the station daily to prevent coffee grounds and tea stains from accumulating, ensuring your beverage station remains both functional and aesthetically pleasing.
Organize With Color-Coordinated Containers
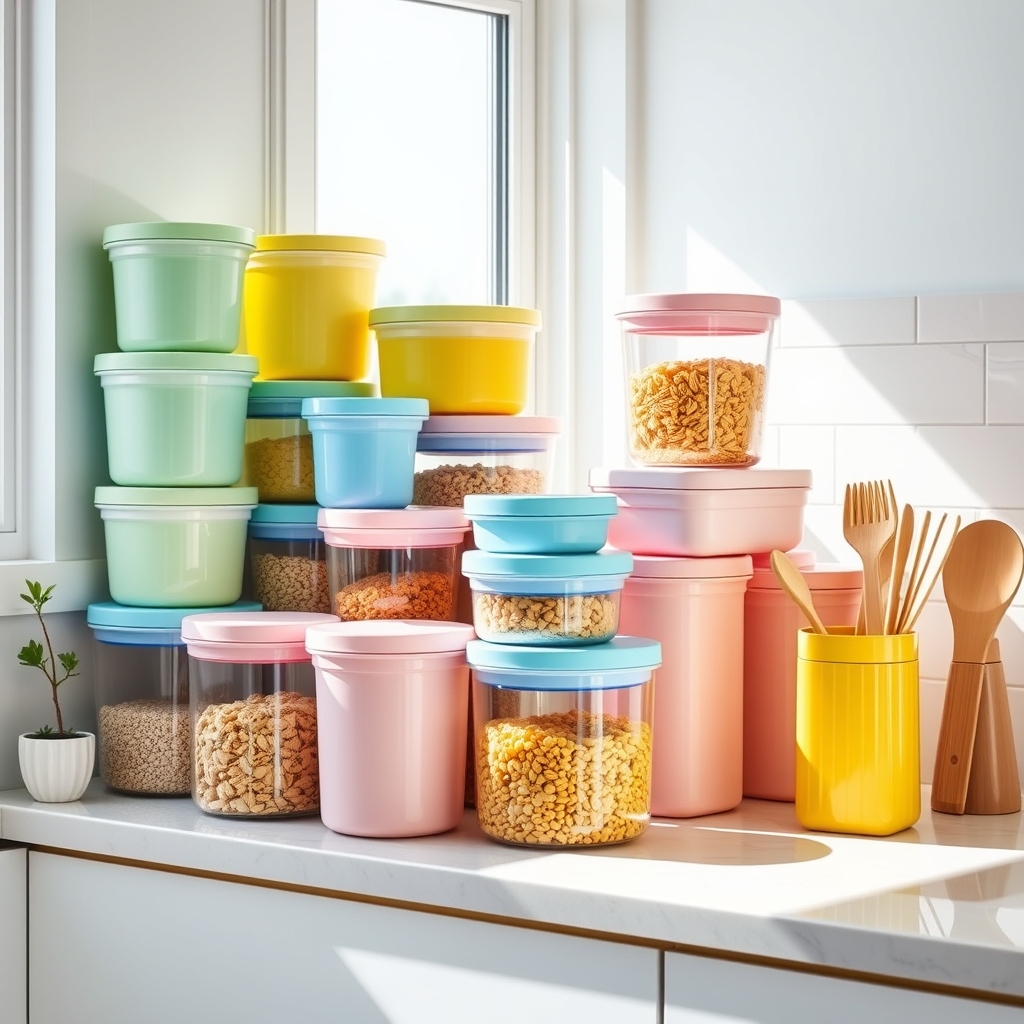
Color coordination in kitchen storage containers does more than just create visual appeal – it establishes an intuitive system that makes finding and storing items effortless. When containers follow a consistent color scheme, family members can quickly identify where items belong, reducing the time spent searching and maintaining order.
A color-coded container system also helps prevent cross-contamination and allows for easy identification of different food groups or storage purposes. This method can transform a cluttered kitchen into an efficient workspace while adding a designer touch to your storage solutions.
Required Items:
- Clear storage containers (various sizes)
- Colored labels or tape
- Label maker
- Container markers
- Measuring cups
- Storage baskets
- Shelf liner
- Clean cloths
- Food-safe sanitizer
- Color-coded container sets
Start by emptying all existing containers and thoroughly cleaning your storage space. Group similar items together and assign specific colors to each category – for example, red for proteins, green for produce, blue for grains, and yellow for snacks.
Select containers that either come in these designated colors or can be marked with colored labels. Measure your storage spaces carefully to ensure containers will fit properly and stack efficiently.
When implementing the system, place items in their color-designated containers, ensuring each is properly labeled with contents and expiration dates. Arrange containers by frequency of use, with regularly accessed items at eye level and occasional-use items stored higher or lower.
Stack containers of the same color together to maintain visual organization and create distinct zones within your storage space.
For optimal results, establish a weekly maintenance schedule to check container contents and clean any empty vessels. Consider using clear containers with colored lids or bands to maintain visibility while adhering to your color system.
Keep a chart of your color-coding system posted inside a cabinet door until family members become familiar with the arrangement, and always store containers with their matching lids to prevent misplacement.
Utilize Wall Space for Hanging Storage Display
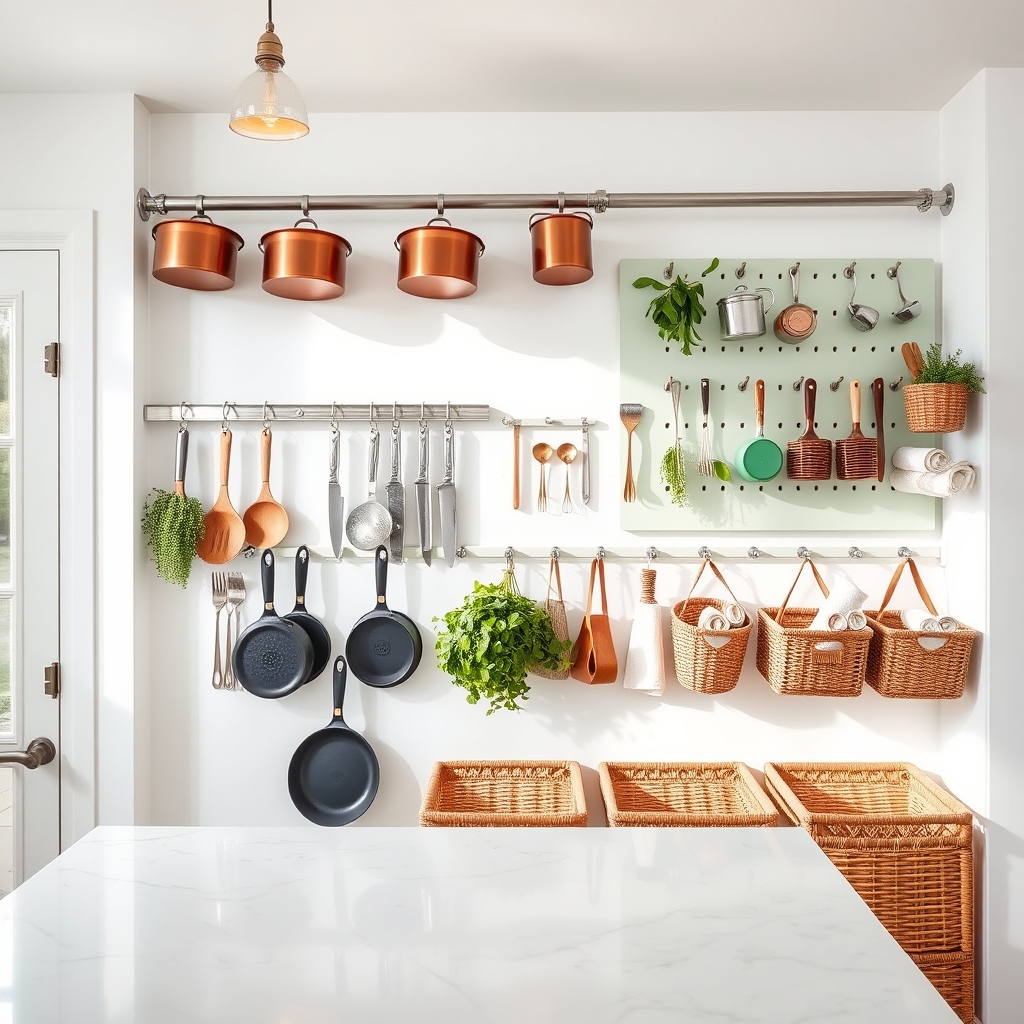
Making the most of vertical wall space in your kitchen is a game-changer for organization and accessibility. Empty walls represent prime real estate for storing frequently used items while keeping countertops clear and clutter-free. A well-planned hanging storage system transforms mundane walls into functional displays that combine practicality with visual appeal.
Wall-mounted storage solutions not only maximize space efficiency but also create an opportunity to showcase your favorite kitchen tools and accessories as decorative elements. This approach to organization keeps essential items within arm’s reach while adding character to your kitchen’s design, making cooking more enjoyable and efficient.
Required Items:
- Wall anchors and screws
- Measuring tape
- Level
- Drill
- Pencil
- Wall-mounted rails or racks
- S-hooks or specialized hanging hooks
- Magnetic knife strip
- Pegboard and hooks
- Decorative hanging baskets
- Command strips or hooks
Start by measuring your available wall space and mapping out the placement of different storage elements. Install sturdy wall-mounted rails or racks at appropriate heights, ensuring they’re properly anchored to support the weight of your items. Position frequently used tools at eye level, while lesser-used items can go higher. For heavier items like pots and pans, use solid wall anchors and verify weight limits before hanging.
Create zones based on function – cooking tools near the stove, prep items near work surfaces, and cleaning supplies near the sink. Incorporate various hanging methods such as S-hooks, magnetic strips for knives, and pegboards for versatility. Consider using decorative baskets or containers to group smaller items together while maintaining an organized appearance.
To maintain the effectiveness of your wall storage system, regularly assess the functionality of your arrangement. Rotate items seasonally, adjust hook positions as needed, and periodically check that all mounted hardware remains secure. Keep frequently used items easily accessible and consider adding labels or designated spots for specific tools to maintain organization long-term.

