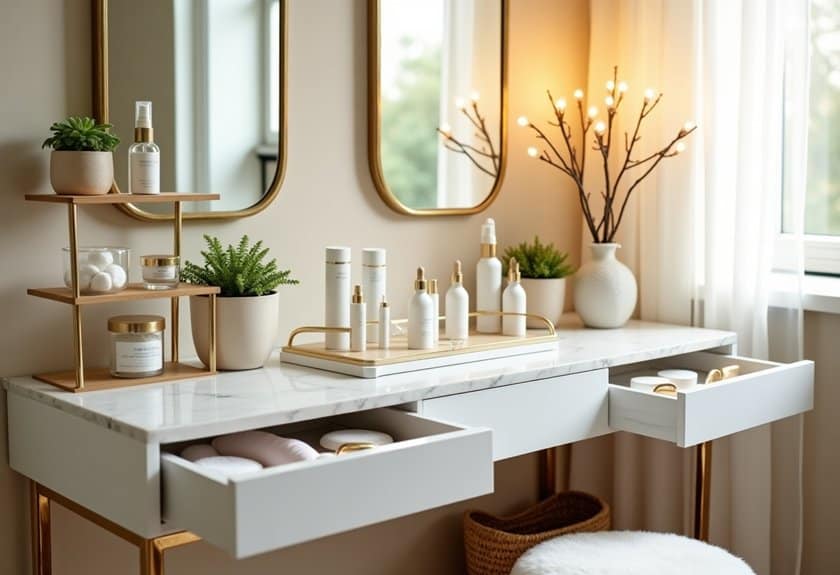
Just like Marie Kondo transformed the art of tidying, you’re about to revolutionize your skincare sanctuary. Let’s face it – we’ve all been there, frantically searching for that holy grail serum buried somewhere under a mountain of moisturizers and masks. But what if I told you that organizing your beauty arsenal could be both functional and Instagram-worthy? These bedroom organization hacks will turn your chaotic counter into a serene space that’ll make your skincare routine feel less like a chore and more like a luxurious ritual.
Create a Dedicated Skincare Station
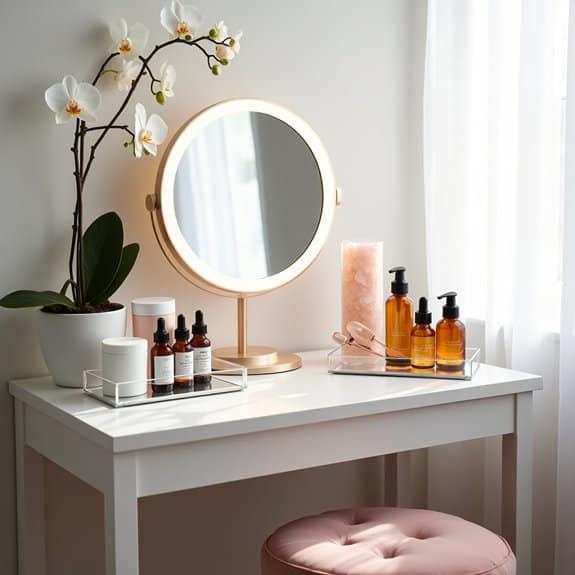
Having a dedicated skincare station transforms your daily routine from a scattered, time-consuming process into a streamlined ritual. When products are thoughtfully arranged in a designated space, you’re more likely to maintain consistency in your skincare regimen and actually use the products you’ve invested in.
A well-organized skincare station not only saves precious morning and evening minutes but also helps preserve your products’ efficacy by protecting them from bathroom humidity, temperature fluctuations, and direct sunlight. This dedicated space becomes a personal sanctuary where you can focus on self-care without hunting for products or compromising their quality.
Required Items:
- Vanity or counter space
- Storage containers or organizers
- Clear acrylic holders
- Drawer dividers
- Label maker
- Small trays or dishes
- Cotton pad dispenser
- Makeup mirror
- LED lighting
- Small trash bin
- Cleaning supplies
Select a location away from direct sunlight and bathroom moisture, preferably in your bedroom or a dry vanity area. Start by categorizing your products by function: cleansers, toners, serums, moisturizers, and treatments. Arrange items in order of use, with frequently used products at the front and occasional treatments behind.
Install proper lighting to ensure you can see what you’re doing, and use clear containers to maintain visibility of all products. Consider using a tiered organization system to maximize vertical space while keeping everything within reach. Keep your most-used items at eye level and store backstock in drawers or cabinets below.
Group products by morning and evening routines, using separate containers or areas of your station. This separation prevents confusion and speeds up your routine. Use labels to mark expiration dates and help maintain product rotation.
Additional Tips: Consider implementing a seasonal rotation system, storing off-season products in a separate location. Keep a small notepad at your station to track which products work well and which don’t, helping inform future purchases.
Clean your organizers monthly and wipe down product bottles weekly to prevent product buildup and maintain a hygienic environment. This regular maintenance ensures your skincare station remains both functional and inviting.
Maximize Vertical Space With Wall-Mounted Shelving
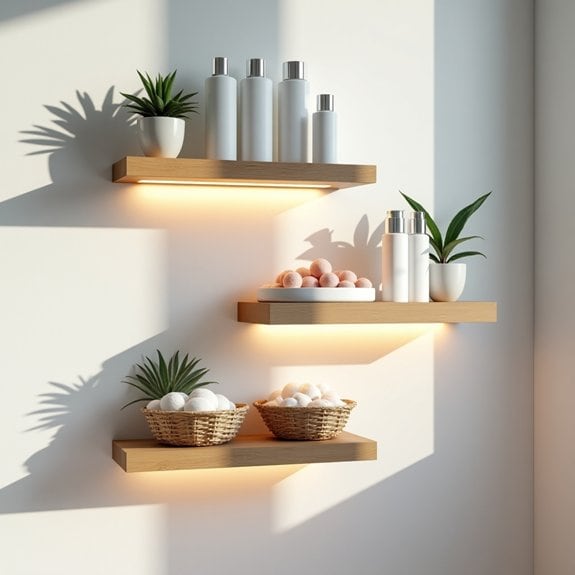
Making the most of vertical wall space is essential for any skincare enthusiast dealing with limited bathroom or vanity space. Wall-mounted shelving not only keeps products easily accessible but also transforms your skincare collection into an aesthetic display that enhances your daily routine.
Proper wall organization prevents counter clutter and creates a spa-like atmosphere while ensuring all products are visible and within reach. This visibility helps maintain product rotation, prevents forgotten items from expiring, and streamlines your skincare routine by keeping everything at eye level.
Required Items:
- Wall-mounted shelves
- Wall anchors and screws
- Level
- Drill
- Measuring tape
- Pencil
- Stud finder
- Shelf brackets
- Decorative containers or organizers
- Clear acrylic risers
- Command strips (optional)
Start by measuring your wall space and mapping out the ideal shelf placement using a pencil and level. Locate wall studs using a stud finder, or install appropriate wall anchors for proper support. Mount brackets according to manufacturer specifications, ensuring they’re completely level. Install shelves onto the brackets, double-checking stability before adding any products.
When arranging products, place frequently used items at eye level and arrange products by category or routine order. Use clear acrylic risers to create tiers within shelves, maximizing vertical space while maintaining visibility. Consider incorporating decorative containers for smaller items like cotton pads or sheet masks.
Additional Tips:
Leave adequate space between shelves to accommodate tall bottles and consider installing adjustable shelving for future flexibility. Install shelves away from direct sunlight and shower steam to protect product integrity. Regular dusting and shelf maintenance will keep your organization system looking pristine and functioning effectively.
Consider adding LED strip lighting under shelves for enhanced visibility and ambiance.
Organize Products by Daily Routine Order
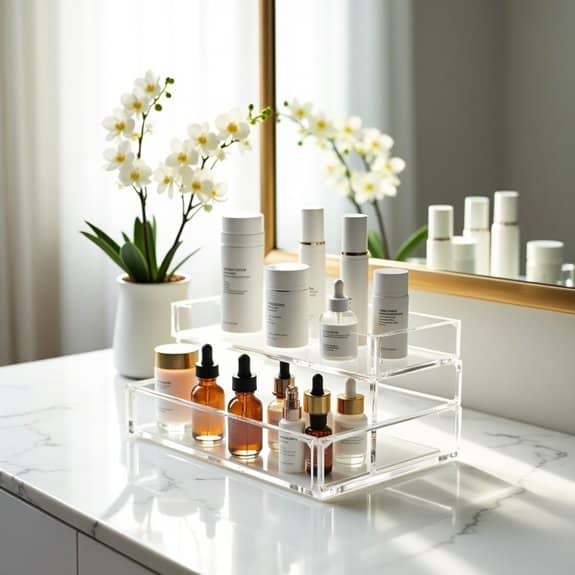
Having a clear, systematic arrangement of skincare products based on their order of application can transform your daily beauty routine from chaotic to seamless. When products are organized according to their use sequence, you eliminate the guesswork and reduce the time spent searching for the next item in your regimen.
This organization method not only streamlines your morning and evening routines but also helps ensure you don’t skip essential steps in your skincare process. Proper organization can also extend product shelf life by keeping items visible and preventing forgotten products from expiring unused in the back of drawers or cabinets.
Required Items:
- Clear storage containers or organizers
- Labels or label maker
- Drawer dividers or small bins
- Shelf risers or tiered organizers
- Storage basket for overflow products
- Container for samples or travel sizes
- Timer or clock (for tracking product wait times)
Start by separating your products into morning and evening routines. Within each routine, arrange products in precise order of application: cleansers first, followed by toners, treatments, serums, moisturizers, and sunscreen (for daytime).
Use clear containers or drawer organizers to create designated spaces for each step, ensuring products are easily visible and accessible. Label each section clearly to maintain organization over time.
Consider creating a third category for weekly treatments or masks, keeping them separate from daily items. Position products with pumps or larger containers toward the back of each section, with smaller items in front. This arrangement maximizes visibility and prevents knocking over items while reaching for others.
Maintain this system by immediately placing new products in their designated spots and regularly reviewing items for expiration dates. Consider using small tags to mark when products were opened, particularly for items with shorter shelf lives.
Keep a small notepad nearby to track which products need replenishment, ensuring you never run out of essential items in your routine.
Use Clear Acrylic Containers for Easy Product Recognition
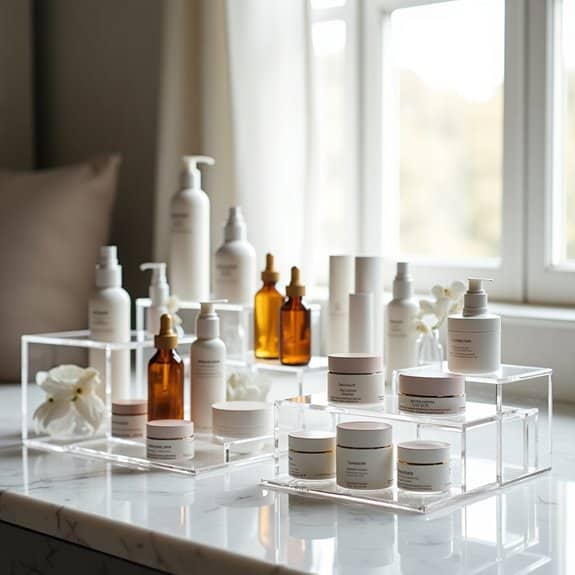
Organizing skincare products in clear acrylic containers revolutionizes your daily beauty routine by eliminating the frustration of searching through cluttered drawers or cabinets. When products are visible and easily accessible, you’re more likely to maintain a consistent skincare regimen and actually use the items you’ve invested in.
Clear acrylic containers not only provide a practical storage solution but also create an aesthetically pleasing display that transforms your bathroom or vanity into a spa-like space. This organization method helps you quickly identify when products are running low and prevents the purchase of duplicate items, ultimately saving both time and money.
Required Items:
- Various sizes of clear acrylic containers
- Drawer dividers
- Measuring tape
- Label maker
- Cleaning cloth
- Container liners (optional)
- Drawer organizer inserts
- Small acrylic risers
- Clear storage bins with handles
Start by measuring your available space and sorting skincare products by category (cleansers, toners, serums, etc.). Select appropriately sized acrylic containers that fit your space and accommodate your products with some room for growth.
Place taller items at the back of deeper containers and shorter items in front, using acrylic risers to create tiers for better visibility.
For drawer organization, use dividers to create designated sections for different product types. Arrange items so that frequently used products are most accessible, and consider using smaller containers for samples or travel-sized items.
Keep similar products together and ensure all labels face forward for easy identification.
Additional Tips: Maintain the organization system by regularly cleaning the acrylic containers with a mild soap solution and soft cloth to prevent product residue buildup.
Consider implementing a rotation system where newer products are placed at the back, ensuring older items are used first. Review your organization quarterly to declutter expired products and adjust the layout as your skincare collection evolves.
Install Proper Lighting for Your Beauty Space

Proper lighting in your beauty space is crucial for achieving the best results with your skincare routine. Poor lighting can lead to missed spots during cleansing, uneven product application, and difficulty identifying skin concerns that need attention. When you can clearly see what you’re doing, you’ll be more efficient and precise with your skincare routine.
A well-lit beauty space not only enhances functionality but also creates an inviting atmosphere that makes your skincare routine more enjoyable. Strategic lighting placement helps prevent shadows and ensures even illumination across your face, making it easier to perform detailed tasks like facial massage or spot treatments.
Required Items:
- LED vanity mirror with adjustable settings
- Daylight-mimicking bulbs (5000-6500K color temperature)
- Task lighting fixtures
- Dimmer switches
- Extension cords or power strips
- Wall-mounted sconces (optional)
- Over-mirror lighting strip
- Natural light-filtering window treatments
Installing proper lighting requires careful planning and strategic placement. Start by positioning your main light source at face level, ideally with lighting on both sides of the mirror to eliminate shadows.
Install a combination of ambient and task lighting, with the primary light source positioned in front of your face rather than above to prevent unflattering shadows. Consider mounting adjustable wall sconces at eye level, approximately 36-40 inches apart, and 60-65 inches from the floor.
The lighting system should include different brightness settings to accommodate various times of day and skincare tasks. Install a daylight-mimicking overhead light for general illumination, complemented by focused task lighting around your mirror.
Ensure all electrical installations comply with bathroom safety codes, particularly regarding moisture resistance and proper grounding.
Additional Tips: Layer your lighting with different sources to create optimal conditions for various skincare tasks. Use frosted or diffused bulbs to minimize harsh shadows and glare.
Position your beauty station near a window when possible to take advantage of natural light during daytime routines, but ensure you have adequate artificial lighting for consistency throughout the day.
Consider installing a lighting system with color temperature adjustment to match different environments and times of day.
Temperature-Control Solutions for Sensitive Products
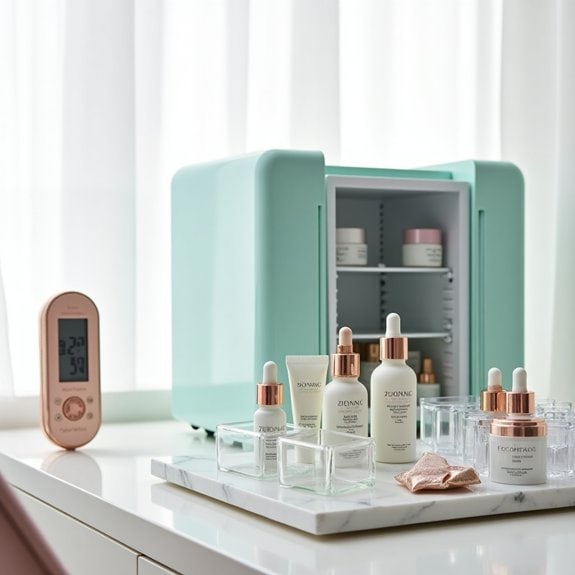
Proper temperature control for skincare products isn’t just about preservation – it’s about maintaining the efficacy of expensive investments and ensuring the safety of products that come into direct contact with your skin. Many active ingredients, such as vitamin C, retinoids, and certain probiotics, can become unstable or even harmful when exposed to improper temperatures.
Creating an organized temperature-controlled storage system prevents product degradation, extends shelf life, and helps maintain the potency of active ingredients. This organizational approach also makes it easier to monitor expiration dates and keep track of products that require special storage conditions, ultimately saving money and protecting your skin health.
Required Items:
- Mini skincare fridge
- Temperature monitoring device
- Clear storage containers
- Label maker
- Drawer organizers
- Insulated storage bags
- Silica gel packets
- Storage bins with dividers
- Thermometer strips
- Airtight containers
Products requiring temperature control should be organized into three distinct zones: refrigerated (35-45°F), cool room temperature (60-70°F), and standard room temperature (68-77°F).
Begin by using your mini skincare fridge for items requiring the coldest storage, such as vitamin C serums, natural products without preservatives, and certain masks. Designate the coolest spot in your bathroom or vanity area for products that need cool but not refrigerated conditions.
Create a rotation system within each temperature zone using clear containers labeled with product names and expiration dates. Place frequently used items at the front for easy access, while keeping backup products properly stored in their respective temperature zones. Use drawer organizers and bins with dividers to prevent products from touching, which can affect temperature consistency.
Additional Success Tips: Implement a regular temperature monitoring schedule using your thermometer device, and maintain a product inventory list noting specific storage requirements.
Keep products away from direct sunlight and heat sources, even within their designated zones. Consider using insulated bags for traveling with temperature-sensitive products, and always check manufacturer recommendations for optimal storage conditions.
Design a Travel-Ready Storage System
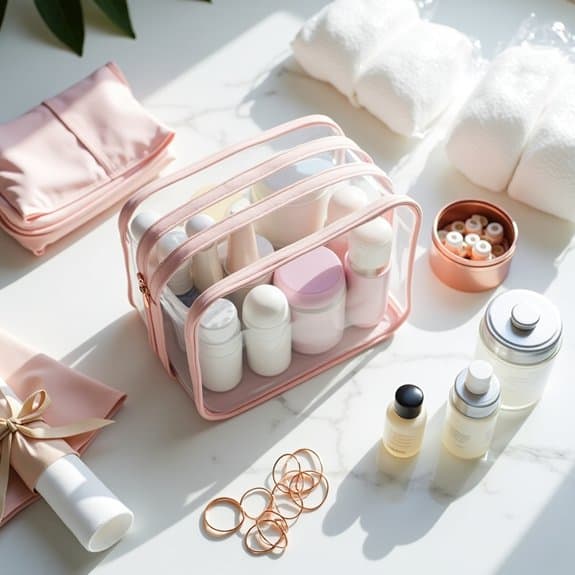
Organizing skincare products for travel presents unique challenges that require thoughtful planning and efficient storage solutions. A well-organized travel skincare system prevents leaks, maintains product integrity, and ensures compliance with airline regulations while keeping essential items easily accessible.
Creating a dedicated travel storage system not only protects your investment in quality skincare products but also streamlines your routine when away from home. This organization method allows you to maintain your skincare regimen without compromising on product selection or facing the frustration of damaged items and messy spills.
Required Items:
- Clear, TSA-approved toiletry bag
- Small travel containers (2-3 oz)
- Labels and waterproof marker
- Plastic wrap
- Ziplock bags in various sizes
- Silicone travel bottles
- Cotton pads
- Travel-sized spatulas
- Pill organizer (for small amounts)
- Elastic bands
- Bubble wrap
Start by selecting appropriate travel containers for each product, ensuring they meet TSA requirements if flying. Transfer products into these containers, leaving about 20% space at the top to prevent pressure-induced leaks during air travel. Secure each lid with plastic wrap before closing, then label with product names and expiration dates.
Group products by category (cleansers, treatments, moisturizers) and pack them in separate ziplock bags. This creates an additional layer of leak protection and helps maintain organization. Place cotton pads and tools in a separate compartment to keep them clean and dry.
Arrange products in the main toiletry bag according to your routine sequence, with most-used items easily accessible. Position bottles upright and use bubble wrap or soft clothing items as buffers between containers to prevent movement and potential breakage.
Consider using a pill organizer for small amounts of products needed for short trips, particularly for items like serums or treatments where a little goes a long way.
Additional Tip: Create a master list of your travel skincare items with their sizes and keep it in your phone. This reference helps ensure you stay within airline liquid limits and makes repacking efficient for future trips.
Consider keeping a pre-packed travel set ready for spontaneous trips, refreshing products monthly to prevent expiration.
Invest in Multi-Tier Rotating Organizers
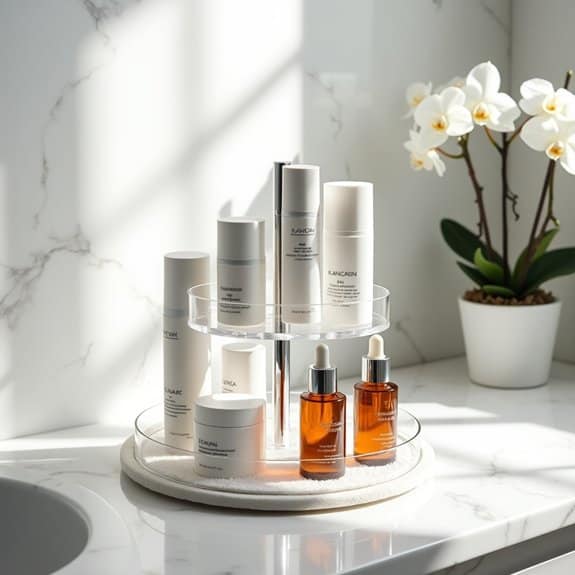
Organizing skincare products can quickly become overwhelming as collections grow and daily routines become more complex. Multi-tier rotating organizers offer a practical solution by maximizing vertical space while keeping products easily accessible through a simple spin motion.
A well-organized rotating system transforms cluttered bathroom counters and vanities into efficient, spa-like spaces where every product has its designated spot. This organization method not only preserves product efficacy by protecting items from direct sunlight but also helps track expiration dates and maintain a clean, aesthetically pleasing environment.
Required Items:
- Multi-tier rotating organizer
- Measuring tape
- Cleaning cloth
- Label maker (optional)
- Small containers or dividers
- Anti-slip mat
- Clear storage bins
- Height extenders (if needed)
Begin by measuring your available counter space and selecting an appropriately sized rotating organizer. Clean the designated area thoroughly and place an anti-slip mat underneath to prevent movement.
Sort products by category (cleansers, toners, serums, moisturizers) and frequency of use, placing daily items on the most accessible tiers. Position taller items toward the back of each tier and shorter items in front for optimal visibility.
For enhanced organization, utilize the rotating feature by arranging products according to your skincare routine sequence, moving clockwise from morning to evening products. Install any additional shelving or height extenders if needed, and consider using clear containers or dividers to separate smaller items within each tier.
Label each section clearly if desired, ensuring all product names face outward for easy identification.
For maximum efficiency, perform a monthly audit of your rotating organizer, wiping down surfaces and checking for expired products. Consider keeping backup products in separate storage and only placing currently used items in the rotating organizer.
Adjust tier heights seasonally as your skincare collection changes, and always leave some empty space for new products or routine adjustments.
Label Everything With Expiration Dates
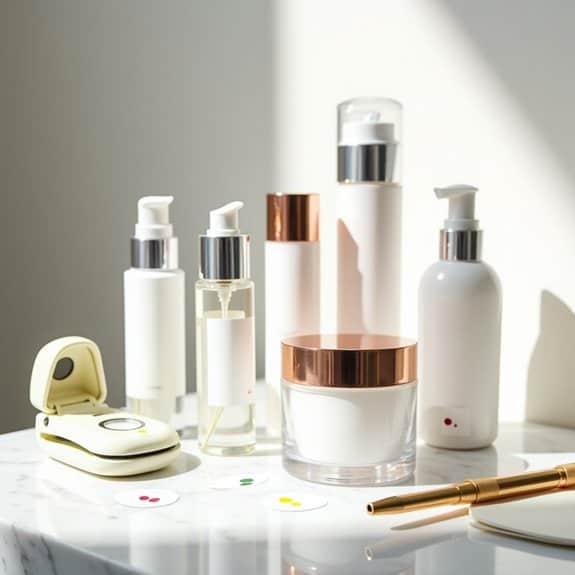
Keeping track of skincare product expiration dates is crucial for maintaining skin health and maximizing product effectiveness. Expired products can harbor harmful bacteria, lose their potency, or cause adverse reactions, making proper labeling an essential aspect of skincare organization.
A well-organized system of expiration date labels helps prevent the use of expired products, saves money by reducing waste, and ensures you’re using products at their peak performance. This organization method also makes it easier to plan replacements and maintain a fresh, effective skincare routine.
Required Items:
- Clear waterproof labels
- Permanent marker
- Label maker (optional)
- Small adhesive dots in different colors
- Clear tape
- Cleaning cloth
- Calendar or tracking app
- Spreadsheet or notebook
Start by gathering all skincare products and checking their manufacturing dates and Period After Opening (PAO) symbols, which look like small jars with numbers indicating months of use after opening.
Create a standardized labeling system by writing both the purchase date and calculated expiration date on waterproof labels. For products without clear expiration information, use general guidelines: 3-6 months for mascara, 6-12 months for liquid products, and 12-24 months for powder products.
Apply the labels in consistent locations on each container, preferably on the bottom or side where they won’t be affected by regular handling. For products in dark containers or those used in wet areas, consider using clear tape over the labels for extra protection.
Create a color-coding system using adhesive dots to quickly identify products expiring within specific timeframes – for example, red for products expiring within one month, yellow for three months, and green for six months or more.
To maximize this organization system, maintain a digital or physical log of all products with their expiration dates, and set calendar reminders for products nearing expiration.
Review your collection monthly, disposing of expired items and updating labels as needed. Consider implementing a “first in, first out” system when purchasing new products, and always mark new items immediately upon opening.
Declutter and Sort by Skin Concerns
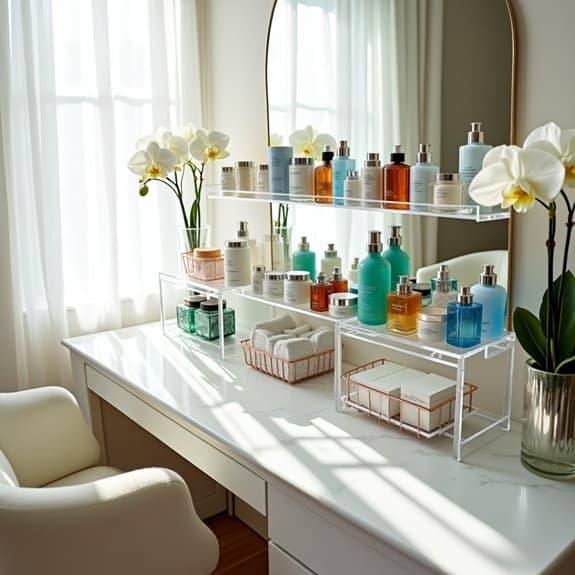
Organizing skincare products by specific skin concerns creates an intuitive system that makes your daily routine more efficient and ensures you’re using the right products for your skin’s needs.
When products are sorted according to concerns like acne, aging, hyperpigmentation, or sensitive skin, you can quickly access the appropriate treatments without wasting time searching through countless bottles and jars.
This organization method also helps track product effectiveness and prevents the use of conflicting ingredients that could irritate your skin. By grouping products that target similar issues, you can better monitor your skin’s progress and adjust your routine as needed, while ensuring you don’t accidentally combine incompatible active ingredients.
Required Items:
- Storage containers or organizers
- Label maker or labels
- Clean microfiber cloth
- Trash bin
- Clear bins or drawer dividers
- Calendar or tracking system
- Small basket for samples
- Storage boxes for backup products
Start by removing all skincare products from their current storage locations and checking expiration dates. Dispose of any expired items or products you haven’t used in the past six months.
Group remaining products into major categories based on primary skin concerns: anti-aging, acne treatment, hydration, brightening, and sensitive skin care. Within each category, further sort products by morning and evening use.
Create designated zones in your storage area for each skin concern category. Place daily-use items in easily accessible locations, with occasional treatments stored in secondary spaces. Use clear containers or drawer organizers to keep products visible and upright.
Label each section clearly with both the skin concern and frequency of use (daily, weekly, or monthly).
For optimal organization maintenance, implement a regular review system every three months. Remove products that aren’t delivering results, update your categories based on changing skin concerns, and resist the urge to overcrowd spaces with new purchases before finishing existing products.
Consider keeping a minimal selection of products in your daily rotation while storing backup items in a separate location to prevent cluttered primary storage areas.

