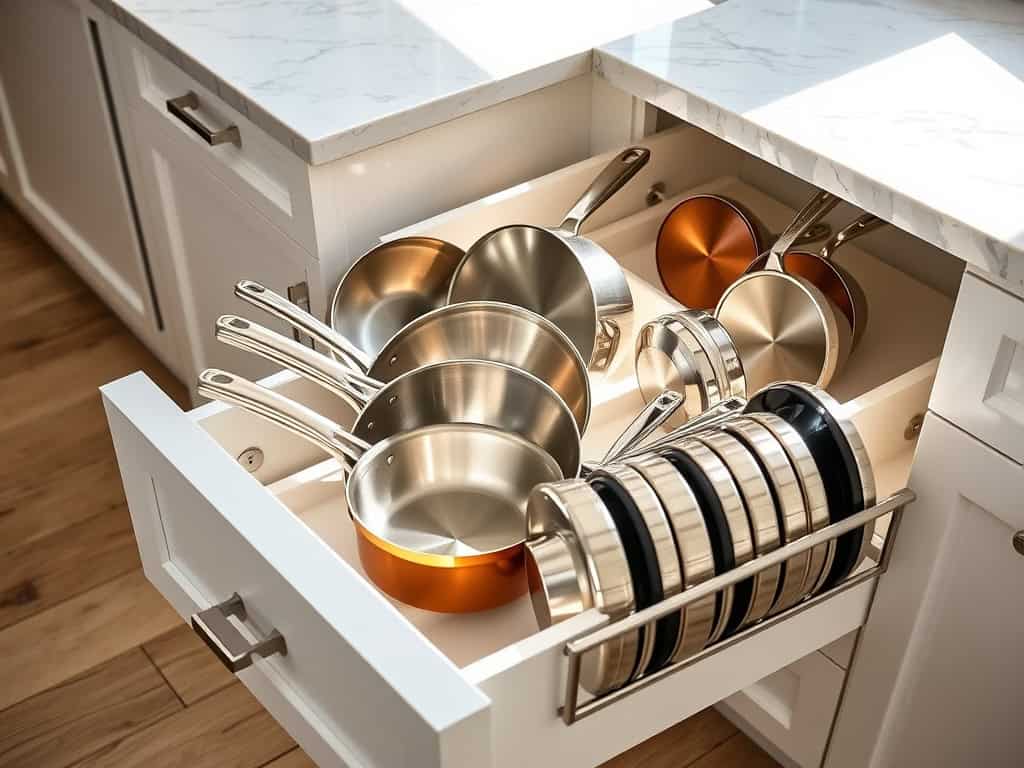
Ever felt like your kitchen cabinets are playing a frustrating game of pan Tetris? I’ve been there – wrestling with stacks of cookware while trying to find that one specific sauté pan. As someone who’s transformed countless chaotic kitchens, I can tell you that smart pan organization isn’t just about tidiness; it’s about making your cooking space work for you. Let’s explore nine clever storage solutions that’ll turn your jumbled cookware into an efficiently organized system you’ll actually want to maintain.
Vertical Pan Dividers for Cabinet Storage
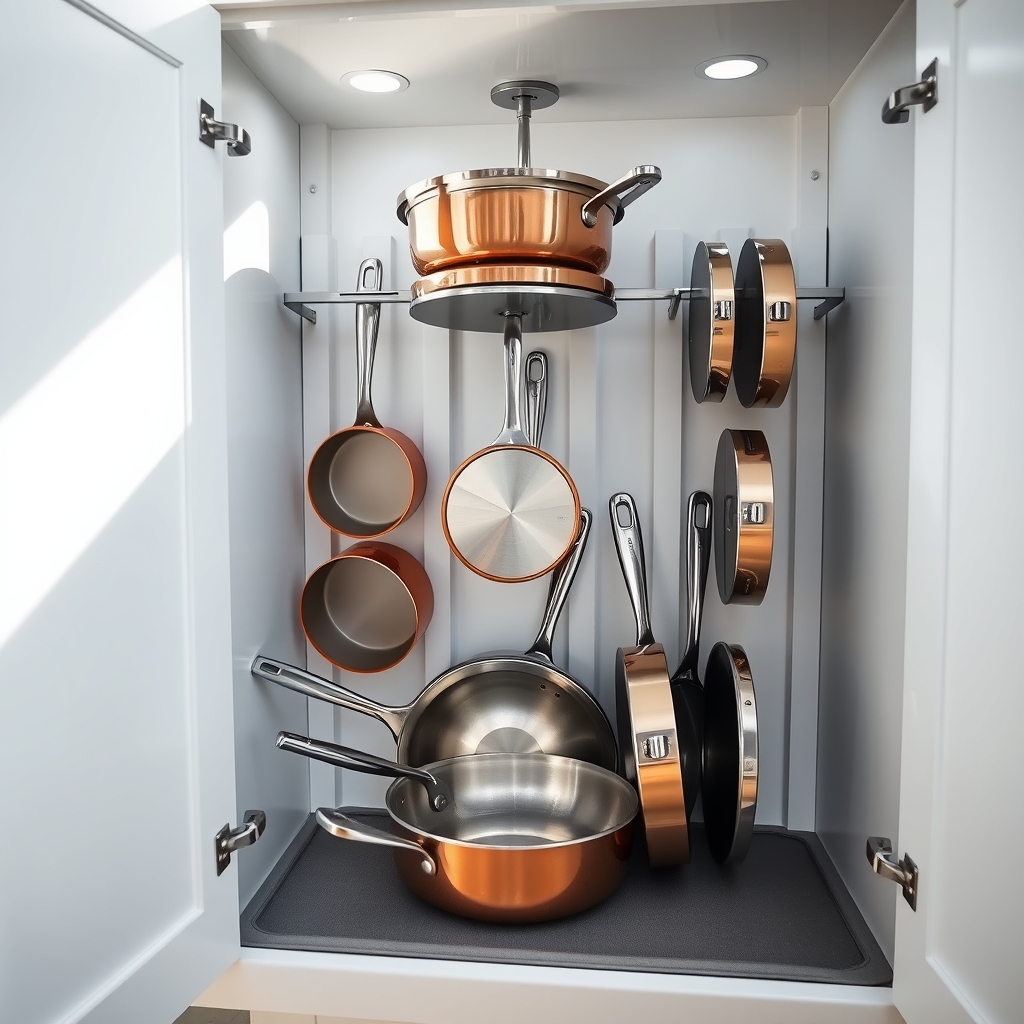
Organizing pots and pans is one of the most challenging aspects of kitchen storage, often resulting in cluttered cabinets and frustrating searches for the right cookware. Vertical pan dividers offer an elegant solution to this common problem, transforming chaotic cabinet spaces into orderly, accessible storage areas where every pan has its designated spot.
By implementing vertical dividers, you can eliminate the noise of clanking pans, prevent scratches on cookware surfaces, and make each item instantly accessible without having to unstack multiple pieces. This organization method maximizes vertical space while minimizing horizontal spread, making it particularly valuable for kitchens with limited storage.
Required Items:
- Vertical pan divider rack or organizer
- Measuring tape
- Cabinet liner (non-slip)
- Label maker (optional)
- Screwdriver
- Mounting hardware (if applicable)
- Cable ties (optional)
- Drawer liner material
Start by measuring your cabinet’s interior dimensions and selecting an appropriately sized divider system. Clear the cabinet completely and install non-slip liner material on the bottom surface.
Position the divider rack, ensuring it’s centered and allows adequate clearance for cabinet doors. If using a mounted system, mark drilling points and secure the dividers according to manufacturer instructions. For non-mounted options, ensure the rack is stable and properly positioned against the back wall of the cabinet.
Sort pans by size and frequency of use, placing frequently used items in the most accessible slots. Position pan handles consistently in the same direction for uniformity and easier access. Large, heavy items should be stored in lower slots for stability, while lighter items can go in upper positions. If using adjustable dividers, customize the spacing to accommodate different pan sizes efficiently.
Additional Tips:
Consider installing hooks on cabinet doors or walls for lid storage, creating a complete organization system. Periodically reassess your arrangement and adjust divider spacing as your cookware collection changes.
Use rubber bands or cabinet door bumpers on divider slots to prevent metal-on-metal contact and reduce noise. Label slots for family members to maintain the organization system long-term, and consider adding LED strip lighting to improve visibility in deep cabinets.
Wall-Mounted Pegboard Display System
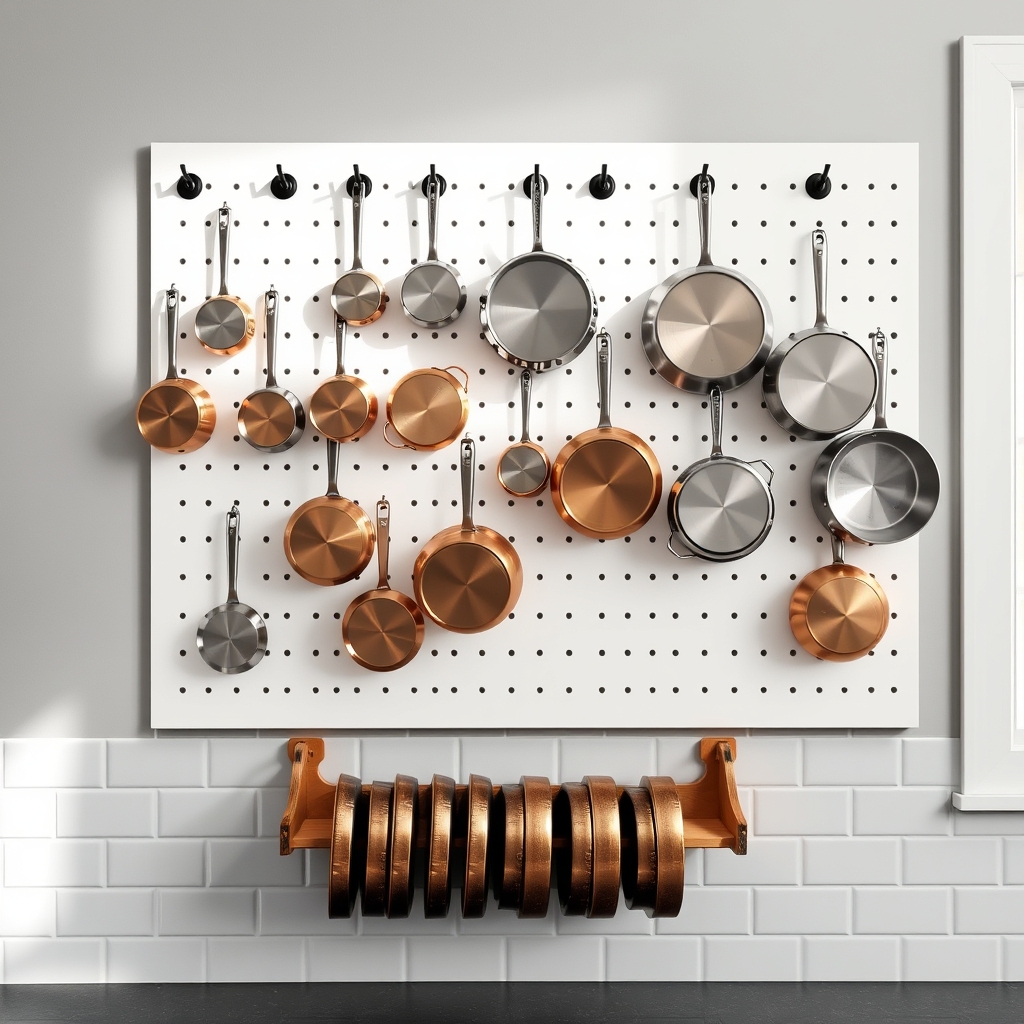
A well-organized pegboard system for kitchen pans transforms cooking from a cluttered hassle into a smooth, efficient experience. By displaying pans vertically on the wall, you reclaim valuable cabinet space while keeping cookware easily accessible and visible at all times.
Installing a pegboard system not only creates a practical storage solution but also adds a professional, industrial-kitchen aesthetic to your space. This organization method prevents pans from stacking and scratching each other, extending their lifespan and maintaining their quality.
Required Items:
- Pegboard (sized to your wall space)
- Pegboard mounting hardware
- Wall anchors
- Drill and drill bits
- Level
- Pencil
- Measuring tape
- Various pegboard hooks and holders
- Spacers or furring strips
- Screwdriver
- Safety glasses
Mount the pegboard by first measuring your wall space and marking the installation area. Install furring strips or spacers on the wall to create a gap between the wall and pegboard, allowing room for hooks. Secure the pegboard to the wall using appropriate anchors and screws, ensuring it’s level.
Once mounted, arrange hooks in a pattern that accommodates your pan collection, considering the size and weight of each piece. Position frequently used pans at eye level and arrange less-used items higher or lower.
For optimal organization, group similar pans together and maintain at least two inches of space between items. Install hooks at slight upward angles to prevent pans from slipping off. Consider adding labels beneath each designated spot to maintain organization when replacing items.
Additional tips: Paint your pegboard to match your kitchen décor or create contrast. Install a small shelf below the pegboard to store lids or frequently used utensils. Periodically assess your pan arrangement and adjust the layout based on usage patterns. Clean the pegboard and hooks regularly to prevent dust accumulation and maintain a professional appearance.
Pull-Out Cabinet Organizers
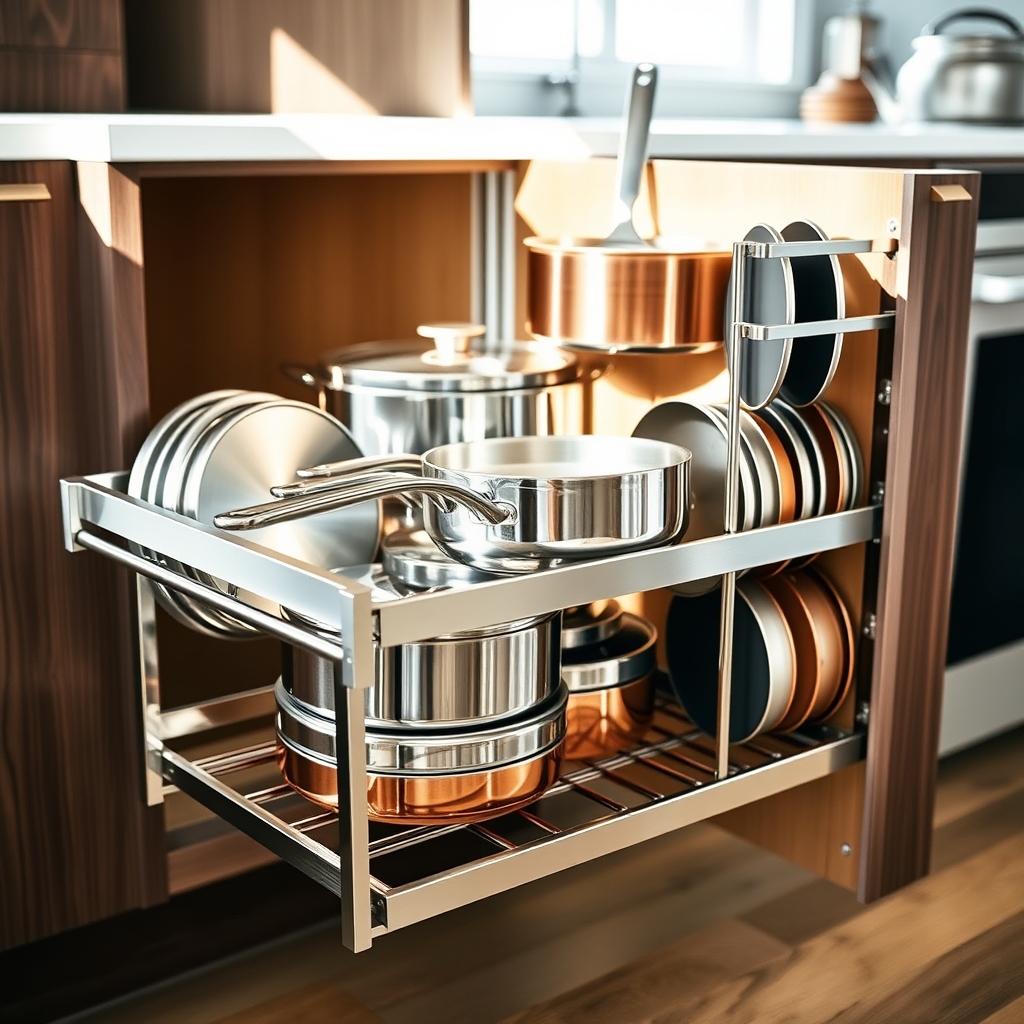
An organized kitchen is essential for efficient cooking and meal preparation, and one of the most challenging areas to keep tidy is the storage space for pots and pans. Pull-out cabinet organizers offer a practical solution by maximizing vertical space while keeping cookware easily accessible. These systems eliminate the frustration of stacking and unstacking pans, reducing wear and tear on your cookware.
Installing pull-out organizers transforms cluttered cabinets into functional storage spaces that make cooking more enjoyable. These organizers allow you to see all your pans at once and retrieve them without disturbing other items, saving time and preventing the loud clanging of metal cookware during meal preparation.
Required Items:
- Pull-out cabinet organizer system
- Measuring tape
- Screwdriver
- Level
- Mounting screws
- Drill
- Pencil
- Cabinet hardware template
- Safety glasses
The organization process starts with measuring your cabinet’s interior dimensions, including width, depth, and height, to ensure proper fit of the pull-out system. Remove all items from the cabinet and clean thoroughly.
Install the sliding hardware according to manufacturer specifications, typically mounting the tracks to the cabinet sides first. Attach the pull-out frame to the slides, ensuring it’s level and secure. Most systems include adjustable dividers or tiers that can be configured to accommodate different pan sizes.
Sort pans by size and frequency of use, placing frequently used items at easily accessible levels. Position larger pans at the bottom and smaller ones on top, with lids stored vertically using dedicated lid organizers if included in your system.
Consider installing multiple pull-out units in larger cabinets to maximize storage capacity.
Additional Tips: Label the spots for each pan to maintain organization long-term and add shelf liner to prevent scratching and reduce noise. Consider installing soft-close hardware to protect both the organizer and your cookware.
Regularly inspect the sliding mechanism and tighten any loose screws to ensure smooth operation and prevent future issues.
Over-the-Door Pan Racks
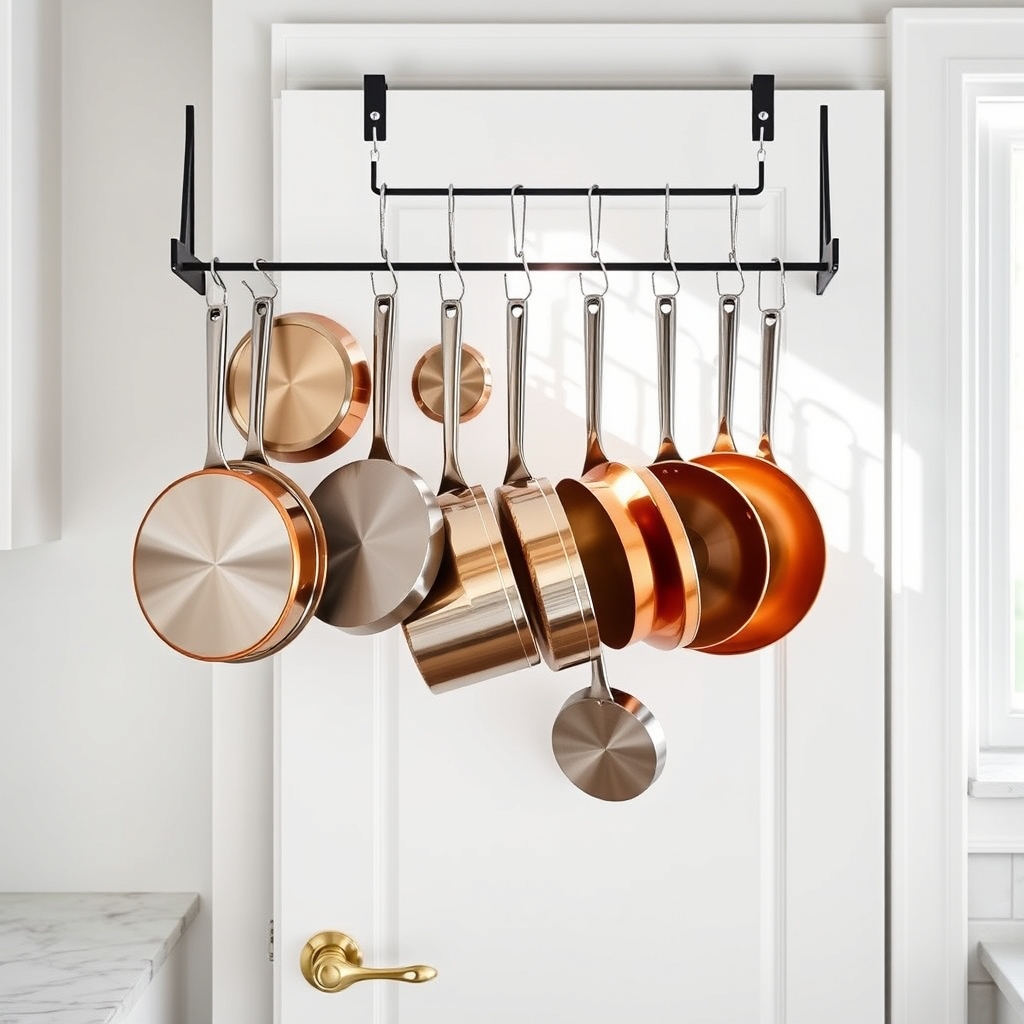
Organizing pots and pans is one of the most challenging aspects of kitchen organization, often leading to cluttered cabinets and frustration when trying to access specific items. Over-the-door pan racks offer an innovative solution by utilizing vertical space that typically goes unused, transforming dead space into valuable storage real estate.
This organization method not only makes pans easily accessible but also helps preserve their condition by preventing stacking and potential scratching. Over-the-door storage is particularly valuable in smaller kitchens where cabinet space is limited, allowing you to maintain a clutter-free cooking environment while keeping your cookware within arm’s reach.
Required Items:
- Over-the-door pan rack
- Measuring tape
- Door mounting brackets
- Screwdriver
- Level
- Command strips (optional)
- Door bumpers
- Pan hooks or clips
Installation and organization begins with measuring your door’s dimensions to ensure proper fit of the rack. Mount the brackets at the top of the door, ensuring they’re level and secure. Attach the main rack component to the brackets, making sure it’s properly aligned.
Add door bumpers where the rack might contact the door to prevent scratching. Arrange your pans from largest to smallest, with the most frequently used items at eye level. Position handles consistently in the same direction for a uniform appearance and easier access.
If your rack includes adjustable hooks or clips, space them evenly to accommodate different pan sizes and ensure proper weight distribution.
Additional Tips: Consider adding rubber coating to hooks to prevent metal-on-metal contact and reduce noise. Label hooks for specific pans to maintain organization, and periodically check mounting hardware for tightness.
If your door experiences heavy use, reinforce mounting points with additional brackets or command strips for added stability. Clean the rack and pans regularly to prevent dust accumulation in this visible storage space.
Hanging Pot and Pan Rails
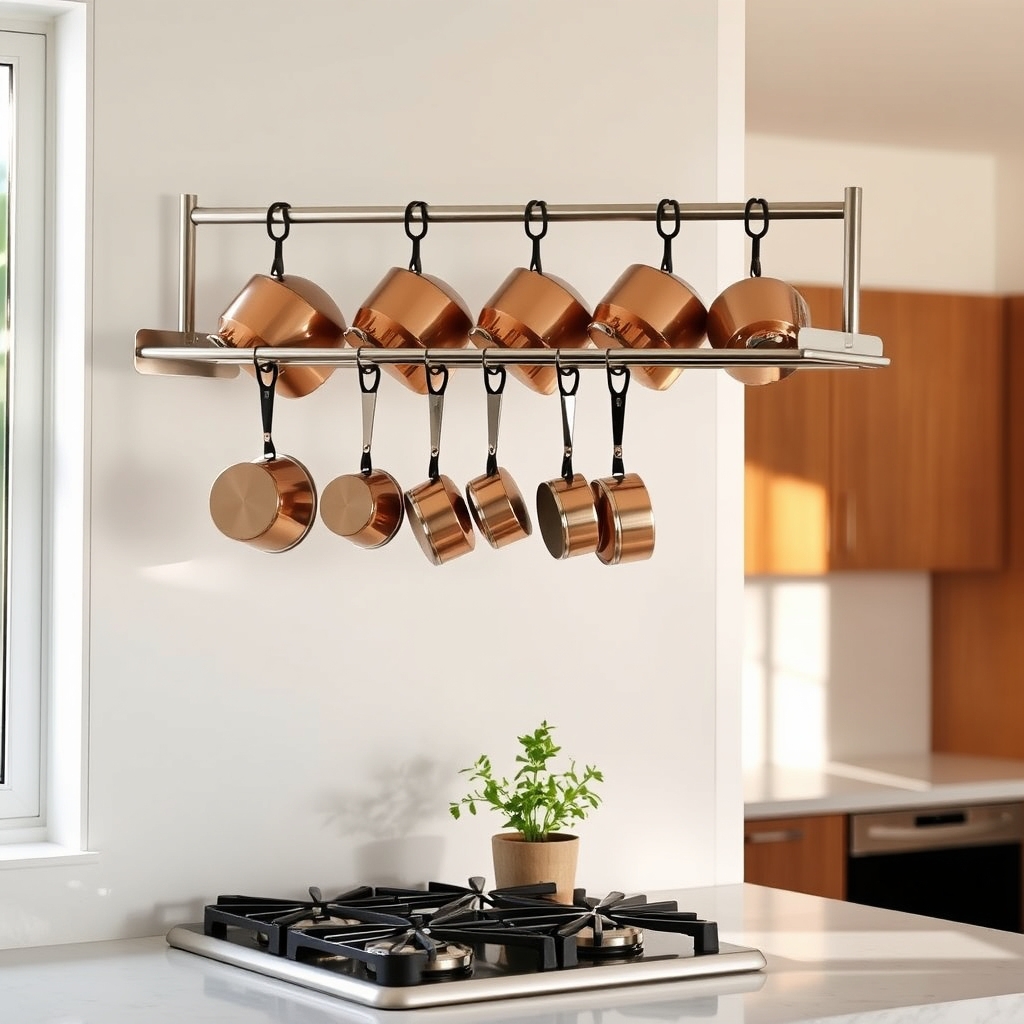
A well-organized pot and pan rail system transforms a cluttered kitchen into an efficient cooking space while adding a professional, aesthetically pleasing element to your kitchen design. By utilizing vertical wall space, you free up valuable cabinet storage while keeping your most-used cookware within easy reach.
Installing pot and pan rails eliminates the frustrating stack-and-crash situation common in cabinets, where pots and pans are precariously piled on top of each other. This organization method not only protects your cookware from scratches and dents but also allows you to quickly locate and grab exactly what you need while cooking.
Required Items:
- Wall-mounted pot rail or rack
- Wall anchors and screws
- Power drill
- Level
- Pencil
- Measuring tape
- S-hooks or pot hooks
- Stud finder
- Screwdriver
Begin by selecting an appropriate wall space near your cooking area, ensuring there’s enough clearance for pans to hang without interference. Use a stud finder to locate wall studs and mark their positions with a pencil. Measure and mark the desired height for your rail, typically 54-60 inches from the floor, using a level to ensure straight placement.
Install wall anchors where needed, then mount the rail securely to the wall, ensuring it’s properly aligned and level.
Arrange your pots and pans by frequency of use and size, placing frequently used items at easy-reach heights. Distribute the weight evenly across the rail to prevent stress on any single point. Consider hanging lids separately or storing them vertically in a nearby cabinet to maintain easy access without cluttering the rail system.
Additional Tips: Consider installing multiple rails at different heights to maximize storage capacity and accommodate various pot and pan sizes. Use rubber-coated hooks to prevent scratching, and leave space between items to prevent clanging.
For frequently used items, install the rail within arm’s reach of your cooking area. Clean and polish cookware before hanging to maintain an attractive display, and periodically check that all mounting hardware remains secure.
Adjustable Pan Storage Racks
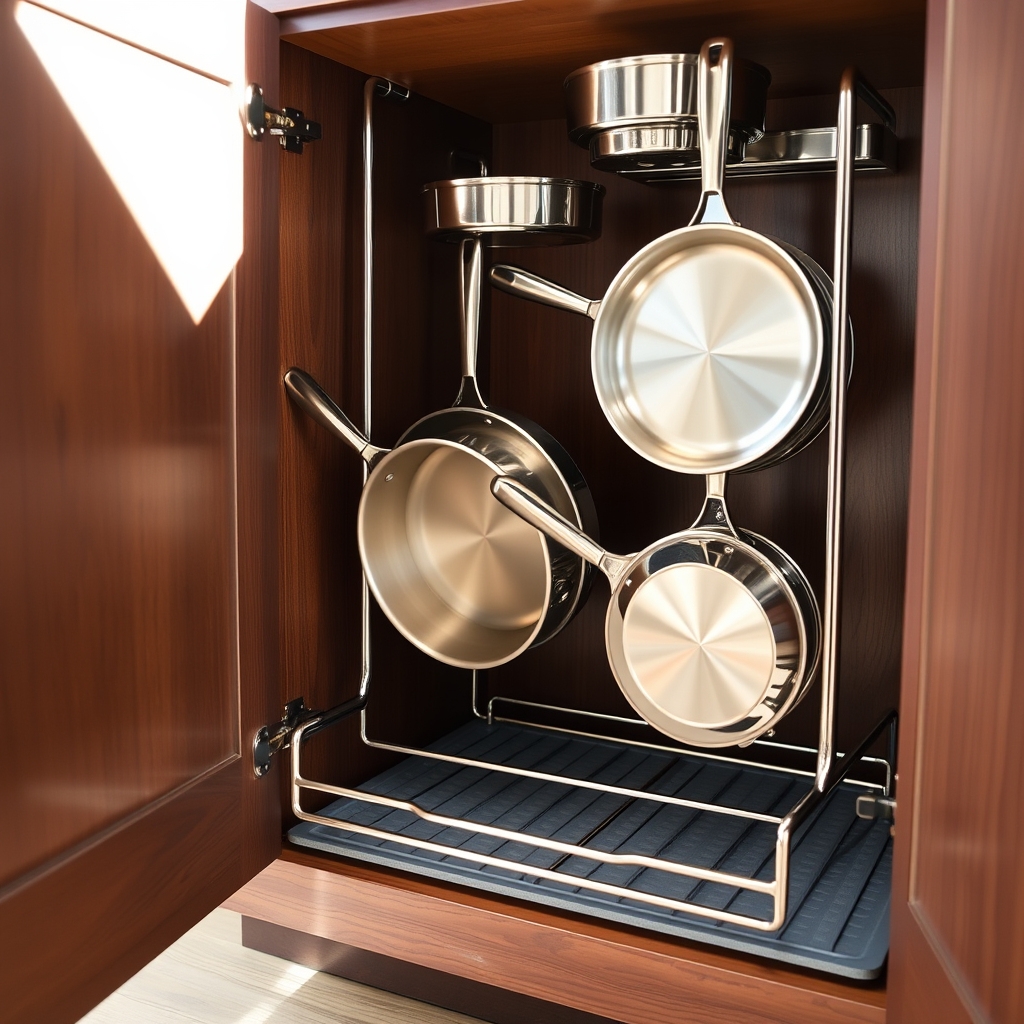
Organizing pots and pans is one of the most challenging aspects of kitchen storage, often leading to cluttered cabinets and frustrating searches for the right cookware. Adjustable pan storage racks offer a versatile solution that can transform chaotic cabinet spaces into well-ordered, easily accessible storage systems.
By implementing an adjustable rack system, you can maximize vertical space while protecting your cookware from scratches and damage. These customizable organizers accommodate various pan sizes and can be reconfigured as your cookware collection changes over time.
Required Items:
- Adjustable pan rack organizer
- Measuring tape
- Cabinet liner (non-slip)
- Screwdriver
- Mounting hardware (if needed)
- Labels (optional)
- Cleaning supplies
Start by emptying your cabinet and measuring the available space, accounting for both width and height. Install non-slip liner material on the cabinet bottom to prevent rack movement.
Assemble the adjustable rack according to manufacturer instructions, typically involving connecting the base pieces and adjusting the dividers to your desired width. Position the heaviest pans at the bottom of the rack for stability, working up to lighter items. Adjust the divider spacing to accommodate your specific pan sizes, ensuring each piece has enough room to be removed easily without disturbing others.
Make final adjustments by testing the removal and replacement of each pan, ensuring smooth access. If your rack system includes mounting options, secure it to the cabinet walls using appropriate hardware for added stability.
Consider marking divider positions with small labels to maintain optimal spacing when readjusting after cleaning. To maintain organization long-term, periodically reassess your pan arrangement based on usage patterns. Store frequently used items in easily accessible positions, and adjust divider spacing when adding or removing pans from your collection.
Clean the rack and liner regularly to prevent dust accumulation and maintain smooth operation of adjustable components. Consider adding rubber or felt padding to metal dividers to protect pan edges and reduce noise when removing or replacing cookware.
Cabinet Door-Mounted Lid Holders
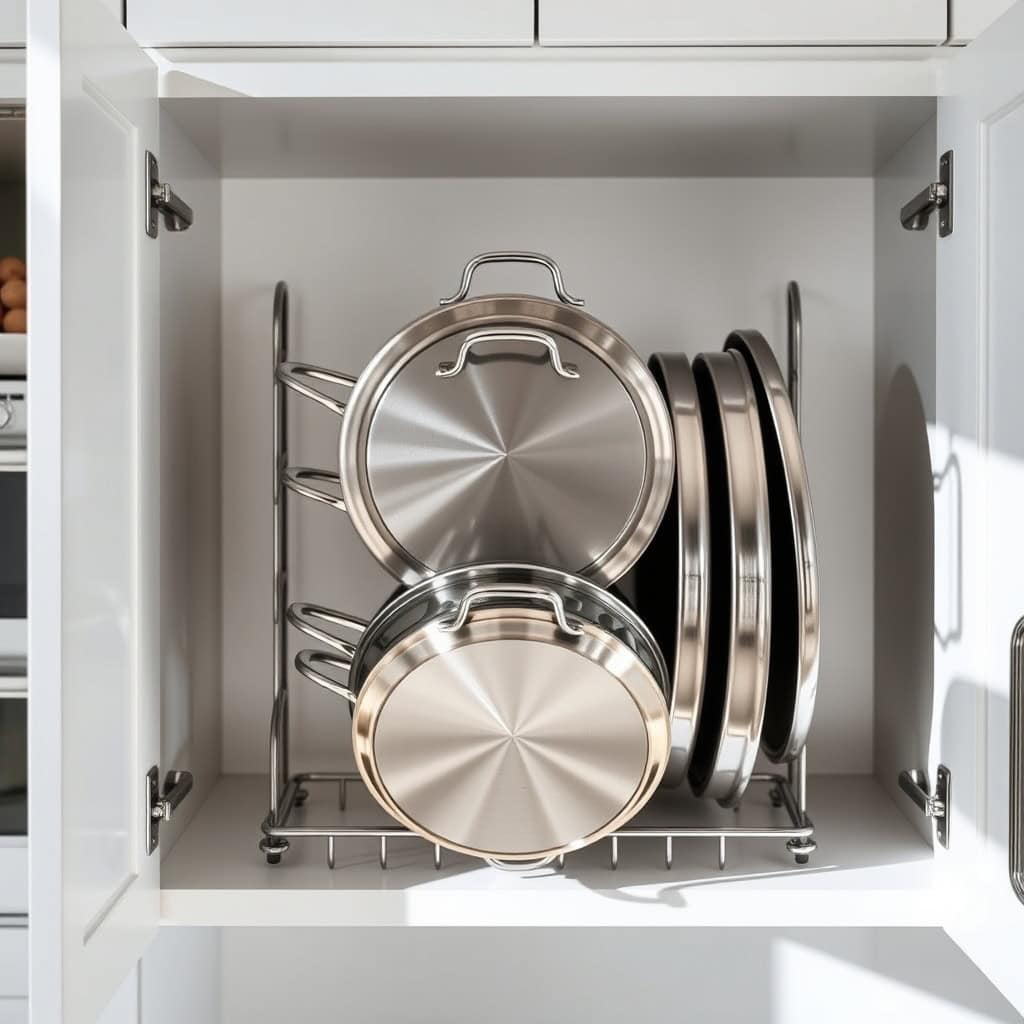
Organizing pot and pan lids is one of the most frustrating challenges in kitchen storage. When lids are stacked haphazardly in cabinets, they create chaos, making it difficult to find the right size when needed and potentially causing damage to both the lids and surrounding cookware.
Cabinet door-mounted lid holders offer an elegant solution to this common problem by utilizing often-overlooked vertical space. This organization method not only makes lids easily accessible but also protects them from scratches and keeps them within arm’s reach while cooking, maximizing both storage efficiency and kitchen functionality.
Required Items:
- Door-mounted lid rack or organizer
- Measuring tape
- Pencil
- Screwdriver
- Mounting screws
- Level
- Drill (if needed)
- Cabinet door bumpers
Installation and Organization Process:
Start by measuring the interior width and height of your cabinet door to ensure proper fit of the lid holder. Mark the mounting points on the door’s interior surface, using a level to ensure straight alignment. If your chosen organizer requires pre-drilling, create pilot holes at the marked points.
Attach the lid holder securely using appropriate screws, being careful not to pierce through the cabinet door’s exterior. Install cabinet door bumpers at contact points to prevent the rack from banging against the cabinet frame when closing.
Sort your lids by size, placing larger ones at the bottom of the rack and smaller ones toward the top for optimal stability. Ensure each lid is properly seated in its designated slot, with handles or knobs facing outward for easy access. Test the door’s movement to confirm it closes smoothly without interference.
For best results, regularly check the tightness of mounting screws and adjust as needed. Consider adding labels above each slot to indicate corresponding pot sizes, and implement a “clean and return” policy to maintain organization.
If storing glass lids, add rubber padding to the rack’s contact points to prevent chipping or breakage. Remember to periodically clean both the rack and the lids to prevent dust accumulation and maintain a hygienic cooking environment.
Drawer Organizers With Dividers
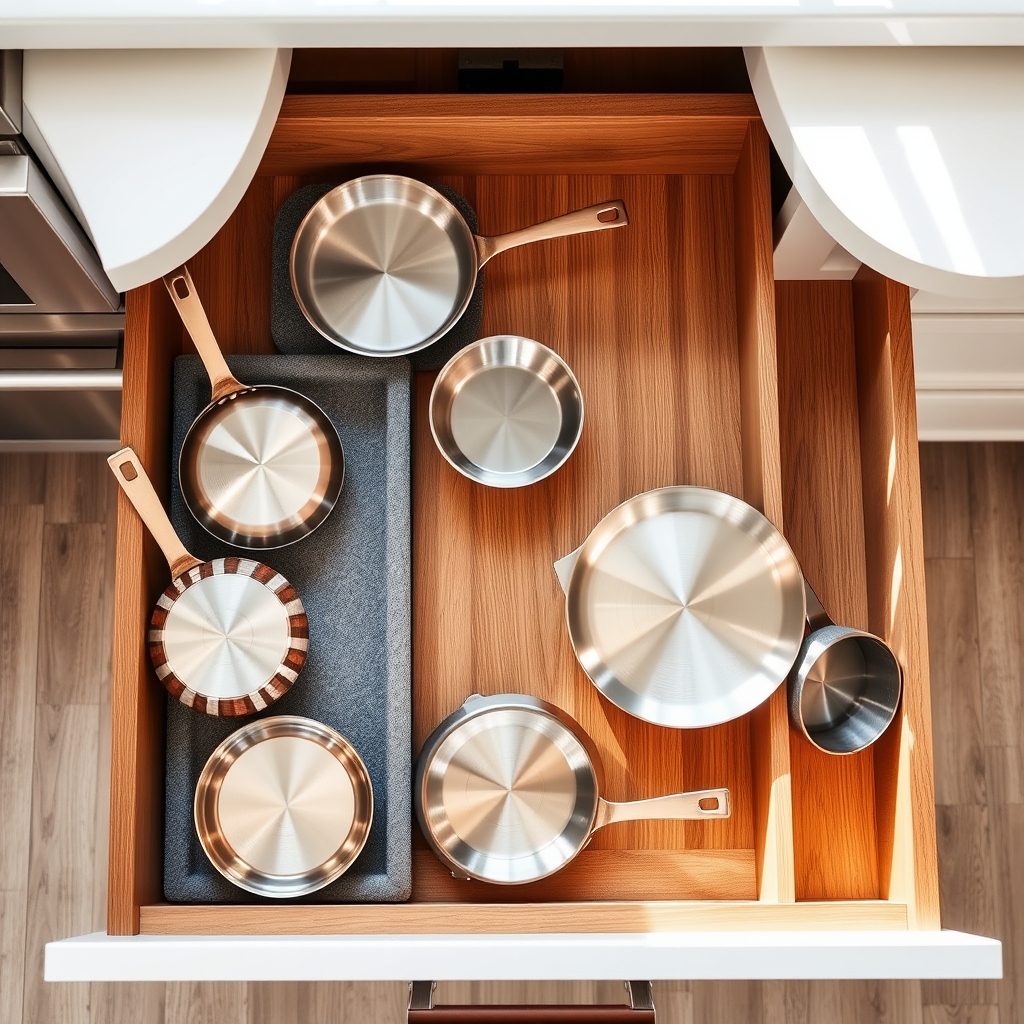
A well-organized pan drawer is fundamental to maintaining an efficient kitchen workflow. When pots and pans are haphazardly stacked or crammed into drawers, it not only creates frustration during cooking but can also lead to damaged cookware and wasted time searching for the right item.
Drawer organizers with dividers transform chaotic storage spaces into systematic, accessible arrangements that protect your cookware investment. These organizational systems maximize vertical space, prevent scratching between pans, and create designated spots for each piece, making it easier to maintain order long-term.
Required Items:
- Adjustable drawer dividers
- Drawer liner material
- Measuring tape
- Pencil and paper
- Label maker (optional)
- Cleaning supplies
- Pan protectors or soft cloths
- Drawer organizer rails (if needed)
Start by removing all pans from the drawer and measuring the interior dimensions. Clean the drawer thoroughly and install a non-slip liner to prevent movement.
Install adjustable dividers according to your drawer measurements, creating sections that accommodate your most frequently used pans. Position dividers to create compartments that match the sizes of your cookware collection.
Arrange pans by size and frequency of use, with most-used items positioned toward the front of the drawer. Place protective material between stacked pans to prevent scratching. If using vertical dividers, position pan lids along the back of the drawer or in a separate compartment.
Consider installing additional organizing rails for secure vertical storage of larger items. For optimal organization maintenance, implement a one-in-one-out rule when acquiring new pans, regularly assess the condition and necessity of each piece, and adjust divider positions as your collection changes.
Consider using pan protectors or soft cloths between stacked items to extend their lifespan, and periodically clean both the organizing system and the drawer itself to prevent debris accumulation.
Freestanding Pan Storage Solutions
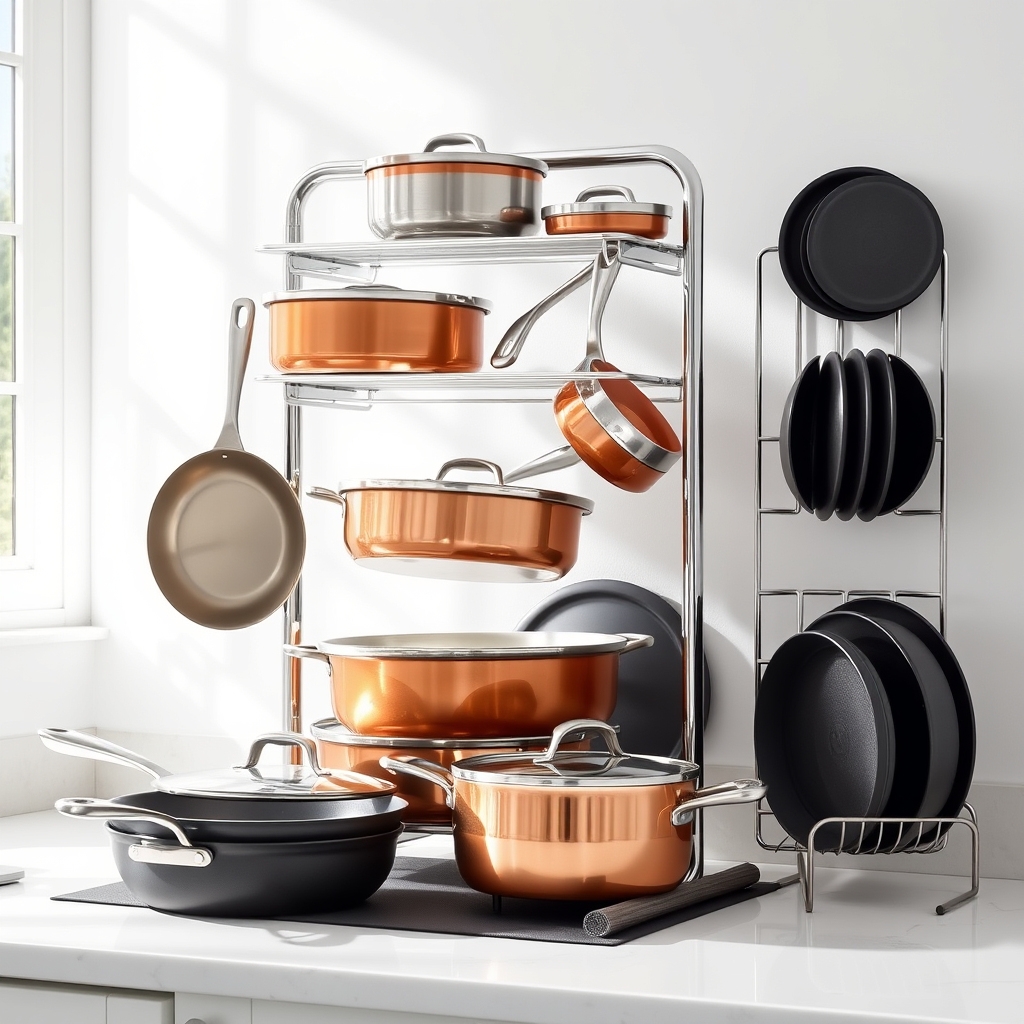
A well-organized pan storage system is essential for any functional kitchen, saving valuable time during meal preparation and protecting your cookware investment.
Freestanding solutions offer flexibility and adaptability, allowing you to customize your storage based on your specific needs and available space. Unlike built-in storage, freestanding pan organizers can be repositioned as your kitchen needs change, making them ideal for both homeowners and renters.
These versatile solutions maximize vertical space while keeping your pans easily accessible and preventing scratches and damage from stacking.
Required Items:
- Freestanding pan rack or organizer
- Measuring tape
- Level
- Non-slip padding
- Pan separators or protectors
- Labels (optional)
- Cleaning supplies
- Storage bins for lids (optional)
Select an appropriate location for your freestanding pan organizer, ensuring adequate clearance for pan handles and easy access. Measure the space and compare it to your pan collection to determine the best size and style of organizer.
Clean the area thoroughly and place non-slip padding underneath the organizer to prevent movement. Arrange your pans from largest to smallest, with frequently used items at eye level. If using a vertical organizer, position heavy pans at the bottom for stability. For horizontal organizers, utilize dividers to prevent scratching and maintain proper spacing.
Additional Tips: Consider incorporating lid storage into your system by using adjacent wall space or dedicated lid organizers. Regularly assess your pan collection and remove rarely used items to maintain organization.
Place felt protectors between pans if they must touch, and periodically clean both the pans and the organizer to prevent dust accumulation and maintain a hygienic cooking environment.

