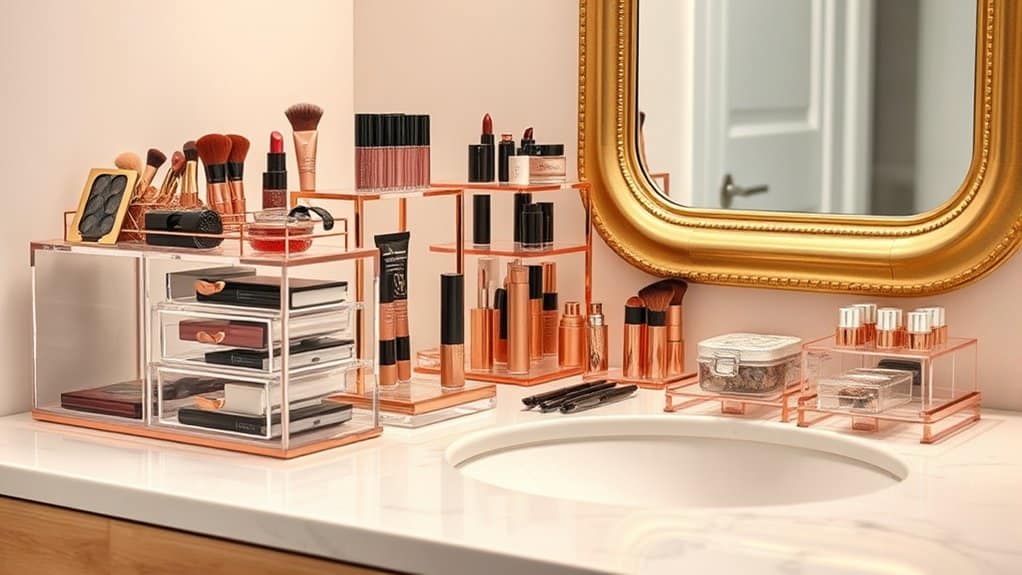
Imagine transforming your cluttered bathroom counter into a beautifully organized makeup sanctuary that rivals a luxury department store display. If you’re tired of digging through messy drawers or losing your favorite lipstick, you’re not alone – I’ve been there too! There’s something incredibly satisfying about having everything in its perfect place, and with these smart organization ideas, you’ll discover how to maximize your space while creating a truly Instagram-worthy setup.
Clear Acrylic Organizers for Ultimate Visibility
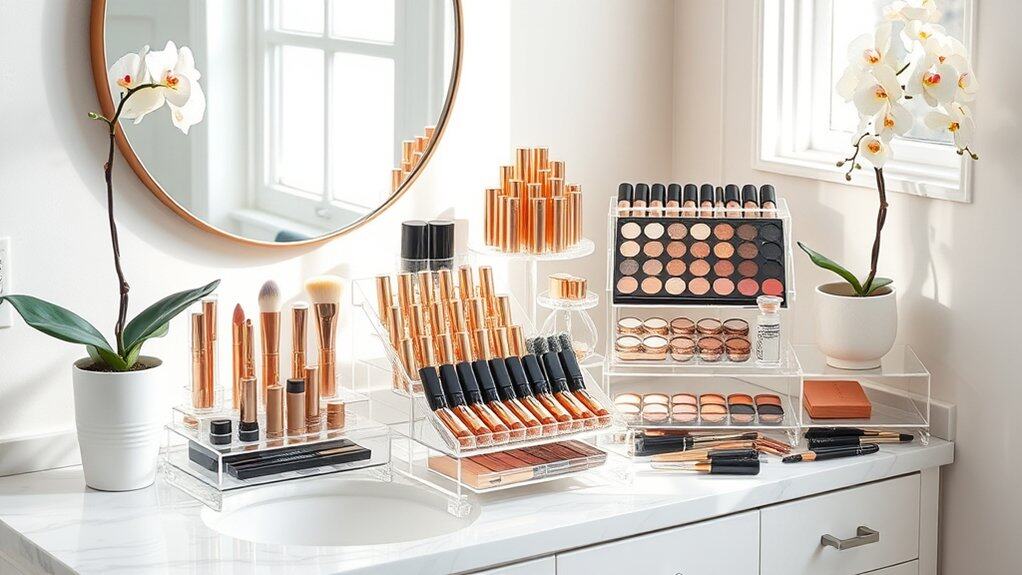
Clear acrylic organizers have revolutionized the way we store and display makeup collections. These transparent storage solutions eliminate the frustration of digging through drawers or bags to find specific products, allowing immediate visual access to every item in your collection. The clarity of these organizers ensures that products don’t get forgotten or expire unused in the depths of traditional storage containers.
The streamlined aesthetic of acrylic organizers not only creates a professional appearance but also protects makeup items from dust and debris while keeping them easily accessible. This visibility-focused organization method transforms your makeup collection into an efficient, boutique-like display that makes daily makeup application more enjoyable and time-efficient.
Required Items:
- Clear acrylic drawer organizers
- Clear acrylic lipstick holders
- Stackable clear containers
- Drawer dividers
- Measuring tape
- Cleaning cloth
- Label maker (optional)
- Cotton swabs
- Rubbing alcohol
Sort all makeup items by category and frequency of use, placing daily essentials in the most accessible sections of your acrylic organizers. Position taller items like brushes and mascara in vertical holders at the back, while arranging palettes and compacts in graduated heights for easy viewing. Use smaller compartments for items like lipsticks and individual eyeshadows, ensuring each section maintains proper spacing to prevent products from scratching against each other.
Install drawer dividers in larger acrylic containers to create custom spaces for specific product types, maximizing vertical and horizontal space. Consider your natural reaching patterns when arranging items, placing frequently used products at the front and occasional-use items toward the back. Clean each compartment with rubbing alcohol before placing products to ensure a hygienic storage environment.
Maintenance Tip: Review your organization system monthly, wiping down acrylic surfaces with a non-abrasive cloth and adjusting product placement as needed. Consider using clear drawer liners to prevent scratching and maintain the pristine appearance of your acrylic organizers. Regularly check for expired products and remove them promptly to maintain an efficient and hygienic storage system.
Magnetic Makeup Board Systems
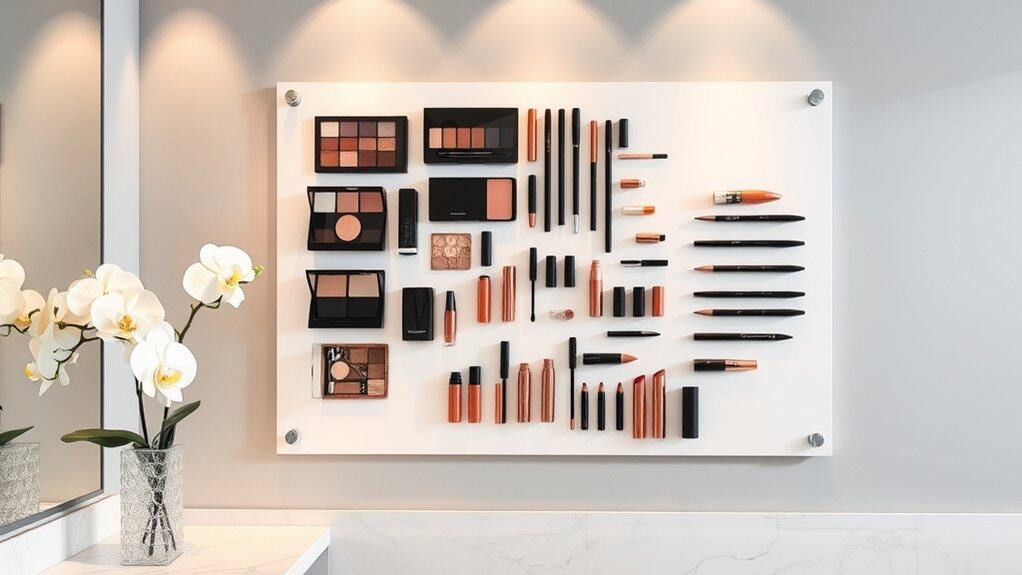
A well-organized magnetic makeup board system revolutionizes your daily beauty routine by transforming cluttered drawers and bags into an easily accessible, visible display. When your cosmetics are arranged vertically on a magnetic surface, you can instantly locate each product, reducing time spent searching through multiple containers and preventing forgotten items from expiring unused at the bottom of a drawer.
This organization method not only creates an aesthetically pleasing display but also protects your makeup from damage and contamination. By keeping products off horizontal surfaces and away from bathroom moisture, you extend their lifespan while turning your collection into functional wall art that maximizes space efficiency in small areas.
Required Items:
- Large magnetic board or sheet metal
- Strong magnets (various sizes)
- Industrial-strength adhesive
- Magnetic strips with adhesive backing
- Small metal plates
- Mounting hardware
- Level
- Drill and screwdriver
- Scissors
- Cleaning supplies
Begin by selecting an appropriate wall space and mounting your magnetic board securely using proper hardware. Clean the board thoroughly and ensure it’s completely dry. Attach adhesive magnetic strips to flat makeup items like palettes and compacts, placing them strategically to distribute weight evenly.
For rounded items such as lipsticks and mascara tubes, use small metal plates with industrial-strength adhesive to create a flat surface, then attach corresponding magnets. Arrange products by category and frequency of use, keeping daily items at eye level and occasional products higher or lower on the board.
Group similar items together, creating designated zones for face products, eye makeup, and lip colors. Consider your daily routine and arrange items in the order you typically apply them. Test the magnetic strength of each attachment before leaving items unattended, and periodically check that magnets remain secure.
Additional Tips: Incorporate labels or small shelves for items that don’t work well with magnets, such as liquid foundations or loose powders. Rotate products seasonally to maintain organization and prevent overcrowding. Keep a small container nearby for catching any falling items, and clean the board regularly to prevent product buildup and maintain its attractive appearance.
Consider installing proper lighting nearby to enhance visibility and create an optimal makeup application station.
Vertical Storage Solutions for Small Spaces
Making the most of vertical space is crucial for anyone with a limited bathroom or vanity area. When makeup collections grow but counter space remains constant, thinking upward becomes the smart solution for maintaining an organized and accessible beauty routine. Vertical storage not only maximizes space efficiency but also allows for better visibility of products, reducing the likelihood of forgotten items expiring unused at the bottom of drawers.
Proper vertical organization transforms cramped spaces into functional beauty stations, eliminating the frustration of digging through cluttered drawers or scattered products. This system works particularly well in rental properties or shared bathrooms where permanent installations mightn’t be possible, offering flexible solutions that can evolve with changing needs.
Required Items:
- Over-the-door organizer
- Command hooks or adhesive strips
- Clear acrylic wall-mounted holders
- Magnetic board or sheet
- Strong magnets
- Tension rods
- Small baskets or containers
- Clear plastic bins
- Label maker
- Measuring tape
- Level
- Screwdriver
Start by assessing your wall space and measuring available areas, including the back of doors and cabinet interiors. Install an over-the-door organizer for larger items like hairsprays and body lotions.
Mount clear acrylic holders at eye level for frequently used items, ensuring proper spacing between each unit. For items in magnetic packaging, create a magnetic board system using strong magnets and a decorative board, positioning it within easy reach of your getting-ready area.
For additional storage, install tension rods between cabinet walls to hang small baskets containing brushes, tools, or frequently used products. Utilize clear plastic bins with dividers on higher shelves for categorized storage of lesser-used items.
Remember to leave enough space between vertical elements for easy access and product removal. To maintain this organizational system, regularly assess product placement based on frequency of use, keeping daily items at eye level and occasional products higher up.
Consider rotating seasonal items to more accessible positions as needed, and implement a regular cleaning schedule to prevent dust accumulation on exposed products. Label everything clearly and establish a “one-in-one-out” rule to prevent overcrowding of your vertical storage system.
Drawer Dividers and Custom Compartments
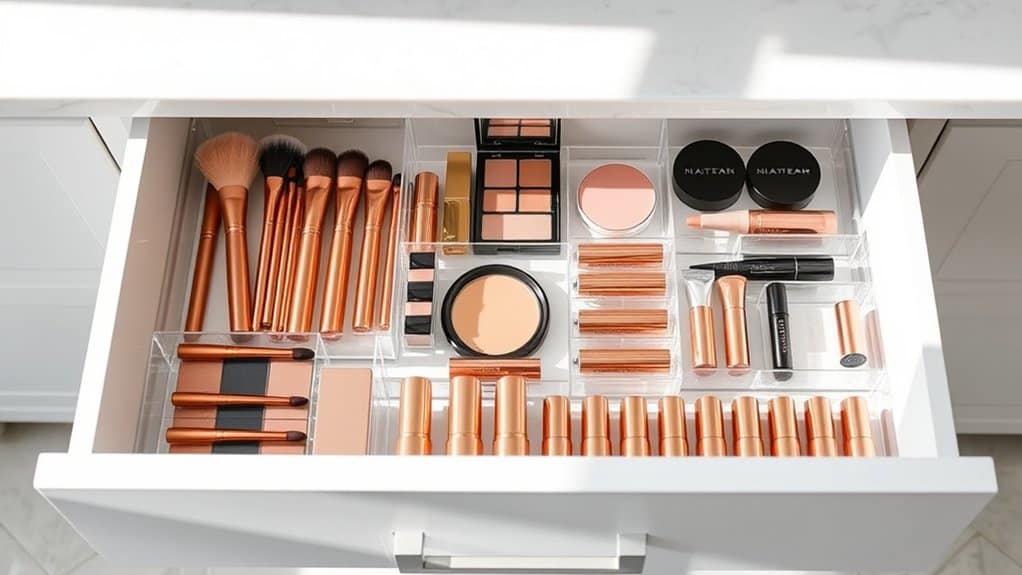
An organized makeup drawer system is essential for maintaining the quality of your cosmetics and streamlining your daily beauty routine. When makeup items are properly separated and categorized, you can quickly locate products, prevent damage from items shifting around, and extend the life of your cosmetics by keeping them protected from cross-contamination.
Custom drawer organization transforms chaotic makeup storage into an efficient system that saves time and reduces stress during makeup application. Well-planned compartments ensure that products remain visible, accessible, and properly stored according to their specific needs, whether they’re delicate powder products or liquid foundations.
Required Items:
- Drawer dividers (adjustable or fixed)
- Drawer liner material
- Measuring tape
- Scissors
- Clear plastic organizer bins
- Labels or label maker
- Small containers for loose items
- Drawer depth extenders (optional)
- Acrylic drawer organizers
- Non-slip drawer mats
Start by removing everything from your drawers and measuring the internal dimensions. Create zones within each drawer based on product categories – face products, eye products, lip products, and tools.
Install adjustable drawer dividers to create custom-sized sections that perfectly fit your collection. Layer the bottom of each compartment with non-slip liner material to prevent products from sliding around. For smaller items like individual eyeshadows or lipsticks, use clear plastic organizers or small containers that fit within the divided sections.
For optimal organization, arrange products vertically when possible to maximize visibility and accessibility. Place frequently used items toward the front of each compartment. Consider using stackable organizers for deeper drawers to utilize vertical space effectively.
If working with adjustable dividers, ensure they’re securely fastened to prevent shifting when opening and closing drawers. To maintain your newly organized system, regularly assess and adjust compartment sizes as your collection changes.
Clean dividers and organizers monthly to prevent product buildup, and replace drawer liners every few months. Consider implementing a rotation system where newer products are placed at the back of each section, ensuring older items get used before expiration dates.
Label each compartment clearly to maintain organization long-term, and periodically review your collection to remove expired or unused products.
Over-the-Door Storage Solutions
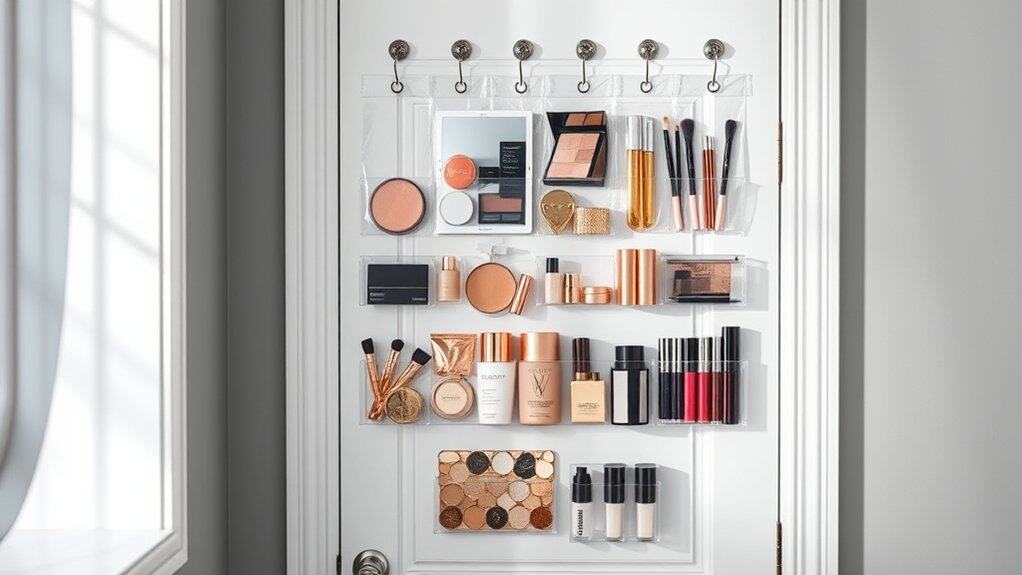
Making the most of vertical space is essential in any makeup organization system, particularly when counter and drawer space is limited. Over-the-door storage solutions transform unused door space into a functional makeup organization center, providing easy access to daily essentials while keeping them protected from dust and bathroom humidity.
An organized over-the-door storage system not only maximizes space efficiency but also allows you to see all your products at once, preventing duplicate purchases and ensuring you use items before they expire. This solution is especially valuable for renters or those who can’t modify their walls with permanent storage fixtures.
Required Items:
- Over-the-door organizer with clear pockets
- Door hooks or hanging brackets
- Command strips (optional)
- Small containers or pouches
- Labels or label maker
- Measuring tape
- Cleaning supplies
Start by thoroughly cleaning the door surface and measuring both the door’s dimensions and the space needed for the organizer to hang properly. Install the door hooks or brackets, ensuring they’re secure and level. If using Command strips for additional stability, apply them according to package instructions.
Sort makeup items by category (face products, eye products, lip products) before placing them in the organizer pockets. Arrange frequently used items at eye level, with heavier products in lower pockets to maintain balance.
Position similar items together within the pockets, using small containers or pouches to prevent smaller items from getting lost. Consider creating zones within the organizer: daily essentials at eye level, special occasion items below, and backup products in lower pockets. Label each pocket or section clearly to maintain organization long-term.
For optimal organization maintenance, regularly review contents and remove expired products. Consider using clear pockets facing away from direct sunlight to protect temperature-sensitive items, and periodically wipe down both the organizer and products to prevent dust accumulation.
Add small silica gel packets to absorb excess moisture, especially in humid bathroom environments.
Rotating Carousel Organizers
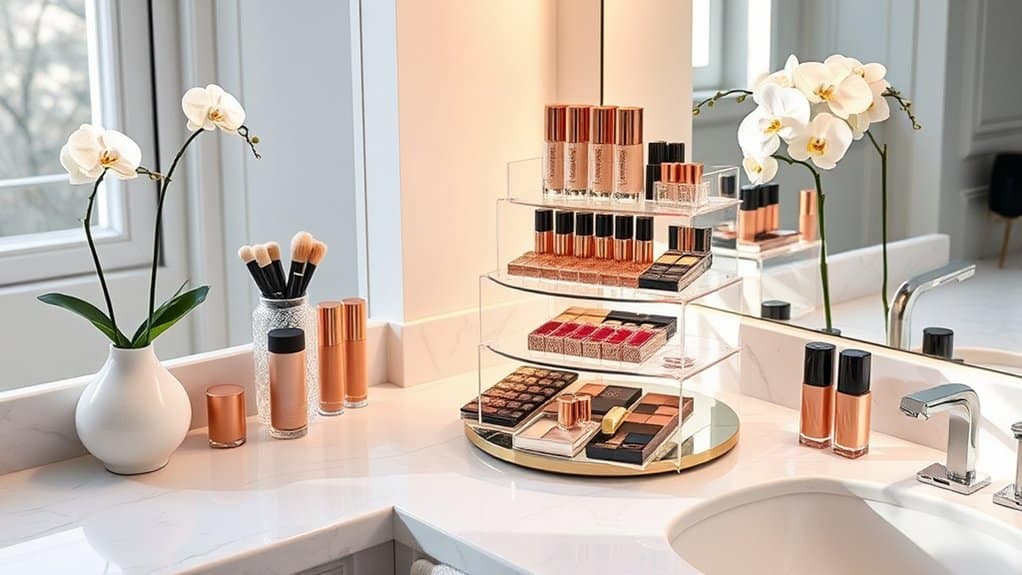
A rotating carousel organizer revolutionizes makeup storage by combining accessibility with space efficiency. These spinning organizers allow immediate access to all cosmetics with a simple turn, eliminating the frustration of digging through drawers or bags to find specific items.
The 360-degree rotation feature not only makes morning routines more efficient but also helps prevent makeup products from being forgotten in the back of drawers or cabinets. When cosmetics are visible and easily accessible, you’re more likely to use your entire collection and keep track of expiration dates.
Required Items:
- Rotating makeup carousel
- Measuring tape
- Cleaning cloth
- Small containers or dividers
- Label maker
- Antibacterial wipes
- Cotton swabs
- Makeup brush holder (optional)
- Clear acrylic risers (optional)
Start by thoroughly cleaning your carousel organizer with antibacterial wipes. Measure your available counter space and position the carousel in a spot with adequate clearance for rotation.
Group similar items together: face products (foundation, concealer, powder), eye products (shadows, liners, mascara), and lip products. Arrange taller items in the back of each compartment and shorter items in front for optimal visibility. For multi-tiered carousels, place frequently used items on middle tiers at eye level, with lesser-used products on top or bottom tiers.
To prevent makeup spills and protect your carousel’s surface, line compartments with small containers or dividers. Position brush holders on the outer edges for easy access, and use acrylic risers to create elevated platforms for better visibility of products in deeper sections.
Consider arranging products by frequency of use rather than strictly by category if this better suits your routine.
Additional Tips: Maintain organization by implementing a quarterly review system – remove expired products, clean the carousel thoroughly, and reassess product placement based on seasonal needs. Keep a small gap between products to prevent overcrowding and ensure smooth rotation.
Consider adding LED lighting strips around the carousel for better visibility during early morning routines or evening touch-ups.
Wall-Mounted Vanity Shelving
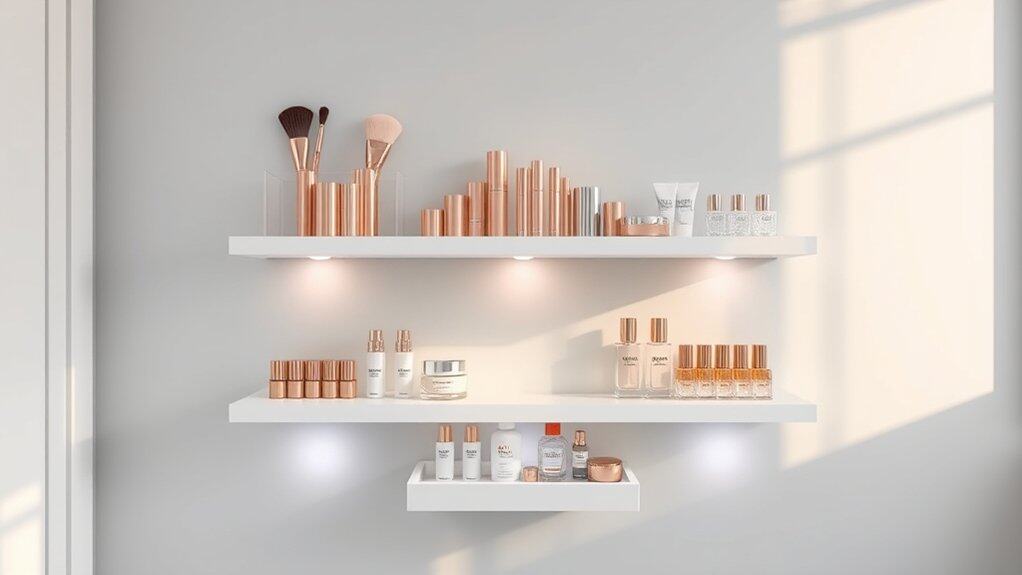
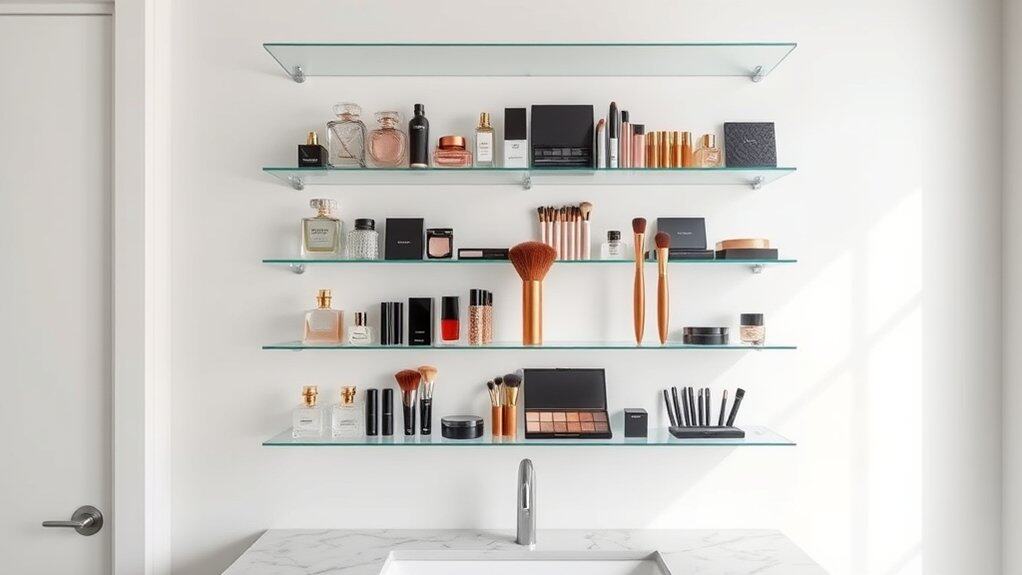
A well-organized wall-mounted vanity shelving system transforms your daily makeup routine from chaotic to streamlined. By utilizing vertical wall space, you free up valuable counter space while keeping all cosmetics visible and easily accessible, reducing time spent searching for products and preventing forgotten items from expiring unused in drawers.
Wall-mounted shelving creates a dedicated beauty station that doubles as functional decor, allowing you to display your favorite products while maintaining a clutter-free environment. This organization method is particularly beneficial for smaller spaces and provides the flexibility to arrange products based on frequency of use and category.
Required Items:
- Wall-mounted shelves (acrylic or wooden)
- Wall anchors and screws
- Level
- Drill
- Measuring tape
- Pencil
- Clear acrylic organizers
- Small containers or dividers
- Labels
- Cleaning supplies
Start by measuring your wall space and planning the layout of your shelves, ensuring adequate space between each level for different product heights. Install the shelves using appropriate wall anchors, checking that each shelf is level before securing.
Group cosmetics by category (face products, eye products, lip products) and frequency of use, placing daily items at eye level and occasional-use products higher or lower. Incorporate clear acrylic organizers on the shelves to create designated spaces for smaller items like lipsticks or brushes.
Position taller items toward the back of each shelf and shorter items in front for optimal visibility. Consider using small containers or drawer organizers for items like cotton swabs or makeup sponges, and label each section clearly.
Additional Organization Tips:
Maintain your organized shelving by implementing a regular cleaning schedule and product rotation system. Review your collection every three months, removing expired products and cleaning shelves thoroughly.
Use drawer liner material on shelves to prevent products from sliding, and consider installing LED strip lighting under each shelf to improve visibility. Keep track of expiration dates by writing purchase dates on products with a permanent marker, ensuring your collection remains fresh and safe to use.
Multi-Tier Counter Display Units
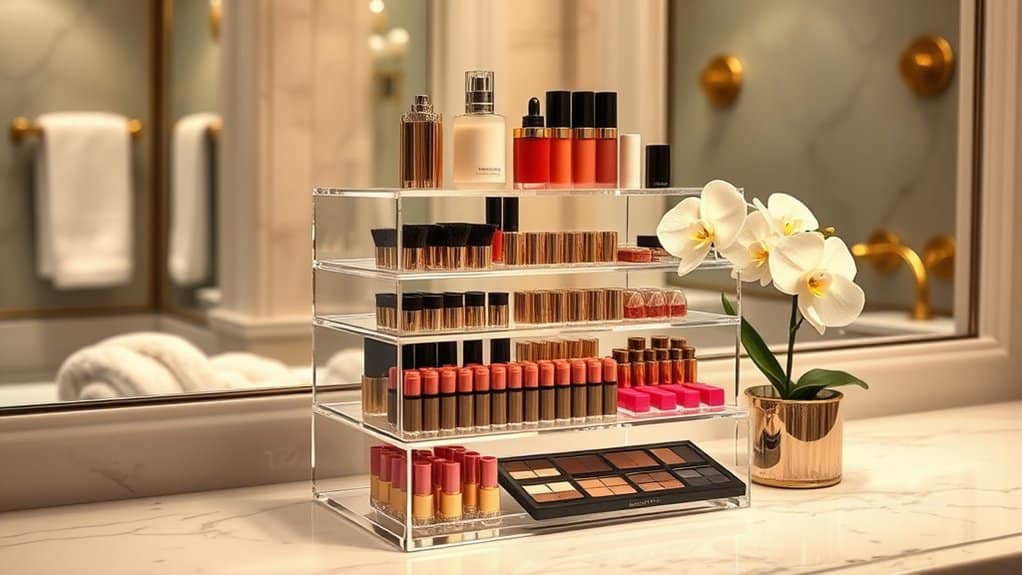
A well-organized makeup collection is essential for any beauty enthusiast, and multi-tier counter display units offer an elegant solution to the common problem of cluttered vanities and bathroom counters.
These versatile organizers maximize vertical space while keeping cosmetics visible, accessible, and protected from dust and moisture.
By implementing a tiered organization system, you can transform your morning routine from chaotic to streamlined, saving precious time and ensuring your favorite products are always within reach.
Multi-tier displays also help extend the life of your cosmetics by preventing them from being knocked over or exposed to bathroom humidity.
Required Items:
- Multi-tier acrylic or metal display unit
- Measuring tape
- Cleaning cloth
- Drawer liner or non-slip mat
- Labels or label maker
- Small containers or dividers
- Makeup brush holder
- Cotton swab/cotton ball containers
Start by measuring your counter space and selecting an appropriately sized display unit that accommodates your collection while leaving enough workspace.
Clean both the counter and the display unit thoroughly before placement.
Arrange your cosmetics by frequency of use, with daily items on the middle tiers for easy access.
Reserve the top tier for taller items like setting sprays and foundations, while dedicating lower tiers to palettes and compacts.
Group similar items together, such as lip products, eye shadows, and face products, maintaining a logical flow that matches your makeup application routine.
Use small containers or dividers within each tier to prevent items from rolling or sliding.
Install drawer liner or non-slip mats on each level to keep products stable.
Label each section clearly to maintain organization long-term, and consider implementing a color-coding system for different categories of makeup.
Position the entire unit away from direct sunlight and heat sources to protect your cosmetics from degradation.
Additional Tip: Rotate your products seasonally, moving current colors and formulas to more accessible tiers while storing off-season items in the back or lower tiers.
Review your collection monthly to remove expired products and adjust the organization system as needed.
Consider keeping a small cleaning cloth nearby to maintain the display’s pristine appearance and regularly dust both the unit and products to preserve their condition.
Repurposed Mason Jars and Decorative Containers
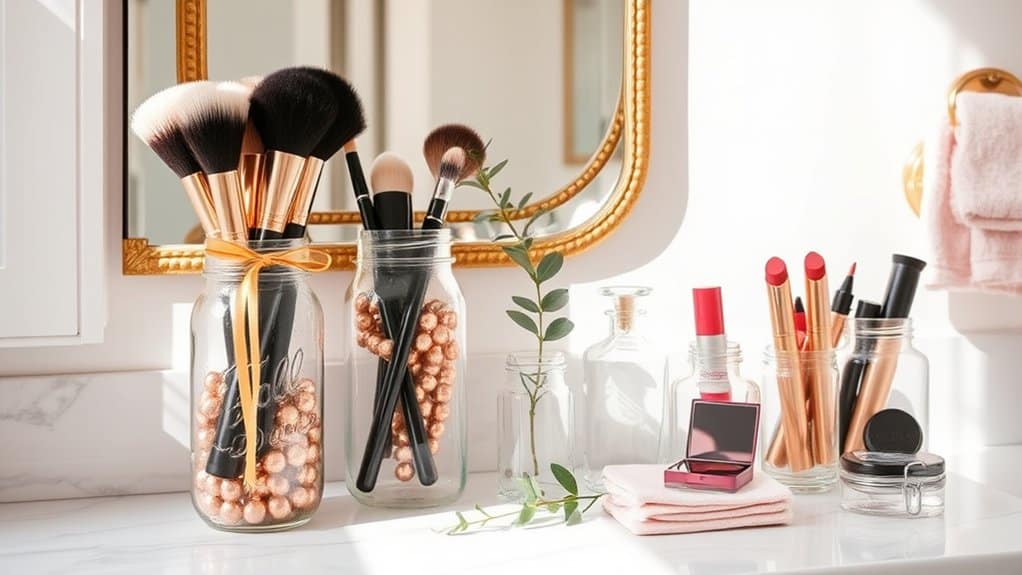
The organization of makeup tools and products is essential for maintaining their longevity and ensuring a streamlined morning routine. When cosmetics are properly stored and easily accessible, you save valuable time and prevent the frustration of searching through cluttered drawers or bags.
Repurposed mason jars and decorative containers offer an eco-friendly, aesthetically pleasing solution to makeup storage while adding a personal touch to your vanity or bathroom counter. These versatile vessels can be customized to match any décor style while providing clear visibility of your products and protecting them from dust and moisture.
Required Items:
- Mason jars (various sizes)
- Decorative containers
- Glass cleaner
- Adhesive labels
- Decorative ribbon or twine
- Paint (optional)
- Brushes (optional)
- Glass beads or filler material
- Cleaning cloths
- Drawer liner or non-slip material
Begin by thoroughly cleaning all containers with glass cleaner and allowing them to dry completely. Sort your makeup items by category: brushes, lipsticks, eye products, and face products.
Select appropriately sized containers for each category – taller mason jars work well for brushes and longer items, while shorter, wider containers are ideal for compacts and smaller products.
For brush storage, add glass beads or filler material to the bottom of tall jars to provide stability and prevent brushes from tipping over. Position frequently used items in front-facing containers for easy access.
Consider creating levels using boxes or stands beneath some containers to improve visibility and access to items in the back. Create labels for each container to maintain organization and consider color-coding or using different decorative elements to distinguish between product categories.
Line the bottom of containers with non-slip material to prevent damage to delicate items and reduce noise when removing or replacing products.
Additional Tips: Rotate your containers seasonally to ensure frequently used products remain easily accessible. Clean containers monthly to prevent product buildup and maintain hygiene.
When selecting decorative elements, choose materials that are easy to clean and won’t deteriorate with regular handling. Consider keeping a small separate container for daily essentials to streamline your routine further.

