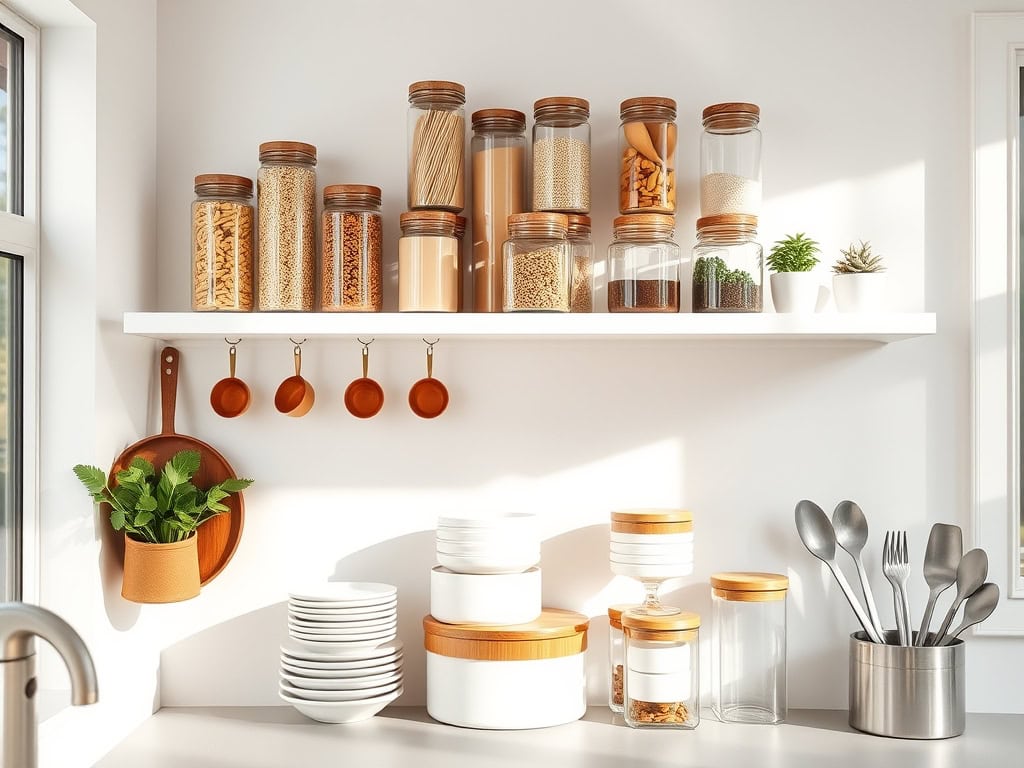
Just last week, my friend Sarah transformed her chaotic kitchen into an Instagram-worthy space using a few clever shelf organization tricks. You’ve probably felt that familiar frustration of rummaging through crowded cabinets or losing ingredients in the depths of your pantry. I’ve been there too! But here’s the good news: with these seven proven organization ideas, you’ll discover how to maximize every inch of storage space while creating a kitchen that’s both beautiful and functional.
Clear Container Revolution: Transform Your Shelves With Visibility
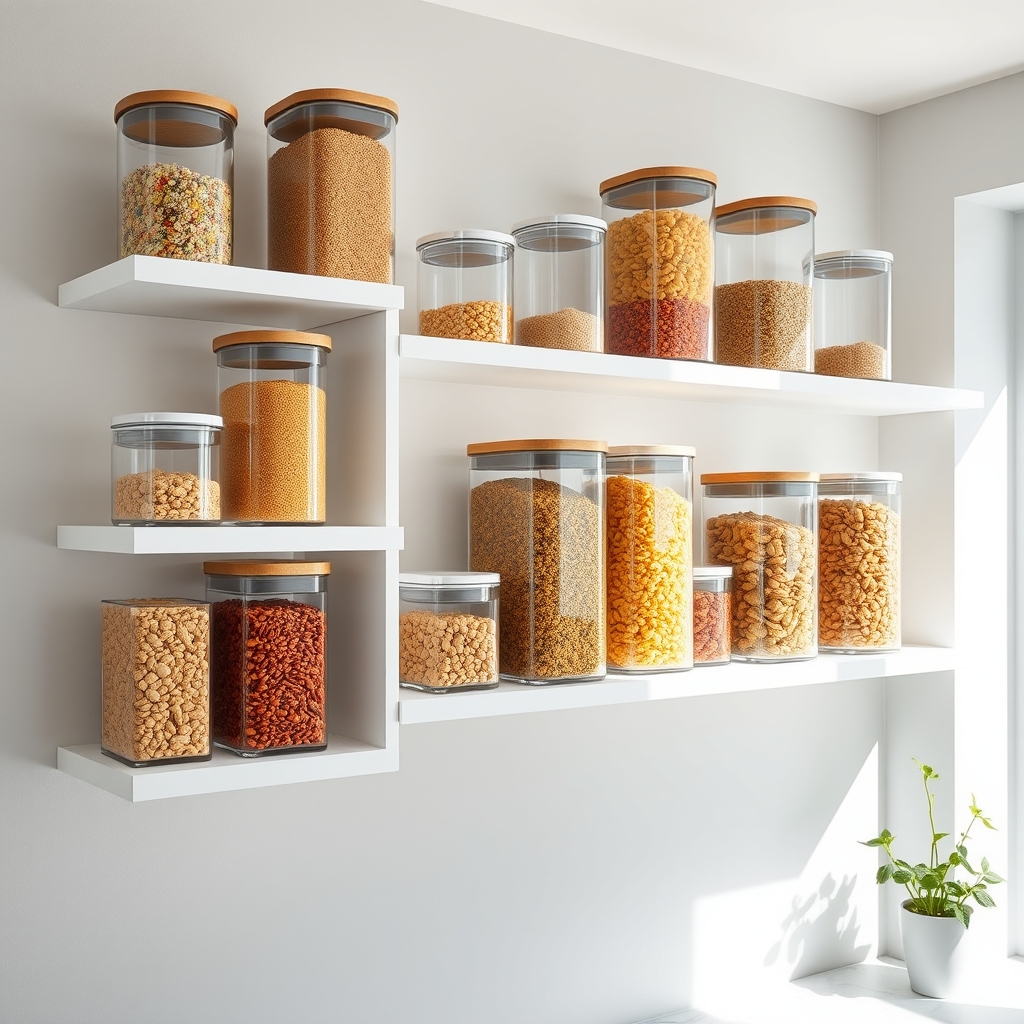
The shift toward clear storage containers represents a fundamental change in how we approach kitchen organization. When shelves are stocked with transparent containers, you can instantly identify contents, monitor inventory levels, and maintain freshness of ingredients. This visibility transforms daily cooking from a scavenger hunt into an efficient, enjoyable experience.
Clear containers not only serve a practical purpose but also create an aesthetically pleasing environment that motivates better organization habits. When dry goods, snacks, and cooking essentials are visible and properly labeled, family members are more likely to maintain the system and return items to their designated spots.
Required Items:
- Clear airtight containers (various sizes)
- Label maker or waterproof labels
- Measuring tape
- Shelf liner
- Funnel
- Scoop or measuring cup
- Clean cloth
- Food-safe sanitizing spray
Begin by emptying your shelves completely and cleaning them thoroughly with sanitizing spray. Measure your shelf space and plan container placement, ensuring adequate height clearance. Transfer dry goods from original packaging into appropriately sized clear containers, using a funnel to prevent spills.
Position frequently used items at eye level and heavier containers on lower shelves. Create a labeling system that includes the item name and expiration date. Arrange containers by category: baking supplies, breakfast items, snacks, or cooking staples.
Stack similar-sized containers together to maximize vertical space while maintaining visibility. Consider using turntables or risers in deep shelves to prevent items from being hidden behind others.
Additional Tips: Implement a regular maintenance schedule to check expiration dates and clean containers. Keep a small inventory list inside the cabinet door to track when items need replenishing.
Consider leaving some empty containers for bulk shopping or seasonal items. Adjust container positions based on usage patterns, and periodically reassess your organization system to ensure it continues meeting your household’s needs.
The Power of Drawer Dividers and Shelf Organizers
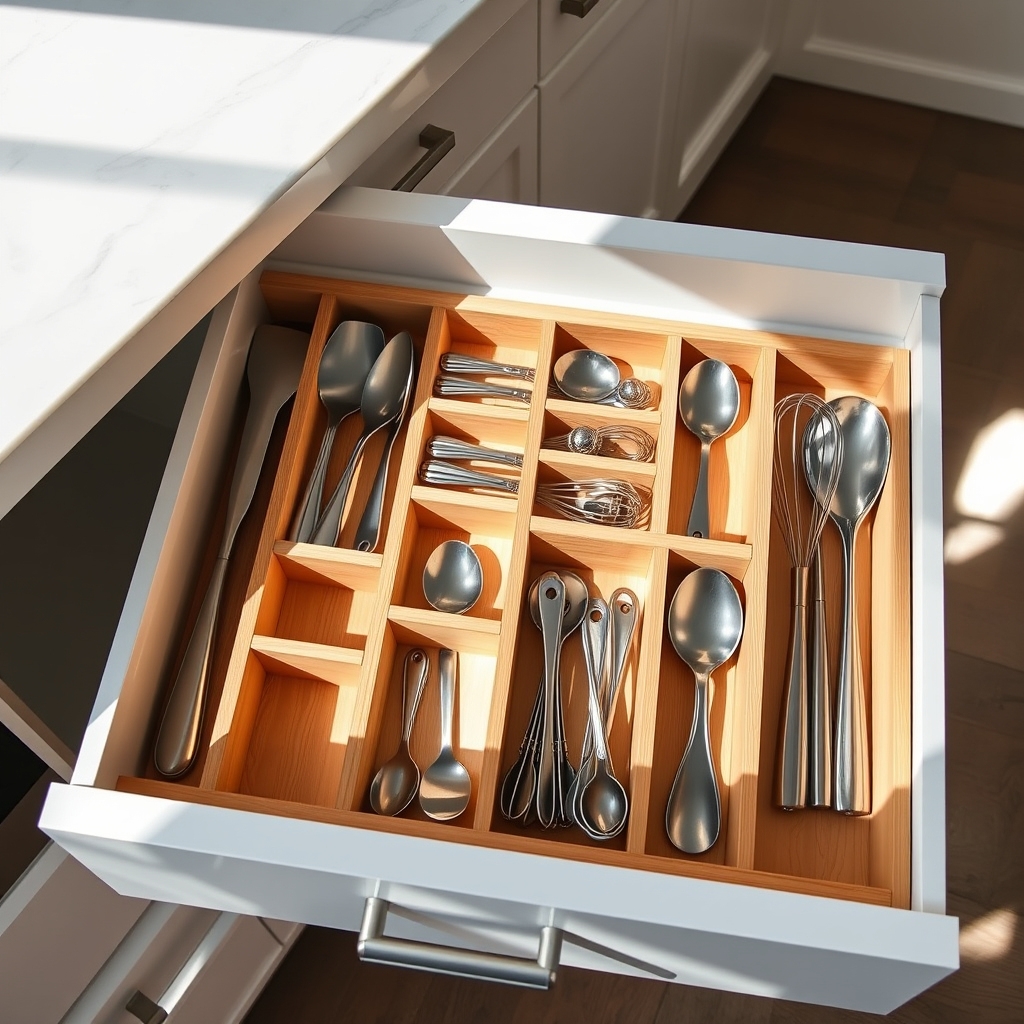
Drawer dividers and shelf organizers are fundamental tools in creating an efficient kitchen storage system. These organizational aids transform chaotic drawers and cluttered shelves into well-ordered spaces where every item has its designated place, making cooking and meal preparation more enjoyable and time-efficient.
When properly implemented, drawer dividers and shelf organizers can increase storage capacity by up to 30% while making items more accessible. They prevent items from sliding around, reduce wear and tear on utensils and cookware, and make it easier to maintain organization long-term, ultimately saving both time and money.
Required Items:
- Drawer dividers (adjustable and fixed)
- Shelf risers
- Clear bins or containers
- Measurement tape
- Label maker
- Drawer liner material
- Small containers for loose items
- Expandable shelf organizers
- Vertical separators
- Cabinet shelf risers
Start by emptying drawers and shelves completely, measuring the spaces, and categorizing items by frequency of use and function. Install drawer liners to prevent sliding and protect surfaces. Place adjustable drawer dividers to create sections based on your measurements and item categories.
For shelves, position risers and organizers to maximize vertical space, ensuring frequently used items are easily accessible. For drawers, arrange utensils and tools with handles facing the same direction within their designated sections. In deeper drawers, use stacking organizers to create multiple layers.
On shelves, implement clear bins for smaller items and use vertical separators for baking sheets and cutting boards. Position shelf risers to create additional levels for canned goods and spice containers.
Additional Tips: Reassess your organization system every three months and adjust as needed. Leave about 20% of space empty in each drawer or shelf to accommodate new items and maintain flexibility. Use clear containers whenever possible to easily identify contents, and maintain consistent labeling for quick identification.
Consider installing under-shelf hooks or magnetic strips to maximize unused space and keep frequently used items within reach.
Smart Zones: Creating Functional Kitchen Sections
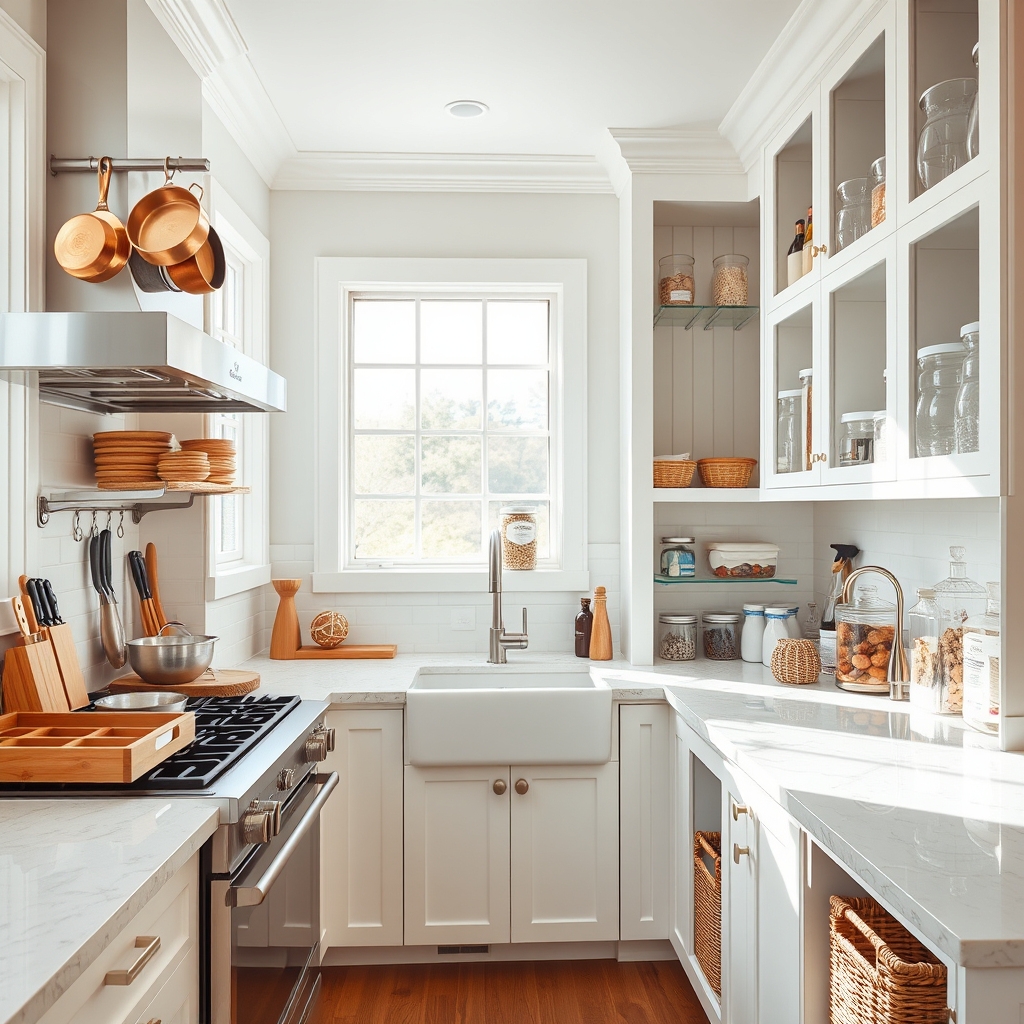
Well-organized kitchen zones transform a chaotic cooking space into an efficient culinary workspace. By designating specific areas for different activities, you minimize unnecessary movement and create a natural flow that makes cooking, cleaning, and storing items more intuitive and time-efficient.
Smart zones reflect the way you actually use your kitchen, taking into account your cooking habits, daily routines, and the logical progression of tasks. When items are grouped according to their function and placed where they’re most frequently used, you’ll spend less time searching for tools and more time enjoying meal preparation.
Required Items:
- Labels or label maker
- Clear storage containers
- Drawer dividers
- Shelf risers
- Measuring tape
- Cleaning supplies
- Storage baskets
- Cabinet organizers
- Drawer liners
- Pen and paper for planning
Start by mapping out your kitchen’s primary zones: cooking, prep, cleaning, storage, and specialty areas (such as coffee or baking stations). Position the cooking zone near the stove, including pots, pans, cooking utensils, and frequently used spices.
Create a prep zone with cutting boards, knives, and mixing bowls near a clear counter space. Establish a cleaning zone around the sink with dish soap, sponges, and cleaning supplies within arm’s reach. Designate a storage zone for pantry items, organizing them by category and frequency of use.
For each zone, implement vertical storage solutions to maximize space. Install shelf risers to double the usable area in cabinets, and use drawer dividers to keep utensils and tools organized. Position frequently used items at eye level, with less-used items stored higher up or lower down.
Ensure that heavy items are stored at waist height or below to prevent strain. For optimal results, review and adjust your zones periodically based on changing needs and habits. Remove items that aren’t being used, and relocate tools that you find yourself frequently crossing the kitchen to retrieve.
Consider seasonal adjustments, such as bringing grilling tools closer during summer months or creating a dedicated holiday cooking zone during festive seasons. Remember to maintain clear countertops in each zone to ensure adequate workspace when needed.
Vertical Storage Solutions: Maximizing Wall Space
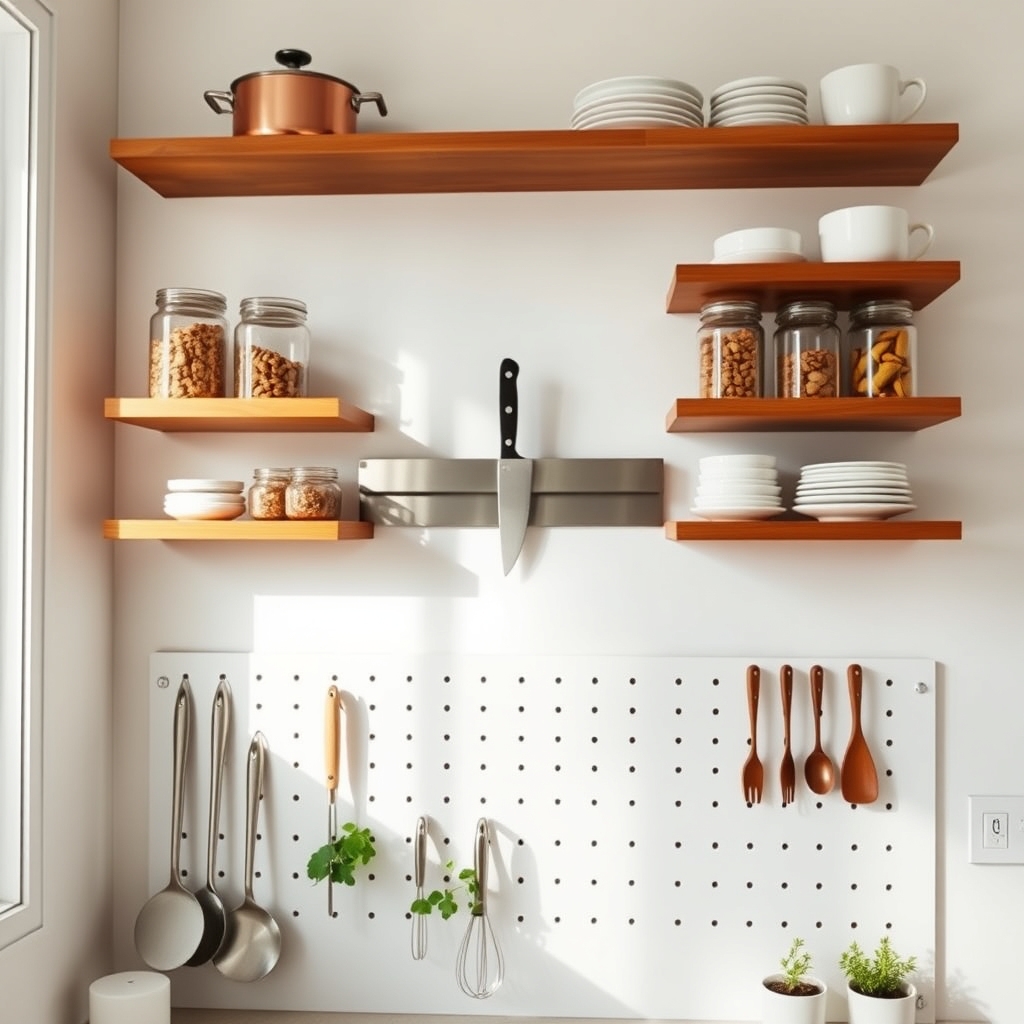
Vertical storage in the kitchen is often an overlooked goldmine of organizational potential. When counter space is limited, moving upward not only creates additional storage but also transforms unused wall areas into functional zones that keep essential items within easy reach.
Making the most of vertical wall space can dramatically increase a kitchen’s storage capacity while maintaining a clean, organized appearance. Strategic placement of vertical storage solutions helps reduce counter clutter, improves workflow, and creates designated spaces for everything from cooking utensils to pantry items.
Required Items:
- Wall-mounted shelving units
- Sturdy brackets
- Wall anchors and screws
- Measuring tape
- Level
- Drill
- Pencil
- Magnetic strips
- Pegboards and hooks
- Under-cabinet organizers
- Command strips or hooks
- Storage containers or baskets
Start by assessing your wall space and marking potential mounting areas, ensuring they’re free from electrical wiring and plumbing. Install wall-mounted shelving units at varying heights, placing frequently used items at eye level and lesser-used items higher up.
Mount magnetic strips for knife storage or metal containers, ensuring they’re securely anchored to wall studs. For maximum efficiency, group similar items together on each shelf or section.
Install pegboards between shelving units to create customizable storage for hanging utensils, pots, or small containers. Utilize under-cabinet spaces by adding hooks or small shelving units for additional vertical storage opportunities.
Consider weight distribution when organizing items vertically – heavier items should be stored on lower shelves or sturdy wall-mounted units. Implement clear containers or labels to maintain organization, and leave some space between items for easy access and visual breathing room.
Regular evaluation and adjustment of your vertical storage system ensures it continues to meet your kitchen’s evolving needs.
Label Everything: A System That Sticks
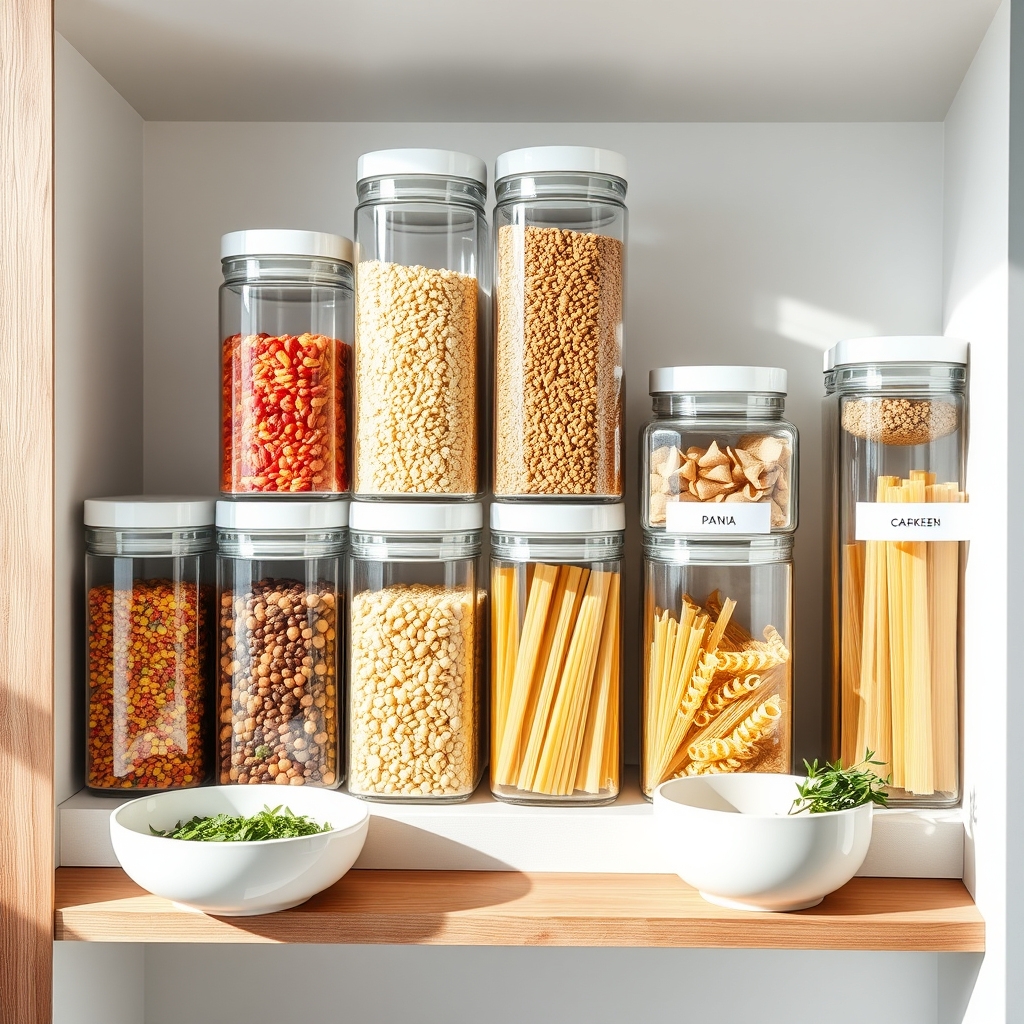
Clear labeling is the cornerstone of an efficiently organized kitchen. When every container, shelf, and drawer is properly labeled, family members and guests can easily locate items and, more importantly, return them to their designated spots. This simple yet powerful organizational tool eliminates the frustration of searching through multiple containers or wondering where items belong.
A well-executed labeling system transforms your kitchen from a space of chaos to one of methodical organization. Labels serve as silent instructions, maintaining order long after the initial organization is complete. They’re particularly valuable for pantry items, spices, and storage containers where contents mightn’t be immediately visible.
Required Tools:
- Label maker or waterproof labels
- Clear containers or storage bins
- Permanent markers
- Clear tape
- Adhesive label holders
- Measuring tape
- Cleaning supplies
- Scissors
Start by removing all items from their current locations and thoroughly cleaning the surfaces. Group similar items together and decide on clear, logical categories. Use consistent terminology for your labels – if you label one shelf “Baking,” maintain that term rather than switching between “Baking Supplies” or “Baking Items” elsewhere.
Create labels that are large enough to read from a reasonable distance and apply them at a consistent height and angle on containers or shelf edges. For maximum visibility, place labels on both the front and top of containers when possible. Use waterproof labels in areas prone to moisture or splashes.
Consider implementing a color-coding system for different categories: green for fresh storage, red for baking items, blue for breakfast foods. When labeling clear containers, place labels high enough that they don’t obstruct the view of contents while remaining easily readable.
Additional Tips: Review and update your labeling system every few months to ensure it still serves your needs. Remove outdated labels completely rather than placing new ones over them. Consider using temporary labels for a week before making them permanent, allowing you to adjust categories based on actual usage patterns.
Keep extra labels and your label maker easily accessible for quick updates when needed.
Corner Cabinet Optimization Strategies
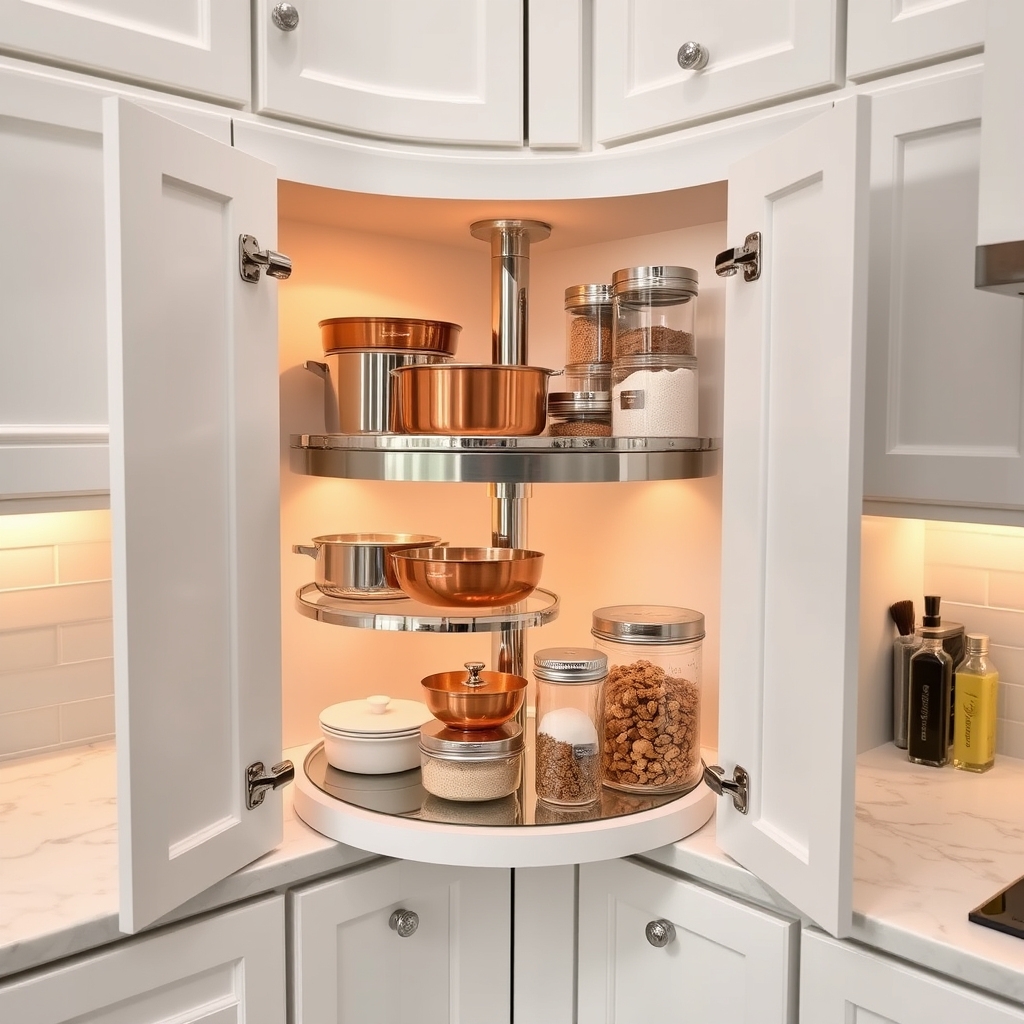
Corner cabinets often represent the most challenging storage spaces in any kitchen, frequently becoming black holes where items disappear or remain unused.
These awkward angles and deep recesses can waste valuable storage space when left unoptimized, leading to frustration and inefficiency during meal preparation and cooking tasks.
Properly organized corner cabinets can transform this traditionally problematic space into a highly functional storage area, potentially doubling your usable cabinet space.
Strategic organization of these areas can provide easy access to cookware, appliances, or pantry items while maximizing every inch of available space.
Required Items:
- Lazy Susan (single or double-tier)
- Pull-out drawer organizers
- Corner cabinet pullout system
- Shelf liner
- Tension rods
- Clear storage containers
- Label maker
- Measuring tape
- Cabinet door mounted organizers
- LED cabinet lights
Start by completely emptying the corner cabinet and measuring the available space, including height, width, and depth.
Install your chosen organizational system, whether it’s a Lazy Susan for upper cabinets or a pull-out mechanism for base cabinets.
When mounting hardware, ensure all components are level and properly secured to support the weight of stored items.
Group similar items together and place frequently used items at the most accessible points of your organizational system.
For Lazy Susans, position heavier items toward the center for better balance and stability.
With pull-out systems, distribute weight evenly across shelves and ensure items don’t exceed the manufacturer’s weight limitations.
Position rarely used items toward the back of fixed shelves or on upper tiers of rotating systems.
Create zones based on use frequency and function, such as dedicating one section to baking supplies or storing all pot lids together using vertical organizers.
Additional Tips:
Consider installing battery-operated LED lights to illuminate dark corners, and use non-slip shelf liners to prevent items from shifting during cabinet movement.
Regularly review and adjust your organization system based on changing needs and usage patterns.
Remove items that haven’t been used within six months to maintain optimal functionality of the space.
Pull-Out Pantry Solutions for Deep Shelves
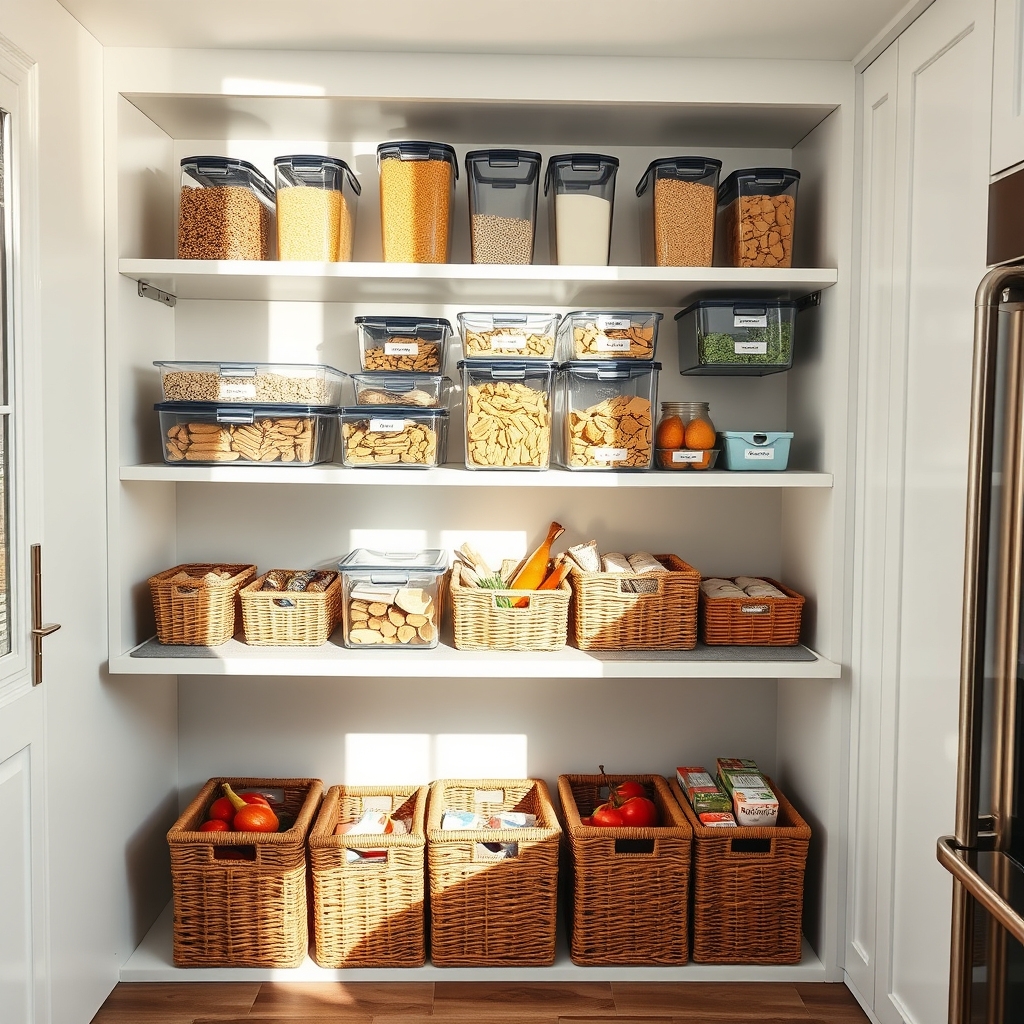
Deep pantry shelves often become black holes where items get lost, expired, or forgotten. Without proper organization, these valuable storage spaces can quickly turn into cluttered, inefficient areas that waste both time and money as you struggle to find what you need or accidentally purchase duplicate items.
Pull-out pantry solutions transform these challenging spaces into functional storage areas by bringing items from the back of deep shelves forward into clear view. This system eliminates the need to remove multiple items to reach those in the back and ensures that all products are visible and accessible with a simple sliding motion.
Required Items:
- Pull-out drawer systems
- Mounting hardware
- Screwdriver and drill
- Measuring tape
- Level
- Shelf liner
- Storage containers
- Label maker
- Clear bins or baskets
- Drawer dividers
Start by removing all items from your deep shelves and measuring the space carefully, accounting for width, depth, and height. Select appropriate pull-out systems that fit your measurements and weight requirements. Install the sliding hardware according to manufacturer specifications, ensuring tracks are level and properly secured. Mount the pull-out drawers or shelves, testing their movement to confirm smooth operation.
Once the hardware is installed, line the pull-out surfaces with non-slip shelf liner to prevent items from shifting. Organize items by category, placing frequently used products toward the front and heavier items on lower shelves. Use clear containers and bins to group similar items together, and implement drawer dividers to create designated spaces for different categories.
For optimal maintenance and longevity, regularly check the sliding mechanism for smooth operation and tighten any loose screws. Consider installing motion-activated lights to illuminate dark corners, and maintain an inventory system to track expiration dates. Evaluate your organization system every few months to adjust based on changing needs and usage patterns.

