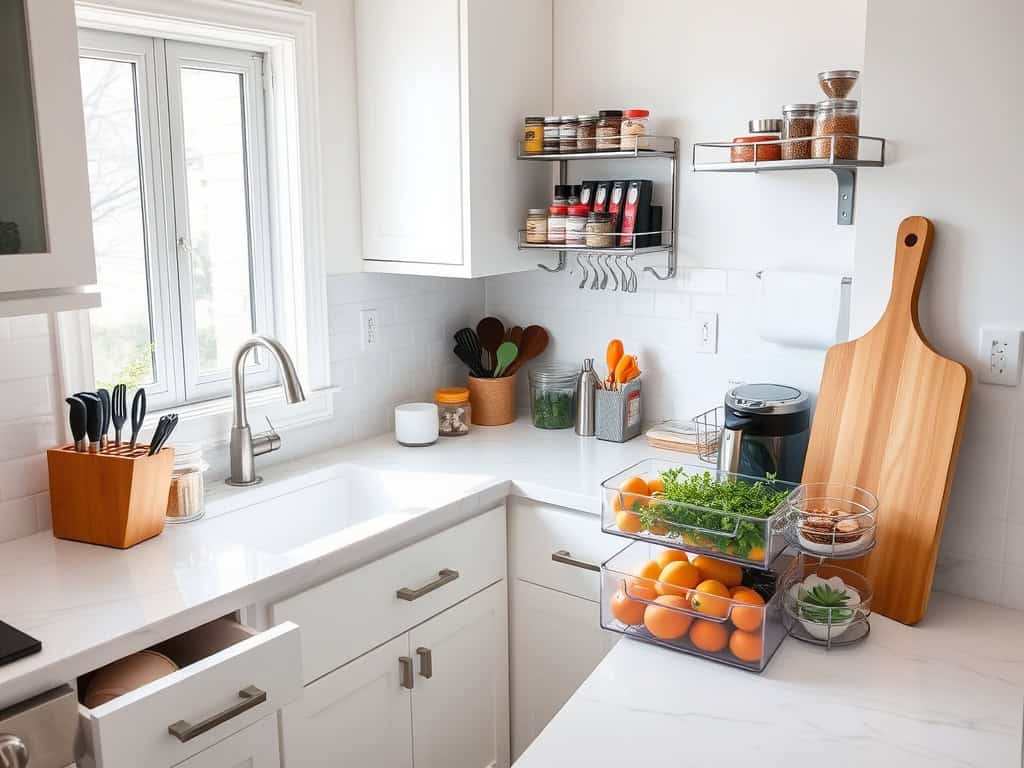
Studies show that the average person spends over 400 hours per year in their kitchen, yet most of us aren’t making the most of our counter space! You’ve probably noticed how a cluttered countertop can turn even simple meal prep into a frustrating game of kitchen Tetris. As someone who’s transformed countless chaotic kitchens into organized havens, I can tell you that the secret lies in eight game-changing strategies that’ll revolutionize your cooking space – and they’re simpler than you might think.
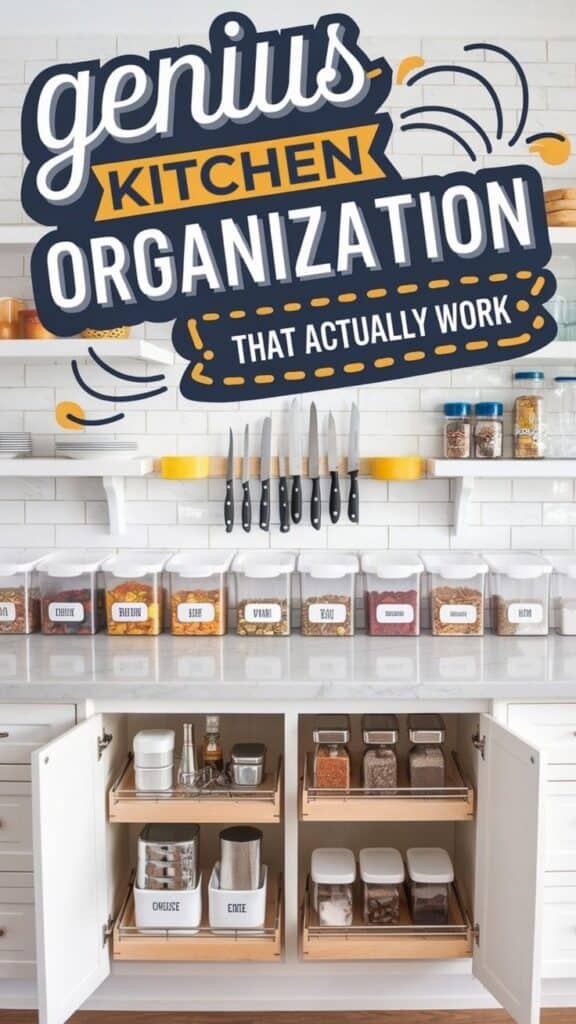
Create Designated Zones for Different Activities
Establishing dedicated zones on your kitchen countertops is fundamental to maintaining an efficient and functional cooking space. When each area has a specific purpose, you can work more systematically, reduce clutter, and minimize the time spent searching for items or clearing spaces to work.
Proper zone organization transforms your kitchen into a professional-grade workspace, mirroring the efficiency of restaurant kitchens. These zones typically include food prep areas, a coffee or beverage station, a baking center, and cleaning zones, each strategically placed to create a natural workflow.
Required Items:
- Clear containers or canisters
- Small appliance risers or stands
- Drawer organizers
- Counter mats or cutting boards
- Storage bins
- Label maker
- Cleaning supplies
- Shelf risers
- Cabinet organizers
- Small trays or turntables
Start by clearing all countertops completely and analyzing your kitchen’s workflow. Place the prep zone near the sink and refrigerator, establishing a triangle workflow pattern. Position the cooking zone near the stove, equipped with essential oils, spices, and cooking utensils.
Create a beverage station away from the main cooking area, grouping coffee makers, electric kettles, and drink supplies. Designate a cleaning zone near the sink with dish soap, sponges, and cleaning supplies neatly contained.
Implement vertical storage solutions within each zone using shelf risers and stackable containers. Keep frequently used items at arm’s reach and store occasional-use items in cabinets. Use clear containers to store dry goods and cooking essentials within their respective zones, ensuring everything is visible and accessible.
To maintain these zones effectively, establish a daily reset routine where items return to their designated areas. Use drawer organizers and small trays to prevent items from migrating between zones, and regularly evaluate the efficiency of each zone, adjusting the layout as needed.
Consider seasonal adjustments, such as expanding the baking zone during holidays or creating a preserving station during harvest seasons.
Clear the Clutter With Smart Storage Solutions
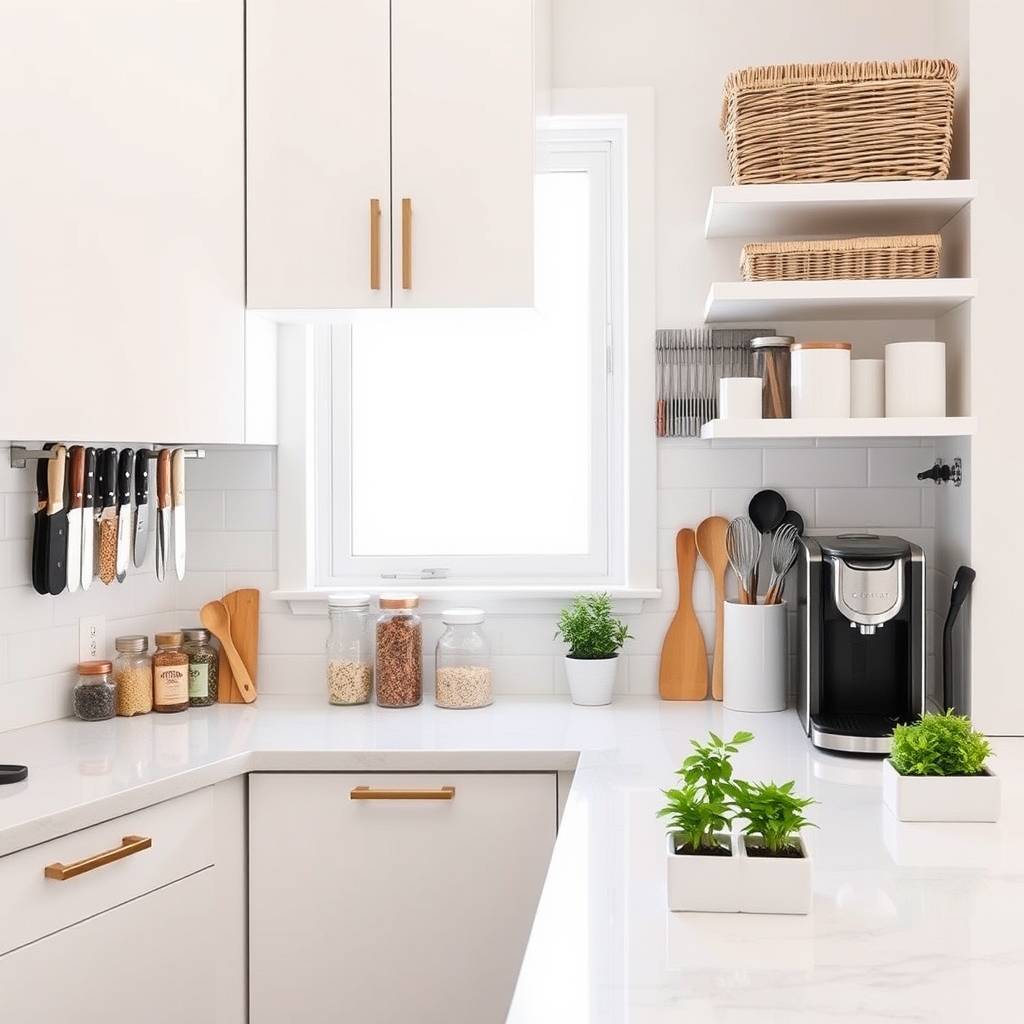
A cluttered kitchen counter is more than just an eyesore – it’s a barrier to efficient meal preparation and cooking. When countertops become catchalls for mail, small appliances, and miscellaneous items, they fail to serve their primary purpose as functional work spaces.
The mental burden of visual clutter can also make cooking feel overwhelming and decrease motivation to prepare meals at home.
Smart storage solutions are essential for maintaining clear countertops while keeping frequently used items easily accessible. By implementing targeted storage strategies and establishing designated spaces for common counter-crowding items, you can reclaim valuable work surface and create a more inviting kitchen environment that encourages cooking and organization maintenance.
Required Items:
- Counter organizer bins
- Drawer dividers
- Under-cabinet hooks
- Floating shelves
- Command strips or hooks
- Clear storage containers
- Drawer organizers
- Small lazy susans
- Cabinet door organizers
- Magnetic strips
- Storage canisters
Start by removing everything from your countertops and sorting items into categories: daily use, occasional use, and rarely used.
Install under-cabinet hooks for frequently used utensils and small tools, keeping them accessible without consuming counter space. Mount floating shelves or magnetic strips on nearby walls for spices and commonly used ingredients.
Utilize corner spaces with rotating organizers or lazy susans for cooking oils and everyday items. For appliances used less frequently, designate cabinet space or create an appliance garage using a rolling door system.
Maintain organization by establishing zones based on kitchen workflow – prep area, cooking station, and cleaning space. Use clear containers for pantry items that must remain on counters, and implement a mail sorting system away from the kitchen to prevent paper clutter.
Consider vertical storage solutions like tiered stands for fruits and vegetables, maximizing space while keeping produce visible and fresh.
Additional Tips: Adopt a “one-in-one-out” rule when acquiring new kitchen items to prevent clutter buildup. Schedule weekly maintenance sessions to reset organization systems and adjust as needed.
Consider installing extra outlets or charging stations in a designated area to keep electronics off cooking surfaces. Remember that the most effective storage solutions are those that match your cooking habits and daily routines – customize these strategies to fit your specific needs and kitchen layout.
Maximize Vertical Space With Wall-Mounted Options
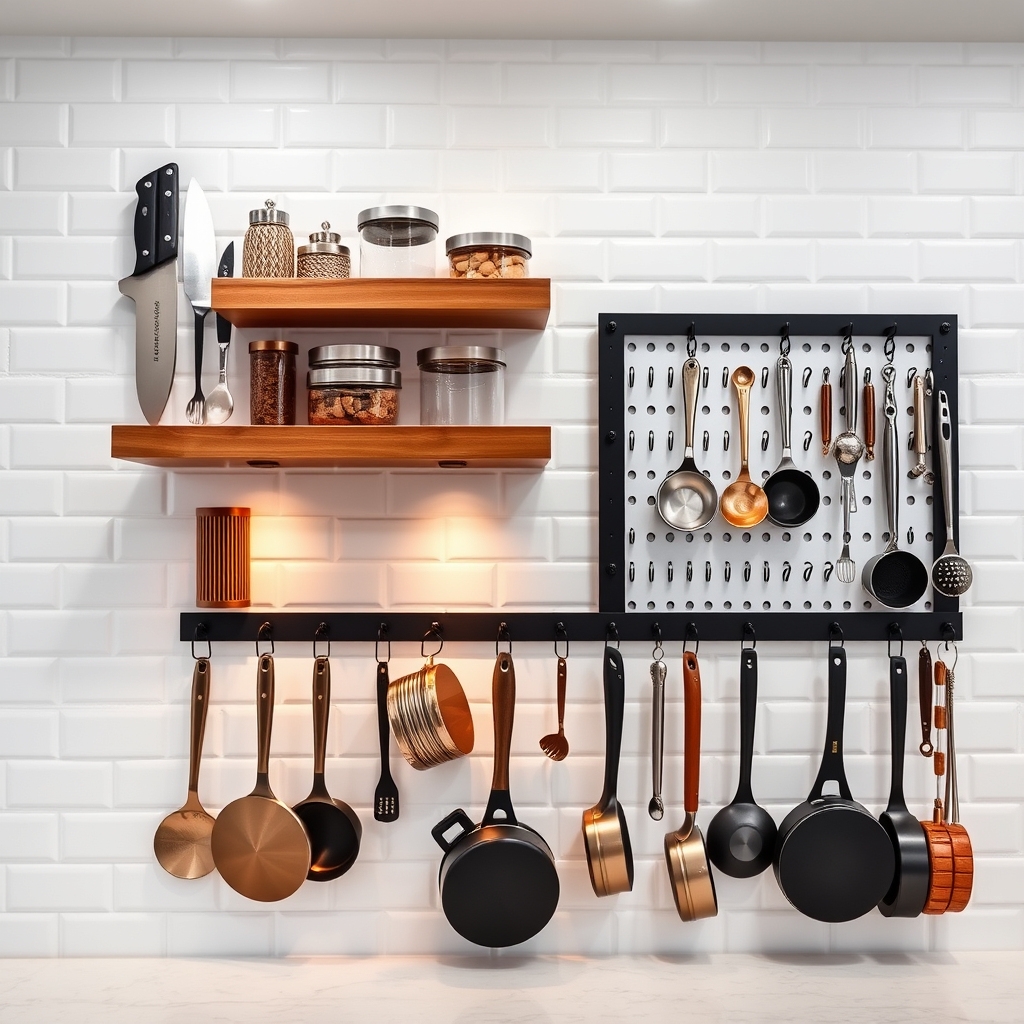
Making the most of vertical space in your kitchen is crucial for maintaining clear countertops and creating an efficient cooking environment. When counter space is limited, moving upward allows you to keep frequently used items easily accessible while freeing up valuable work surfaces.
Wall-mounted storage solutions not only maximize functionality but also add visual interest to your kitchen design. By implementing vertical storage systems, you can transform unused wall space into practical storage areas that keep essential items within arm’s reach while maintaining a clutter-free cooking environment.
Required Items:
- Wall-mounted magnetic knife strip
- Pegboard and hooks
- Floating shelves
- Wall-mounted spice racks
- Cup hooks
- Heavy-duty anchors
- Drill and drill bits
- Level
- Measuring tape
- Pencil
- Screwdriver
- Stud finder
Start by assessing your wall space and identifying studs using a stud finder. Measure and mark the desired locations for your wall-mounted items, ensuring they’re at comfortable reaching height.
Install floating shelves first, as they’ll serve as the foundation for larger items. Mount the magnetic knife strip at eye level for easy access and safety.
Next, install a pegboard system, which offers versatility for hanging various utensils and tools. Position frequently used items at eye level and less-used items higher up.
Install cup hooks under floating shelves to hang mugs or measuring cups, and mount spice racks near the cooking area for convenience.
For optimal organization success, rotate items seasonally and adjust the layout based on usage patterns. Consider installing under-cabinet lighting to illuminate your vertical storage areas, and use clear containers on floating shelves to easily identify contents.
Regularly assess the functionality of your setup and make adjustments as needed to maintain an efficient kitchen workflow.
Choose the Right Countertop Organizers and Containers
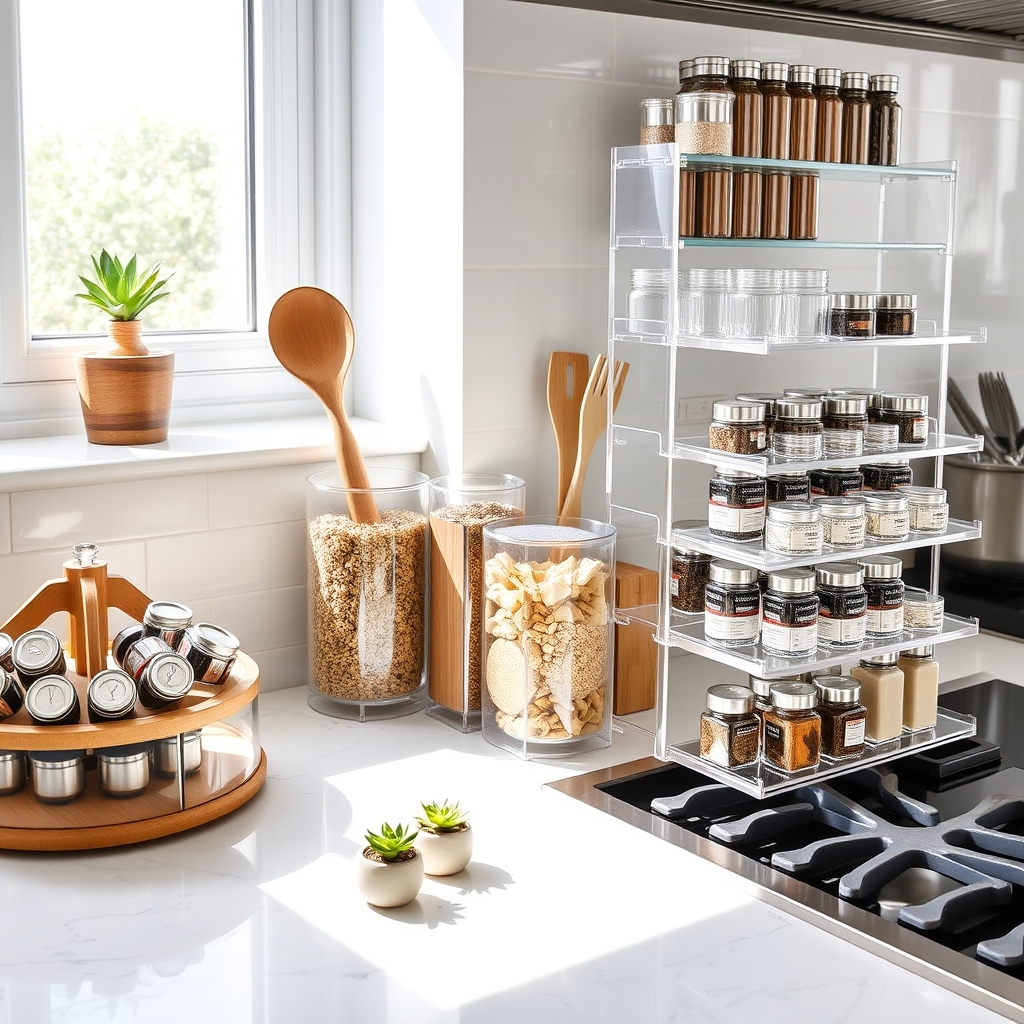
Selecting appropriate countertop organizers and containers is crucial for maintaining an efficient and clutter-free kitchen workspace. Well-chosen organizers not only maximize available counter space but also ensure frequently used items remain easily accessible while protecting them from dust and kitchen splatter.
The right combination of organizers and containers creates designated spaces for everyday essentials, reducing visual chaos and making meal preparation more streamlined. When items have specific homes, it becomes easier to maintain organization long-term and quickly locate needed tools or ingredients during cooking.
Required Items:
- Clear container sets in various sizes
- Rotating organizers (lazy susans)
- Utensil holders
- Drawer-style organizers
- Tiered shelf organizers
- Small bins or baskets
- Label maker
- Measuring tape
- Shelf liner
- Cleaning supplies
Start by measuring your available counter space and identifying zones for different activities like food prep, appliance storage, and frequently used items. Select containers that fit these designated areas while leaving adequate workspace.
Choose clear containers for pantry items to easily identify contents, and opt for stackable options to maximize vertical space. Group similar items together and assign appropriate containers based on size and frequency of use.
Position rotating organizers in corner spaces for spices or cooking oils, and place drawer-style organizers near the cooking zone for utensils and tools. Use tiered shelves for items that need to be visible but compact, such as spice jars or small condiment bottles.
For optimal organization maintenance, regularly assess the functionality of your chosen containers and adjust as needed. Consider incorporating shelf liner beneath organizers to prevent sliding and protect countertops.
Keep frequently used items at the front of organizers and less-used items toward the back. Clean containers regularly and replace any that become damaged or no longer serve their purpose effectively.
Keep Daily-Use Items Within Easy Reach
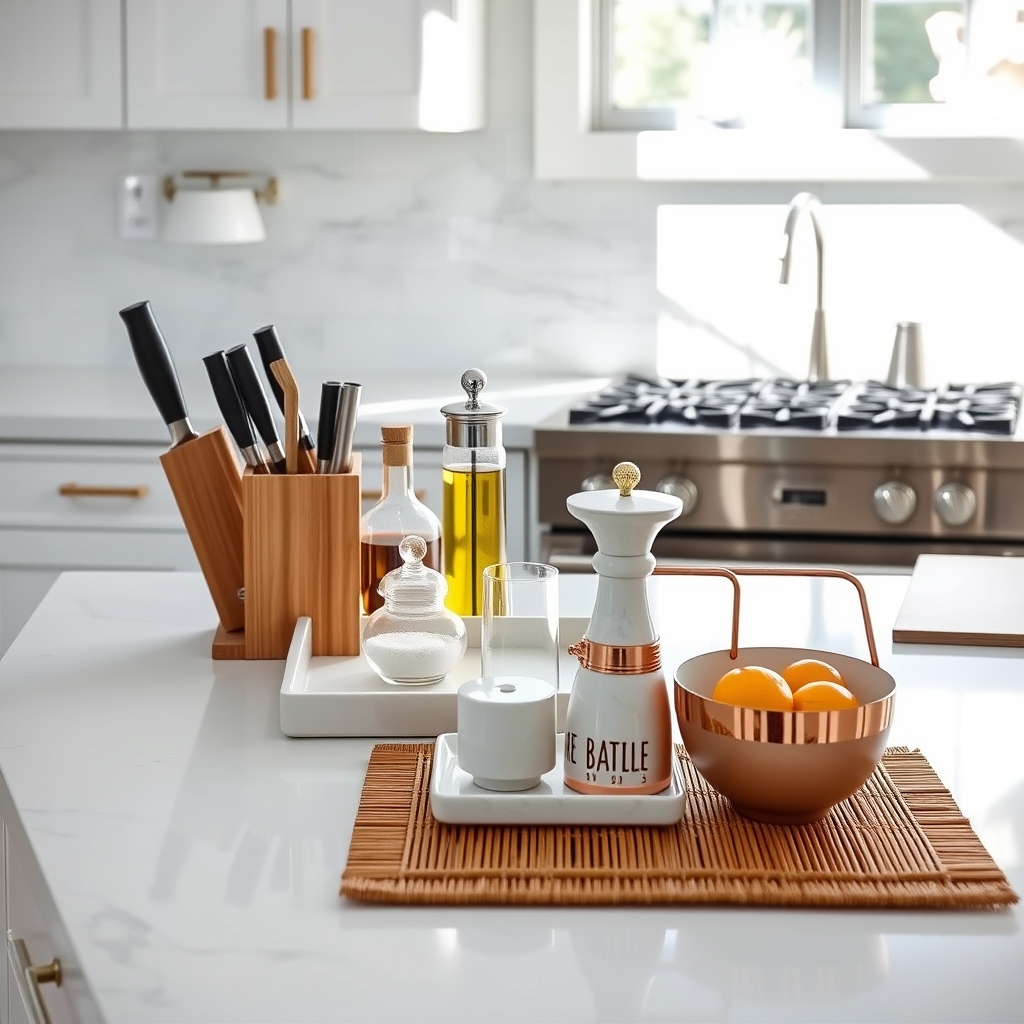
The strategic placement of everyday kitchen items can dramatically reduce the time spent preparing meals and completing routine tasks. When frequently used items are within arm’s reach, cooking becomes more efficient, and the kitchen workflow improves naturally, leading to a more enjoyable cooking experience.
Organizing daily-use items on your countertops requires striking the perfect balance between accessibility and maintaining a clutter-free space. The key is to identify truly essential items that warrant precious counter space while finding appropriate storage solutions that keep them tidy and ready for use.
Required Items:
- Counter canisters or containers
- Utensil holder or caddy
- Small tray or dish for cooking oils
- Paper towel holder
- Knife block or magnetic strip
- Small appliance turntable (optional)
- Clear containers for frequently used ingredients
- Hook system for mugs or measuring tools
- Non-slip shelf liner
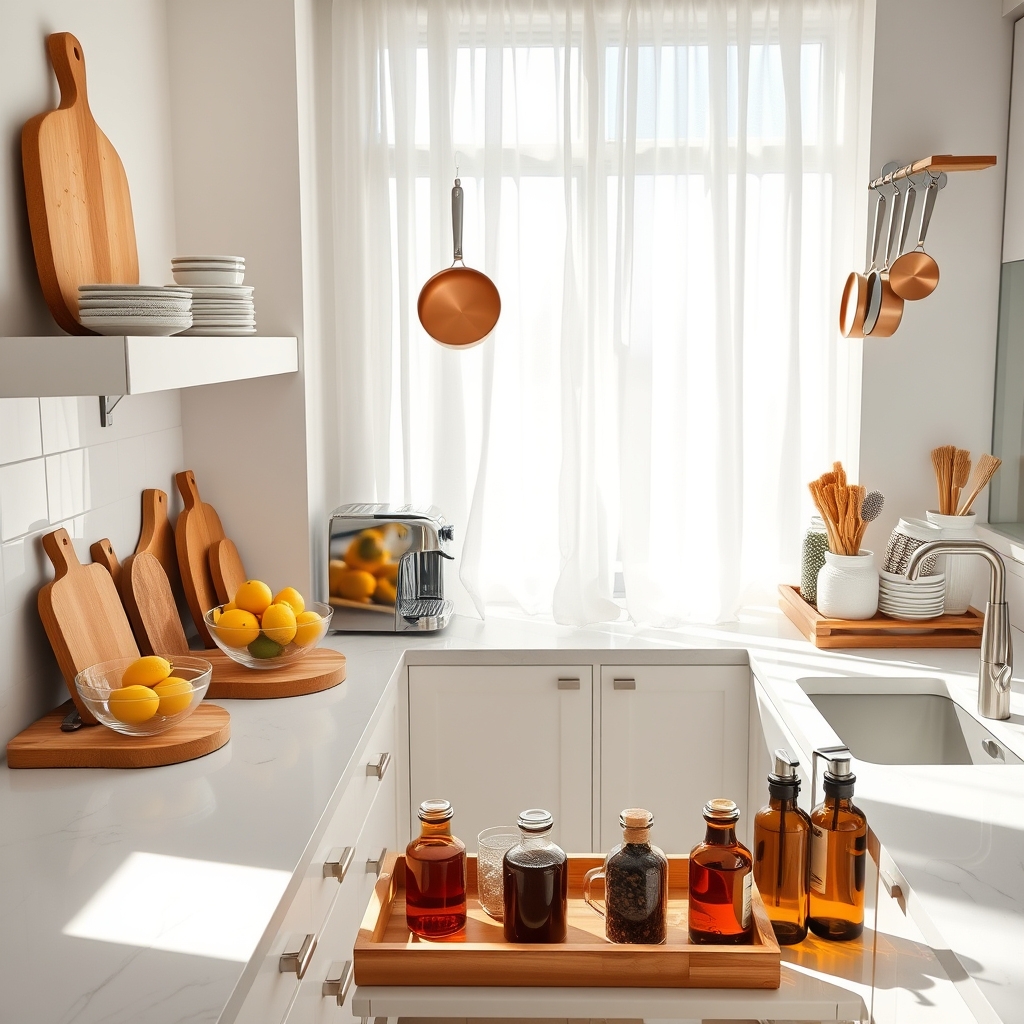
Place the most frequently used items within the primary work zone, typically between the sink and stove. Position cooking utensils in a holder near the stove, and establish a designated spot for cutting boards and knives within easy reach of the main prep area.
Store commonly used ingredients like oils, salt, and pepper in attractive containers on a small tray to keep them contained and accessible while cooking. For items used multiple times daily, such as a coffee maker or toaster, designate a specific counter space that doesn’t interfere with main food preparation areas.
Additional organization success tips: Evaluate your daily-use items every few months and adjust their placement based on changing habits or needs. Remove seasonal items when not in use, and maintain a cleaning routine to prevent dust accumulation around stationed items.
Consider using vertical space with mounted solutions when counter space is limited, and always ensure that stored items don’t block crucial work areas or create safety hazards.
Implement the One-Touch Rule for Appliances
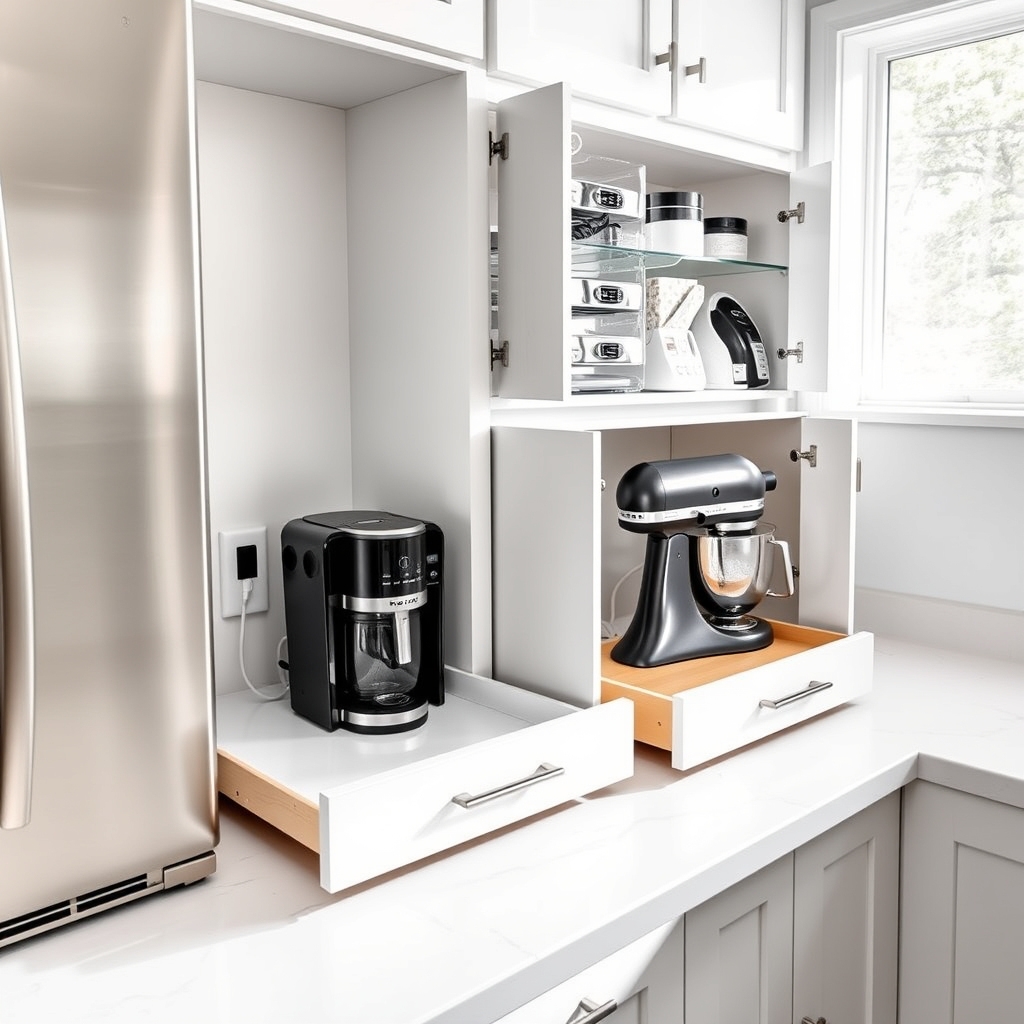
The one-touch rule for kitchen appliances is a game-changing organizational approach that minimizes the time and effort spent handling everyday kitchen equipment. By designating specific homes for appliances and ensuring they’re accessible with just one movement, this system dramatically reduces the daily friction of meal preparation and cleanup.
When appliances require multiple steps to access or store, we’re less likely to use them regularly and more likely to leave them cluttering our countertops. Implementing the one-touch rule creates a kitchen workflow that encourages both frequent appliance use and consistent storage, leading to clearer counters and more efficient cooking sessions.
Required Items:
- Clear bins or containers
- Label maker
- Measuring tape
- Shelf liner
- Cabinet organizers
- Power strip
- Cord management solutions
- Appliance covers
- Storage hooks
To implement the one-touch rule, start by assessing each appliance’s frequency of use and identifying its ideal location based on your kitchen workflow. Position frequently used items like coffee makers or toasters in easily accessible spots where they can remain plugged in and ready for use.
For occasionally used appliances, create designated cabinet spaces with pull-out shelves or rotating organizers that allow you to grab items with a single motion. Install power strips in strategic locations to ensure appliances can be used in their stored positions without additional setup steps.
The key to maintaining the one-touch rule is creating clear paths to your appliances. Remove any obstacles between storage locations and usage areas. Ensure cabinet shelves are at appropriate heights for easy access, and consider installing vertical dividers to prevent stacked storage that requires multiple movements to access items.
Use cord management solutions to keep power cables neat and prevent tangling during storage and retrieval.
Additional Success Tips:
Regularly review and adjust your system based on changing needs and usage patterns. Keep appliance manuals and attachments in labeled containers near their respective devices.
Consider seasonal rotation of appliances to maintain optimal accessibility for currently needed items. Clean and maintain storage areas monthly to prevent dust buildup and ensure smooth operation of organizational solutions.
Establish a Corner Command Center
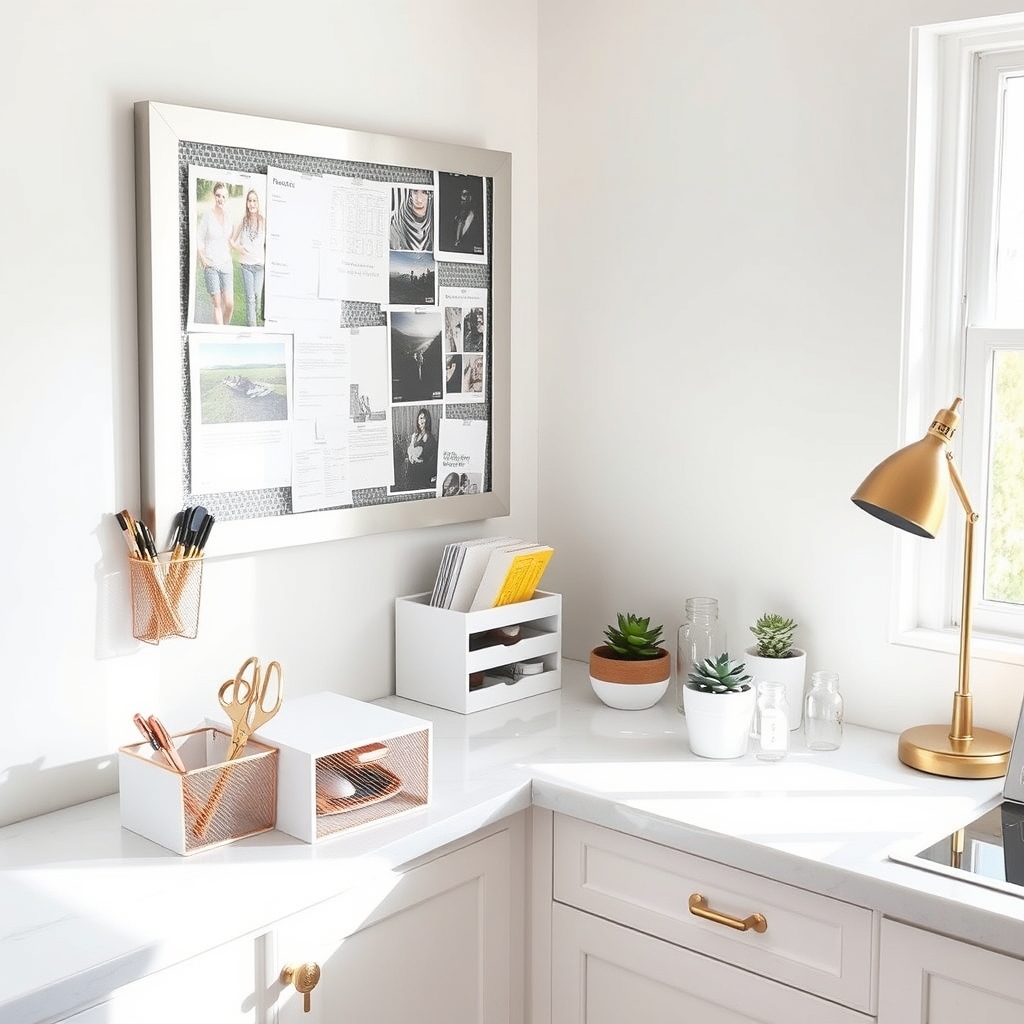
A kitchen command center is essential for maintaining order in the heart of your home. This designated space serves as a central hub for managing daily schedules, storing important documents, and keeping frequently used items within easy reach, ultimately reducing counter clutter throughout the rest of the kitchen.
Creating an organized corner command center transforms an often underutilized counter space into a functional workplace that helps streamline household operations. When properly arranged, this area becomes a natural spot for sorting mail, managing calendars, and storing essential items that would otherwise scatter across multiple surfaces.
Required Items:
- Desktop file organizer
- Bulletin board or magnetic board
- Calendar
- Small containers or cups for writing utensils
- Paper sorter
- Charging station
- Small drawer unit
- Command hooks
- Label maker
- Clear containers
Position the command center in a corner that doesn’t interfere with food preparation areas. Start by mounting the bulletin board or magnetic board at eye level, ensuring it’s easily visible but doesn’t obstruct cabinet access. Place the desktop file organizer against the back of the counter, using vertical space efficiently.
Arrange small containers for pens and scissors in front, keeping them readily accessible. Install a charging station with cord management to prevent cable clutter. Use the small drawer unit for items needed less frequently but requiring quick access. Position the calendar where it’s easily visible and can be updated daily.
For optimal functionality, create designated zones within your command center: incoming mail, action items, reference materials, and supplies. Use clear containers to store frequently accessed items like stamps, spare keys, or small office supplies. Implement a color-coding system for different family members or types of activities. Label everything clearly to maintain organization long-term.
Maximum efficiency comes from daily maintenance and regular purging. Set aside five minutes each evening to sort incoming items, file completed tasks, and clear temporary clutter. Review the entire system monthly, removing outdated materials and adjusting the layout as your needs change.
Consider adding task lighting if the corner is dim, and rotate supplies seasonally to keep the space relevant to current needs.
Set Up an Efficient Meal Prep Station
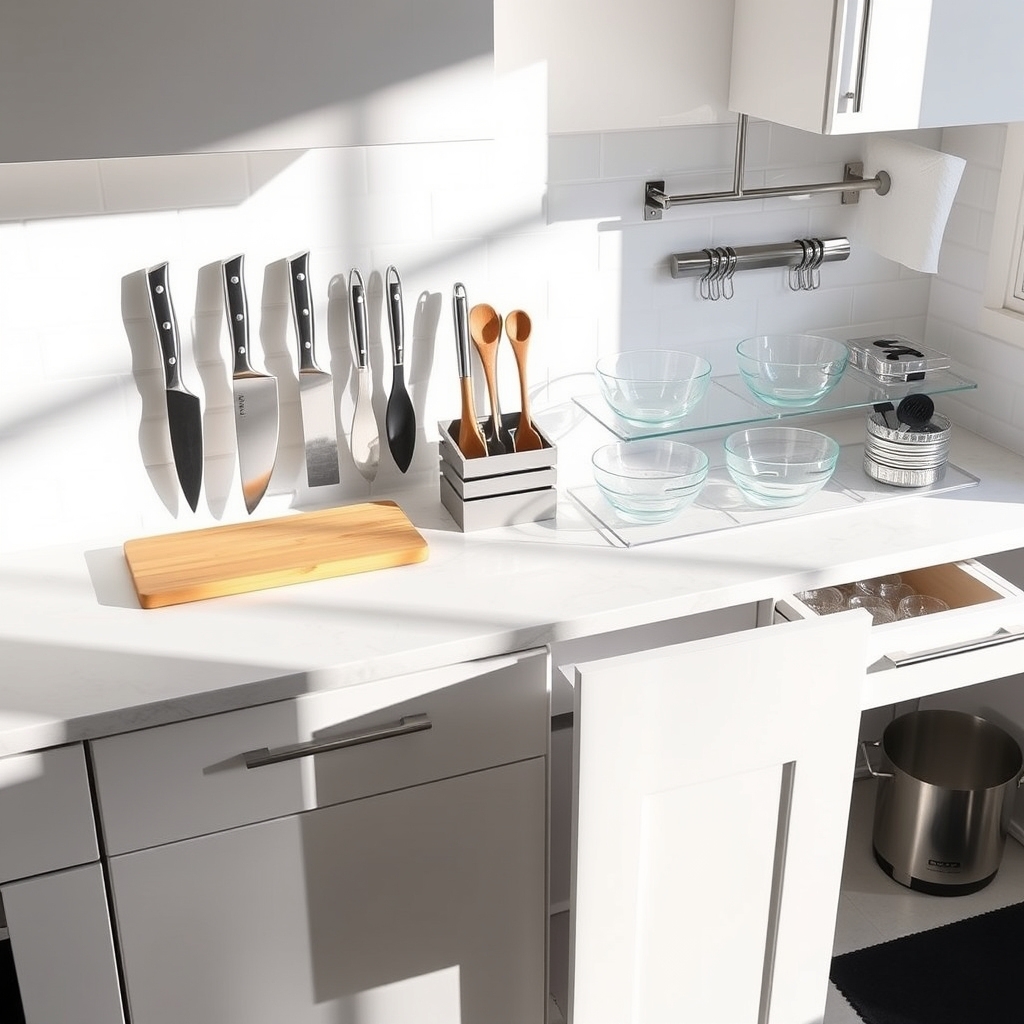
A well-organized meal prep station is the cornerstone of efficient cooking and kitchen management. Having everything within reach and logically arranged not only saves precious time during meal preparation but also makes the entire cooking process more enjoyable and less stressful.
Creating a dedicated meal prep station transforms your kitchen workflow by minimizing unnecessary movement and reducing the chance of forgetting essential ingredients or tools. This systematic approach to organization can turn even complex recipes into manageable tasks and help maintain a clutter-free cooking environment.
Required Items:
- Cutting boards (2-3 different sizes)
- Knife block or magnetic strip
- Small containers for prepped ingredients
- Paper towel holder
- Cooking utensil holder
- Small trash bowl
- Anti-fatigue mat
- Clear storage containers
- Label maker
- Sanitizing wipes
- Pull-out drawer organizers
- Counter-mounted knife sharpener
Select a counter space near your stove and sink for your prep station. Install a magnetic knife strip or position a knife block within easy reach. Arrange frequently used tools in a utensil holder on the right side if you’re right-handed (or left side if left-handed).
Place cutting boards in a vertical holder or lean them against the backsplash. Set up small, clear containers for prepped ingredients in a stepped organizer, allowing easy visibility and access.
Below the counter, organize base cabinets with pull-out drawers containing backup supplies and less frequently used tools. Install a paper towel holder under an upper cabinet to save counter space. Position a small trash bowl at the edge of your work area for immediate disposal of vegetable trimmings and food scraps.
Additional Tips: Maintain the efficiency of your prep station by cleaning and returning items to their designated spots after each use. Consider using different colored cutting boards for various food types to prevent cross-contamination.
Regularly assess and adjust the layout based on your cooking habits, and keep only the most-used items within immediate reach to prevent counter clutter.

