Ah, the top of the dresser—a space that often becomes the catch-all for life’s little odds and ends. It’s where keys, spare change, yesterday’s mail, and perhaps a rogue sock or two gather. But with a bit of creativity and a touch of personality, you can transform this cluttered surface into an organized and aesthetically pleasing area that reflects your style and needs. Here’s a comprehensive, step-by-step guide on how to do just that!

Step 1: Declutter with Purpose
The first step to any good organization project is decluttering. Start by clearing everything off the top of your dresser. Yes, everything! This will give you a clean slate to work with and allow you to see the space in a new light. As you remove items, categorize them into three piles: keep, relocate, and discard.
- Keep: These are items that you use regularly and want to have easy access to.
- Relocate: These items belong somewhere else in your home. Perhaps that book should be on the bookshelf or the hairbrush in the bathroom.
- Discard: This pile includes anything broken, outdated, or no longer useful. Be ruthless!
Decluttering can be surprisingly therapeutic. It’s a chance to re-evaluate what’s important and what’s just taking up space.
Step 2: Define Your Purpose
Now that you have a clean and clear dresser top, it’s time to decide how you want to use this space. Defining the purpose of your dresser top will guide the rest of your organization efforts. Consider these common uses:
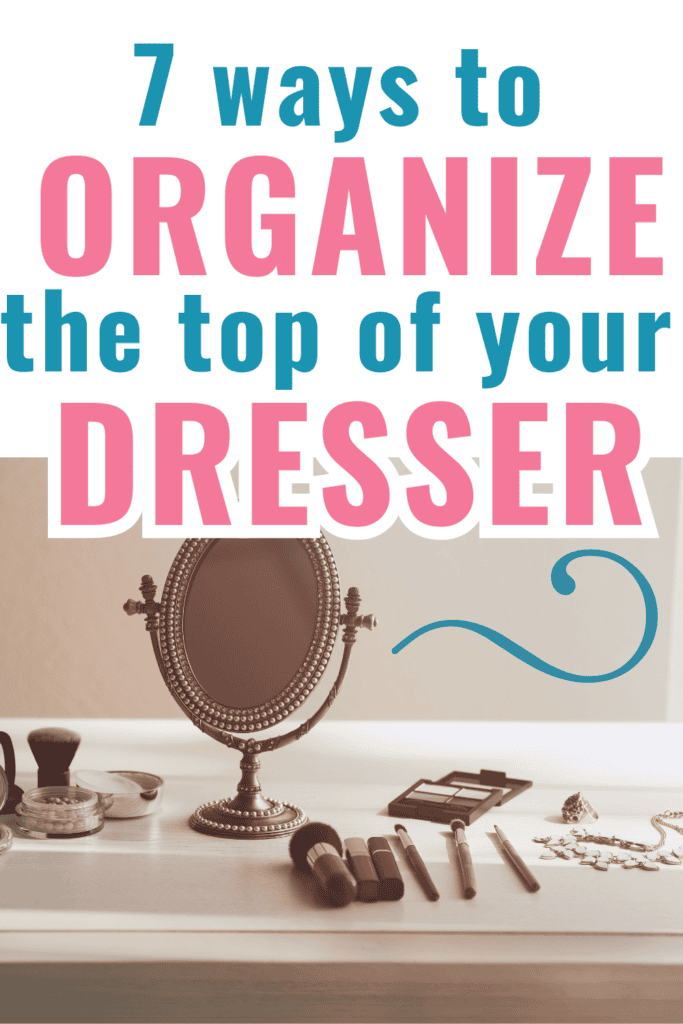
- Beauty Station: If you love getting ready here, dedicate this space to your beauty essentials.
- Reading Nook: If this is where you unwind with a good book, make room for your favorite reads and a cozy candle.
- Display Area: Want to showcase your favorite collectibles or photos? Use this space to display items that bring you joy.
Having a clear purpose will help you stay focused and organized. It will also make it easier to maintain the space in the future.

Step 3: Use Trays and Baskets to Create Boundaries
One of the best ways to keep your dresser top organized is to use trays and baskets. These handy organizers create boundaries and prevent items from spreading out and creating clutter. Here’s how to use them effectively:
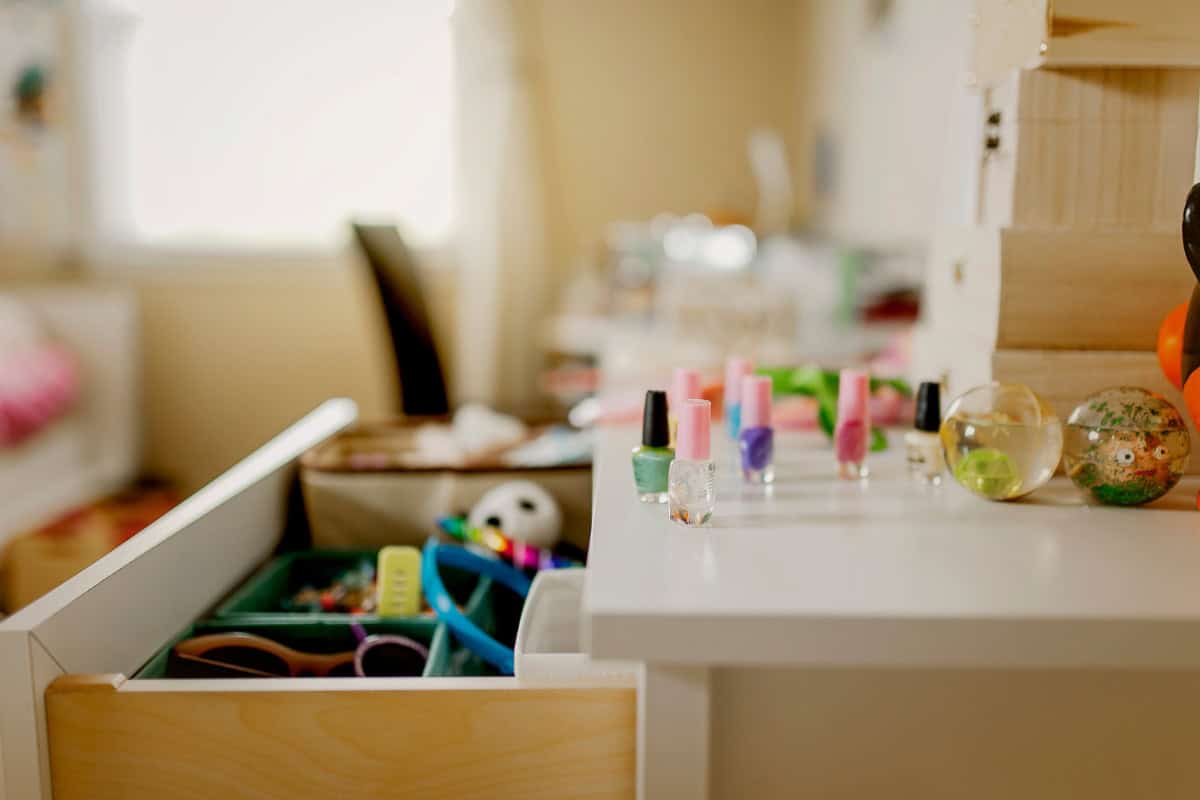
- Trays: A stylish tray can corral your perfumes, lotions, and other small items, making them easy to find and keeping the surface neat. Choose a tray that complements your room’s decor for an added touch of style.
- Baskets: Use small baskets or containers to hold items like keys, spare change, or jewelry. Baskets with lids can keep things out of sight and create a cleaner look.
The key is to choose containers that fit your space and your style. Don’t be afraid to get creative with repurposed items, like a vintage dish for jewelry or a pretty bowl for loose change.
Step 4: Add Personal Touches and Decor
Now comes the fun part—adding personal touches and decor to make the space truly yours. This is where you can let your personality shine. Here are some ideas:
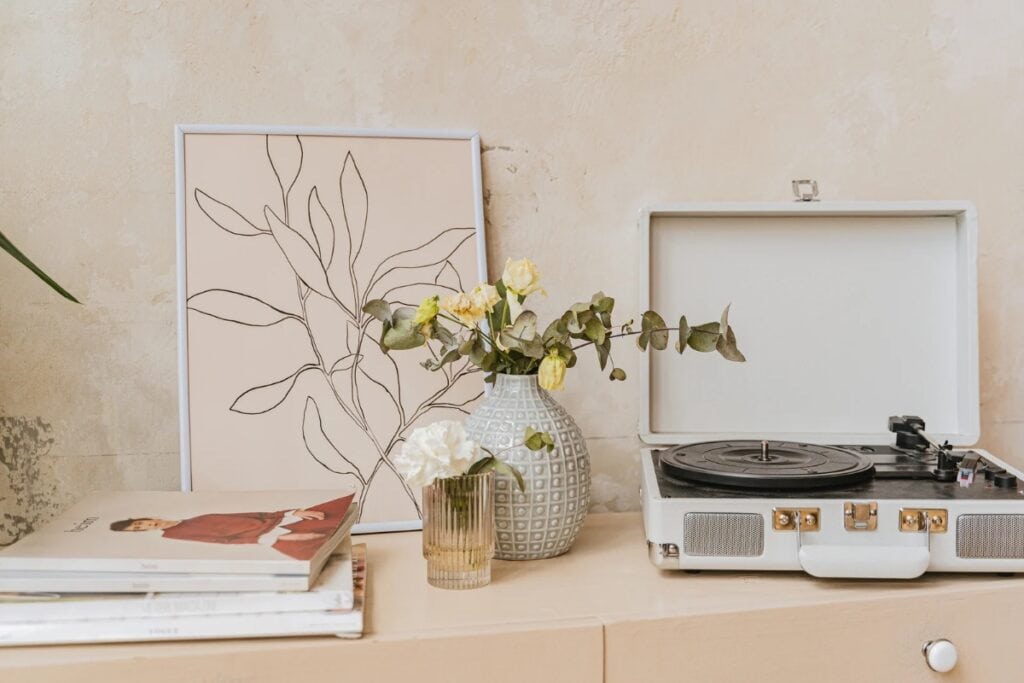
- Photos and Art: Frame a few favorite photos or small pieces of art. This will make your dresser top feel more personal and inviting.
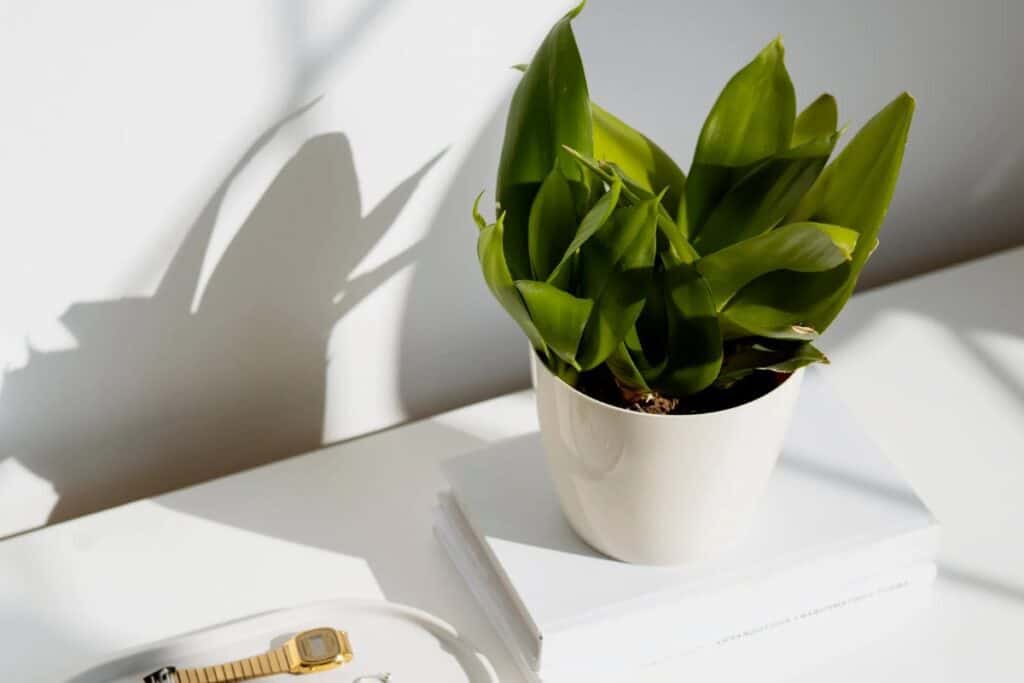
- Plants: A small potted plant or succulent can add a touch of nature and freshness to your space. Plus, plants have been shown to boost mood and reduce stress.
- Books: If you love to read, keep a few of your current reads or favorite books on your dresser. Stack them neatly and use them to elevate other decor items.
- Sentimental Items: Display items that have special meaning to you, like souvenirs from a trip, a piece of jewelry from a loved one, or a handmade craft.
The goal is to create a space that makes you happy and reflects who you are. Don’t overdo it, though—a few well-chosen items will have more impact than a crowded surface.

Step 5: Organize by Zones
To keep your dresser top functional and organized, divide it into zones based on its purpose. For example:
- Daily Essentials Zone: Keep items you use every day, like your wallet, keys, and phone, in one area. Use a tray or small bowl to contain these essentials.
- Beauty Zone: If you’re using your dresser as a beauty station, group your makeup, skincare, and hair products together. A tiered tray or small organizer can keep these items accessible and tidy.
- Decor Zone: Arrange your decorative items in a way that feels balanced and pleasing to the eye. Use varying heights and textures to create visual interest.
By organizing your dresser top into zones, you’ll create a space that is both beautiful and functional. It will also make it easier to find what you need quickly.
Step 6: Maintain the Magic
Once your dresser top is beautifully organized, the key to keeping it that way is regular maintenance. Here are some tips:
- Daily Tidying: Spend a few minutes each day putting things back in their place. This small effort will prevent clutter from building up.
- Weekly Reset: Take a few minutes each week to straighten up your dresser top. Dust surfaces, rearrange items if needed, and ensure everything is in its designated zone.
- Seasonal Refresh: Every few months, do a quick declutter and refresh of your dresser top. Rotate decor items, switch out seasonal pieces, and reevaluate what you’re keeping on the surface.
Maintaining an organized dresser top is an ongoing process, but with these simple habits, it will stay neat and beautiful with minimal effort.
Step 7: Celebrate Your Success
Organizing the top of your dresser may seem like a small task, but it can have a big impact on your space and your mood. Take a moment to step back and admire your work. Enjoy the sense of accomplishment that comes with creating a beautiful, functional space.
Remember, organization is all about making your life easier and more enjoyable. By taking the time to declutter, define your space, and add personal touches, you’re creating a little oasis of order and beauty in your home.


