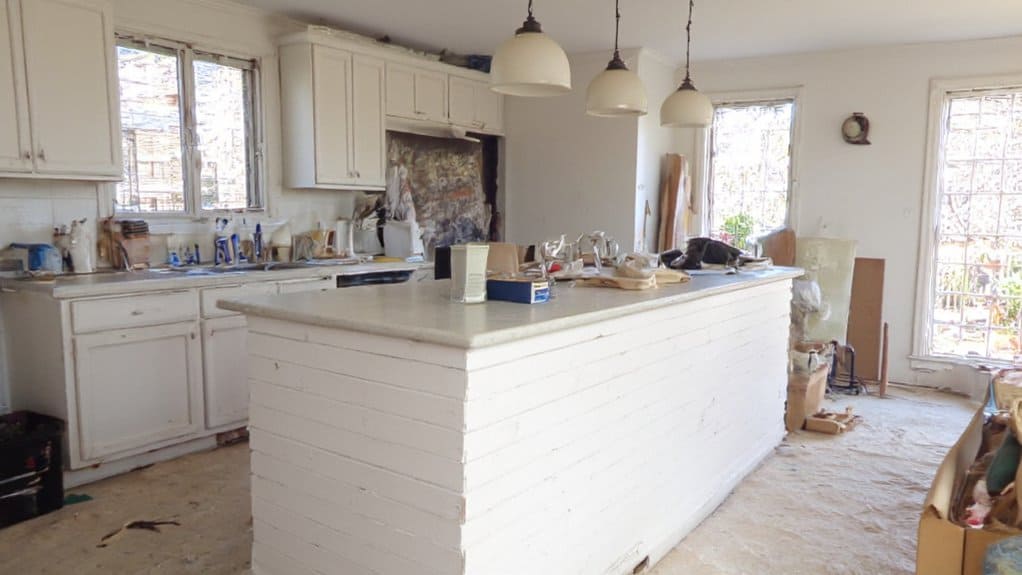
Hey there, let’s chat about crafting a kitchen island with shiplap! I’ve tackled this project myself, and trust me, it’s doable even if you’ve had a few DIY blunders—yep, I’ve dropped a board or two! Start by grabbing your 1×6 tongue-and-groove pine boards and a trusty tape measure. Curious how to turn this into a stunning 4×2-foot island? Stick with me for the next steps!
Before You Start
Before diving into the fun of building your kitchen island, let’s hit the brakes and talk prep—trust me, it’s a game-changer! I’ve botched a project or two by skipping this, and it’s a mess! So, listen up.
First, clear your workspace. Make sure you’ve got at least a 6×6 foot area—trust me, you’ll need it to maneuver!
Next, check your timeline. Can you spare a weekend? Don’t rush; I’ve learned that haste equals wobbly islands.
Finally, visualize your design. Sketch it out on paper. It’s simple, but wow—it saves headaches! Let’s get this right together!
What You Will Need
While you’re itching to build that kitchen island, let’s chat about the stuff you’ll need to get started. I’ve had my share of DIY flops—don’t be me, forgetting critical tools! Get prepped with the right gear.
Here’s your must-have list for success:
- Shiplap Boards – Grab 1×6 tongue-and-groove pine boards, about 8 feet long, enough for a 4×2 foot island.
- Power Tools – You’ll need a drill and circular saw (trust me, hand-sawing is a nightmare!).
- Hardware – Stock up on 2-inch screws and wood glue for sturdy joints.
Let’s avoid wobbly disasters together, okay!
Step-by-Step Guide
Hey there, let’s get rolling on building your kitchen island with these key steps! Start by measuring your kitchen space carefully, grabbing that blueprint to design your island, and then cutting shiplap panels—trust me, I’ve miscut once and it’s a headache! You’ll also assemble the frame and attach the shiplap, so gear up for some fun (and maybe a little swearing) as we build this together!
1. Measure Kitchen Space
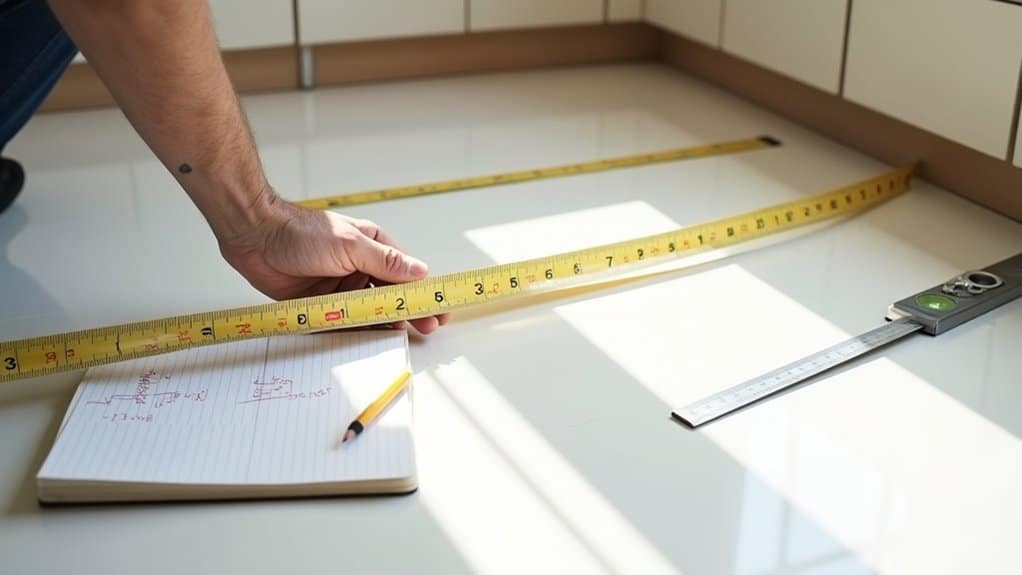
Man, oh man, getting started on a kitchen island is thrilling! I’ve botched measurements before, so let’s get this right, okay? You’ve gotta measure your kitchen space carefully to avoid a DIY disaster!
Grab a tape measure and jot down these key spots. Measure the length and width where the island will sit—aim for at least 36 inches of clearance around it. Check corners for weird angles (ugh, my last place had one!).
- Length: Write it down!
- Width: Double-check it!
- Clearance: Don’t skip this!
Trust me, measure twice, or you’re stuck with a wonky island!
2. Design Island Blueprint
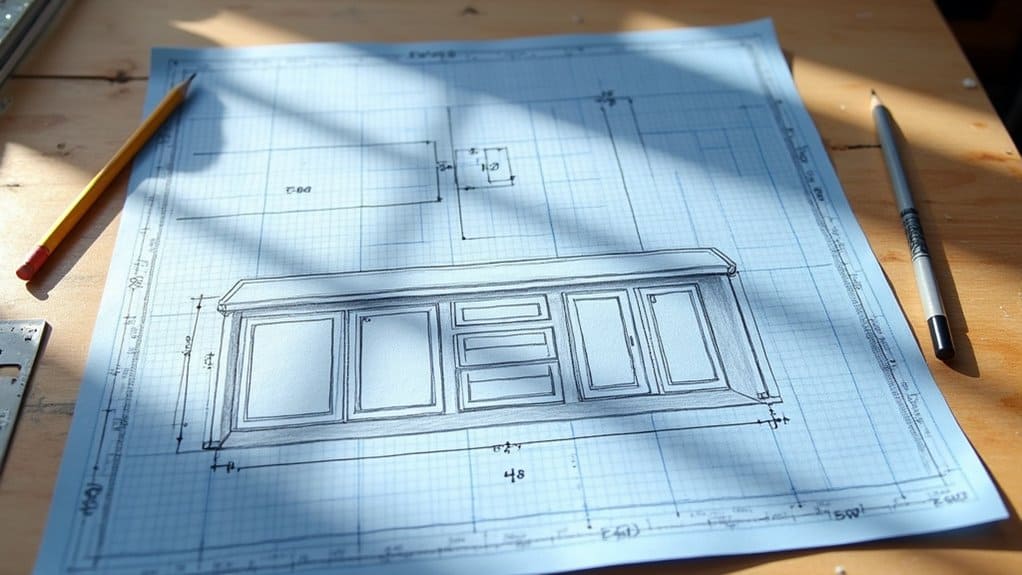
Some projects can feel challenging, but designing your kitchen island blueprint is where the fun really kicks off! I’ve had my share of DIY disasters—don’t ask about my first shelf—but this step’s a blast! Let’s get started.
First, grab graph paper and a pencil. Sketch a top-down view of your island, aiming for 4 feet wide by 2 feet deep. Add these features:
- Counter space outline
- Storage spots underneath
Next, mark a 2-inch overhang for bar seating. Double-check dimensions with your kitchen space. Trust me, measure twice—I’ve learned the hard way! You’re crafting a masterpiece here!
3. Cut Shiplap Panels
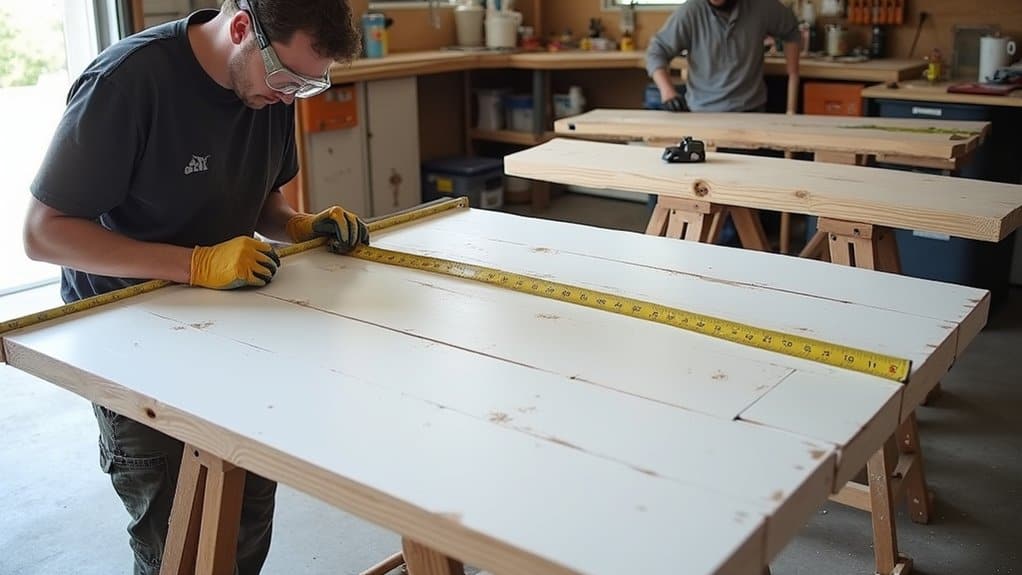
Countless DIY projects have taught me that cutting shiplap panels is a game-changer for your kitchen island’s look—let’s dive right in! I’ve botched a cut or two, haha, but trust me, with patience, you’ll nail it!
First, measure your panels. Grab a tape measure and mark 4-foot by 2-foot sections for standard shiplap boards—Home Depot’s got great ones! Use a circular saw for clean cuts.
Next, double-check dimensions. I’ve learned the hard way to measure twice, cut once! Wear safety goggles, too—sawdust in the eye is no joke! Keep cuts precise, and you’re golden for the next step!
4. Assemble Island Frame
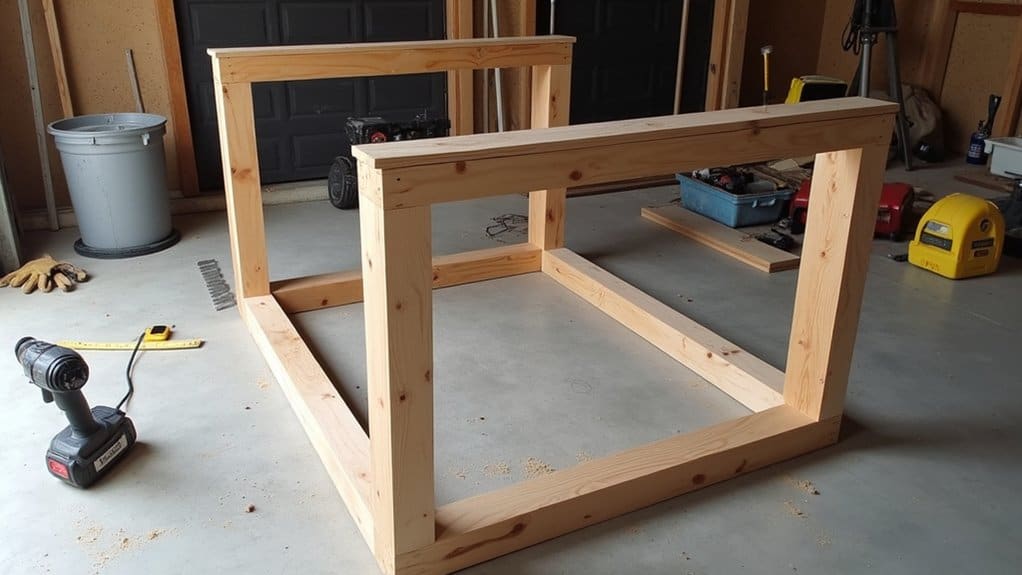
Hey there, now that we’ve got those shiplap panels cut and ready, let’s jump into building the backbone of your kitchen island—the frame! I’m pumped to see this come together, and I know you are too!
First, grab your 2×4 lumbar—make sure you’ve got eight 36-inch pieces for the legs and four 48-inch pieces for the top and bottom supports. Use a drill with 3-inch wood screws to connect the legs to the top frame. Tighten ‘em up!
Watch out—don’t split the wood like I did once! Measure twice, drill once, and let’s build this beast strong!
5. Attach Shiplap to Frame
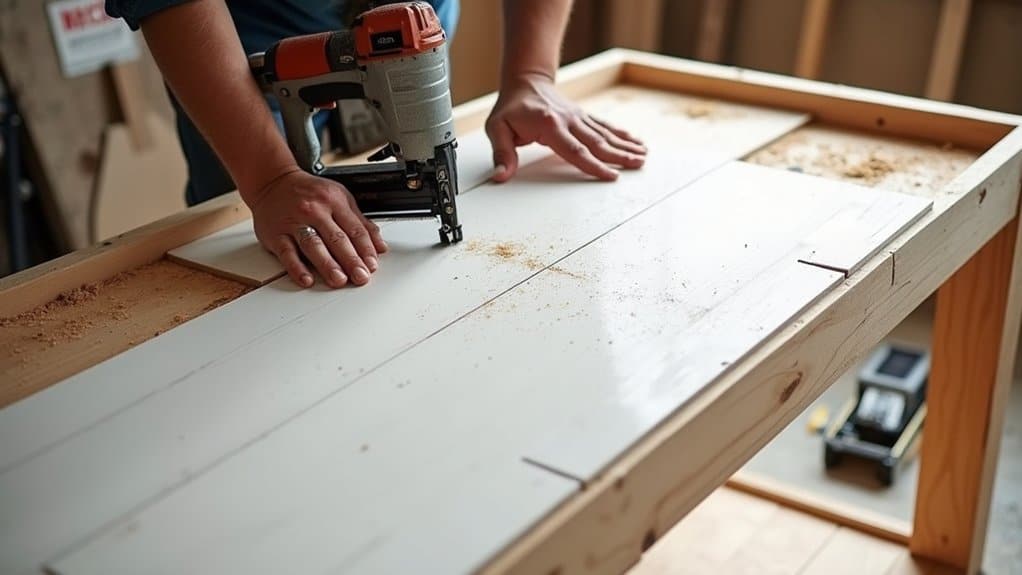
Alright, let’s slap on that shiplap and make this kitchen island look like a million bucks! I’ve gotta say, this part gets me pumped—nothing beats that rustic vibe! Grab your pre-cut shiplap panels and let’s get started.
First, measure your frame’s sides—mine was 36 inches wide. Use a level to keep things straight (trust me, I’ve learned the hard way!).
Quick Steps:
- Line up the first panel at the bottom.
- Secure it with a brad nailer—1-inch nails work great.
- Stack the next panel, overlapping slightly.
Keep going! It’s tedious, but wow, what a transformation!
6. Install Countertop Surface
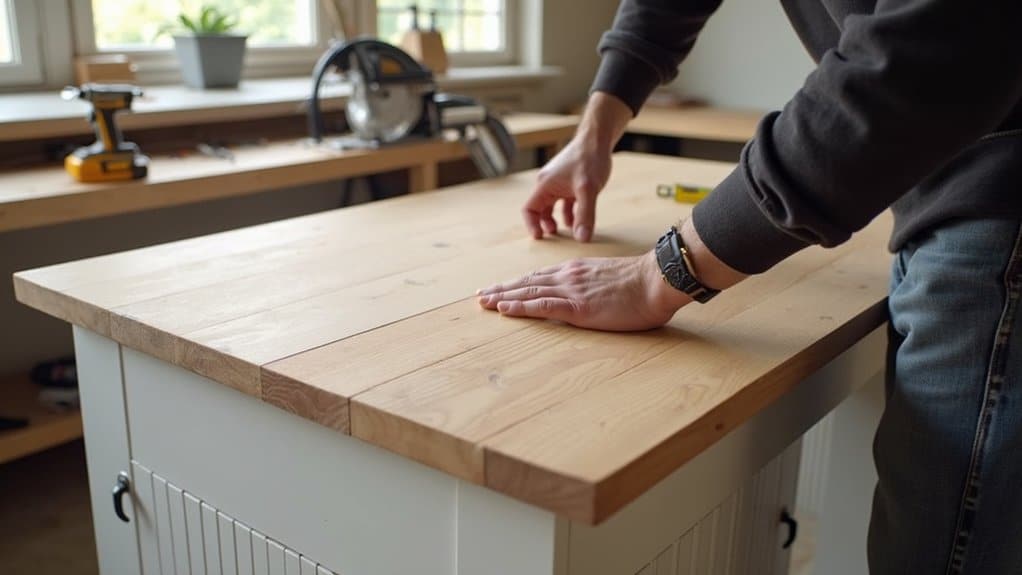
Man, it’s finally time to crown this kitchen island with a killer countertop—I’m thrilled to see this baby come together! I’ve messed up a cut or two before, but let’s nail this one!
Pick your countertop material—think butcher block or quartz. Measure twice (I’ve learned the hard way): mine’s 48”x24”. Cut it if needed, using a circular saw for precision.
Now, let’s secure it! Spread wood glue on the island frame, then lay the countertop down. Screw it in from underneath with 2” wood screws. Check it’s level—wobbly counters are a DIY disaster! Wow, look at that shine!
7. Apply Protective Finish
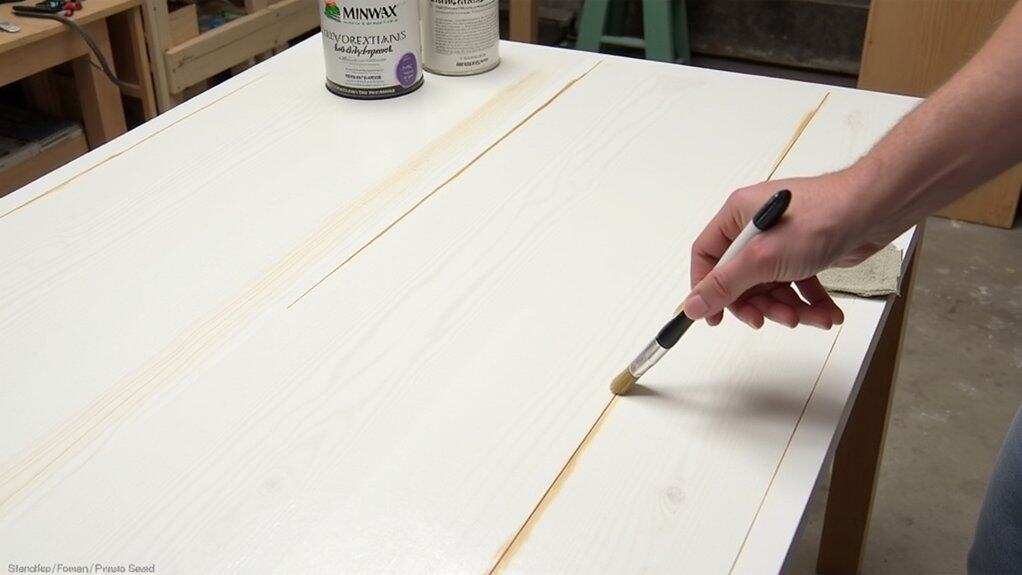
Get ready to seal the deal on this kitchen island with a protective finish—it’s the final touch that’ll make it pop! I’ve messed up before by skipping this step, and trust me, you don’t want spills ruining your hard work!
First, grab a clear polyurethane finish, like Minwax Gloss, and a 2-inch synthetic brush. Sand the shiplap lightly with 220-grit sandpaper to smooth it out. Then, apply a thin coat, brushing with the wood grain—don’t glop it on!
Let it dry 4 hours, sand again, and add a second coat. Wow, it shines! You’ve got this!
8. Add Decorative Trim
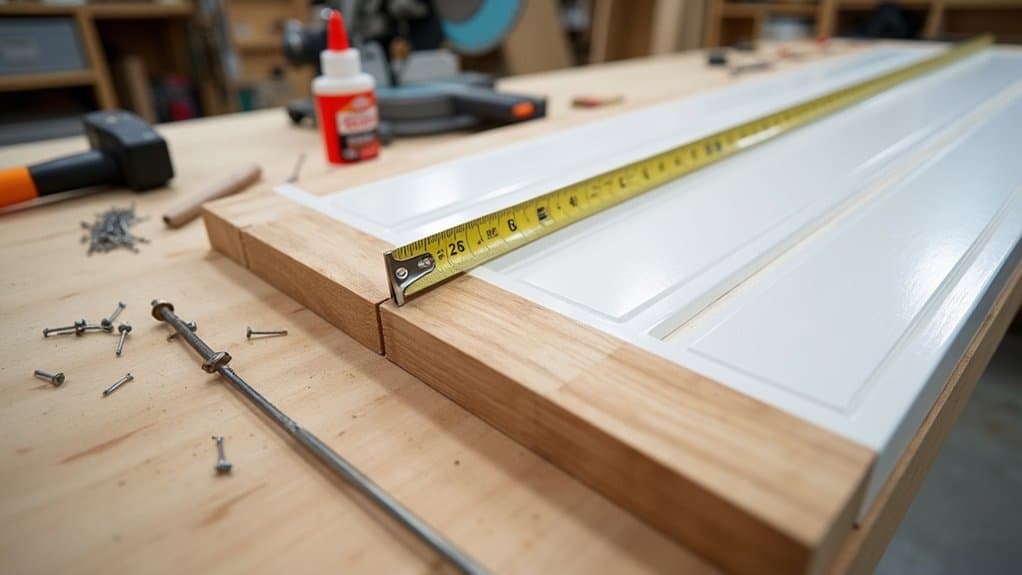
Since we’ve got the protective finish shining like a new penny, let’s jazz up this kitchen island with some decorative trim! I’m so excited to see this baby come to life—let’s do it!
First, grab your 1-inch wide pine trim from the hardware store. Measure and cut four pieces to fit each side of the island base, about 36 inches long.
Use a miter saw for 45-degree corners—trust me, I’ve botched straight cuts before! Then, nail ‘em in with 1.5-inch finishing nails. Wow, doesn’t that trim pop? It’s like jewelry for your island!
9. Secure Island to Floor
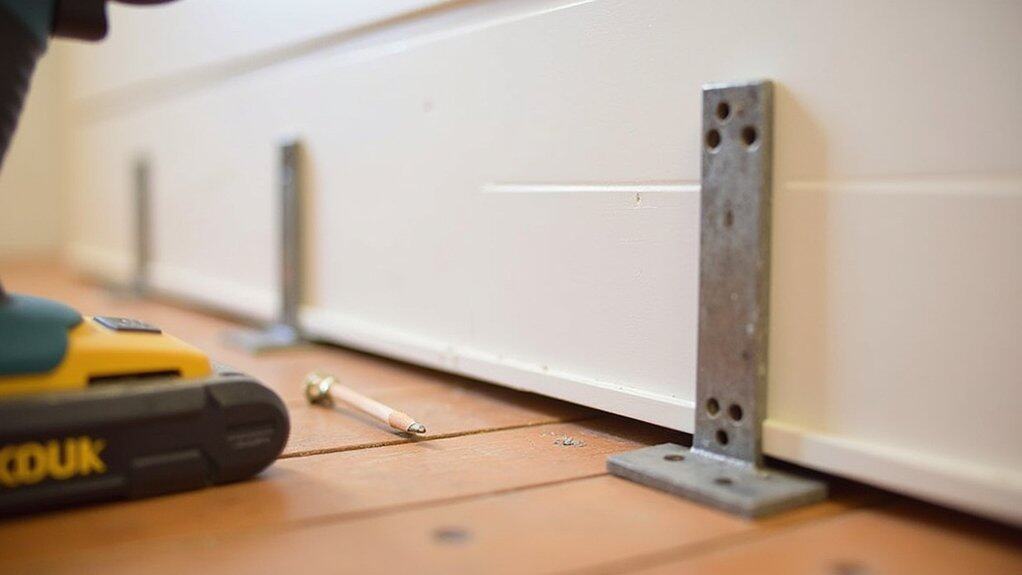
Holy cow, we’ve built a stunning kitchen island, and now it’s time to lock it down! I’ve nearly tripped over mine before securing it—don’t make that mistake! Let’s get this island steady.
First, grab your tools: a drill, 3-inch L-brackets, and 1.5-inch wood screws. Position two brackets on each corner of the island’s base, inside the frame.
Next, mark the floor through the bracket holes. Drill pilot holes 1-inch deep with a 1/8-inch bit—trust me, this prevents splitting! Secure brackets to the floor, then the island. Boom, it’s solid! No wobbles now—phew!
10. Add Storage Drawers
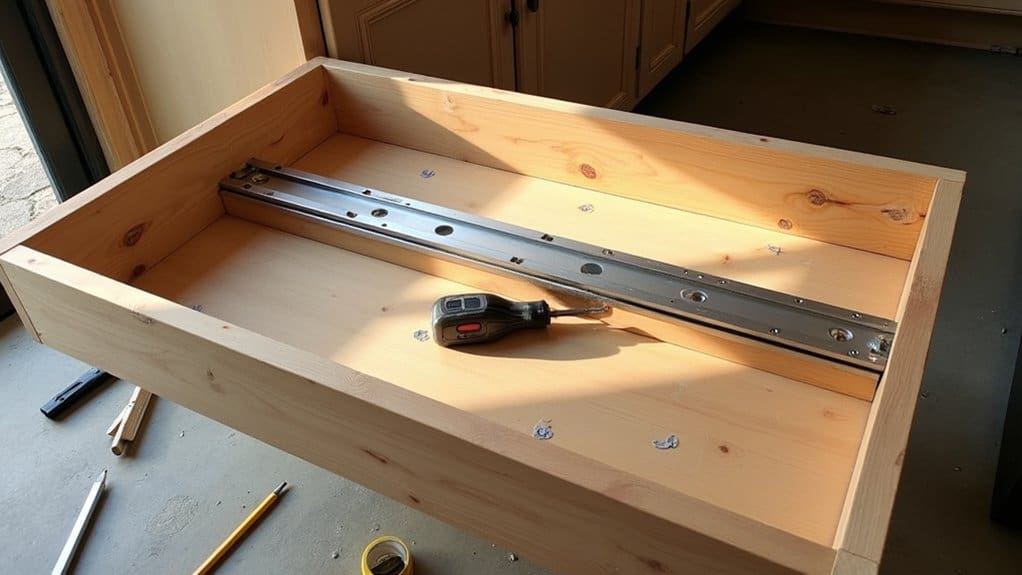
While we’ve already got a rock-solid kitchen island, let’s make it even better by adding storage drawers! Man, I’m pumped to boost the storage—my kitchen’s a mess!
First, measure your island’s base for drawer spaces. Aim for two 24-inch wide by 18-inch deep spots. Grab pre-made drawers from Home Depot; I snagged some for cheap!
Now, install them with these steps:
- Mark spots with a pencil.
- Screw in drawer slides—use 22-inch slides for stability.
- Slide drawers in. Test ‘em!
Oops, I misaligned one once—total chaos! You’ve got this, though. Let’s organize!

