Hey, let’s build a kitchen cart together! I’ve had my share of DIY blunders—once I measured wrong and ended up with a wobbly mess—but I’m here to guide you. Start by grabbing a tape measure and checking your kitchen space; aim for a cart about 36 inches wide to fit nicely. Curious how to avoid my mistakes and nail this project? Stick with me for the next steps!
Before You Start
Before you immerse yourself in building your kitchen cart, let’s chat about a few things to prep you for the project. I’ve botched a few DIYs, trust me, so planning is key! Start with a vision.
First, assess your kitchen space. Measure twice—aim for a cart about 36 inches wide to fit tight corners. Got a tiny nook? Adjust it!
Next, consider your skill level. Don’t plunge into fancy joints if you’re a newbie; keep it simple! I once overreached and ended up with a wobbly mess—ugh! Think about your timeline too. Can you finish in a weekend? Plan smart!
What You Will Need
While you’re gearing up to build that awesome kitchen cart, let’s plunge into the stuff you’ll need to get started. I’ve had my share of DIY oopsies, so trust me, having everything ready saves headaches!
Gather these essentials, folks, and let’s avoid any “where’s my hammer” moments!
- Wood planks: Grab 2x4s, about 8 feet long, for a sturdy frame.
- Screws: Get 2-inch wood screws, a 50-pack should do.
- Wheels: Pick four 3-inch casters for easy rolling.
- Sandpaper: Medium-grit, for smoothing rough edges.
- Drill: A cordless one’s best for tight spots.
You’re set now! Let’s roll up our sleeves!
Step-by-Step Guide
Hey, let’s get rolling on building your kitchen cart—I’m so pumped to guide you through this! Start by measuring your kitchen space accurately, grabbing a tape measure to verify your cart fits just right, and don’t skip selecting sturdy materials like oak or heavy-duty plywood to avoid a wobbly mess (trust me, I’ve been there!). Then, gear up to cut your wooden frame pieces, assemble them securely, and attach those caster wheels for easy moving—let’s make this a fun win!
1. Measure Kitchen Space Accurately
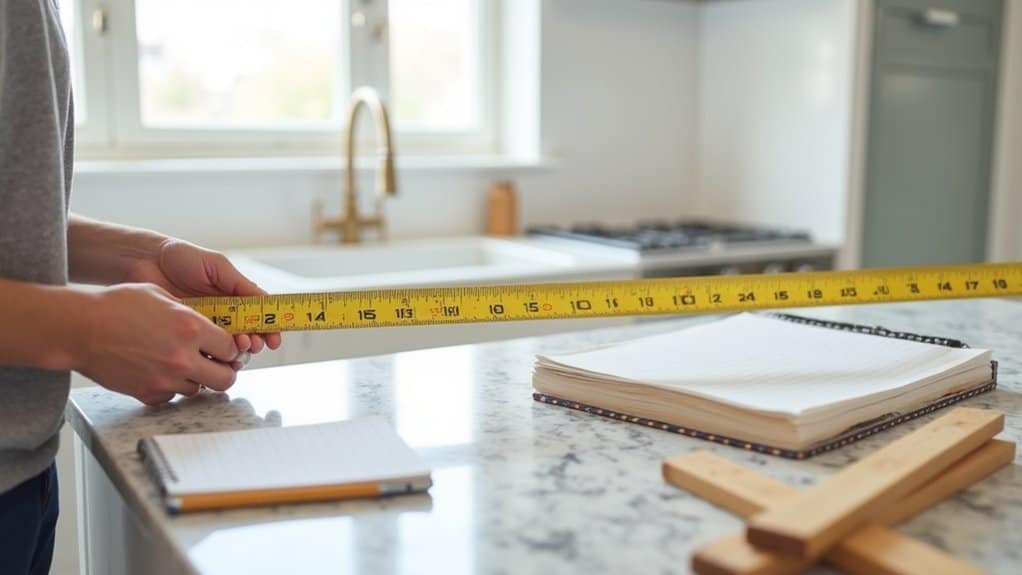
Accuracy is the name of the game when you’re sizing up your kitchen for a new cart! I’ve messed up measurements before, and trust me, squeezing a too-big cart into a tiny spot is a comedy of errors! Let’s avoid that headache.
Grab a tape measure and check your space. Measure width, depth, and height where the cart will go. Write down exact numbers—say, 30 inches wide by 18 inches deep. Double-check corners and doorways!
Man, I once forgot a doorway clearance and got stuck! Use these steps, and you’ll nail the perfect fit. Wow, what a relief!
2. Select Durable Cart Materials
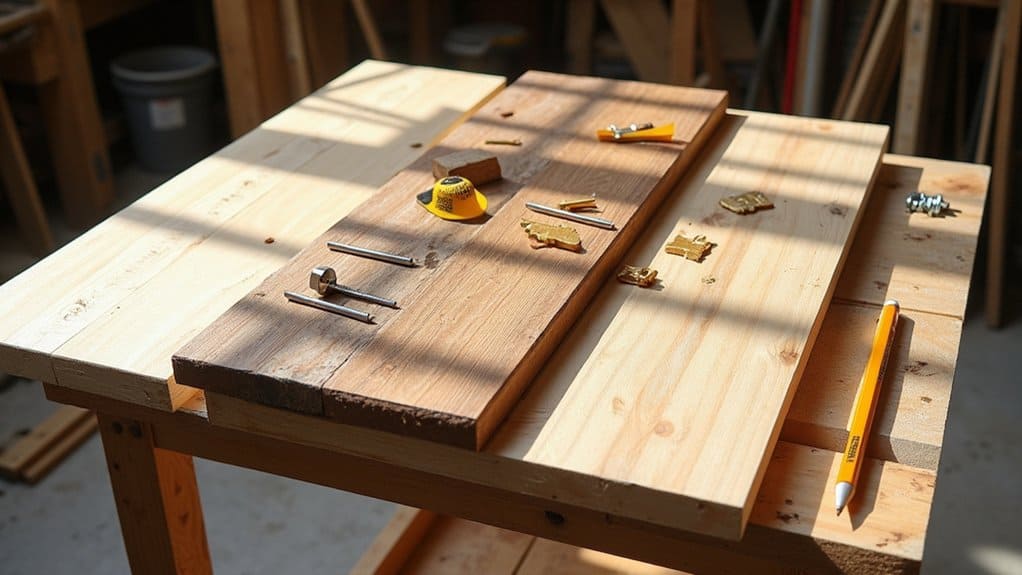
As soon as you’ve got your kitchen measurements locked in, let’s plunge into picking the right materials for your kitchen cart! Man, I’ve botched this before with flimsy stuff—don’t make my mistake!
Start with sturdy wood like oak or maple for the frame; they’re tough and last forever. Grab ¾-inch thick boards for stability. For the countertop, pick butcher block or stainless steel—super durable!
Quick checklist:
- Oak boards: ¾-inch, 2×4 feet.
- Butcher block top: 1.5-inch thick.
- Screws: 2-inch, rust-resistant.
Trust me, solid materials save headaches later. Let’s build something epic, okay? Wow, we’re rolling now!
3. Cut Wooden Frame Pieces
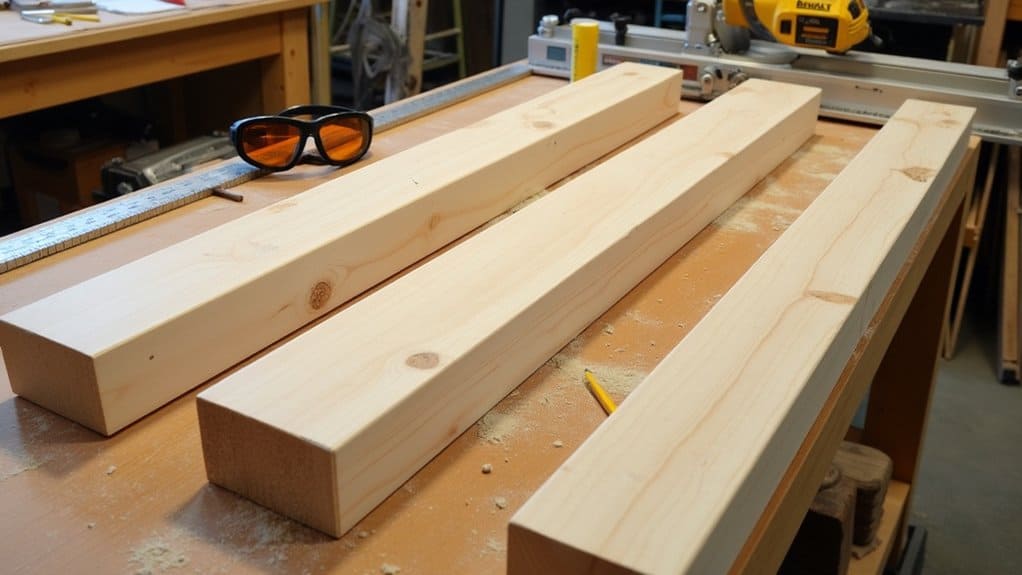
Dive right into cutting those wooden frame pieces for your kitchen cart! I’ve botched a cut or two myself, so let’s nail this together! Grab your saw—I swear by my trusty DeWalt miter saw—and get ready.
Cutting Basics: Measure twice, cut once! Use a pencil to mark:
- 4 pieces of 2×2 pine at 30 inches for legs.
- 4 pieces at 24 inches for side supports.
Safety First: Wear goggles—don’t skip ‘em! Set your wood on a stable workbench. Saw slowly; a wobbly cut’s a disaster waiting to happen. Man, I’ve learned that the hard way!
4. Assemble Frame Securely
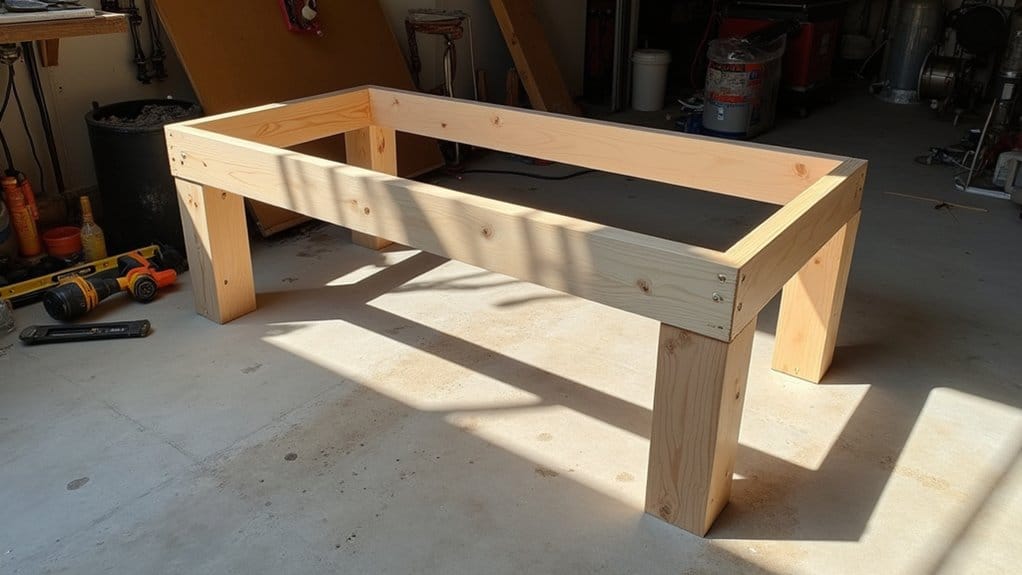
Let’s get that kitchen cart frame together with some serious strength! I’ve botched a wobbly frame before, so trust me, we’re nailing this! Grab your drilled wooden pieces—those 2x4s cut to 36 inches for legs and 24 inches for crossbars.
First, align two legs with a crossbar. Use a drill and 3-inch wood screws to secure them at right angles—nice and tight! Repeat for the other side. Now, connect both sides with two more crossbars at the top and bottom.
Man, feels solid already! Double-check with a square; don’t let crookedness sneak in like last time!
5. Attach Caster Wheels
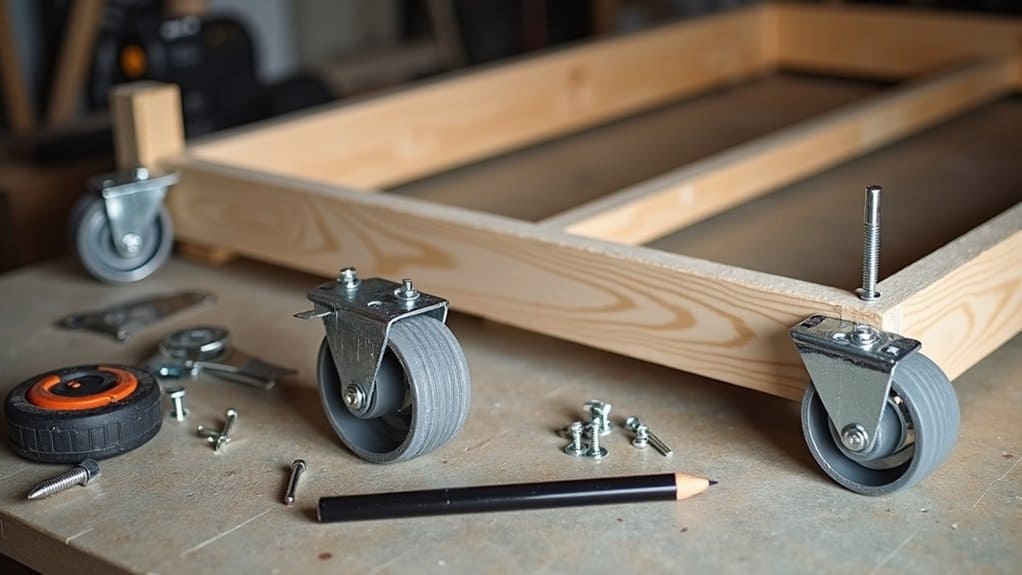
Hey, now that we’ve got this kitchen cart frame standing tough, it’s time to make it mobile with some caster wheels! I remember my first DIY cart—wheels went on crooked, and it wobbled like a toddler. Let’s avoid that mess!
Grab four 3-inch heavy-duty caster wheels with brakes. Flip your frame upside down.
- Mark each corner 1 inch from the edge.
- Drill pilot holes with a 1/8-inch bit.
- Secure each wheel with 1-inch screws—tighten ‘em good!
Check they spin smooth. There’s nothing worse than a stuck wheel. Now, roll that cart around. Sweet mobility, right?!
6. Install Adjustable Shelves
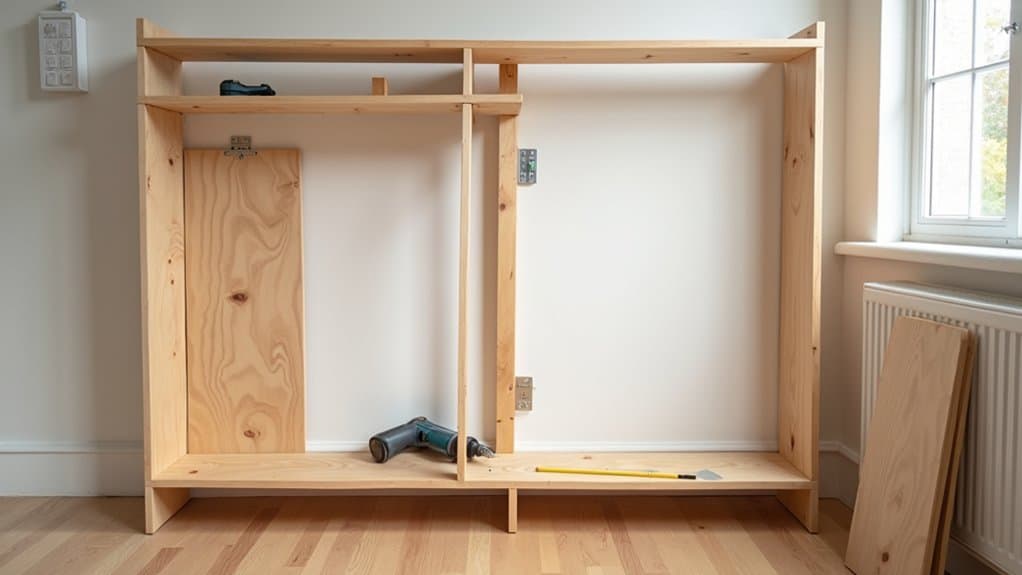
While your kitchen cart is already rolling like a champ, it’s time to add some serious storage with adjustable shelves! Man, I’ve botched this before, so let’s nail it together! Grab your drill and let’s get started.
First, measure the inside of your cart. Mark spots for shelf brackets every 6 inches along the side panels using a pencil. You’ll need four brackets per shelf—trust me, stability matters!
Next, drill pilot holes (1/8-inch bit) at your marks. Screw in the brackets tightly. Slide in your ¾-inch plywood shelves. Boom! Custom storage, and no wobbly mishaps—yet!
7. Apply Protective Finish
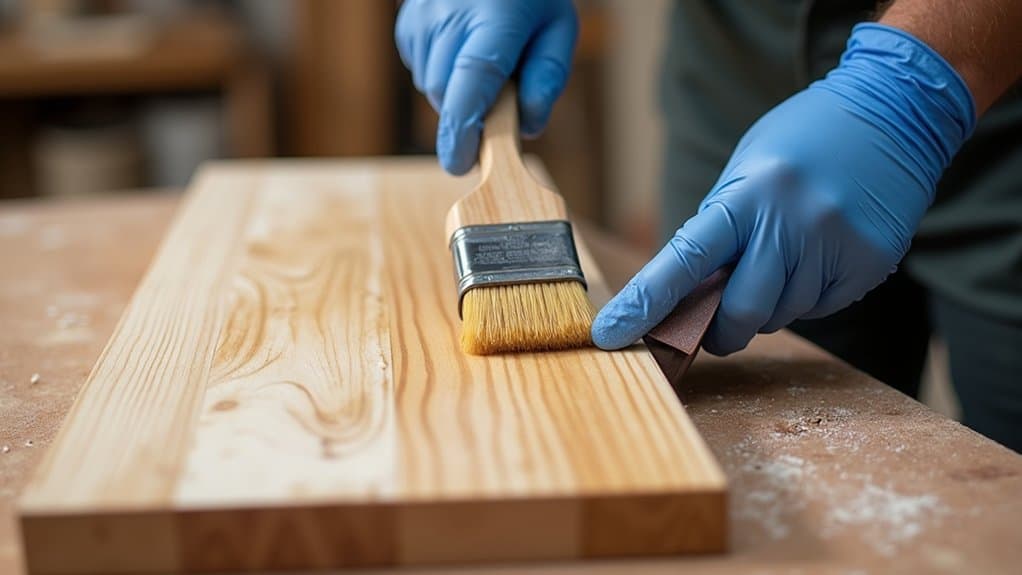
Time to switch gears from shelving to making your kitchen cart shine with a protective finish! I’ve botched this step before, so trust me, it’s essential! Let’s seal that wood to keep it safe from spills.
First, grab a water-based polyurethane—like Minwax Polycrylic—and a 2-inch synthetic brush. Sand your cart lightly with 220-grit sandpaper to smooth it. Wipe off dust with a damp cloth!
Next, apply a thin coat of finish, following the wood grain. Don’t overbrush, or you’ll get bubbles—yikes! Let it dry for 2 hours, then add another coat. Wow, it’s looking slick already!
8. Add Countertop Surface
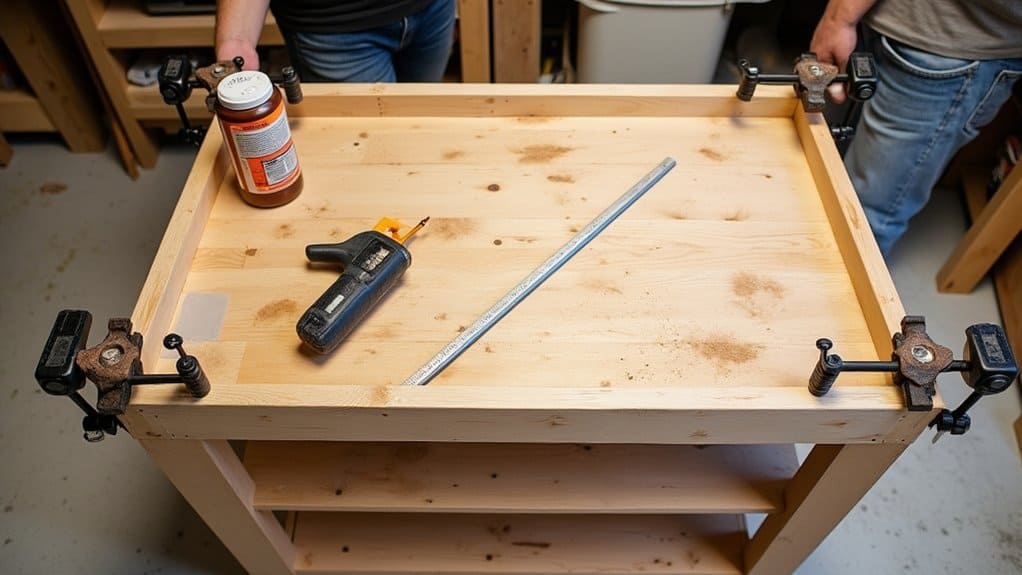
Man, we’ve got five key steps down, and now it’s time to crown your kitchen cart with a stellar countertop surface! I’m pumped to see this come together, and I bet you are too!
First, pick your material—go for a 24”x36” butcher block or laminate sheet from Home Depot. Measure twice, ‘cause I’ve cut wrong before, and it’s a bummer! Grab a jigsaw and trim if needed.
Then, sand edges smooth with 120-grit sandpaper. Finally, secure it with wood glue and clamps overnight. Check alignment—wobbly tops are no joke! You’ve got this, let’s make it shine!
9. Secure Handle Installation
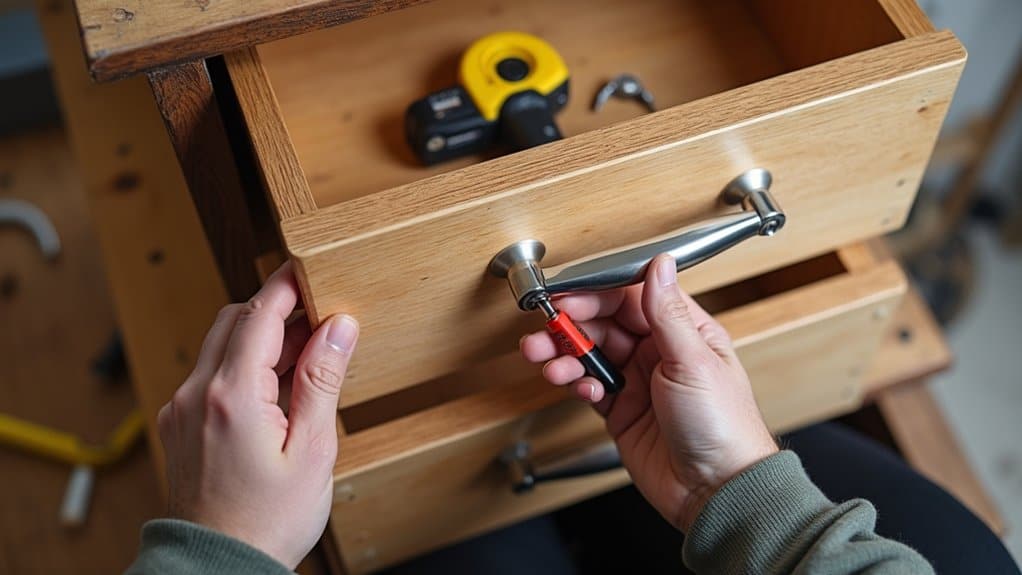
Hey there, let’s tackle one of the final touches on this kitchen cart—securing those handles with a rock-solid installation! Man, I’ve messed this up before, so trust me, precision’s key!
First, grab your handles—mine are 5-inch stainless steel ones from the hardware store. Position them 2 inches from the drawer’s top edge. Mark the screw holes with a pencil.
Now, drill pilot holes using a 1/8-inch bit—don’t skip this, or you’ll split the wood! Secure with the provided 1-inch screws. Tighten ‘em up, but don’t overdo it. Wow, look at that—handles ready for action!
10. Test Cart Stability
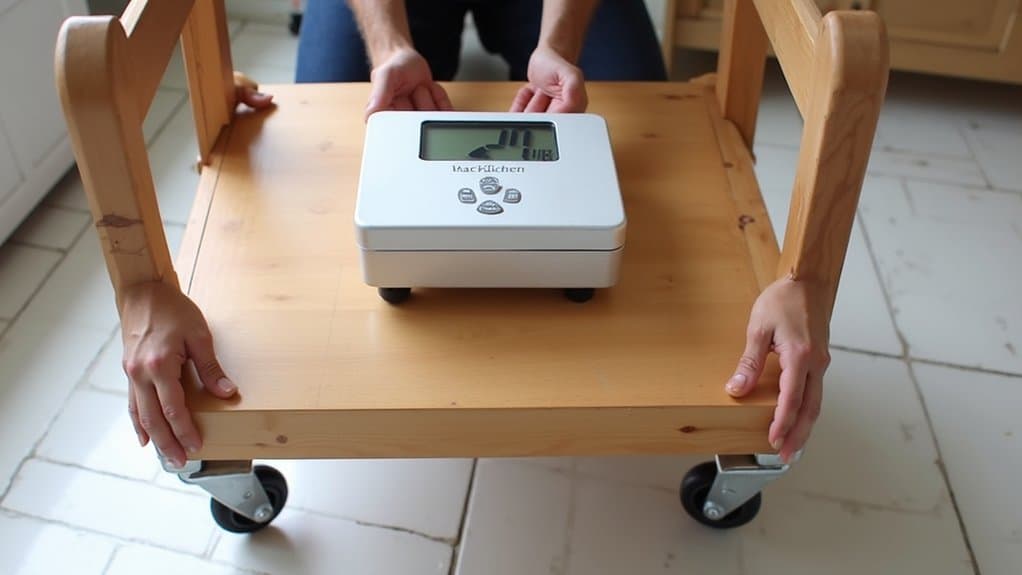
Before we roll this kitchen cart into action, let’s make certain it’s steady as a rock! I’ve had carts tip over mid-dinner prep—total chaos! So, trust me, this step’s essential.
First, place your cart on a flat floor. Push it gently from all sides. Does it wobble?
If it does, check these:
- Tighten all screws with a 1/2-inch wrench.
- Verify casters (those rolling wheels) lock properly—give ‘em a spin!
- Add felt pads under legs if it’s uneven.
Test it again by loading 20 pounds on top. Steady now? Awesome! If not, let’s tweak it together!


