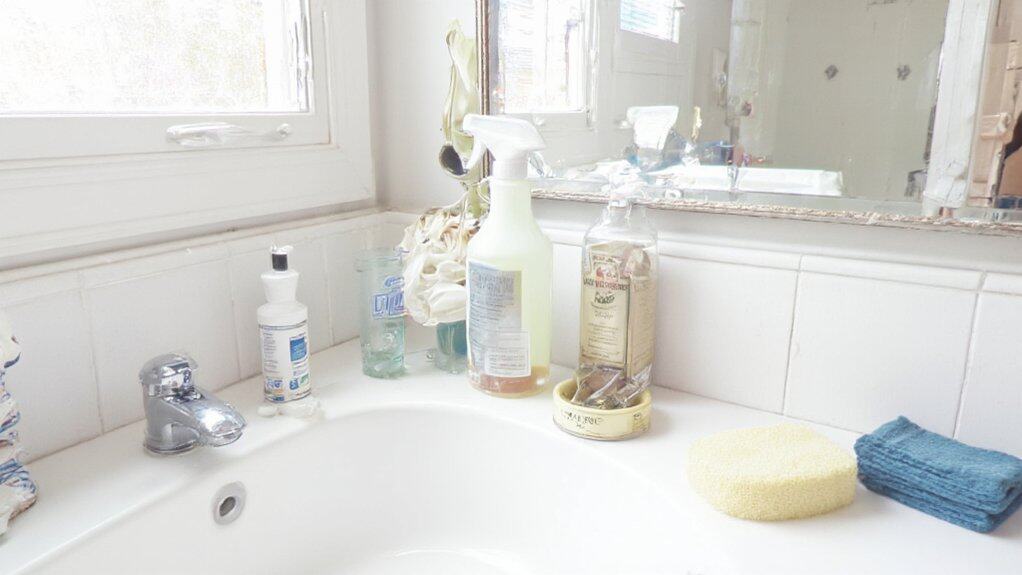
Crafting a countertop, creating a space, and customizing your bathroom can be a thrilling ride! I’ve tackled this DIY project myself, and let me tell you, it’s rewarding despite the occasional glue mishap—yep, I’ve stuck my fingers together! So, grab your measuring tape, and let’s get started with the basics. Wanna avoid a wobbly disaster? Stick with me for the next steps to nail this project!
Before You Start
Before you jump into making your bathroom countertop, let’s hit pause and talk prep—trust me, it’s a game-changer! Ugh, I’ve botched projects by skipping this, and it’s a mess! So, don’t skip these steps.
First, Assess Your Space! Measure your bathroom vanity width and depth—down to the inch (mine was 48” x 22”). Write it down!
Next, Check for Obstacles. Look for weird angles or pipes. I once ignored a drain pipe—disaster!
Finally, Plan Your Design. Sketch it out. Will it be sleek or rustic? Prep now saves headaches later—trust me on this!
What You Will Need
Alright, let’s plunge into the toolbox for this bathroom countertop project! I’m thrilled to help you gather what you need, ‘cause trust me, I’ve botched a DIY or two by forgetting stuff! First, let’s list the must-haves to spark that “I’ve got this” feeling.
Here’s what’ll make you feel unstoppable:
- Plywood Sheet (3/4 inch thick, 4×8 feet) – Your sturdy base; I once used thinner wood and—yep—disaster!
- Tile Adhesive (1-gallon tub) – Sticky magic for securing tiles tight.
- Ceramic Tiles (12×12 inches, 20 pieces) – Pick a color that screams “you”!
Get these, and we’re rolling!
Step-by-Step Guide
Hey there, let’s get started on crafting your dream bathroom countertop with some easy steps I’ve learned the hard way—oops, don’t ask about my first saw mishap! You’ll kick things off by measuring your countertop dimensions, picking the right material, cutting it with precision, installing sturdy support brackets, and finally securing that shiny surface in place. Stick with me, and I promise we’ll avoid any DIY disasters together—well, fingers crossed!
1. Measure Countertop Dimensions
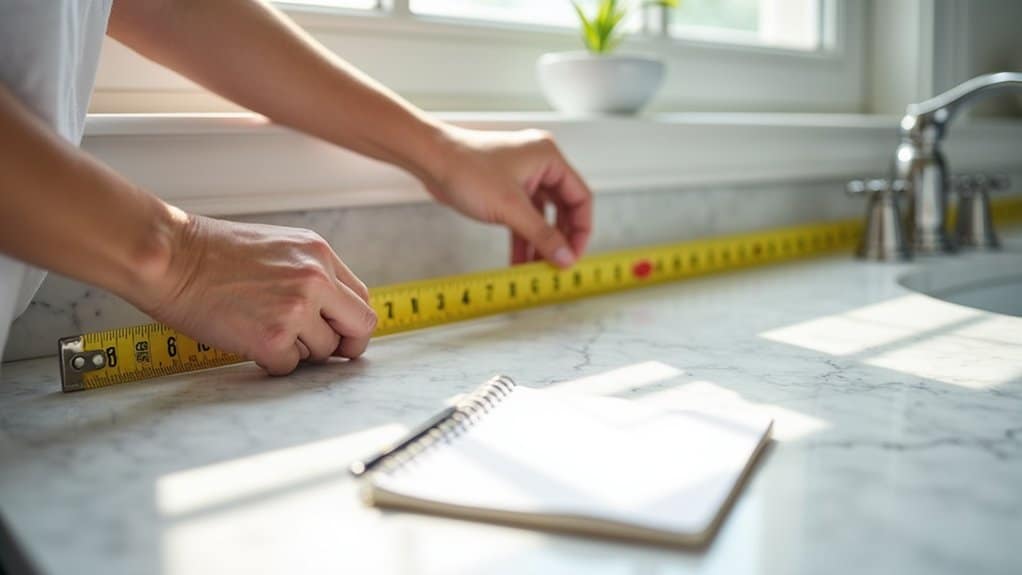
Man, measuring your bathroom countertop dimensions is such an essential first step, and I’m pumped to walk you through it! Gotta get this right, or you’ll end up with a wonky fit—trust me, I’ve been there!
Start with a tape measure. Grab one that’s at least 25 feet long for accuracy.
- Clear the counter space completely.
- Measure length from wall to wall—write it down!
- Check width from back to front. Double-check, folks!
I once messed up by an inch and had to redo everything. Ugh! Use centimeters or inches, but stay consistent for a perfect fit!
2. Choose Countertop Material
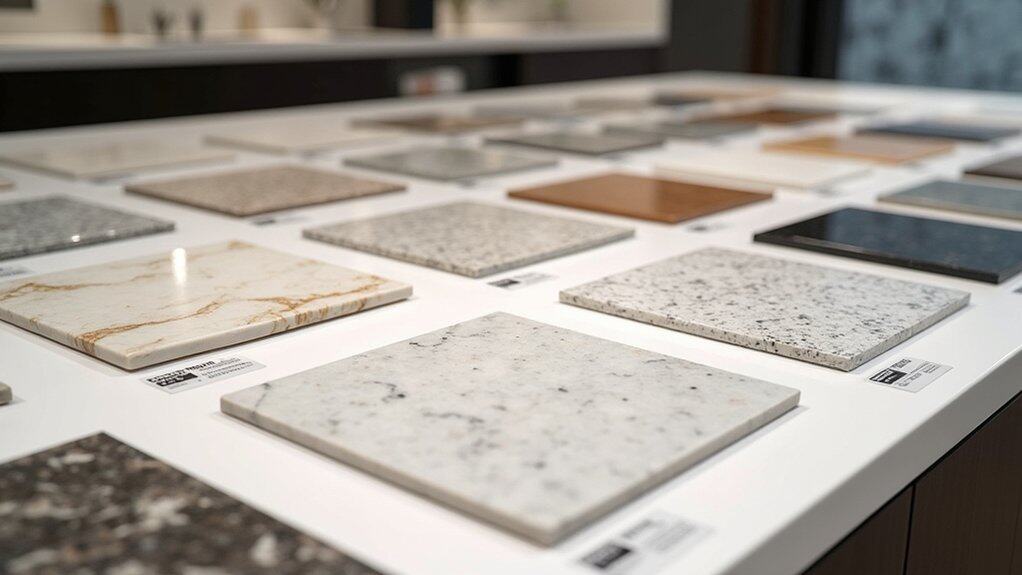
Deciding on the right countertop material is your next big step, and I’m thrilled to help you nail it! Man, I’ve had my share of DIY flops, like picking a material that crumbled faster than a cookie!
Let’s explore options. Consider granite for durability—it’s tough and classy! Or try quartz; it’s low-maintenance and stunning. Laminate’s budget-friendly, around $20 per square foot, but watch for scratches (yep, learned that the hard way!).
Quick Tips:
- Match your bathroom vibe.
- Check weight—granite’s heavy!
- Set a budget first.
Pick wisely, and you’ll love your countertop for years! Let’s do this right!
3. Cut Material Precisely
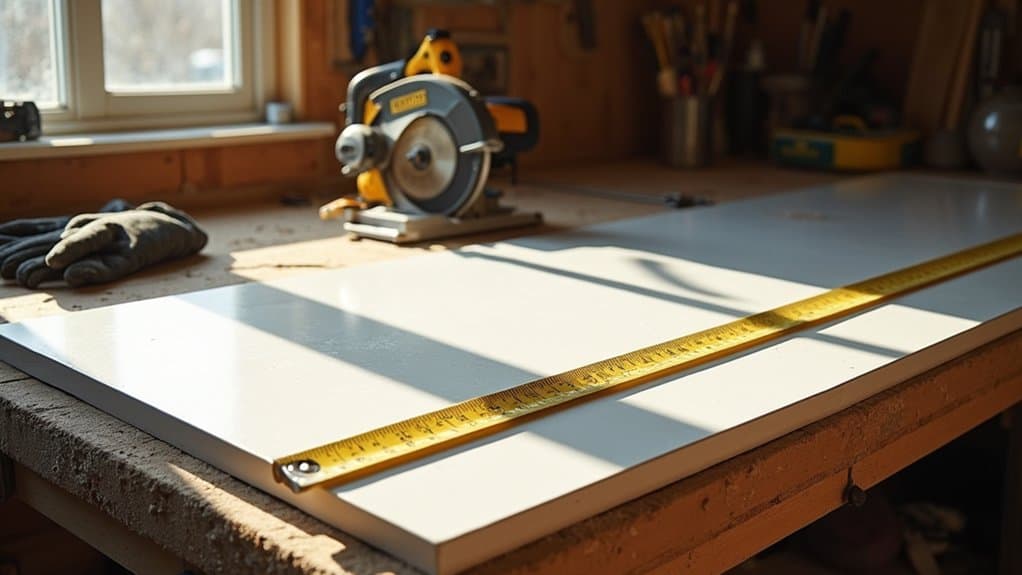
Gear up for the exciting part—cutting your countertop material to fit just right! Man, I’ve botched this before, so let’s nail it together. Grab your tools and listen up!
First, measure twice—yes, twice! Use a tape measure to mark exact dimensions, say 24”x48” for a standard vanity. Draw straight lines with a pencil.
Next, secure your material on a stable surface. Use a circular saw (I love my old DeWalt!) for clean cuts. Follow your lines slowly—don’t rush, or you’ll goof like I did once!
Finally, sand edges lightly. Look at that perfect fit! Wow!
4. Install Support Brackets
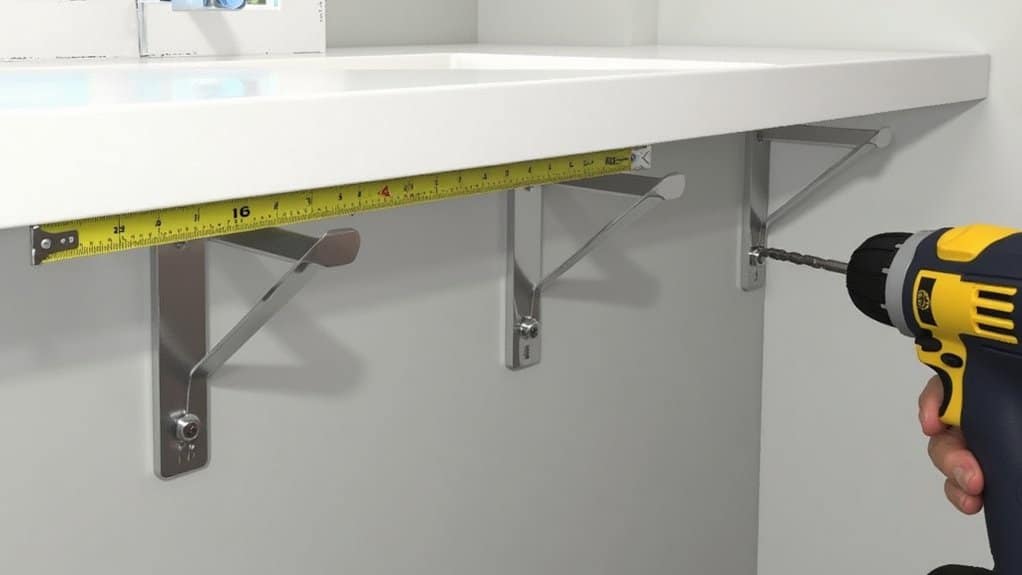
Hey there, now that we’ve got our countertop cut nice and neat, let’s get it propped up right with some solid support brackets! I’ve messed up before, thinking I could skip this—disaster! Don’t risk a wobbly mess.
First, grab heavy-duty L-shaped brackets, at least 6 inches long, from your local hardware store. Position them every 18-24 inches along the wall studs. Mark spots with a pencil!
Next, drill pilot holes—1/8 inch bit works great—and screw ‘em in tight with 2-inch screws. Double-check they’re level. Trust me, sturdy brackets save headaches later! Ain’t that a relief?
5. Secure Countertop Surface
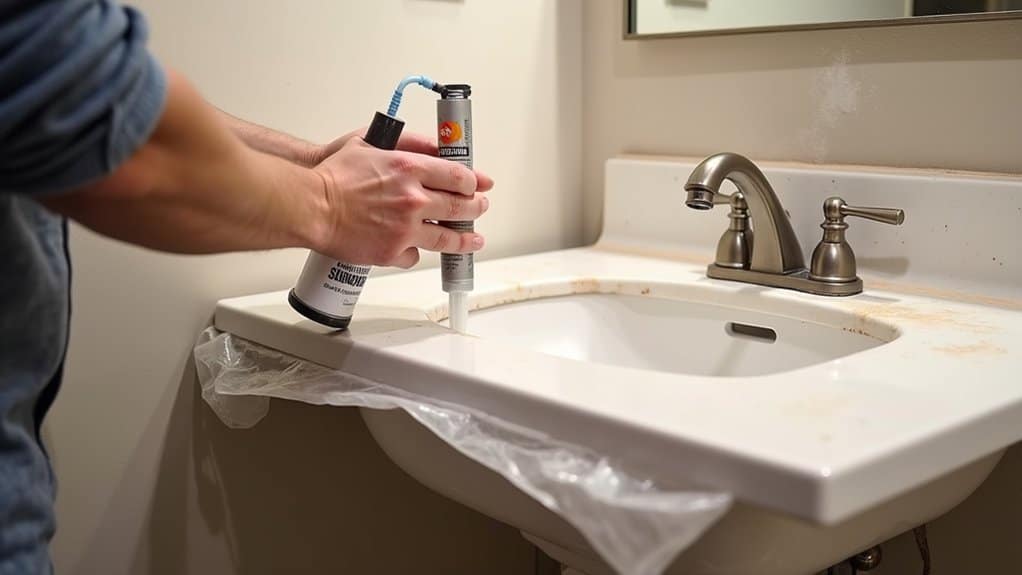
While we’ve got those brackets locked in, it’s time to secure that countertop surface and make it rock-solid! Man, I’ve messed this up before—thought it was fine, then bam, wobbly mess! Let’s avoid that disaster together.
First, grab your silicone adhesive—get a heavy-duty one like GE Supreme, about $8 at hardware stores. Apply a ¼-inch bead along the bracket tops.
Now, lower your countertop—mine’s a 24×48-inch quartz—slowly onto those brackets. Press down hard for 30 seconds! Check it’s level with a 2-foot spirit level (a must-have tool). If it’s off, nudge it quick before the adhesive sets!
6. Apply Waterproof Sealant
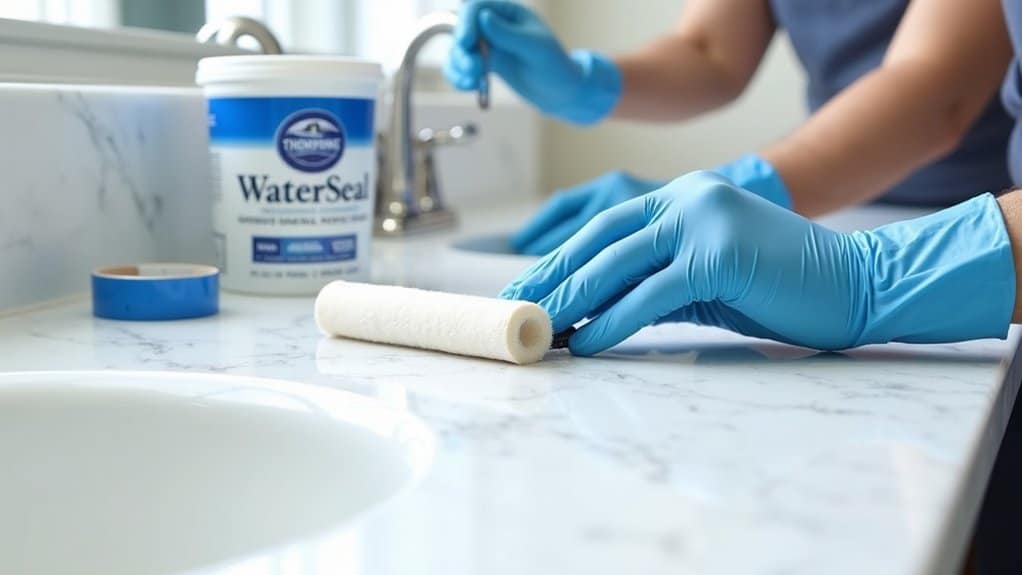
Dive right into sealing that bathroom countertop with a waterproof sealant—let’s keep those leaks at bay! Man, I’ve had my share of soggy disasters, so trust me, this step’s a lifesaver!
First, gather your gear:
- A quality sealant (I swear by Thompson’s WaterSeal, about $15 at hardware stores)
- A small brush or roller
- Painter’s tape for edges
Now, clean the countertop—no dust or grime, okay? Apply the sealant in thin, even coats, covering every inch. Let it dry for 4 hours between coats. Two layers usually do it. Whew, no leaks now!
7. Attach Decorative Edge Trim
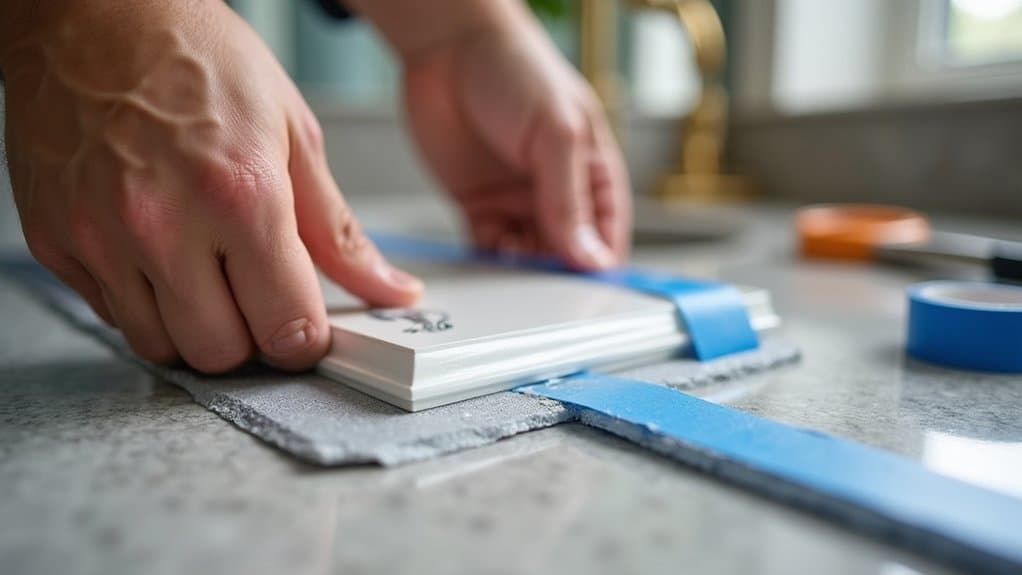
Creativity is key now that we’re moving on to attaching decorative edge trim to your bathroom countertop! I’m excited to help you add this flair—trust me, it’s worth it! Let’s jazz up those edges with style.
First, grab your trim—say, a 1-inch wide vinyl edge banding from a hardware store. Measure your countertop’s perimeter exactly, using a tape measure. Cut the trim with scissors, adding an extra inch for overlap.
Next, apply wood glue to the trim’s back. Press it firmly along the edge. Secure with painter’s tape overnight. Whew, no glue mishaps! You’ve got this!
8. Install Sink Cutout
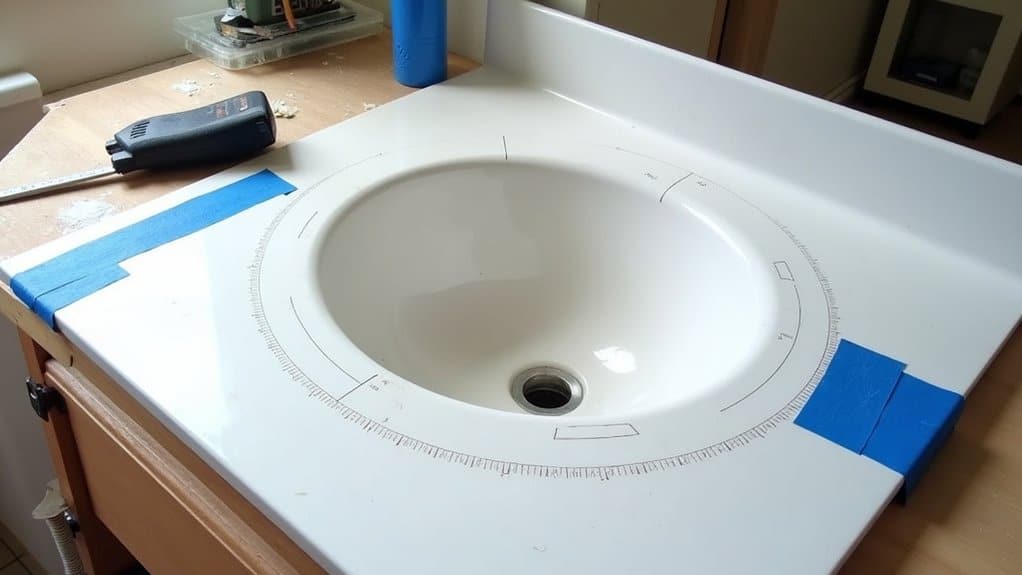
Hey there, let’s move from sprucing up those edges to tackling the sink cutout for your bathroom countertop! I’ve botched this before, so trust me, precision’s key! Grab your jigsaw and let’s get started.
First, measure your sink’s dimensions—most undermount sinks need a cutout 1/2 inch smaller than the rim. Trace it on your countertop with a pencil. Double-check, ‘cause mistakes hurt!
Now, drill a starter hole inside the line. Carefully guide that jigsaw along your mark. Go slow—I’ve rushed and regretted it! Sand the edges smooth with 120-grit sandpaper. Look at that, you’re killing it!
9. Connect Plumbing Fixtures
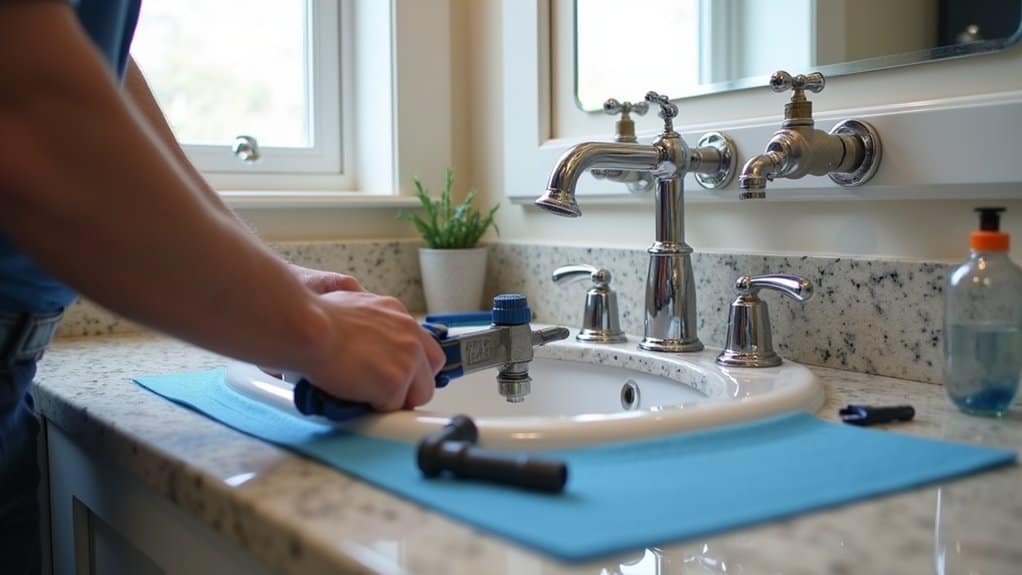
After getting that sink cutout just right, it’s time to hook up the plumbing fixtures and bring this countertop to life! Man, I’ve botched this before, so let’s get it perfect together!
First, grab your tools: adjustable wrench, plumber’s tape, and a 1/2-inch supply line. Turn off the water—trust me, you don’t want a surprise shower!
Next, follow these steps:
- Wrap plumber’s tape around faucet threads.
- Secure the faucet to the sink with nuts.
- Connect the 1/2-inch lines to shut-off valves.
Tighten gently with your wrench. Phew, no leaks yet! Let’s keep it that way!
10. Test Countertop Stability
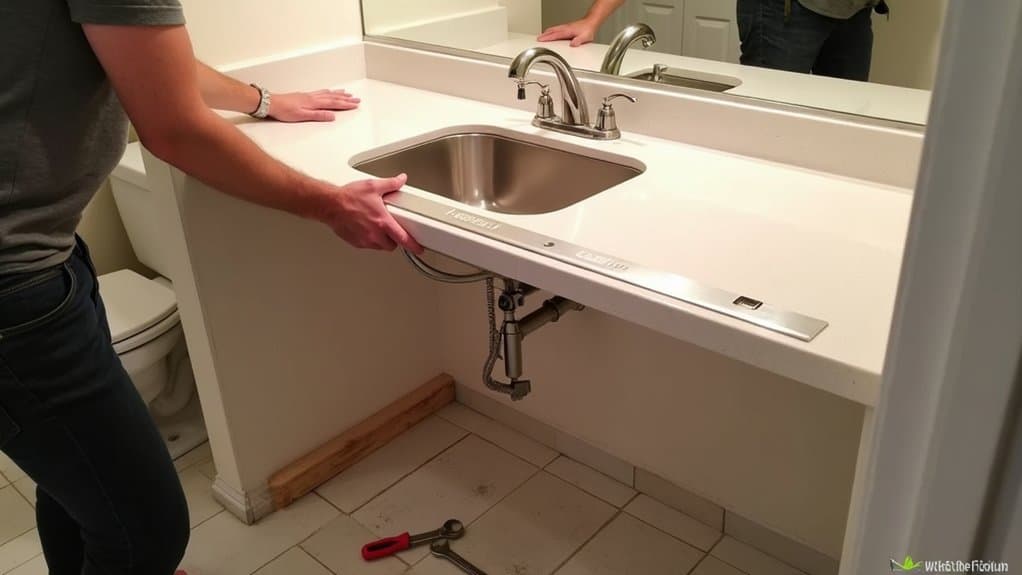
Man, now that we’ve got the plumbing hooked up, let’s make sure this bathroom countertop isn’t gonna wobble like my first DIY disaster! I’ve been there, folks—shaky counters are no joke!
First, grab a level tool (like a 24-inch Stanley) and check the surface. Place it across the 36-inch width. Any tilt? Shim under the base with 1/8-inch wood strips until it’s perfect. Wow, stability matters!
Next, push down hard on all corners. Hear creaks? Tighten those mounting brackets with a 1/2-inch wrench. Trust me, a solid countertop feels amazing! Let’s avoid my past flops!

