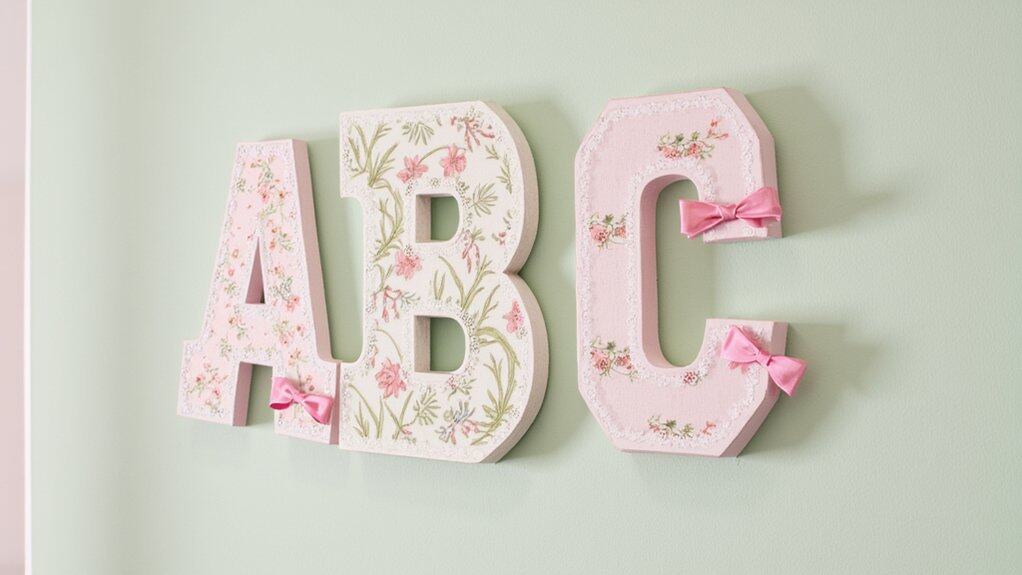
Decorating wooden letters for a nursery can transform a plain space into something special. Start by grabbing your supplies—wooden letters (about 8-12 inches tall), pastel paints, and a small brush. You’ll paint them first, but there’s a specific way to get that smooth finish. “Always sand lightly before painting for better adhesion,” advises craft expert Lisa Monroe. Want to know the exact steps and drying times? Stick around for the full guide.
1. Paint With Pastel Colors
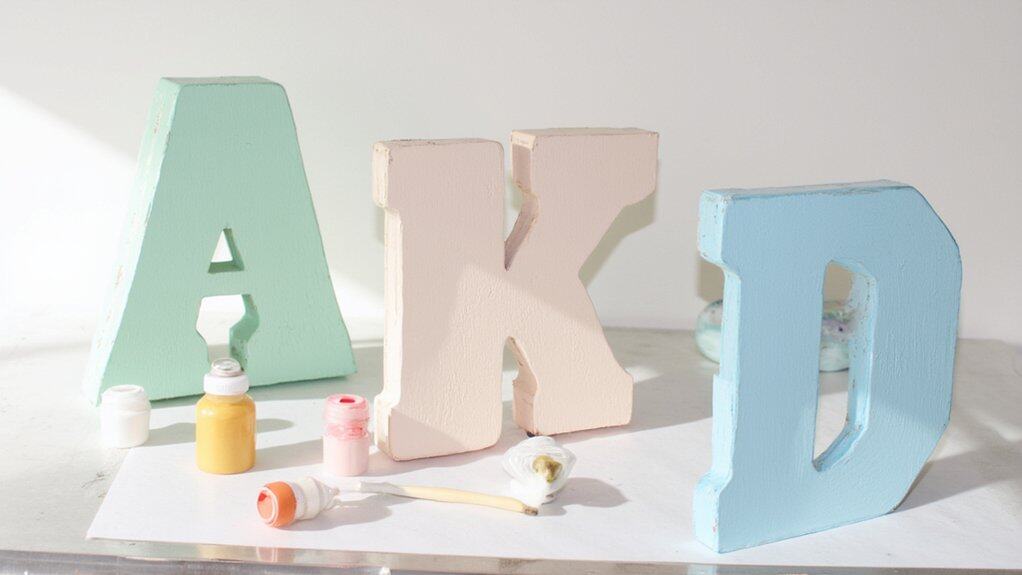
Kick-start your wooden letter decorating with a pastel-color makeover that’s easy and eye-catching. Grab some pastel paints, like soft pink or baby blue, and let’s transform those plain letters into nursery charm. You’ll need about 2-3 coats for full coverage, taking 30 minutes to dry per layer.
Here’s what to do with your supplies:
- Gather pastel acrylic paint (2 oz. per letter).
- Use a 1-inch flat brush for smooth application.
- Sand letters lightly with 120-grit sandpaper for better adhesion.
- Paint in a well-lit area for even strokes.
As expert crafter Jane Smith says, “Pastels create a soothing vibe instantly.”
2. Add Glitter Accents
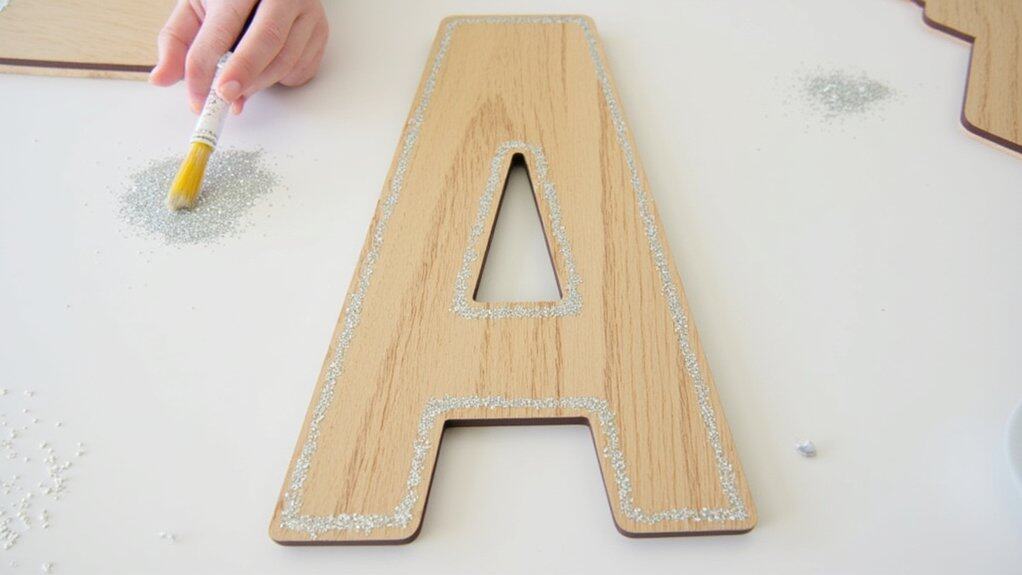
Ready to make your wooden letters sparkle with personality by adding glitter accents? Let’s plunge into this fun step to elevate your nursery decor. Grab some glitter and glue, and follow these precise tips for a dazzling effect.
Here’s how to apply glitter accents:
- Gather Supplies: You’ll need fine glitter, craft glue, and a small brush.
- Apply Glue: Brush a thin layer of glue on edges or specific areas, covering about 1-inch sections.
- Sprinkle Glitter: Dust glitter over glue within 30 seconds for best adhesion.
- Shake Off Excess: After 5 minutes, shake off loose glitter over paper.
3. Apply Floral Stickers
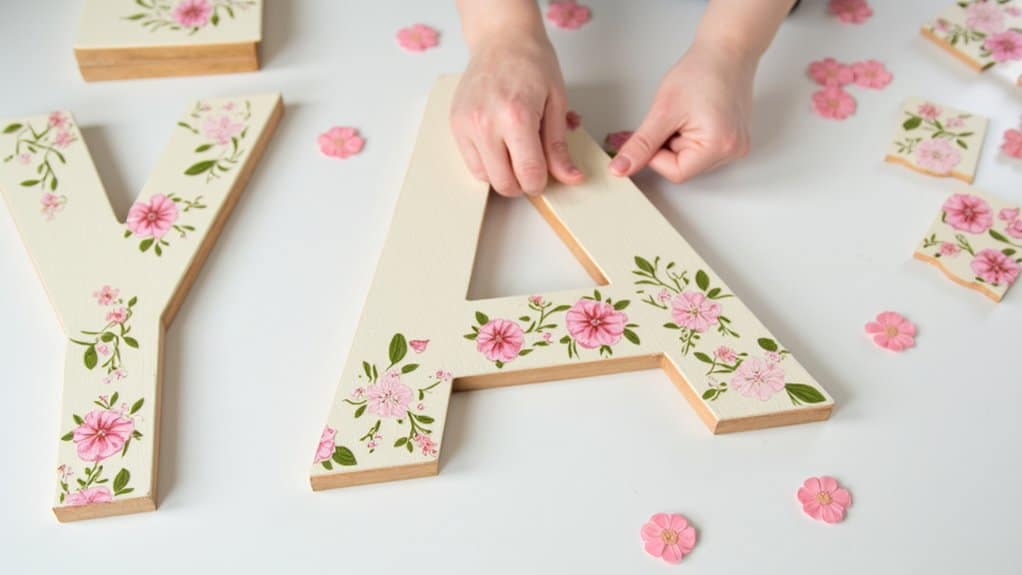
Let’s switch gears from adding glitter to decorating your wooden letters with charming floral stickers for a fresh look. These stickers add a sweet, nature-inspired touch to your nursery decor. You’ll need about 10-15 small stickers per 8-inch letter for full coverage.
Here’s how to apply them:
- Clean the surface: Wipe the letter with a dry cloth to remove dust.
- Plan your design: Lay stickers out before peeling, spacing them 1-2 inches apart.
- Peel and stick: Press each sticker firmly for 5 seconds.
- Seal if needed: Use clear sealant for durability.
4. Attach Soft Fabric Trim
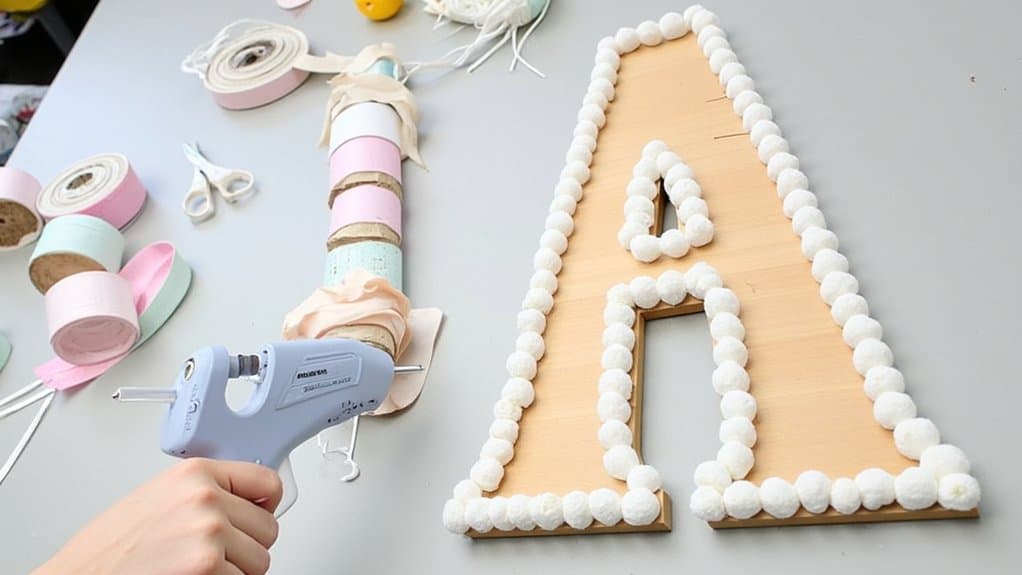
Plunge into a new way to enhance your wooden letters by attaching soft fabric trim for a cozy, textured edge. It’s an easy way to add warmth to your nursery decor. Grab some soft trim—like cotton or felt—about 0.5 inches wide, and follow these steps.
- Measure Carefully: Cut trim to fit each letter’s edges, adding 1 inch for overlap.
- Use Hot Glue: Apply glue in 2-inch sections for a secure hold.
- Press Firmly: Hold trim for 10 seconds to set.
- Trim Excess: Snip off extra fabric for a neat look.
5. Use Polka Dot Decals
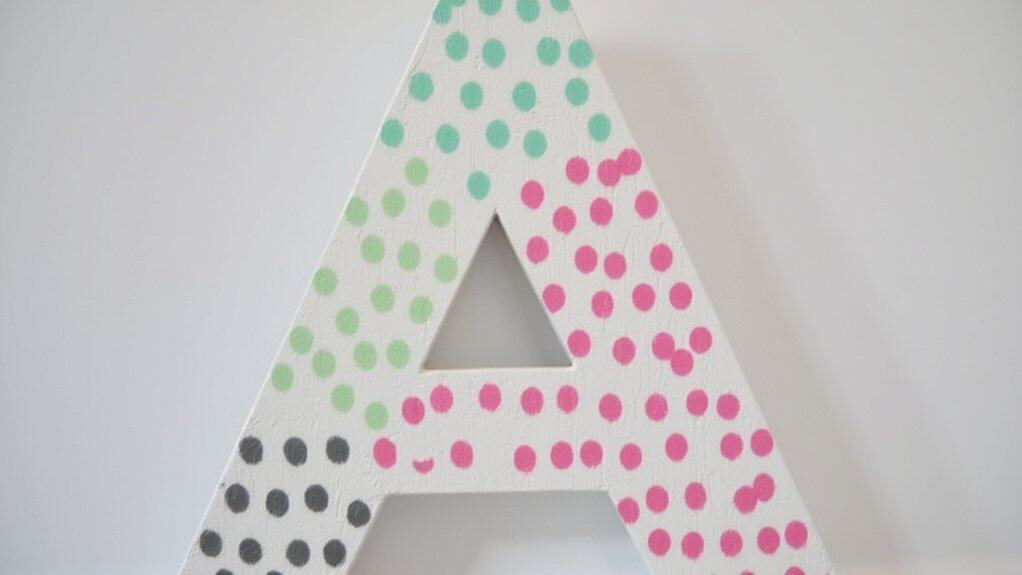
Several fun options exist to jazz up your wooden letters, and using polka dot decals is a fantastic choice. These stickers add a playful, colorful touch to your nursery decor in just minutes. Grab decals in various sizes, like 1-inch or 2-inch dots, for visual interest.
Here’s how to apply them effectively:
- Clean the surface: Wipe the wooden letter with a dry cloth to remove dust.
- Plan placement: Lay out dots on a table first to visualize spacing.
- Peel and stick: Press decals firmly for 10 seconds each.
- Check alignment: Step back 5 feet to verify balance.
6. Wrap With Twine
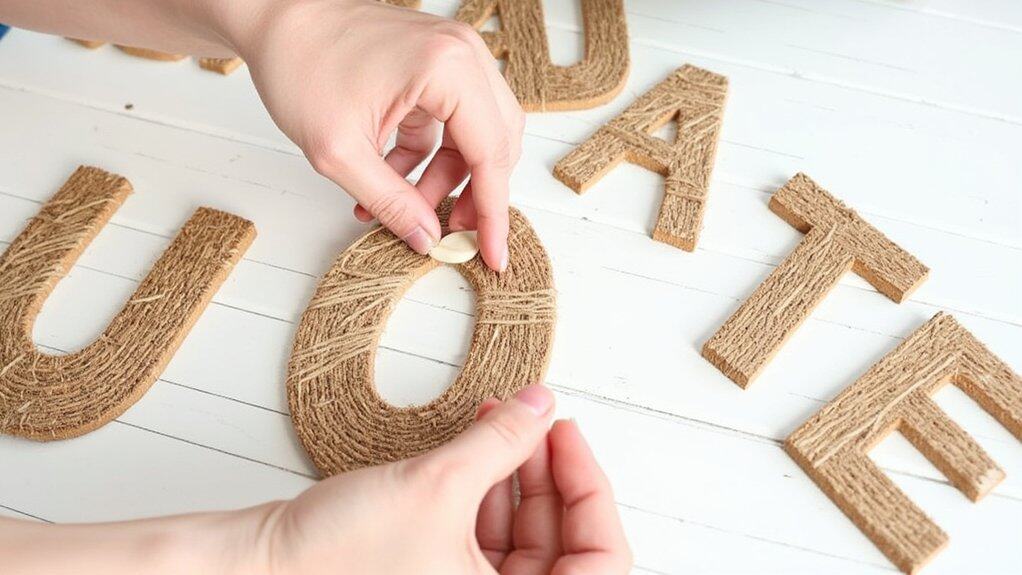
Another creative way to enhance your wooden letters is by wrapping them with twine for a rustic, textured look. You’ll need twine, hot glue, and about 30 minutes per letter. Start by securing the twine’s end with a small dot of glue on the back.
Here’s how to wrap with precision:
- Cut 5 yards of twine per 12-inch letter for full coverage.
- Wrap tightly, overlapping every 1/2 inch to avoid gaps.
- Glue every 3 inches to hold twine in place.
- Finish by trimming excess and gluing the end. As expert crafter Jane Smith says, “Twine adds warmth effortlessly.”
7. Embed Tiny Mirrors
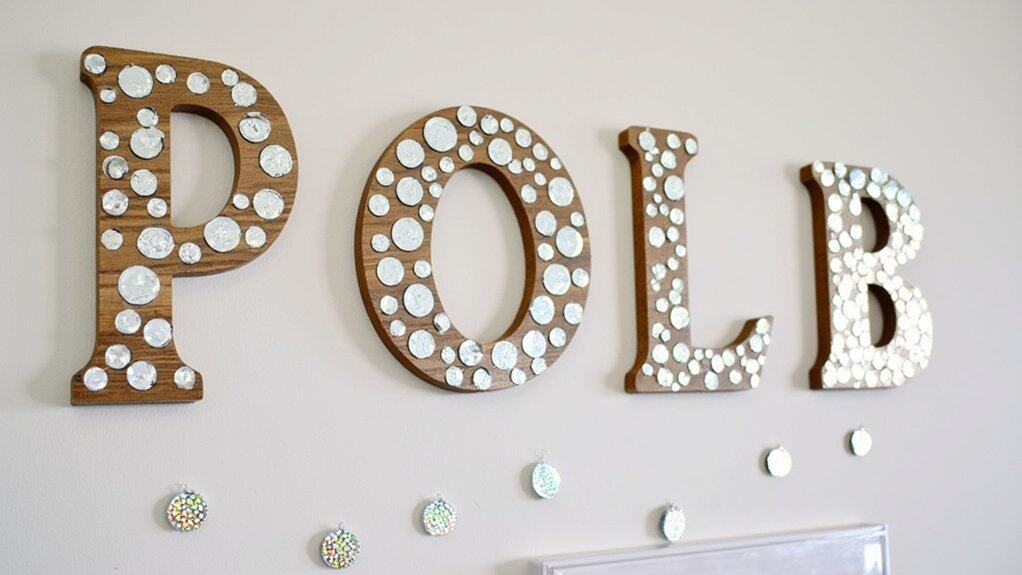
If you’re looking to add a touch of sparkle to your wooden letters, embedding tiny mirrors works beautifully. You can create a dazzling effect with just a few steps, making the nursery shine.
Steps to Embed Mirrors:
- Gather small mirrors, about 0.5 inches in diameter, and strong craft glue.
- Plan your design, spacing mirrors 1 inch apart on the letter’s surface.
- Apply a small dot of glue, then press each mirror down for 10 seconds.
- Let it dry for 24 hours, as expert crafter Jane Doe advises, “Patience guarantees a secure hold for lasting sparkle.”
8. Stamp With Animal Prints
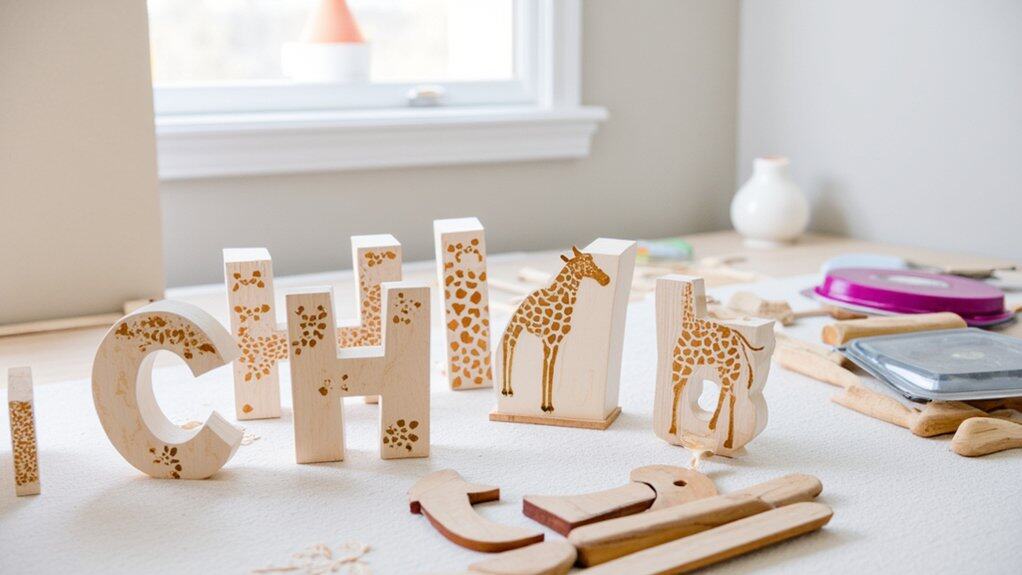
Anyone can transform wooden letters into a playful masterpiece by stamping them with animal prints for a whimsical touch. You’re creating a fun nursery vibe, so let’s get started with this easy technique. Grab your supplies and follow these steps over a 30-minute session.
Here’s what you’ll need for 12-inch wooden letters:
- Animal print stamps (2-inch designs)
- Washable paint (non-toxic, 4 oz)
- Stamp pad or paint tray (6×6 inches)
- Paper towels for quick cleanup
As craft expert Jane Doe advises, “Test stamps on scrap paper first to guarantee even ink coverage before applying to letters.”
9. Add Beaded Embellishments
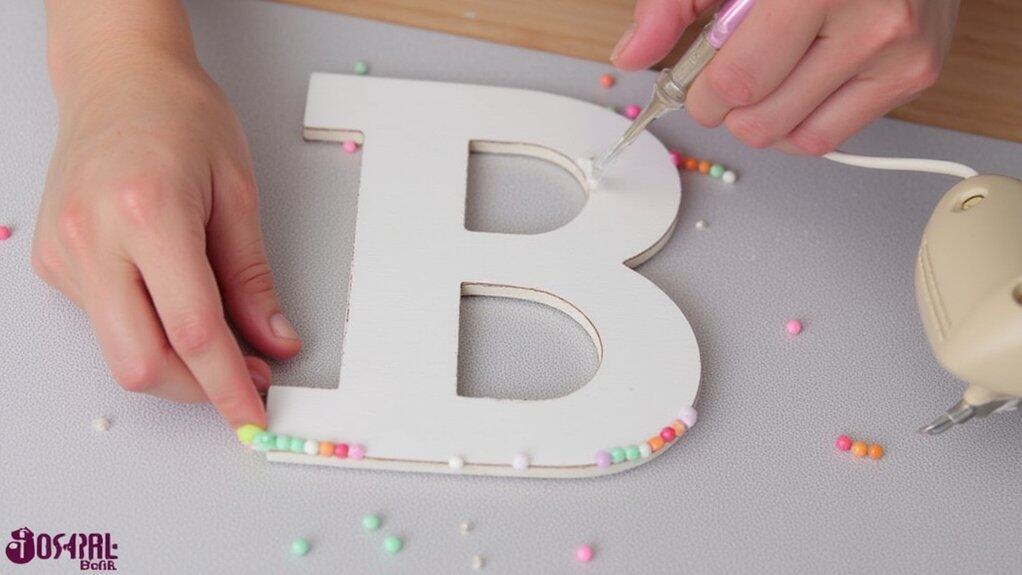
Several creative options await when you decide to elevate your wooden letters with beaded embellishments for a unique flair. You can transform plain letters into eye-catching nursery decor with just a few supplies and about 30 minutes per letter. Grab beads in various sizes, like 6mm or 10mm, and a hot glue gun.
Explore these ideas to customize your project:
- Outline letters: Glue small 6mm beads along edges for a delicate border.
- Fill shapes: Use 10mm beads to fill specific areas for bold texture.
- Mix colors: Combine pastel beads for a soft look.
- Add sparkle: Include metallic beads for subtle shine.
10. Incorporate Lace Borders
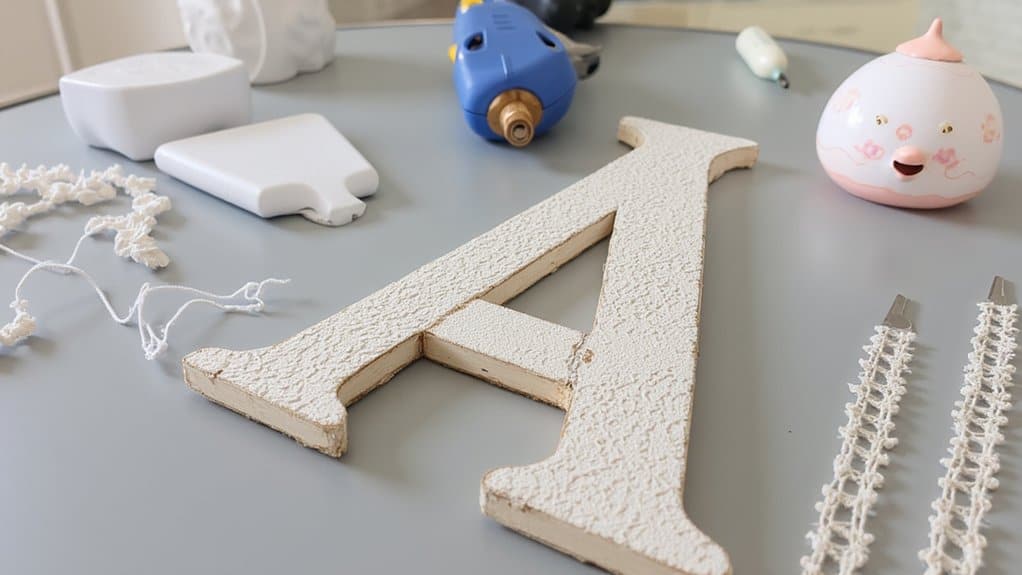
While you’re enhancing your wooden letters, consider adding lace borders for a charming, vintage touch that’s easy to achieve. Lace adds a soft, delicate look, perfect for a nursery, and it’s simple to apply with some glue.
Here’s how to do it:
- Measure Lace: Cut lace to fit each letter’s edge, adding 1 inch extra for overlap.
- Glue Lace: Use hot glue to attach lace along the border, pressing for 10 seconds.
- Trim Excess: Snip any extra lace neatly with scissors.
- Dry Time: Let it set for 30 minutes before hanging.

