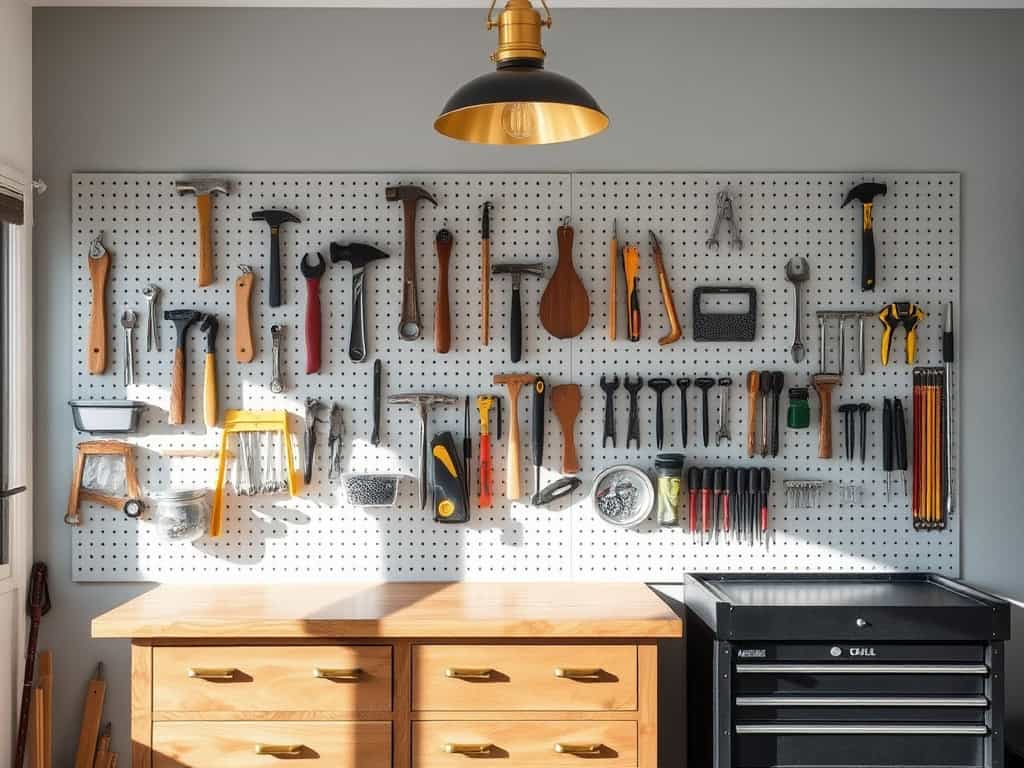
Did you know that the average DIY enthusiast spends nearly 30 minutes per project hunting down misplaced tools? If you’re tired of playing hide-and-seek with your hammer or wondering where you last saw that specialty wrench, you’re not alone! I’ve been there too, and it nearly drove me crazy until I discovered these game-changing storage solutions. Whether you’re working with a cramped garage or a spacious workshop, there’s a perfect organizational system waiting to transform your space into a DIY paradise.

Wall-Mounted Pegboard Systems: The Classic Space-Saver
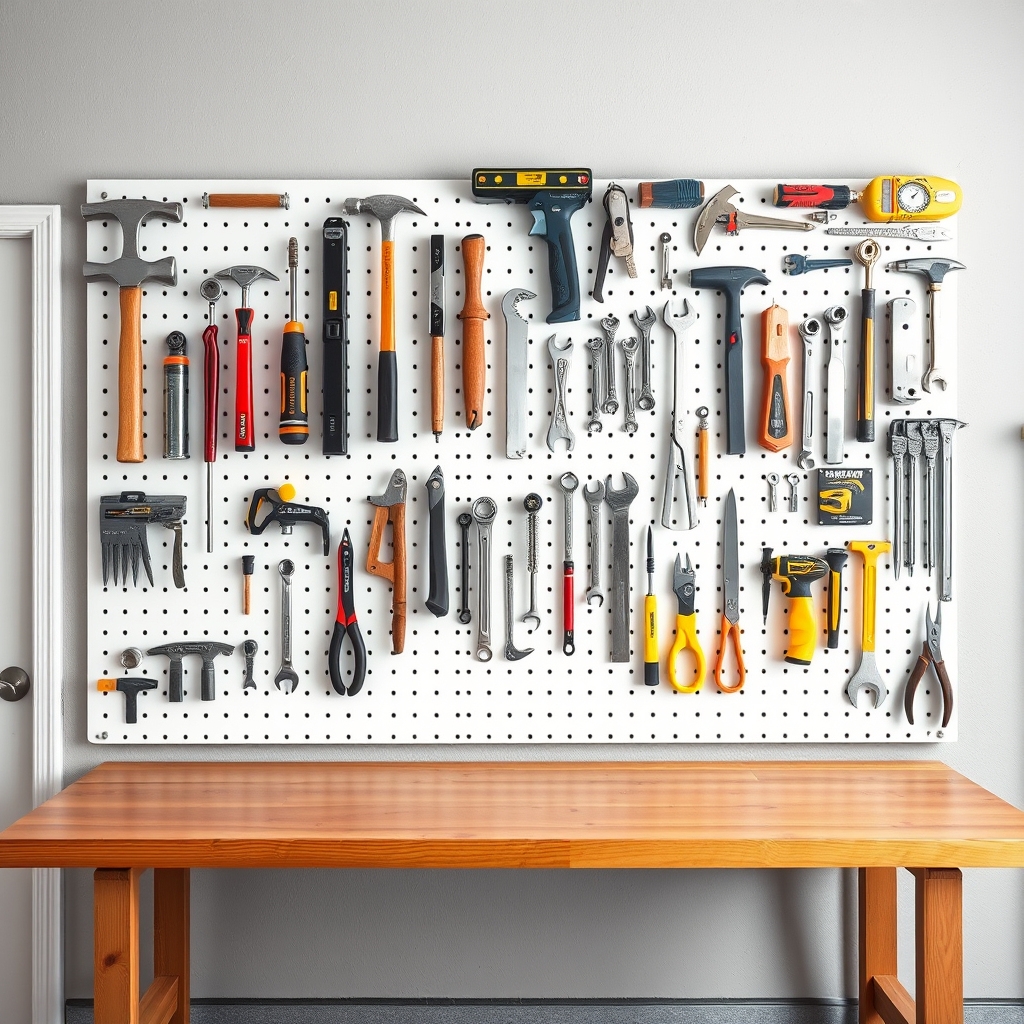
A well-organized pegboard system transforms any garage or workshop from a cluttered mess into an efficient workspace where every tool has its place. When tools are visible and easily accessible, projects become smoother, maintenance tasks are completed faster, and valuable time is saved searching for misplaced items.
Wall-mounted pegboard systems have remained popular for decades because they maximize vertical storage space while keeping tools visible and within arm’s reach. This system’s versatility allows for continuous reorganization as your tool collection grows or your needs change, making it an ideal solution for both DIY enthusiasts and professional craftspeople.
Required Items:
- Pegboard panels
- Wall anchors and screws
- Furring strips
- Level
- Drill
- Screwdriver
- Assorted pegboard hooks
- Hook locks
- Tool holders and accessories
- Marker or label maker
- Measuring tape
- Safety glasses
Installation and organization begins with mounting the pegboard securely to wall studs, using furring strips to create the necessary space behind the board for hooks. Position the pegboard at a comfortable height, ensuring it’s level before securing it.
Once mounted, plan your tool layout by grouping similar items together – hanging frequently used tools at eye level and between waist and shoulder height for easy access. Arrange larger tools first, then fill in spaces with smaller items, using various hook styles and holders designed for specific tools.
When arranging tools, consider workflow patterns and natural groupings: keep measuring tools together, arrange power tools near their accessories, and position frequently used hand tools within easy reach. Install hook locks on hooks holding heavier items to prevent them from becoming dislodged.
Use tool silhouettes or labels to mark each tool’s designated spot, making it obvious when tools are missing and where they should return. To maintain organization long-term, implement a “shadow board” system by tracing around tools or using labels to mark their positions.
This visual system ensures tools return to their proper places and makes it immediately apparent when something is missing. Consider leaving some empty spaces for future additions to your tool collection, and periodically reassess your layout to optimize it based on changing needs and usage patterns.
Rolling Tool Cabinets for Maximum Mobility
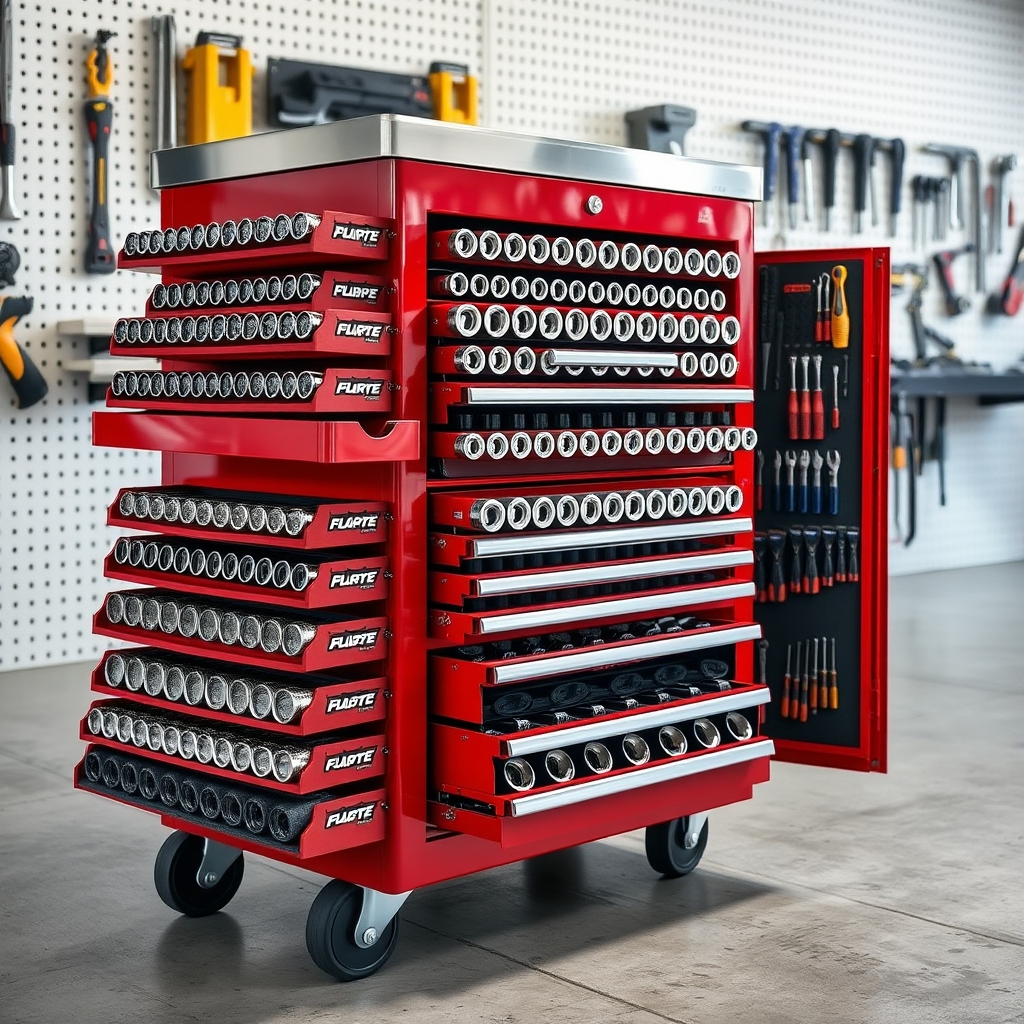
A well-organized rolling tool cabinet serves as a mobile command center for any garage or workshop, allowing quick access to tools while maximizing available space. The ability to move your tools exactly where they’re needed not only saves time but also reduces the physical strain of carrying heavy tools back and forth across your workspace.
Rolling tool cabinets represent a significant investment in both organization and efficiency, making it crucial to implement a thoughtful organization system from the start. Strategic placement of tools based on frequency of use and logical grouping can transform a chaotic collection into a professional-grade mobile workshop.
Required Items:
- Rolling tool cabinet
- Drawer liners
- Drawer organizers/dividers
- Label maker
- Measuring tape
- Tool inventory list
- Socket organizers
- Wrench organizers
- Screwdriver holders
- Small parts bins
- Cleaning supplies
Organization Process:
Begin by completely emptying the rolling cabinet and cleaning all drawers thoroughly. Install drawer liners to prevent tools from sliding and protect the drawer surfaces.
Group similar tools together: measuring tools, cutting implements, wrenches, sockets, and power tools should each have dedicated spaces. Arrange tools with the most frequently used items in the middle drawers at waist height, heavy items in bottom drawers for stability, and lesser-used items in top drawers.
Create designated zones within drawers using organizers and dividers. Position frequently paired tools near each other to improve workflow efficiency. Label each drawer clearly with contents and consider creating a master inventory list attached to the inside of the cabinet door.
Additional Tips:
Maintain the organization by implementing a “one tool out, one tool in” policy and regularly auditing the contents.
Consider adding magnetic strips to the sides of the cabinet for frequently used tools, and install a power strip for charging cordless tools. Periodically review and adjust the organization system based on changing needs and work patterns, and keep the wheels well-maintained for smooth mobility.
Magnetic Tool Holders and Strips
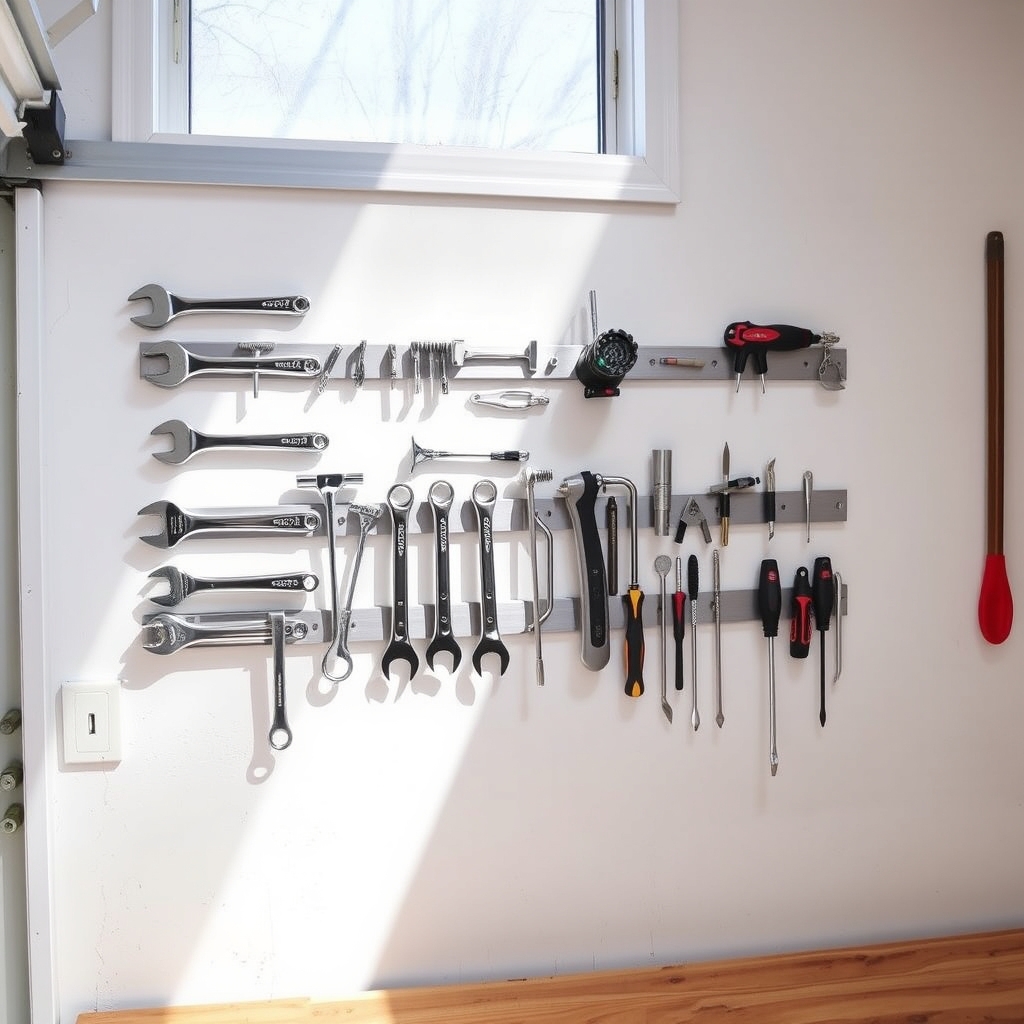
Magnetic tool organization represents one of the most efficient and space-saving solutions for maintaining an orderly workshop or garage. By utilizing the vertical wall space, magnetic holders eliminate the need for bulky toolboxes while keeping frequently used tools visible and easily accessible. This system particularly benefits those working in compact spaces or those who need quick access to tools during projects.
Proper magnetic tool organization not only protects valuable tools from damage but also creates a safer working environment by preventing tools from cluttering workbenches or falling to the floor. The visual organization system makes it immediately apparent when tools are missing and needs to be returned to their designated spots, helping maintain long-term organization.
Required Items:
- Magnetic tool strips or holders
- Mounting hardware (screws and anchors)
- Level
- Pencil
- Drill
- Screwdriver
- Stud finder
- Measuring tape
- Safety glasses
- Clean cloth
Begin by determining the ideal location for your magnetic holders, considering both accessibility and available wall space. Use a stud finder to locate wall studs, as these provide the most secure mounting points for heavier tool collections. Measure and mark the intended mounting locations, using a level to ensure straight placement. For proper spacing, allow enough room between strips to accommodate various tool sizes without overlap.
Mount the magnetic strips according to manufacturer specifications, typically by pre-drilling holes and securing with appropriate anchors and screws. Before hanging tools, clean both the magnetic surface and the tools themselves to ensure maximum magnetic contact. Arrange tools by frequency of use and type, keeping the most commonly used items at eye level. Consider creating zones for different tool categories, such as measuring tools, cutting implements, and driving tools.
To maximize the effectiveness of magnetic tool storage, regularly test the magnetic strength of the holders and clean both the tools and strips to maintain optimal grip. Consider adding small rubber or felt spacers between tools that might scratch each other, and rotate tool positions periodically to prevent wear on specific areas of the magnetic strip. Keep heavier tools toward the bottom of the arrangement to reduce strain on the mounting hardware and maintain a safer working environment.
Custom Built-In Workshop Storage
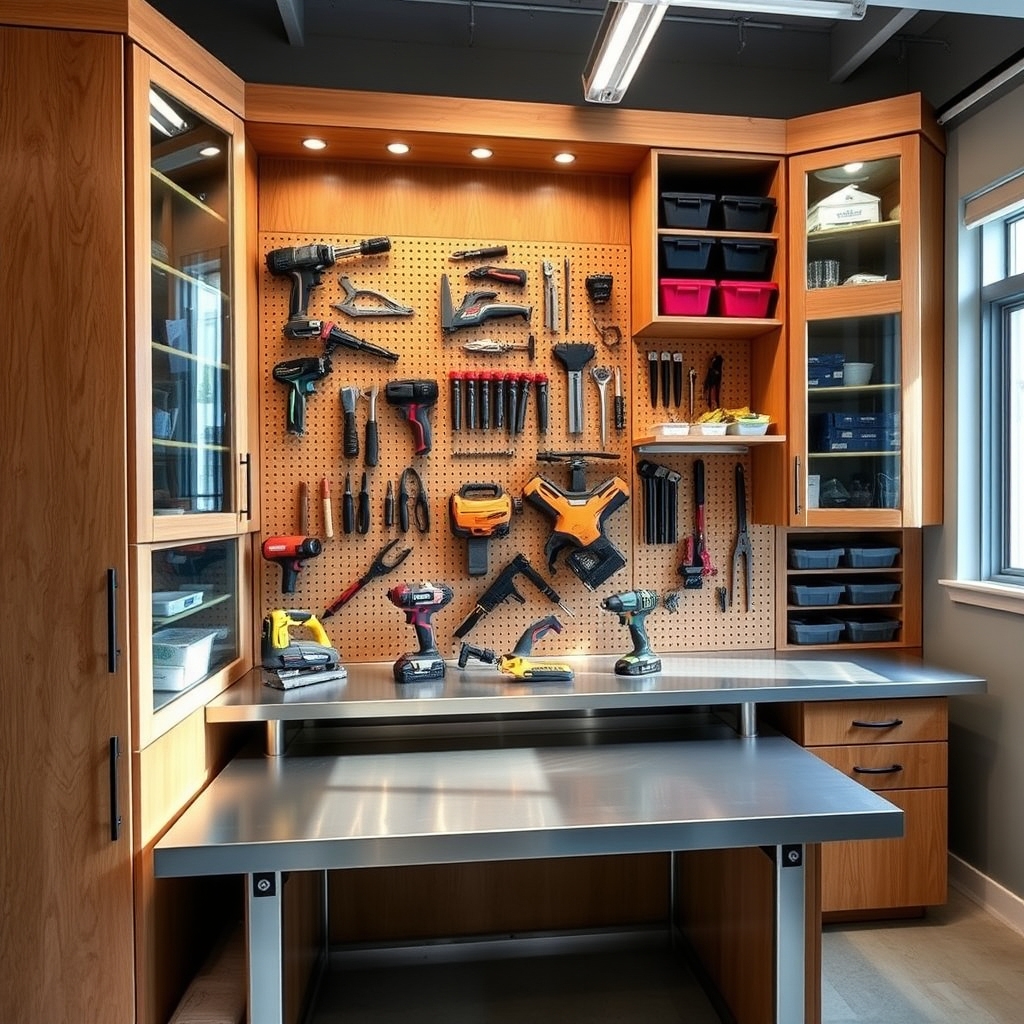
A well-organized custom built-in workshop storage system transforms a chaotic workspace into an efficient, professional environment. Proper organization not only protects valuable tools but also increases productivity by ensuring every item has a designated place and is easily accessible when needed.
Custom built-in storage solutions maximize available space while accommodating specific tool collections and workflow patterns. Unlike pre-made storage units, custom solutions can be tailored to exact specifications, utilizing every inch of wall space and creating a workshop that perfectly suits individual needs.
Required Items:
- Plywood sheets (¾-inch)
- 2×4 lumber
- Wood screws
- Wall anchors
- Pegboard panels
- Hook assortment
- Cabinet hinges
- Cabinet pulls
- Wood finish or paint
- Measuring tape
- Level
- Power drill
- Circular saw
- Safety equipment
Begin by measuring your workshop walls and sketching a detailed plan that includes dedicated zones for different tool categories. Install horizontal support beams using 2x4s anchored securely to wall studs. Construct basic cabinet frames from plywood, ensuring proper depth for your largest tools.
Mount pegboard panels between cabinet sections for frequently used items, and install adjustable shelving inside cabinets for maximum flexibility. Include pull-out drawers for smaller tools and hardware storage.
When designing individual storage components, consider tool sizes and usage frequency. Position heavy items at waist height for easy access, and install specialized holders for oddly shaped tools. Create a combination of open and closed storage, using doors to protect sensitive equipment from dust.
Include adequate lighting inside cabinets and ensure proper ventilation for areas storing chemicals or finishes.
Success Tip: Label all storage areas clearly and maintain a master inventory list. Consider future tool acquisitions when planning cabinet sizes, and leave some open space for workshop expansion.
Regularly review and adjust the organization system based on changing needs and workflow patterns to maintain optimal efficiency.
Modular Bin and Rack Systems
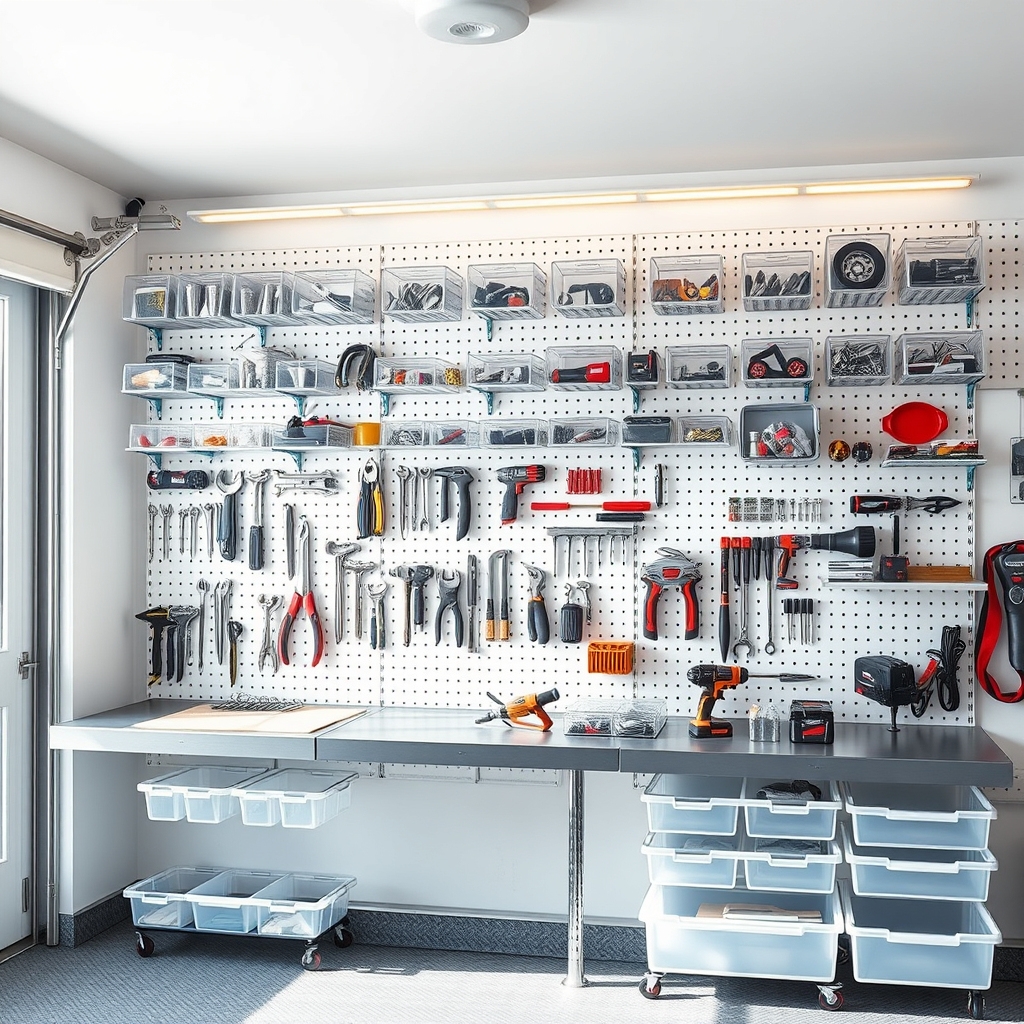
An organized modular bin and rack system transforms a chaotic workspace into an efficient, productive environment where every tool has its designated place. When tools and materials are properly sorted and stored in modular units, projects become smoother, maintenance becomes easier, and valuable time is saved by eliminating the frustration of searching for misplaced items.
Modular systems offer unprecedented flexibility, allowing homeowners to customize their storage solutions based on available space and specific needs. These systems can be expanded, reconfigured, or relocated as requirements change, making them an intelligent investment for both casual DIY enthusiasts and serious craftspeople.
Required Items:
- Modular wall panels or pegboard
- Assorted storage bins (various sizes)
- Mounting brackets
- Wall anchors and screws
- Label maker
- Measuring tape
- Level
- Power drill
- Sorting containers
- Storage rack units
- Bin dividers
- Tool hooks and holders
Begin by thoroughly assessing your tool collection and categorizing items by type, size, and frequency of use. Install the wall panels or pegboard system according to manufacturer specifications, ensuring proper anchoring to support the weight of loaded bins.
Mount the rack systems at appropriate heights, considering ergonomics and accessibility. Sort tools and materials into temporary containers based on their categories. Install bins and holders systematically, starting with frequently used items at eye level and working outward.
Position heavier items lower for stability and safety. Create a logical flow by grouping related tools and materials together, such as keeping measuring tools in adjacent bins or clustering power tool accessories in nearby compartments.
Additional Tips:
Implement a color-coding system for quick identification, use clear bins for better visibility, and maintain empty space for future expansion. Regularly review and adjust the system based on usage patterns, removing rarely used items to prevent clutter.
Consider adding LED strip lighting to improve visibility and create dedicated zones for project-specific tools to enhance workflow efficiency.
Under-Shelf and Ceiling Storage Solutions
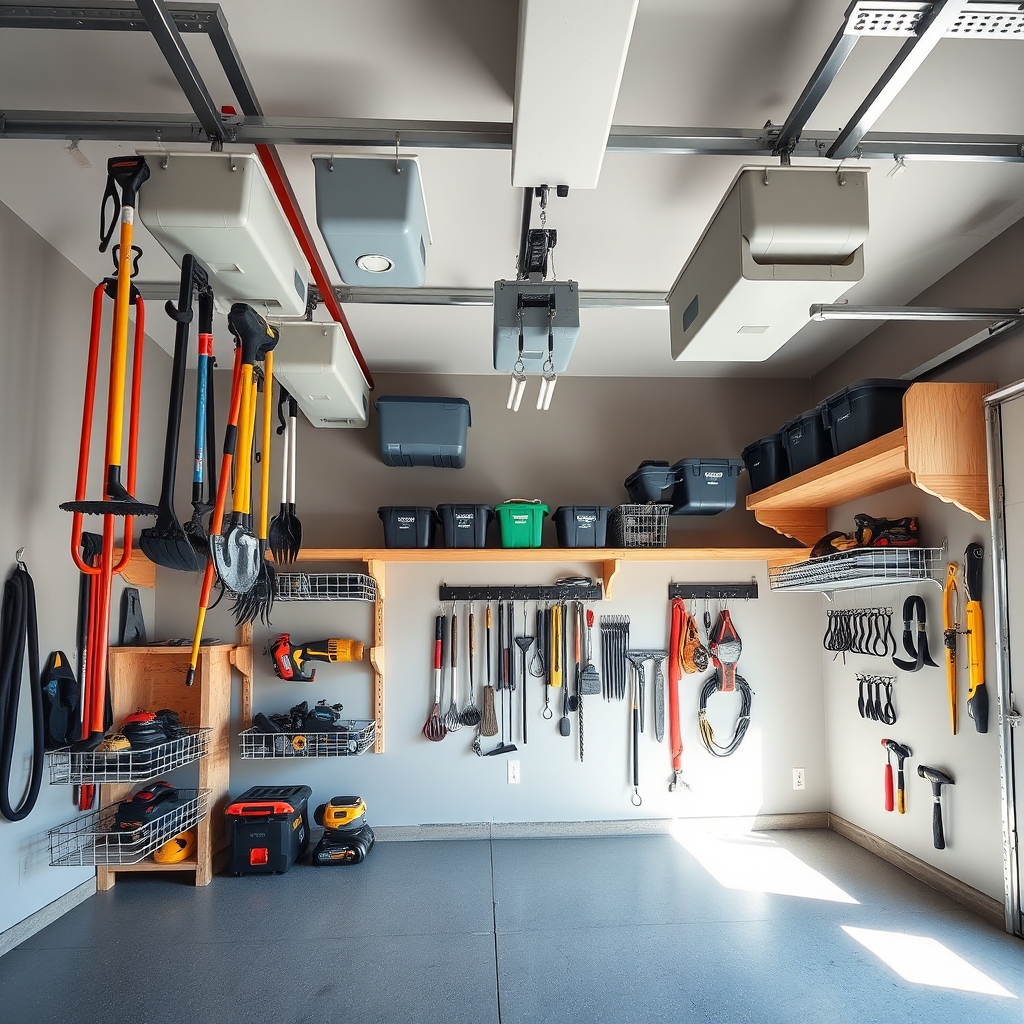
Maximizing vertical space in garages and workshops is crucial for efficient tool storage and organization. Under-shelf and ceiling storage solutions offer valuable space-saving opportunities by utilizing often overlooked areas, transforming dead space into functional storage zones.
By implementing proper under-shelf and ceiling storage systems, homeowners can free up valuable floor and wall space while keeping tools easily accessible. These storage solutions are particularly beneficial for seasonal items, long tools, and equipment that isn’t needed daily but should remain within reach.
Required Items:
- Ceiling-mounted storage racks
- Under-shelf brackets or hooks
- Heavy-duty mounting hardware
- Power drill
- Stud finder
- Level
- Measuring tape
- Pencil
- Wire storage baskets
- Utility hooks
- Cable ties
- Safety goggles
- Step ladder
Start by identifying ceiling joists using a stud finder and marking their locations with a pencil. Install ceiling-mounted racks by securing them directly into the joists with appropriate hardware, ensuring they can support the intended weight.
For under-shelf storage, measure and mark the installation points beneath existing shelves, then attach brackets or hooks using proper mounting hardware. Position wire baskets or utility hooks strategically to accommodate different tool sizes and shapes.
When arranging tools, place frequently used items in easily accessible under-shelf locations. Reserve ceiling storage for seasonal equipment, long-handled tools, or bulky items that aren’t needed regularly. Group similar items together and consider using clear storage containers for smaller tools or parts that need protection from dust.
Additional Tips: Label storage zones clearly for quick identification, and establish a weight limit for each storage area. Regularly inspect mounting hardware and brackets for signs of wear or loosening.
Consider installing motion-sensor lighting to illuminate ceiling storage areas, and keep a sturdy step ladder nearby for safe access to elevated storage zones. Maintain clear pathways beneath ceiling storage to prevent accidents and ensure easy retrieval of stored items.
Tool Bag and Tote Organization
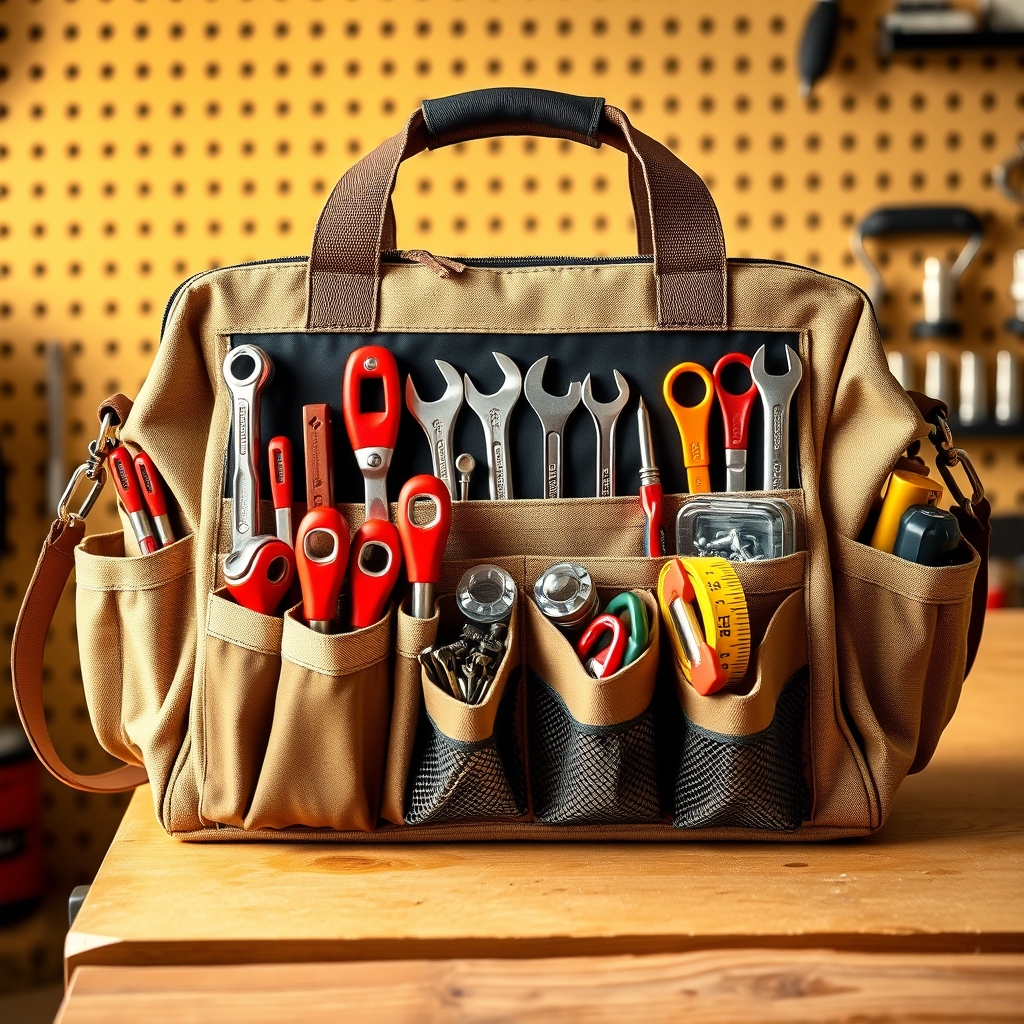
Properly organized tool bags and totes are essential for any homeowner or DIY enthusiast who wants to maintain efficiency and productivity during projects. When tools are randomly tossed into bags, valuable time is wasted searching for specific items, and tools can become damaged from improper storage or constant shifting.
A well-organized tool bag system allows for quick access to frequently used tools while protecting them from damage and wear. Strategic organization also helps identify missing tools immediately and ensures you can grab exactly what you need for specific tasks without carrying unnecessary weight.
Required Items:
- Tool bag or tote
- Dividers or small containers
- Label maker or markers
- Zip ties
- Small pouches or tool rolls
- Mesh organizer pockets
- Carabiners
- Clear plastic bags
- Hook-and-loop straps
- Small parts organizers
Start by completely emptying your tool bag and sorting all items by category (measuring tools, cutting tools, power tool accessories, etc.). Clean the bag thoroughly and assess its compartments and pockets. Install additional organizational elements like mesh pockets or removable dividers where needed.
Group frequently used tools together and assign them to easily accessible sections of the bag. Create designated zones within the bag, placing heavier tools at the bottom for stability. Use small pouches or tool rolls for items like screwdrivers and wrenches to prevent them from scratching other tools.
Attach frequently used items to carabiners on external D-rings for quick access. Store small parts like screws and anchors in clear, labeled containers that fit within the bag’s compartments.
For optimal long-term organization, implement a “return to home” policy where tools are immediately placed back in their designated spots after use. Consider using bright-colored pouches or markers to color-code different tool categories.
Regularly audit your tool bag contents to remove unnecessary items and ensure all tools remain in their assigned locations. Perform monthly maintenance checks to adjust organization systems based on changing needs and usage patterns.
Vertical Storage Towers and Cabinets
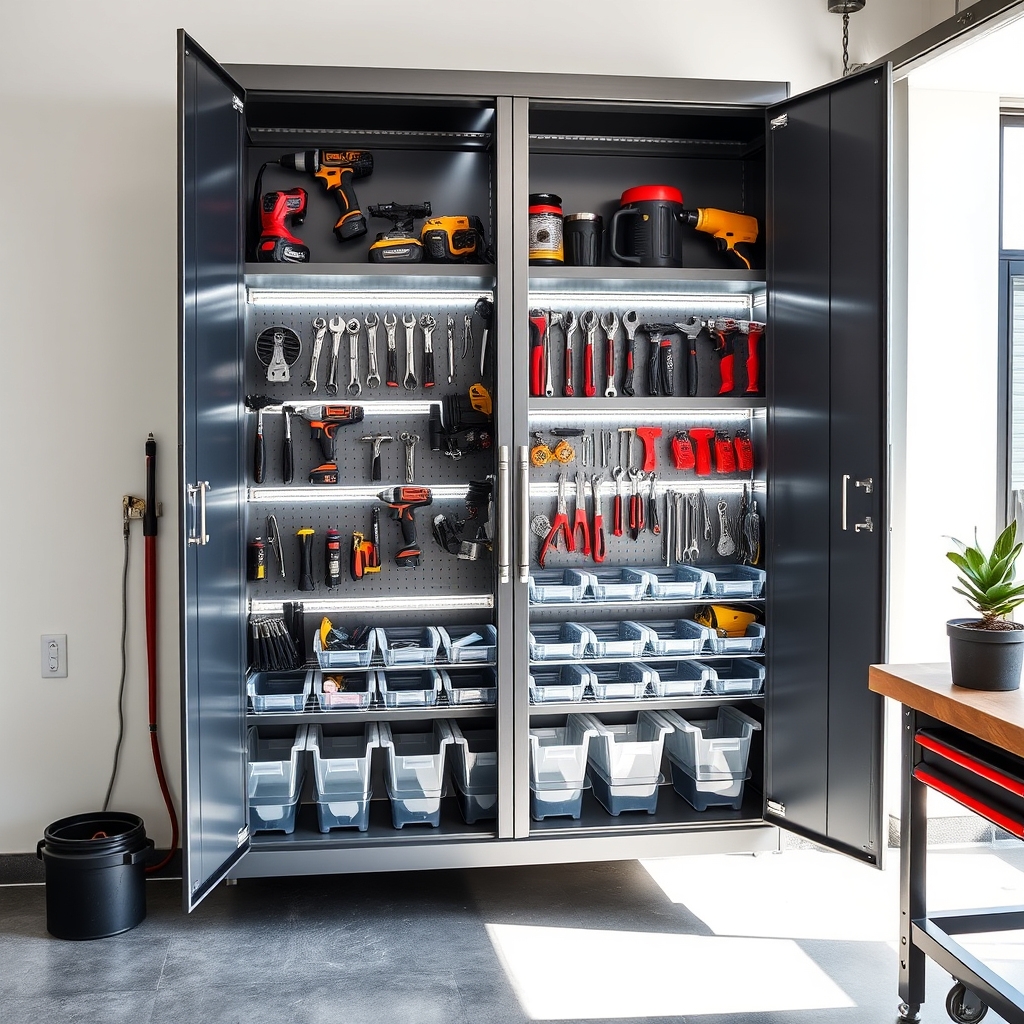
Vertical storage solutions represent one of the most efficient ways to maximize garage or workshop space while keeping tools organized and easily accessible. By utilizing vertical space, homeowners can transform cluttered work areas into well-organized zones that make tool retrieval quick and maintenance simple.
These storage systems not only protect valuable tools from damage and rust but also create a safer environment by keeping items off the floor and properly secured. Vertical storage towers and cabinets can accommodate various tool sizes and types, from power tools to hand tools, making them versatile solutions for any workshop setup.
Required Items:
- Vertical storage cabinet or tower
- Wall anchors and mounting hardware
- Pegboard or slat wall panels
- Tool hooks and holders
- Label maker
- Measuring tape
- Level
- Power drill
- Screwdriver set
- Safety glasses
Select an appropriate wall space and secure the vertical storage unit following manufacturer specifications. Begin by measuring and marking the installation area, ensuring the unit is level. Mount the cabinet or tower using proper wall anchors and hardware suitable for your wall type.
For modular systems, start with the base unit and work upward, confirming each section is properly aligned and secured.
Sort tools by category (power tools, hand tools, measuring tools) and frequency of use. Install appropriate hooks, holders, and shelving within the storage unit. Position frequently used tools at eye level for easy access, with heavier items stored lower for safety. Implement a zone system within the cabinet, dedicating specific areas to related tools and accessories.
Additional Tips: Incorporate clear labeling systems for quick identification, and leave room for future expansion. Consider installing LED strip lighting inside cabinets for better visibility. Regularly review and adjust the organization system based on usage patterns, and maintain a cleaning schedule to prevent dust accumulation and potential tool damage.

