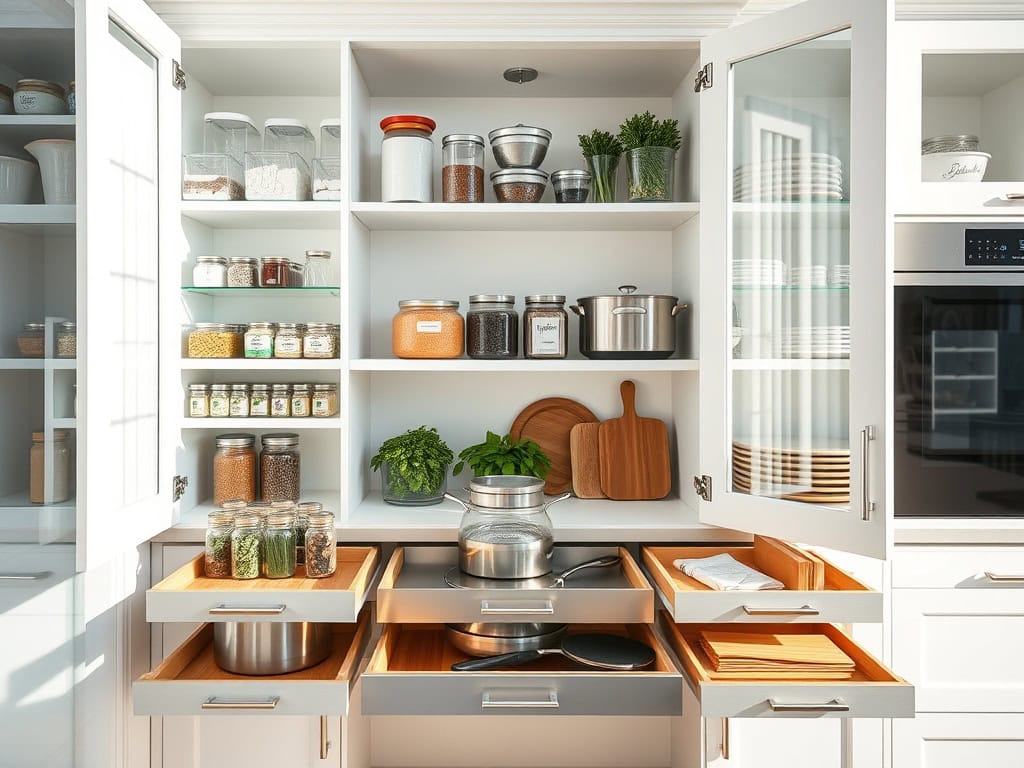
Just when you thought your kitchen cabinets couldn’t get any messier, I discovered these nine genius organization tricks that transformed my chaotic space into a model of efficiency. You’re probably familiar with that frustrating dance of shuffling through stacks of pots and pans to find that one container lid hiding in the back. Well, I’ve got some practical solutions that’ll make your daily kitchen adventures so much smoother – and you won’t believe how simple they are to implement.
Install Pull-Out Drawer Organizers for Deep Cabinets
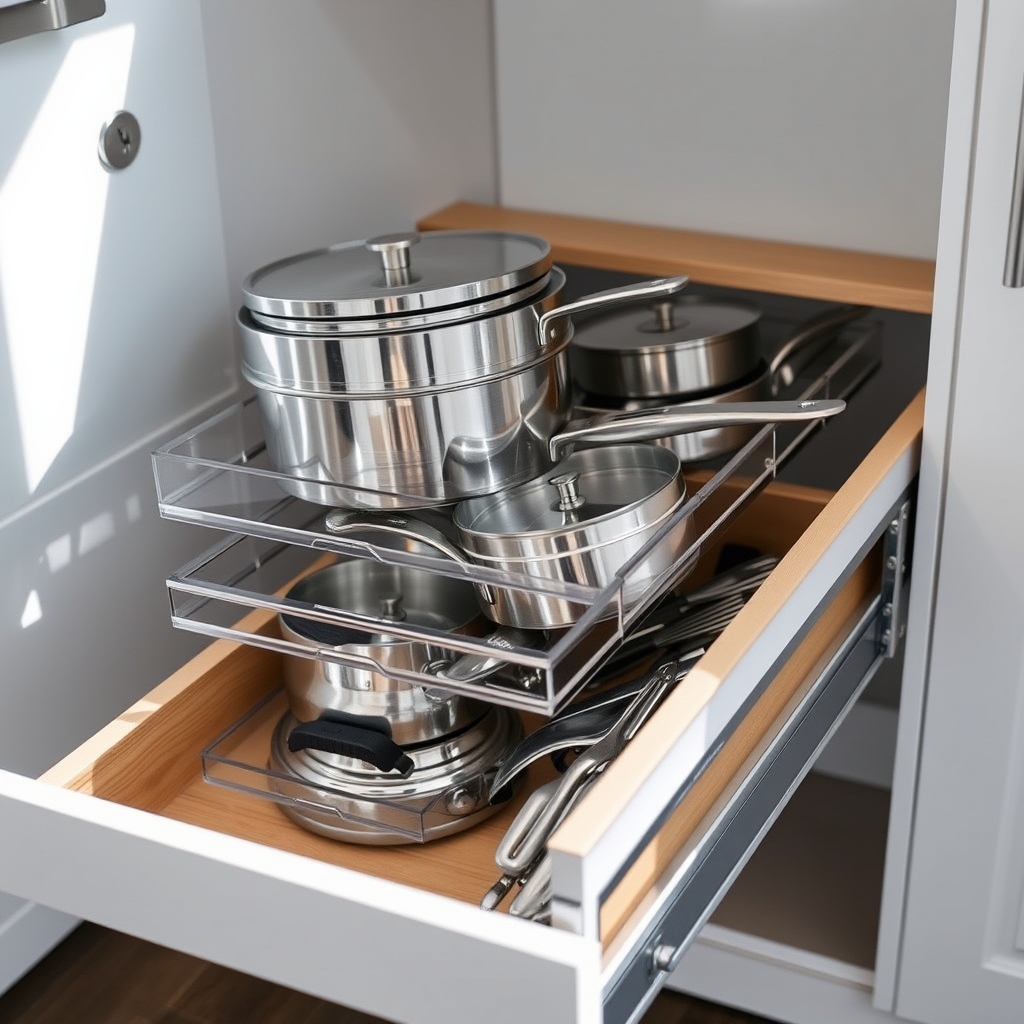
Deep kitchen cabinets often become black holes where items disappear into the back, making it frustrating to access everyday essentials. These hard-to-reach spaces waste valuable storage potential and lead to duplicate purchases when items get lost in the depths of cabinets.
Installing pull-out drawer organizers transforms these problematic spaces into efficient storage solutions. These sliding systems bring items from the back of cabinets forward, maximizing visibility and accessibility while eliminating the need to crawl on hands and knees to reach items stored in rear corners.
Required Items:
- Pull-out drawer organizer kit
- Measuring tape
- Pencil
- Power drill
- Screwdriver
- Level
- Wood screws
- Drawer slides
- Mounting brackets
- Cabinet hardware template
- Safety glasses
Installation begins with accurate measurements of your cabinet’s interior width, height, and depth. Remove existing shelves and thoroughly clean the cabinet interior. Mark the placement for mounting brackets, ensuring they’re level and properly aligned.
Install the slides according to the manufacturer’s specifications, typically requiring pre-drilling pilot holes and securing with screws. Attach the drawer platform to the slides, testing the movement to ensure smooth operation before loading items.
The drawer platform should be installed at a height that maximizes vertical space while accommodating your tallest items. For multiple pull-outs in the same cabinet, space them vertically to allow efficient storage of different-sized items.
Once installed, organize items by category, placing frequently used items toward the front and occasional-use items toward the back of each drawer. Consider adding non-slip liner to the drawer bottom to prevent items from shifting during use. Label the front edge of each pull-out drawer to identify contents quickly.
Regular maintenance, including tightening screws and lubricating slides every few months, will ensure smooth operation and extend the life of your organization system. For maximum efficiency, avoid overloading the drawers beyond their weight capacity, as this can strain the sliding mechanism and potentially cause failure.
Create Vertical Storage With Pan Dividers
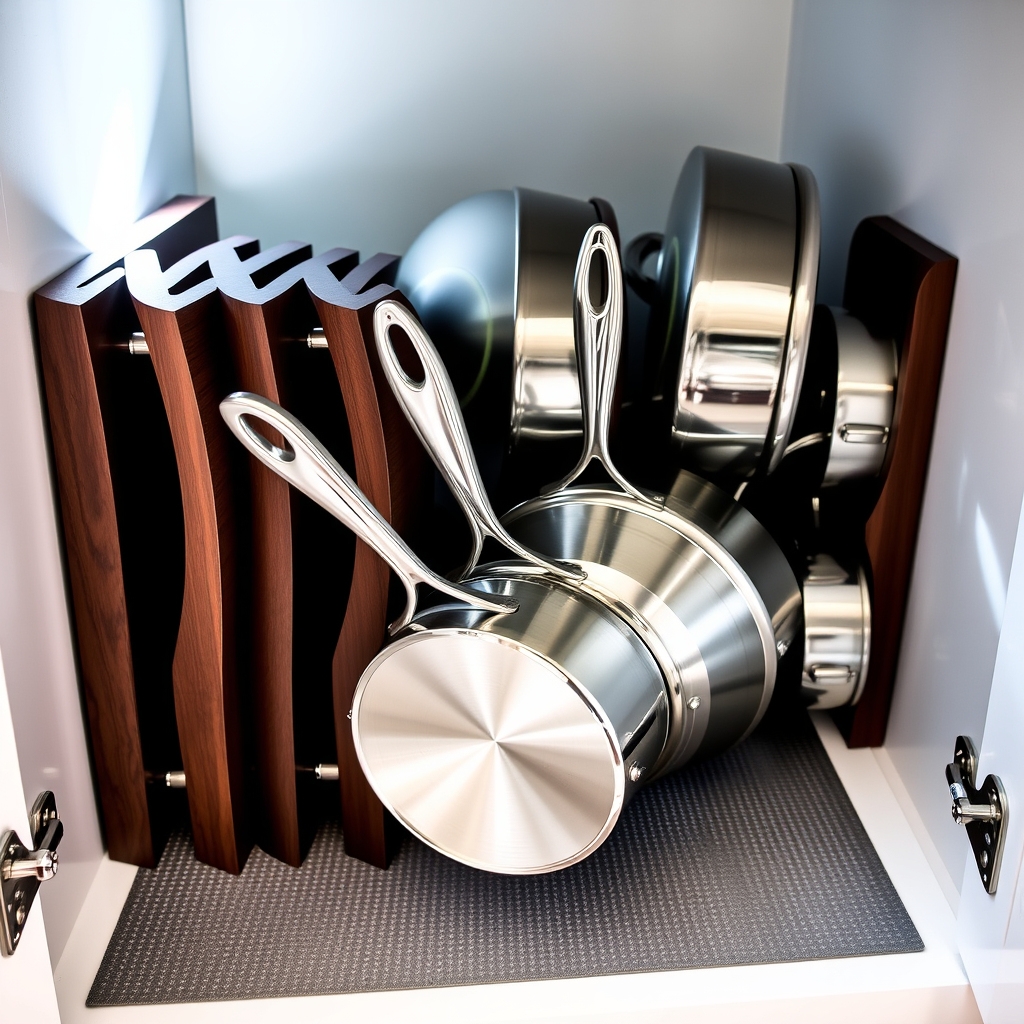
A well-organized pan storage system is essential for any functional kitchen, as it eliminates the frustrating clatter of stacked cookware and prevents scratches on valuable cooking surfaces. When pans are stored vertically, they become easily accessible, making meal preparation more efficient and enjoyable.
Vertical pan storage maximizes cabinet space by utilizing the full height of compartments rather than stacking items on top of each other. This organization method not only protects your cookware investment but also allows you to quickly identify and grab exactly what you need without disrupting other items.
Required Items:
- Pan dividers or organizer rack
- Measuring tape
- Cabinet liner (non-slip)
- Labels (optional)
- Screwdriver (if mounting required)
- Mounting hardware (if needed)
- Level
Install your vertical pan storage system by first measuring your cabinet dimensions and selecting an appropriately sized divider system. Clear the cabinet completely and install non-slip liner on the bottom surface.
If using a mounted system, mark your installation points and secure the divider rack according to manufacturer instructions. For non-mounted dividers, simply place them in the desired position, ensuring they’re stable and properly spaced.
Sort your pans by size and frequency of use, placing the most commonly used items in easily accessible positions. Arrange pans from largest to smallest, maintaining enough space between each item to prevent contact.
Consider the handle positions and adjust as needed to maximize space efficiency and prevent door interference.
For optimal organization maintenance, periodically check the stability of your dividers and adjust spacing as needed. Consider adding labels to designated spots for specific pans, especially if multiple household members use the kitchen.
Keep heavier pans closer to the bottom of the cabinet for better weight distribution and easier handling.
Maximize Corner Space With Lazy Susan Systems
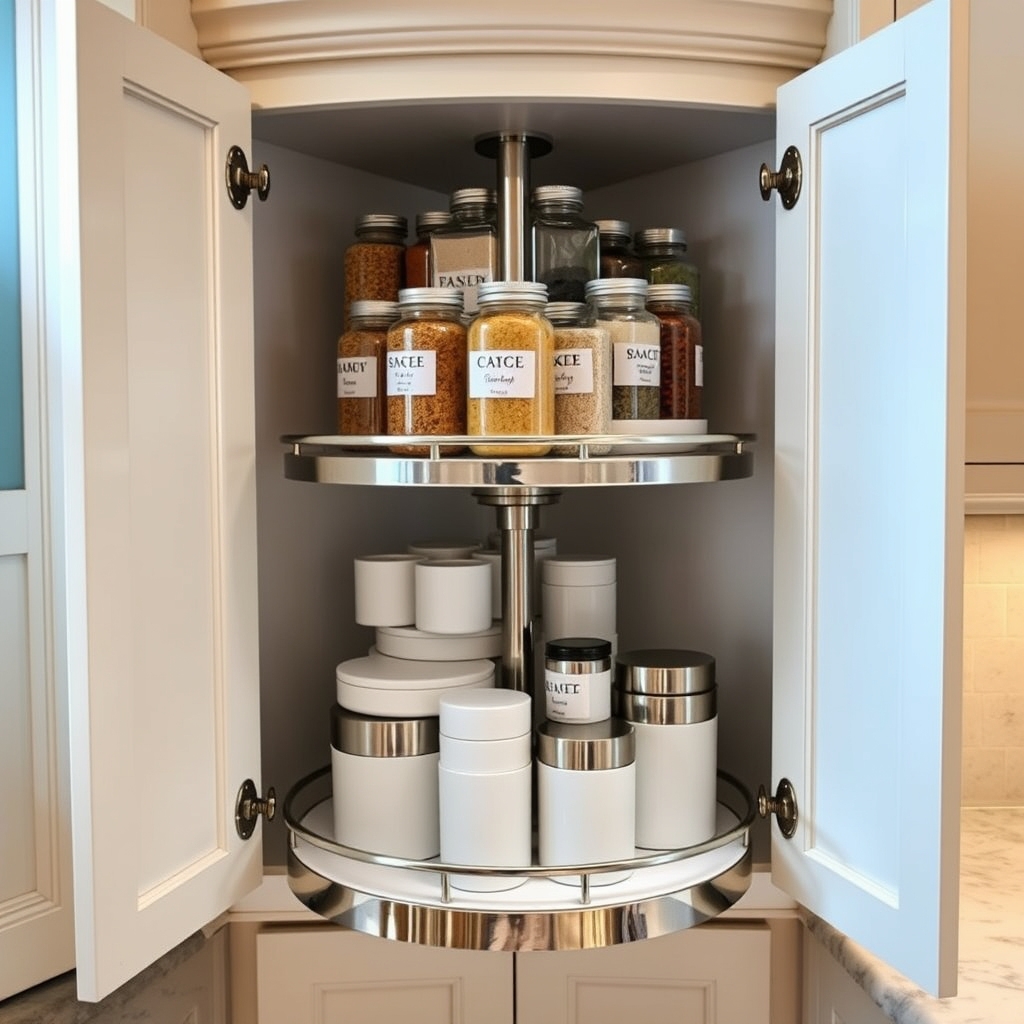
Corner cabinets often become black holes of kitchen storage, with items getting lost in the deep recesses and becoming difficult to access. These awkward spaces can waste valuable storage real estate when not properly utilized. Implementing a lazy Susan system transforms these problematic corners into functional, accessible storage areas.
Lazy Susan systems revolutionize corner cabinet organization by creating rotating platforms that bring items from the back of the cabinet to the front with a simple spin. This solution eliminates the need to crawl into cabinets or strain to reach items tucked away in corners, making everyday cooking and kitchen tasks more efficient.
Required Items:
- Lazy Susan turntables (single or multi-tier)
- Measuring tape
- Cabinet cleaning supplies
- Non-slip shelf liner
- Storage containers
- Labels
- Notebook for inventory
- Garbage bag for discards
Start by completely emptying the corner cabinet and cleaning all surfaces thoroughly. Measure the cabinet’s dimensions carefully, accounting for both width and height, to ensure proper fit of your lazy Susan system.
Install the lazy Susan according to manufacturer instructions, making sure it’s level and rotates smoothly. If using multiple tiers, space them evenly to accommodate items of varying heights.
Group similar items together before placing them on the lazy Susan. Position frequently used items toward the front for easy access, while placing lesser-used items toward the back. Utilize storage containers to prevent small items from falling between the gaps and maintain organized sections.
Consider the weight distribution to ensure smooth rotation – place heavier items near the center and lighter items around the edges.
Additional Success Tips: Apply non-slip liner to prevent items from shifting during rotation. Create zones on your lazy Susan by using clear containers or dividers to separate categories like baking supplies, canned goods, or cooking oils.
Regularly audit contents to prevent overcrowding and maintain easy access to all items. Consider installing battery-operated LED lights to illuminate dark corners and make items more visible.
Use Cabinet Door Organizers for Small Items
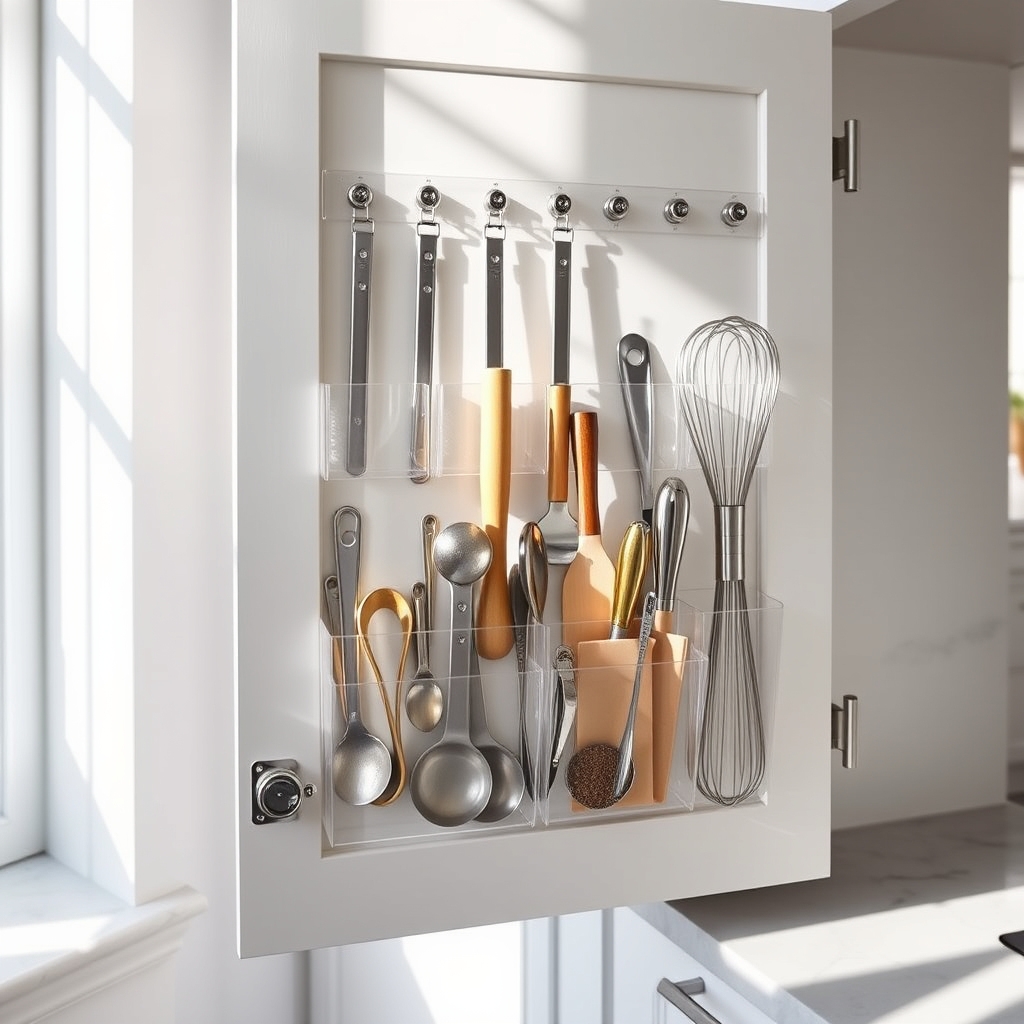
Small items in the kitchen often become scattered and disorganized, leading to frustration when trying to locate measuring spoons, bag clips, or other essential tools. Cabinet door organizers transform this otherwise wasted space into valuable storage real estate, keeping frequently used items within arm’s reach while maintaining a clutter-free countertop.
Maximizing the interior of cabinet doors not only creates additional storage space but also helps establish a systematic approach to organizing small kitchen items. This organization method is particularly valuable in compact kitchens where every inch of space counts, and it can significantly reduce the time spent searching for necessary tools during food preparation.
Required Items:
- Over-the-door organizers
- Command hooks or mounting hardware
- Measuring tape
- Pencil
- Screwdriver
- Level
- Clear bins or pockets
- Labels
- Cleaning supplies
Start by emptying the cabinet and measuring the interior door dimensions, ensuring you select organizers that fit properly without interfering with shelves or items stored inside. Choose organizers based on the types of items you plan to store – consider options like wire baskets for larger items, clear pockets for flat items, or specialized holders for specific tools like measuring spoons.
Install the organizers according to the manufacturer’s instructions, using appropriate mounting hardware. For rental properties or temporary solutions, consider using Command hooks or other removable mounting options.
Group similar items together before placing them in the organizers, such as keeping all measuring tools in one section and bag clips in another. When arranging items, position frequently used tools at eye level for easy access.
Consider using clear pockets for items that need to be visible and labeled bins for items that can be grouped together. Ensure all items are secured properly and test the door’s movement to confirm nothing catches or falls when opening and closing.
Additional Tips: Regularly review and adjust the organization system as needed, removing items that aren’t frequently used. Clean the organizers monthly to prevent dust and grease buildup, and periodically check that all mounting hardware remains secure.
Consider using silicon grip liners in wire baskets to prevent items from sliding, and implement a “one in, one out” rule to maintain the organized system over time.
Group Items by Zones With Clear Containers
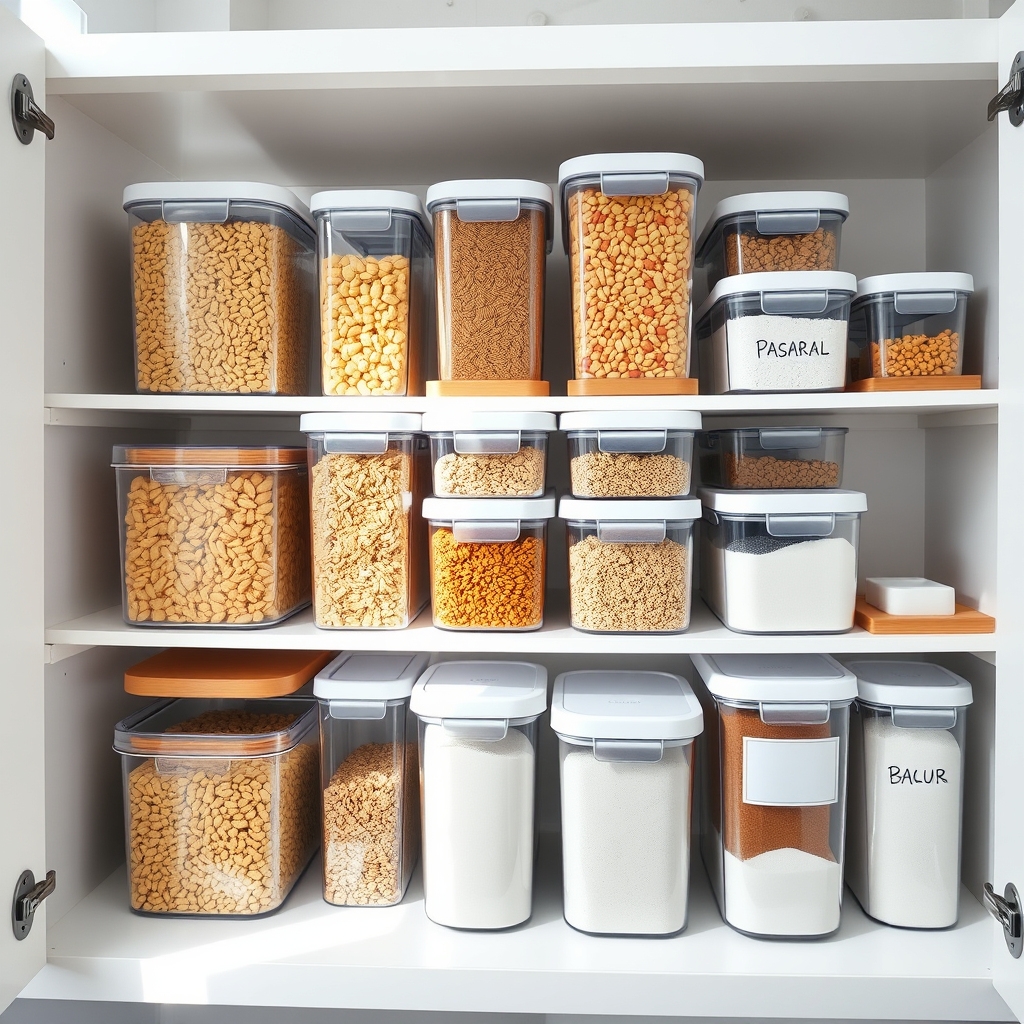
Creating designated zones in your kitchen with clear containers is a game-changing organizational strategy that transforms how you interact with your space. When items are grouped logically and stored in transparent containers, you can instantly locate what you need, reducing time spent searching through cabinets and drawers.
Proper zoning with clear containers not only maximizes storage efficiency but also helps maintain order long-term. This system prevents cross-contamination between food items, extends shelf life, and makes inventory management effortless, as you can quickly spot when supplies are running low.
Required Items:
- Clear airtight containers (various sizes)
- Label maker or waterproof labels
- Measuring tape
- Shelf liner
- Container markers
- Storage baskets
- Drawer dividers
- Category bins
- Step stool
- Cleaning supplies
Start by identifying distinct zones in your kitchen – baking, breakfast, snacks, pasta/grains, and cooking essentials. Empty all cabinets and pantry spaces, then sort items into these categories. Measure your storage spaces and select appropriately sized clear containers for each category.
Transfer dry goods into containers immediately, ensuring they’re properly sealed and labeled with contents and expiration dates. Group similar containers together within their designated zones, placing frequently used items at eye level and storing lesser-used items higher up.
When arranging zones, consider your kitchen workflow. Position the breakfast zone near the coffee maker, baking supplies near the oven, and cooking essentials near the stove. Stack containers efficiently, keeping similar sizes together and using shelf risers to maximize vertical space.
Implement a first-in, first-out rotation system by placing newer items behind older ones. For optimal maintenance of your newly organized zones, establish a quarterly schedule to review container contents, check seals, and clean containers thoroughly.
Consider keeping a small inventory list inside cabinet doors to track what belongs in each zone, and always measure new storage containers before purchasing to ensure they fit within your established system. Replace labels as needed and adjust zones based on your changing kitchen needs and habits.
Add Shelf Risers for Double-Decker Storage
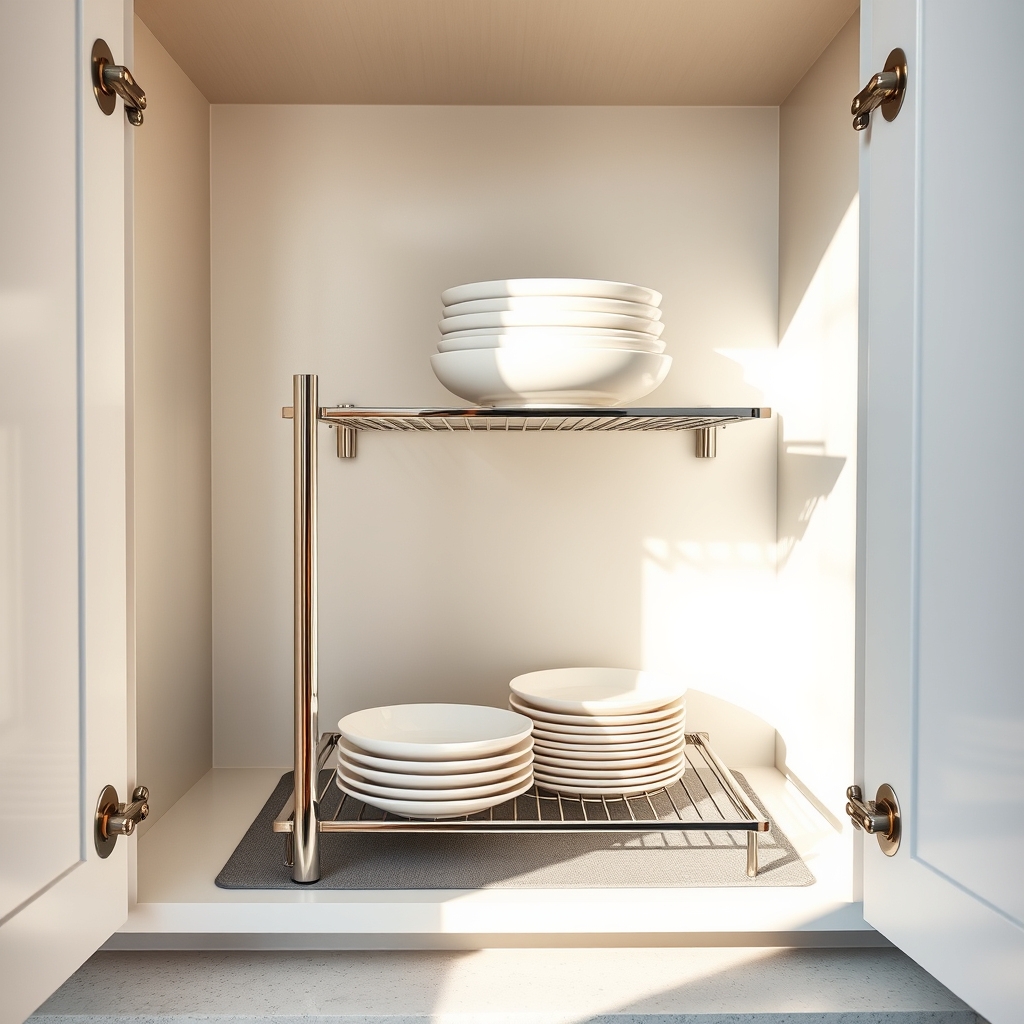
Maximizing vertical space in kitchen cabinets is essential for creating an efficient and well-organized cooking environment. Shelf risers offer an elegant solution to this common storage challenge by essentially doubling the usable space within existing shelves, allowing you to stack items without creating chaos or instability.
Cabinet shelves often leave considerable unused vertical space, leading to inefficient storage and difficulty accessing items placed toward the back. By implementing shelf risers, you can create distinct levels that make it easier to see and reach everything while maintaining a systematic arrangement of your kitchen items.
Required Items:
- Shelf risers (metal, plastic, or bamboo)
- Measuring tape
- Cabinet liner (non-slip)
- Cleaning supplies
- Labels (optional)
- Storage containers (optional)
Start by removing all items from the target cabinet and measuring the available space, noting both width and height clearance. Cut non-slip liner to fit the cabinet shelf base. Place the shelf risers strategically, ensuring they’re stable and properly spaced to accommodate your items.
Position frequently used items on the lower level for easy access, while placing less-used items on the upper level. When arranging items, group similar products together – for example, keeping all canned goods on one level and boxed items on another. This creates a natural organization system that’s easy to maintain.
Ensure heavier items are placed on the lower level to maintain stability, and leave enough clearance between the top of stored items and the next cabinet shelf. Consider implementing a rotation system where newer items are placed at the back and older items are moved forward to prevent food waste.
Additionally, using clear storage containers can help maintain visibility of items stored on the upper level, while adding labels to the shelf edges can help quickly identify where everything belongs, even when items are pushed toward the back of the cabinet.
Install Under-Cabinet Hooks and Racks
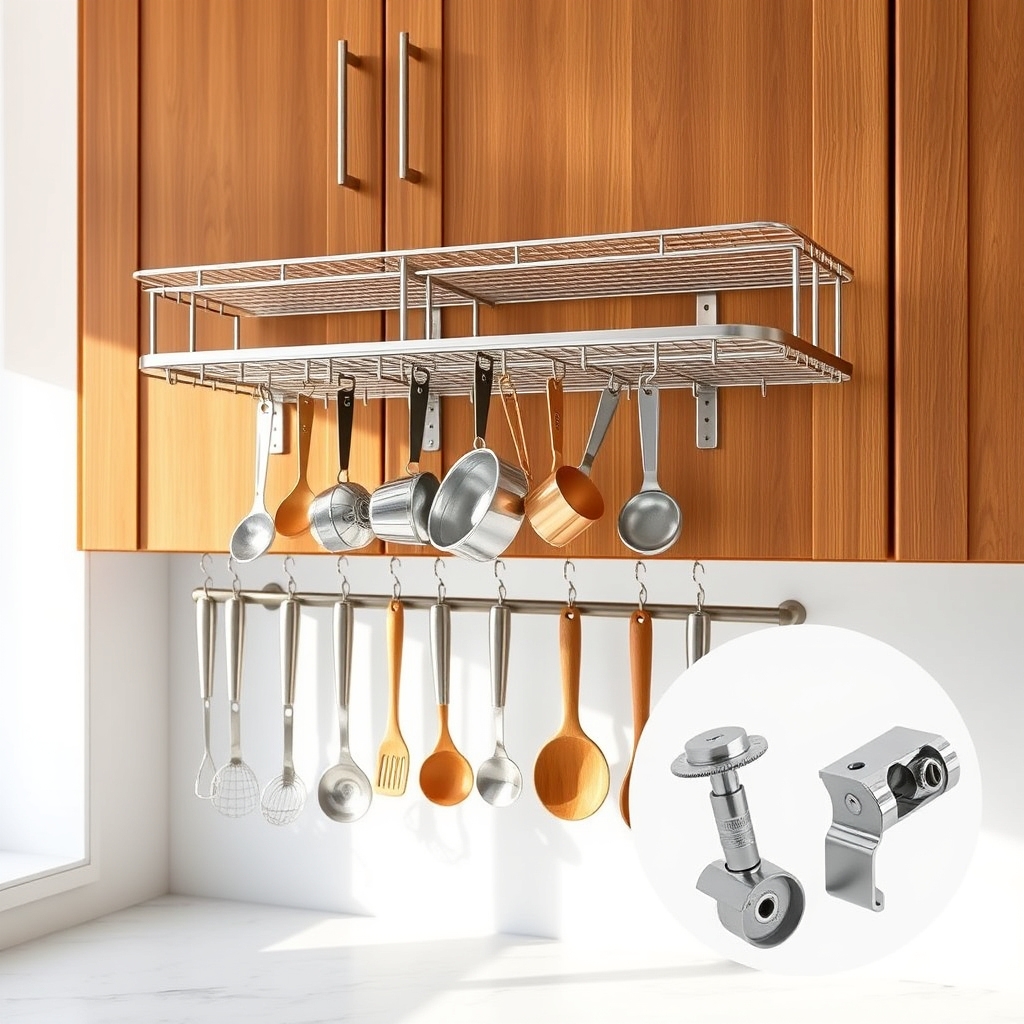
Maximizing vertical space in your kitchen is essential for creating an efficient and clutter-free environment. Under-cabinet storage solutions offer valuable real estate for commonly used items while keeping countertops clear and accessible for food preparation.
Installing hooks and racks beneath your cabinets transforms previously unused space into functional storage areas. This organization method is particularly beneficial for smaller kitchens where every inch counts, and it keeps frequently used items within arm’s reach while cooking or preparing meals.
Required Items:
- Measuring tape
- Pencil
- Electric drill
- Screwdriver
- Level
- Under-cabinet hooks
- Under-cabinet racks
- Mounting screws
- Wall anchors
- Safety glasses
- Stud finder
Start by measuring the available space beneath your cabinets and marking where you want to install hooks or racks. Use a stud finder to locate solid mounting points, and mark these locations with a pencil.
When installing racks, ensure they’re level by using a spirit level and marking parallel points. Pre-drill holes for your screws, being careful not to drill through the cabinet bottom. If you can’t locate a stud, use wall anchors for additional support. Secure the hooks or racks using appropriate screws, ensuring they’re tight but not over-tightened, which could damage the cabinet.
Consider weight limits and practical placement when organizing items on your newly installed storage solutions. Place heavier items closer to mounting points for better stability. Group similar items together, such as hanging measuring cups and spoons on adjacent hooks, or storing frequently used utensils in easily accessible spots.
Keep items that could drip or create mess away from walls or electrical outlets.
Additional Tips: To protect cabinet surfaces, apply clear adhesive pads where hooks or racks make contact with the cabinet. Periodically check and tighten screws, as vibration from cabinet use can loosen them over time. Clean the area thoroughly before installation to ensure proper adhesion, and consider using rubber-coated hooks to prevent items from slipping.
Implement a Label System for Easy Identification
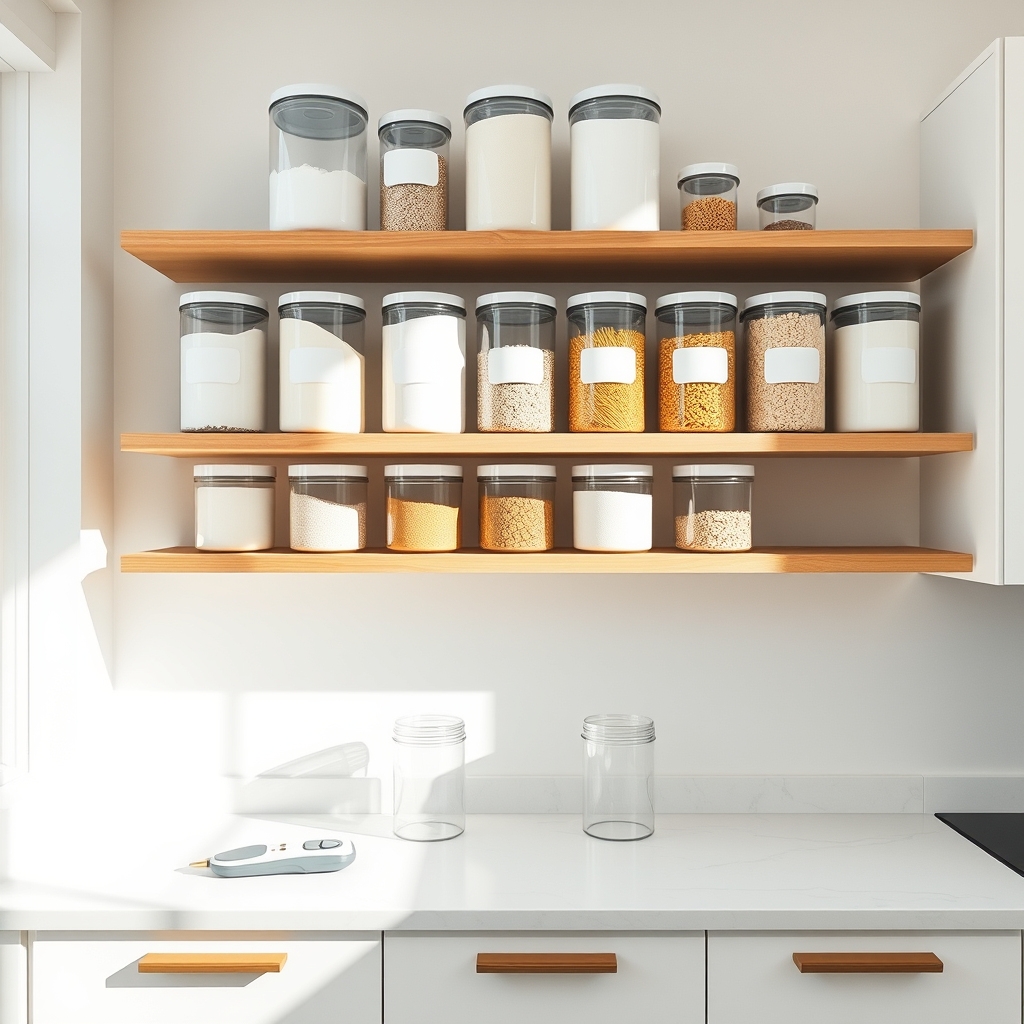
A well-organized labeling system in your kitchen transforms a chaotic space into an efficient cooking environment. When every container, shelf, and drawer is clearly marked, you eliminate time wasted searching for ingredients and ensure items return to their designated spots after use.
Labels serve as a visual roadmap for everyone in the household, maintaining order and preventing confusion about where items belong. This system is particularly valuable when storing similar-looking ingredients, organizing multiple spice containers, or managing pantry items with varying expiration dates.
Required Items:
- Label maker or waterproof labels
- Clear containers or storage bins
- Permanent markers
- Clear tape
- Measuring tape
- Cleaning supplies
- Container inventory list
- Small adhesive-backed chalkboard labels (optional)
- Category dividers
Start by emptying and cleaning all storage containers and spaces that need labels. Group similar items together and decide on clear, logical categories. Create a consistent naming convention for your labels – keep terms simple and readable. For container labels, include the item name, purchase date, and expiration date when applicable.
For drawer and shelf labels, use broad category names that allow for flexibility within the space. Apply labels at eye level whenever possible, positioning them uniformly on containers and shelves. For clear containers, place labels on both the lid and the front for easy identification from multiple angles.
Create a master inventory list of where everything belongs, and consider photographing the organized spaces as a reference guide. Consider using different label colors or styles for different zones in your kitchen (e.g., blue for baking supplies, green for healthy snacks).
Test label adhesion on various surfaces before committing to a system, and always ensure labels are waterproof and smudge-resistant. Regular maintenance of your labeling system, including updating expired items and adjusting categories as needed, will ensure long-term organization success.
Utilize Stackable Bins for Pantry Organization
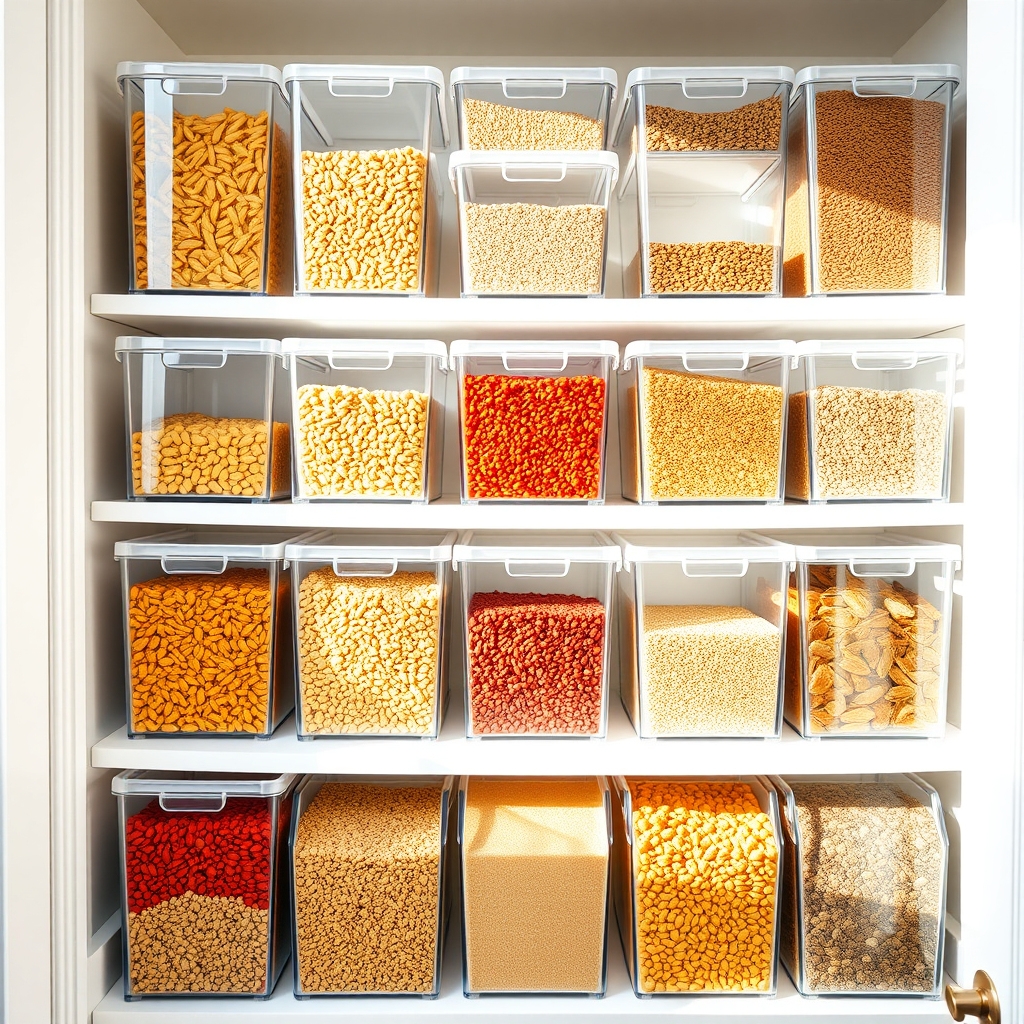
A well-organized pantry is the cornerstone of an efficient kitchen, saving valuable time during meal preparation and reducing food waste. When items are clearly visible and easily accessible, you’re more likely to use them before they expire and avoid purchasing duplicates unnecessarily.
Stackable bins transform cluttered pantry spaces into an organized system that maximizes vertical storage while maintaining visibility and accessibility. This organization method creates designated zones for different food categories, making it simpler to track inventory and maintain order over time.
Required Items:
- Clear stackable storage bins (various sizes)
- Label maker or adhesive labels
- Measuring tape
- Shelf liner (optional)
- Container markers
- Inventory checklist
- Cleaning supplies
- Step stool
- Recycling bin
Start by completely emptying your pantry and grouping similar items together (grains, canned goods, snacks, baking supplies). Measure your shelf space and select appropriately sized stackable bins that fit your shelves while maximizing vertical space.
Position frequently used items at eye level, with heavier items on lower shelves and lighter items above. Arrange your stackable bins by category, ensuring that similar items are grouped together. Place taller items in the back of bins and shorter items in front for optimal visibility.
Create a logical flow by positioning breakfast items together, baking supplies in another section, and snacks in easily accessible bins.
Additional Tips:
Maintain your organized system by implementing a “first in, first out” rotation method, regularly checking expiration dates, and updating labels as needed.
Consider using clear bins for better visibility and installing battery-operated LED lights to illuminate dark corners. Schedule monthly maintenance checks to reset any areas that have become disorganized and adjust bin placement based on changing needs and usage patterns.

