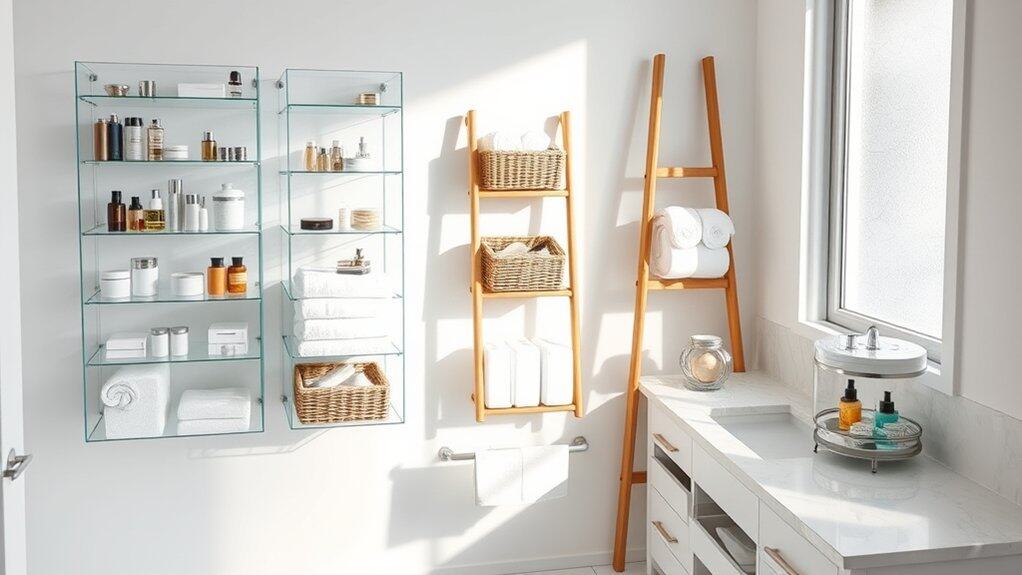
You’re about to discover how transforming your chaotic bathroom into an organized oasis isn’t just a dream. I’ve tried countless storage solutions over the years, and let me tell you – these seven genius ideas have completely changed my morning routine! From maximizing that unused space above your toilet to creating clever zones that’ll make you wonder why you didn’t think of them sooner, these practical tips will revolutionize your bathroom setup. Ready to turn your cluttered counter into a spa-like space?
Maximize Vertical Space With Over-The-Toilet Storage
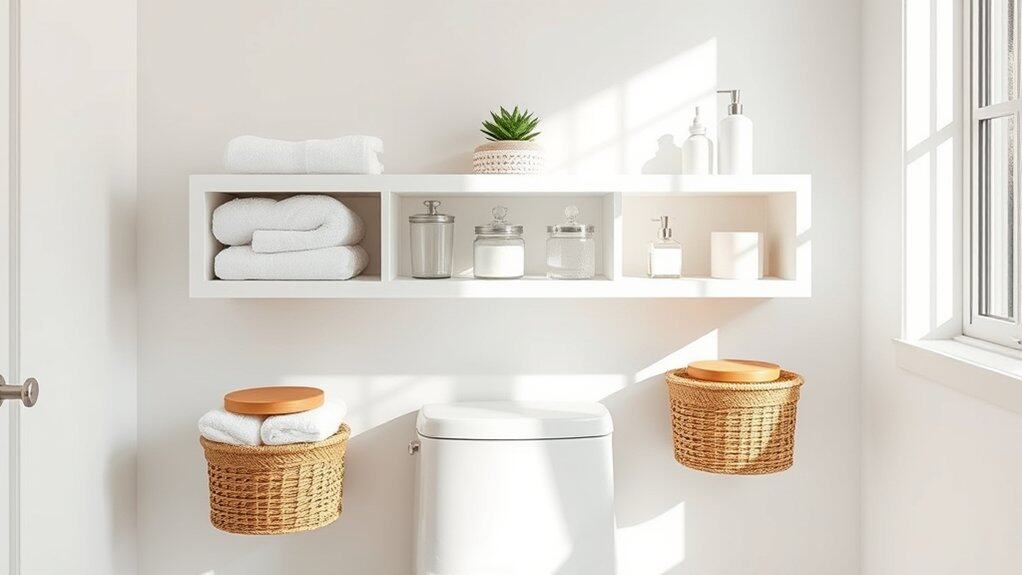
Making the most of vertical space in a bathroom is crucial, especially in smaller homes where every square inch counts. The often-underutilized area above the toilet presents a perfect opportunity to add substantial storage without consuming valuable floor space. This approach not only helps declutter your bathroom but also creates an organized system for toiletries, towels, and other essentials.
Over-the-toilet storage solutions transform dead space into a functional storage area that can hold everything from extra toilet paper to decorative items. When properly organized, this space can significantly increase your bathroom’s storage capacity while maintaining a clean, uncluttered appearance.
Required Items:
- Over-the-toilet storage unit or shelving system
- Storage baskets or containers
- Labels
- Command hooks or mounting hardware
- Level
- Screwdriver
- Measuring tape
- Step stool
- Storage bins or organizers
- Clear containers for smaller items
Start by assembling your over-the-toilet storage unit according to manufacturer instructions, ensuring it’s level and properly secured to the wall if required. Place heavier items on lower shelves for stability, and arrange frequently used items at eye level for easy access.
Sort items into categories such as cleaning supplies, extra toiletries, and towels, using baskets or containers to keep similar items together. Group items logically, placing toilet paper and cleaning supplies on lower shelves, daily essentials at arm’s reach, and less frequently used items on upper shelves.
Use clear containers for smaller items to maintain visibility and prevent forgotten products. Consider using drawer organizers or small bins within larger baskets to further compartmentalize items and maximize space efficiency.
Additional Tips:
Rotate items seasonally and check expiration dates regularly. Use vertical space-saving solutions like tension rods for hanging spray bottles, or install small hooks on the sides of the unit for hanging washcloths or other lightweight items.
Consider using coordinated containers or baskets to maintain a cohesive look, and implement a regular cleaning schedule to prevent dust accumulation on open shelving.
Install Magnetic Strips for Metal Items
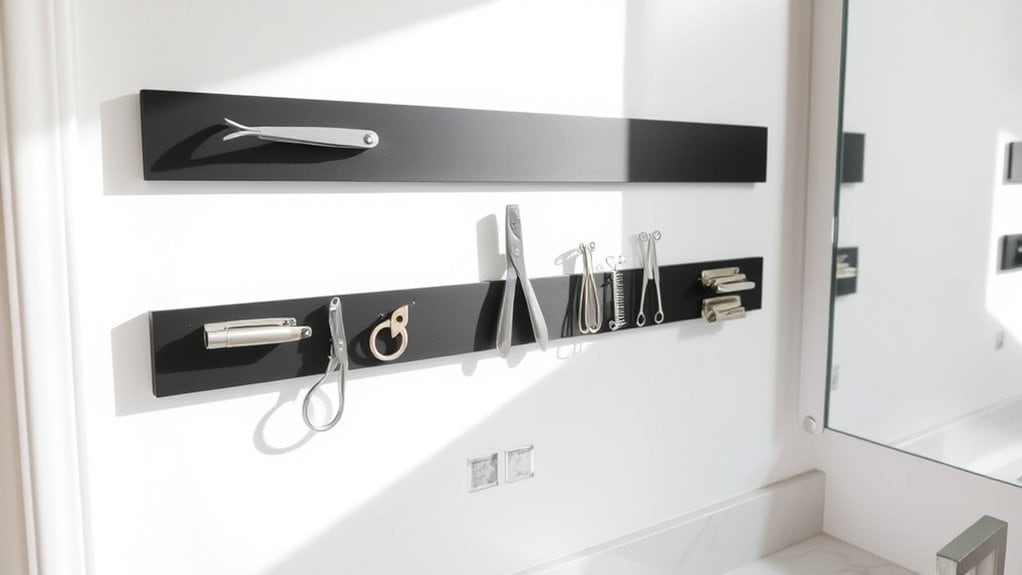
Organizing metal items in your bathroom can quickly become a challenge, with bobby pins scattered across counters, tweezers lost in drawers, and nail clippers constantly misplaced. Installing magnetic strips creates an innovative storage solution that keeps these essential tools visible, accessible, and neatly arranged while freeing up valuable drawer and counter space.
Magnetic organization transforms your bathroom into a more functional space by utilizing vertical wall space effectively. This method not only prevents items from getting lost or tangled but also protects them from moisture that can accumulate in drawers and cabinets, potentially leading to rust or deterioration.
Required Items:
- Heavy-duty magnetic strips
- Mounting screws and anchors
- Drill
- Level
- Pencil
- Measuring tape
- Screwdriver
- Clean cloth
- Wall cleaner
Begin by selecting an easily accessible wall space near your bathroom mirror or vanity. Clean the chosen area thoroughly and allow it to dry completely. Measure and mark where you want to install the magnetic strips, using a level to ensure straight placement. If installing multiple strips, space them about 6-8 inches apart vertically.
Pre-drill holes for the mounting screws, insert wall anchors if needed, and securely attach the magnetic strips to the wall. Test the magnetic hold strength before arranging all your items. Organize items by category – grooming tools together, hair accessories in another section, and frequently used items at eye level.
Consider installing shorter strips at different heights to accommodate items of varying sizes. For optimal long-term use, periodically wipe down the magnetic strips with a dry cloth to prevent dust accumulation. Avoid placing extremely heavy items on the strips, and consider applying a small piece of clear tape on the back of items that might scratch or damage the magnetic surface.
Additionally, keep the strips away from direct water exposure to maintain their magnetic strength and prevent rusting.
Create Zones With Clear Storage Containers
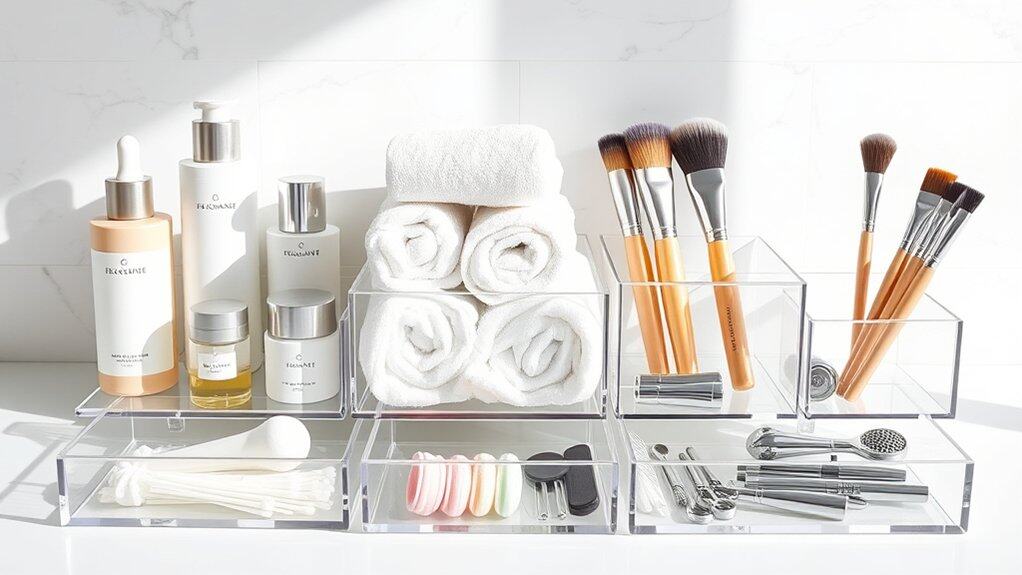
Organizing bathroom products with clear storage containers is a game-changing approach that transforms cluttered countertops and cabinets into an efficient, easy-to-navigate space. When products are grouped logically and stored in transparent containers, you can instantly locate items, monitor supplies, and maintain a cleaner bathroom environment.
Creating designated zones with clear containers not only streamlines your daily routine but also prevents product overflow and unnecessary purchases. This system works particularly well in bathrooms shared by multiple family members, as each person can have their own clearly defined space while maintaining a cohesive, organized appearance.
Required Items:
- Clear acrylic containers in various sizes
- Container labels or label maker
- Measuring tape
- Drawer dividers
- Clear bins with handles
- Small clear jars
- Bathroom drawer organizers
- Cleaning supplies
- Trash bag for discards
Start by removing all items from your bathroom storage areas and sorting them into categories: daily essentials, occasional use items, backup supplies, and seasonal products. Measure your available storage spaces and select appropriately sized clear containers for each category.
Place daily-use items in easily accessible containers at eye level or on the counter, while storing backup supplies in larger bins underneath or in cabinets.
Arrange products within the containers based on frequency of use and logical groupings. For example, create a morning routine container with facial cleanser, toner, and moisturizer, and another for evening products. Use smaller clear containers for items like cotton swabs, hair ties, and bobby pins. Label each container clearly to maintain the system.
Additional tip: Review your zones every three months to refresh the organization system. Remove expired products, consolidate partially used items, and adjust container placement based on changing needs and seasons.
Consider using stackable containers to maximize vertical space and maintain clear sightlines to all products, making it easier to maintain the organizational system long-term.
Transform Cabinet Doors Into Storage Space
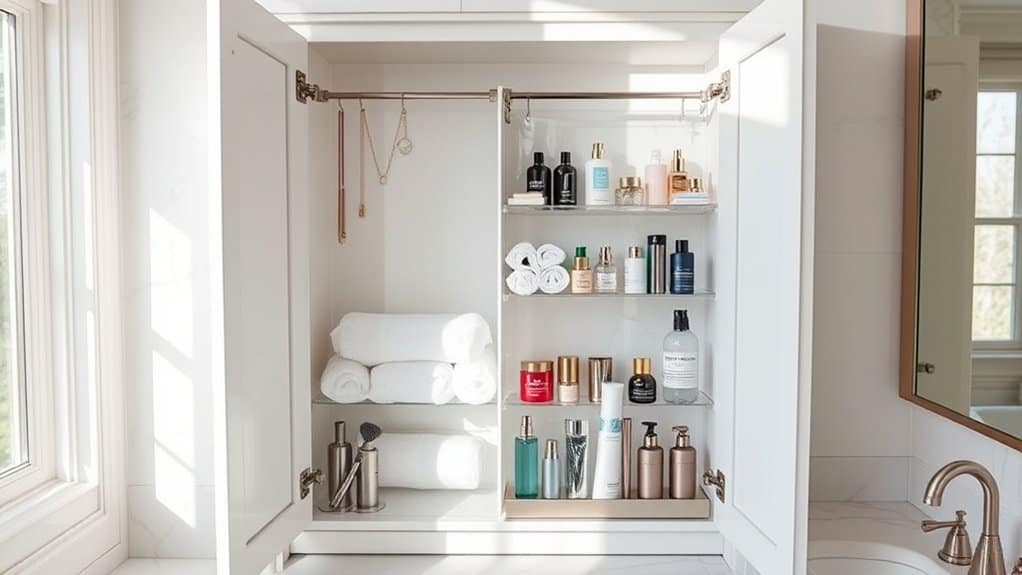
Making the most of every inch in your bathroom is essential for maintaining an organized and clutter-free space. Cabinet doors often represent overlooked square footage that could be serving as valuable storage real estate, especially in smaller bathrooms where space comes at a premium.
Converting your cabinet doors into functional storage areas creates easy access to frequently used items while keeping countertops clear. This transformation can double your storage capacity without requiring additional furniture or major renovations, making it an ideal solution for renters and homeowners alike.
Required Items:
- Over-the-door hanging organizers
- Adhesive hooks
- Command strips
- Clear storage pockets
- Small tension rods
- Magnetic strips
- Screwdriver
- Measuring tape
- Level
- Mounting hardware (if needed)
Start by measuring the interior dimensions of your cabinet doors, accounting for any hinges or existing hardware. Install over-the-door organizers that fit within these measurements, ensuring they don’t interfere with the cabinet’s closing mechanism.
For items that need to be secured more permanently, mount adhesive hooks or command strips at strategic heights, considering the items you plan to store. If using magnetic strips, attach them horizontally across the door’s surface, creating rows for metal items like bobby pins or small tools.
For deeper cabinets, consider installing small tension rods vertically to create divisions for storing cleaning supplies or hair styling tools. Clear storage pockets can be mounted using strong adhesive strips, providing visible storage for smaller items like cosmetics, medications, or dental supplies.
Ensure all mounted items are secured firmly and test the door’s movement several times to verify nothing catches or prevents proper closure.
To maintain this organizational system effectively, regularly check that all mounting hardware remains secure, and clean surfaces before adding any adhesive products. Consider grouping similar items together and labeling storage pockets for easy identification.
For heavier items, use screw-mounted organizers rather than adhesive solutions, and always verify your cabinet doors can support the weight of your planned storage items before installation.
Use Shower Caddies and Corner Shelves Strategically
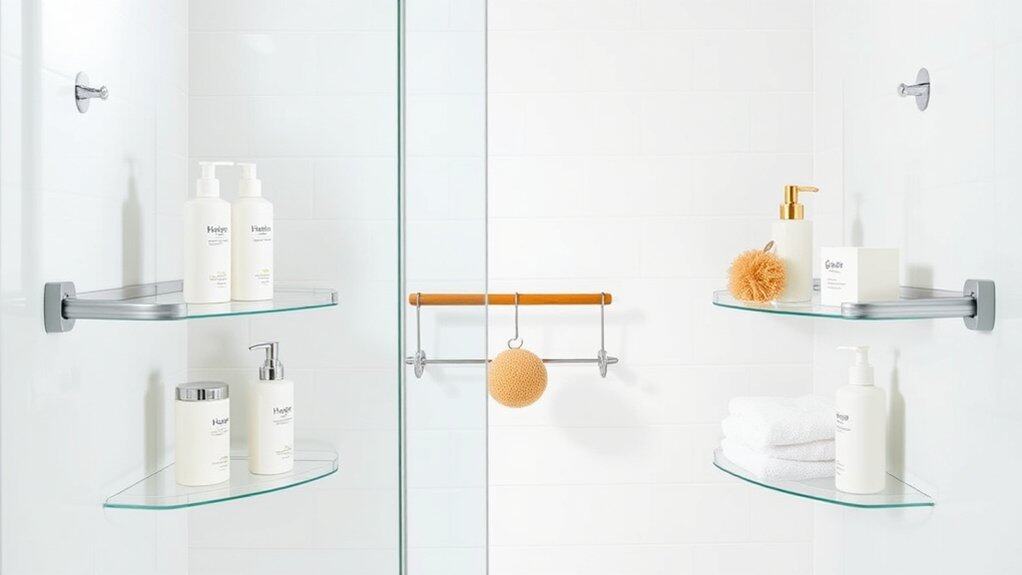
A well-organized shower area transforms your daily routine from chaotic to streamlined, eliminating the frustration of searching for products or dealing with cluttered surfaces. Strategic placement of shower caddies and corner shelves not only maximizes limited space but also protects your products from water damage and soap scum buildup.
The key to successful shower organization lies in selecting the right storage solutions and positioning them thoughtfully within your space. Whether you have a compact shower stall or a larger bathtub area, proper organization can dramatically improve functionality while maintaining a clean, spa-like atmosphere.
Required Items:
- Tension-rod shower caddy
- Suction-cup corner shelves
- Rust-resistant hanging caddy
- Waterproof adhesive hooks
- Shower squeegee
- Clear storage containers
- Waterproof labels
- Measuring tape
- Level tool
Start by assessing your shower space and measuring available areas for placement. Install a tension-rod caddy between opposite walls for maximum stability, positioning it at a height that’s easily accessible but doesn’t interfere with showering.
Mount corner shelves in a zigzag pattern, placing frequently used items on middle shelves and lesser-used products on higher ones. Ensure all mounting surfaces are thoroughly cleaned and dried before installation for optimal adhesion.
Group similar products together on your shelves: hair care items on one level, body products on another, and facial products on a third. Position items with pumps or squeeze bottles facing outward for easy access.
Install additional hooks on shower walls between shelves for loofahs, washcloths, or razors, keeping them separate from bottled products.
For optimal organization maintenance, regularly clean shelves and caddies with a bathroom cleaner, checking mounting hardware monthly for security.
Consider using clear containers to transfer products from bulky packaging, adding waterproof labels for easy identification. Keep a small squeegee nearby to wipe down shelves after each use, preventing water accumulation and extending the life of your organization system.
Implement Drawer Dividers and Organizers
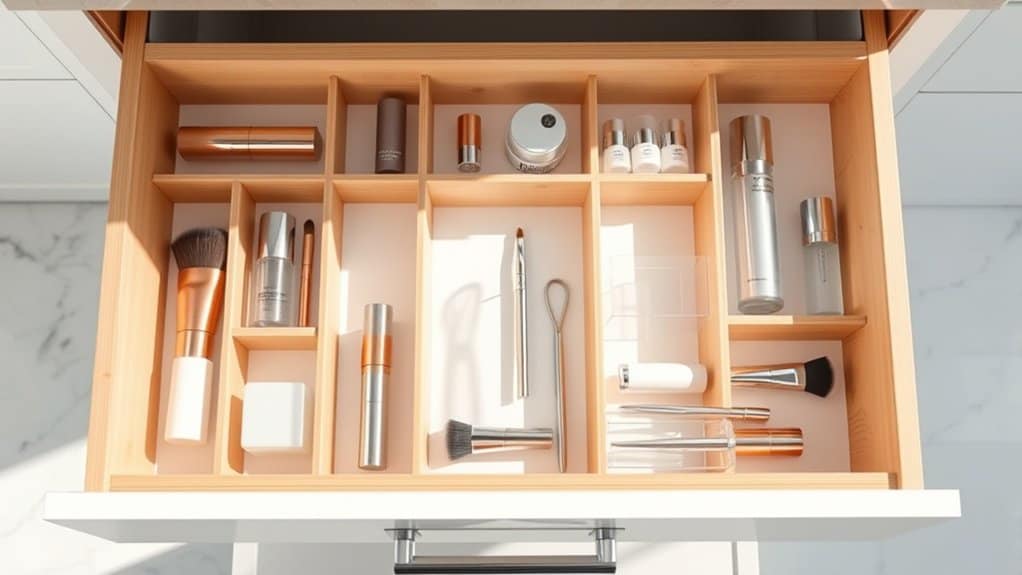
Bathroom drawers can quickly become chaotic catch-alls for various toiletries, cosmetics, and personal care items, making it frustrating to find what you need when you need it. Implementing drawer dividers and organizers creates designated spaces for different categories of items, transforming cluttered drawers into efficient storage solutions.
Proper drawer organization not only saves time during daily routines but also helps maintain product integrity by preventing items from rolling around, spilling, or becoming damaged. When everything has its place, you can easily track inventory, avoid purchasing duplicates, and ensure products are used before their expiration dates.
Required Items:
- Drawer dividers (adjustable or fixed)
- Small organizing bins or containers
- Measuring tape
- Drawer liner (non-slip)
- Label maker or labels
- Cleaning supplies
- Storage containers in various sizes
- Clear organizing trays
- Drawer depth stoppers
Start by removing everything from the drawers and thoroughly cleaning the surfaces. Measure the drawer dimensions and plan your organization system by grouping similar items together.
Install non-slip liner material to prevent containers from sliding. Place adjustable dividers or pre-sized organizers to create compartments that fit your specific needs, ensuring they’re secure and properly aligned.
Arrange items by frequency of use, keeping daily essentials in easily accessible locations. Create zones for different categories: dental care, hair accessories, cosmetics, first aid supplies, and medications. Use clear containers or labeled sections to maintain organization long-term.
For maximum effectiveness, review the system every three months, adjusting divider placement as needed and purging expired or unused items.
Consider using stackable containers in deeper drawers to maximize vertical space, and maintain organization by immediately returning items to their designated spots after use. This habit ensures the system remains functional and efficient over time.
Add Rolling Storage Carts for Flexibility
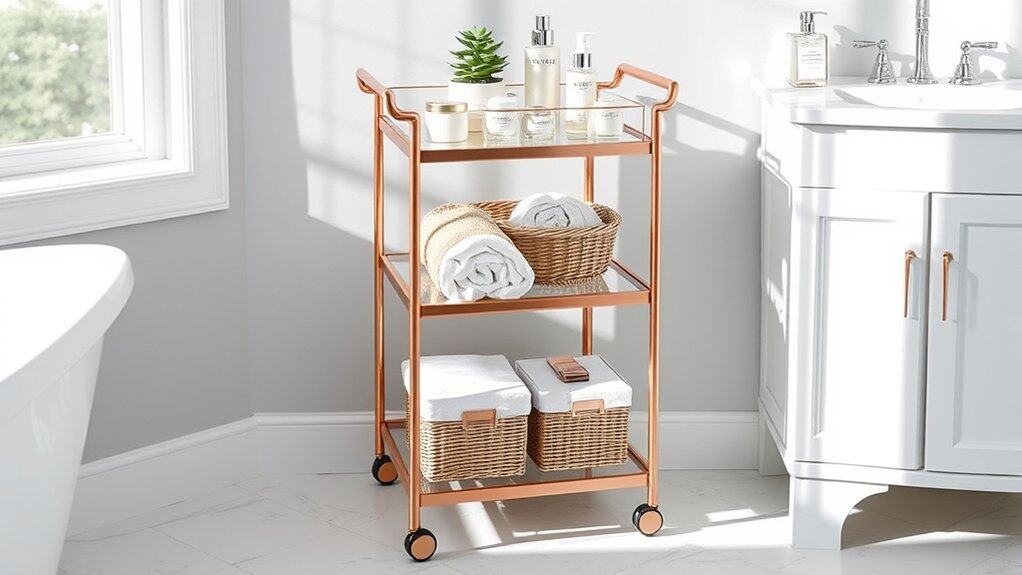
Rolling storage carts represent a game-changing solution for bathroom organization, offering mobility and adaptability that fixed storage solutions simply can’t match.
These versatile units can be easily moved for cleaning, accessed from multiple angles, and even transported to other rooms when needed. The ability to customize and reconfigure rolling storage makes it particularly valuable in bathrooms where space is at a premium or layout changes are frequent.
Whether storing toiletries, cleaning supplies, or personal care items, rolling carts provide convenient access while maintaining a clutter-free environment.
Required Items:
- Rolling storage cart (preferably with multiple tiers)
- Clear storage containers or bins
- Label maker or labels
- Drawer liners (optional)
- Small organizing baskets
- Dividers or compartment organizers
- Measuring tape
Select a rolling cart that fits your space and begin by measuring the designated area where the cart will primarily reside. Clean the cart thoroughly and install drawer liners if desired.
Categorize your bathroom items into groups: daily essentials, occasional use items, and backup supplies. Assign each category to a specific tier or section of the cart, placing frequently used items at easily accessible heights. Use clear containers or baskets to further organize smaller items within each tier.
Install dividers or compartment organizers to prevent items from shifting when the cart moves. Label each section clearly to maintain the organizational system. Position the cart in its primary location, ensuring it doesn’t obstruct door swing or foot traffic.
Test the movement to confirm smooth rolling on your bathroom floor surface. For optimal long-term success, establish a regular maintenance routine. Review contents monthly, removing expired products and reorganizing as needed.
Keep heavier items on lower shelves for stability, and consider using waterproof containers in areas prone to splashing. When selecting new bathroom products, factor in the cart’s dimensions to ensure continued efficient storage.

