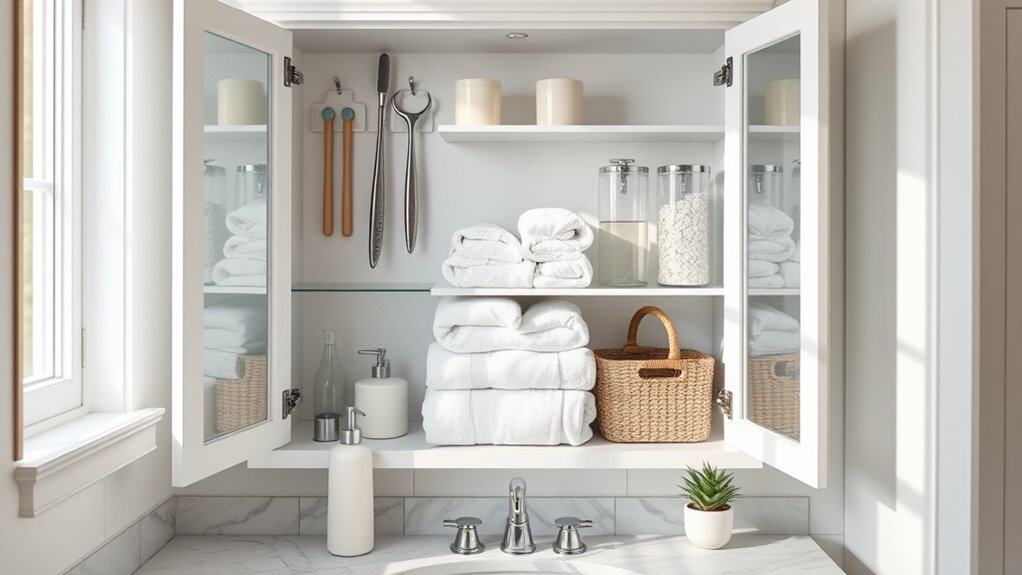
You’re about to discover how to transform your chaotic bathroom cabinets into organized spaces that’ll make your morning routine a breeze! I’ve tested countless storage solutions over the years, and these eight game-changing ideas will help you maximize every inch of space – whether you’re dealing with a tiny apartment bathroom or a spacious master suite. Let’s explore how you can finally say goodbye to that jumbled mess of toiletries and hello to a perfectly organized oasis.
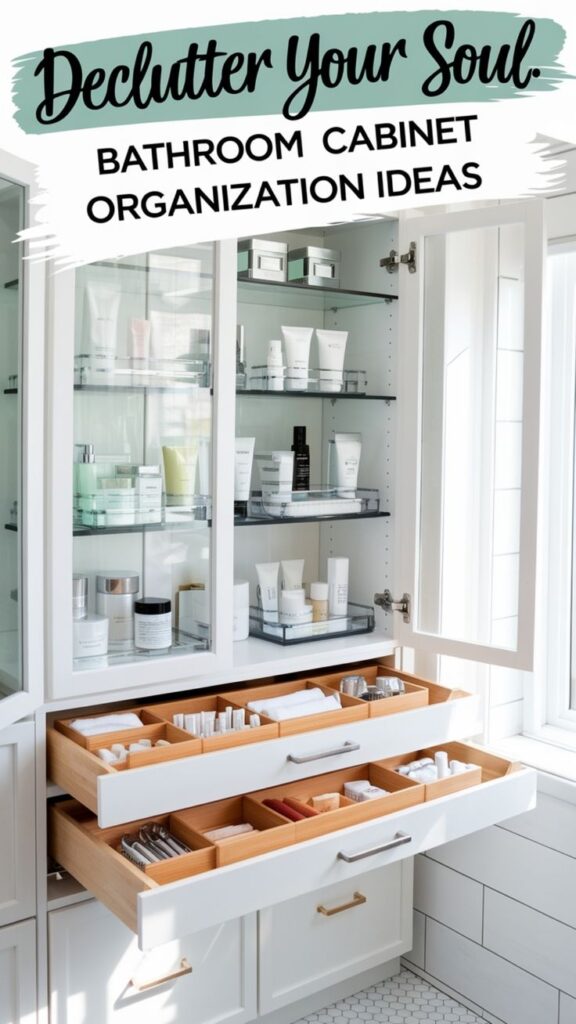
Clear Storage Containers With Labels
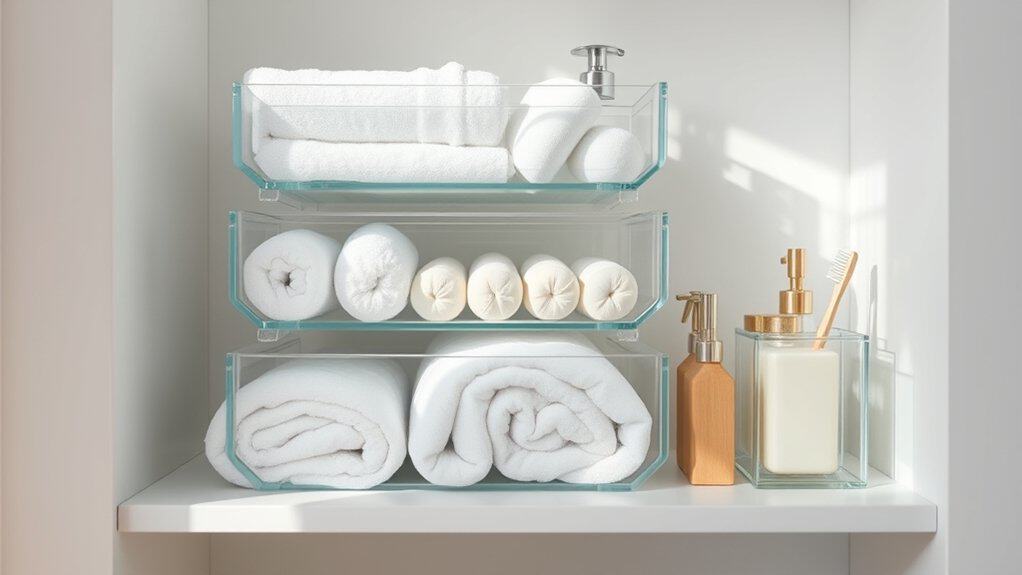
Organizing bathroom cabinets with clear storage containers and proper labeling is a game-changing approach to maintaining an orderly space. These transparent containers allow you to instantly locate items while keeping similar products grouped together, eliminating the frustration of searching through cluttered cabinets.
When bathroom items are properly contained and labeled, you not only save time during your daily routine but also prevent products from getting lost in the back of cabinets. Clear containers protect products from moisture and spills while making inventory management effortless, ensuring you never run out of essential items unexpectedly.
Required Items:
- Clear plastic storage containers (various sizes)
- Label maker or waterproof labels
- Measuring tape
- Clean microfiber cloth
- Drawer liner (optional)
- Small bins or dividers
- Waterproof marker
- Storage baskets for larger items
Empty your cabinet completely and measure the available space. Sort items into categories such as first aid, dental care, hair products, and skincare. Select appropriately sized clear containers that maximize vertical space while fitting comfortably within your cabinet dimensions.
Place items in their designated containers, positioning frequently used products at the front. Create clear, legible labels for each container, ensuring they’re placed consistently on the front or top edge.
Consider stacking containers when possible, but ensure all items remain easily accessible. Use smaller containers for items like cotton swabs, hair ties, or medication, and larger ones for bulkier items such as extra toilet paper or towels. Position containers so that labels are visible without having to remove other items, and maintain space between containers for easy removal.
Additional Organization Tips: Implement a regular maintenance schedule to prevent clutter from returning. Review contents monthly, removing expired products and restocking essentials.
Consider using drawer organizers or small lazy susans for corner spaces, and maintain a shopping list nearby to note items as they run low. This proactive approach ensures your organized system remains functional and efficient long-term.
Pull-Out Drawer Organizers
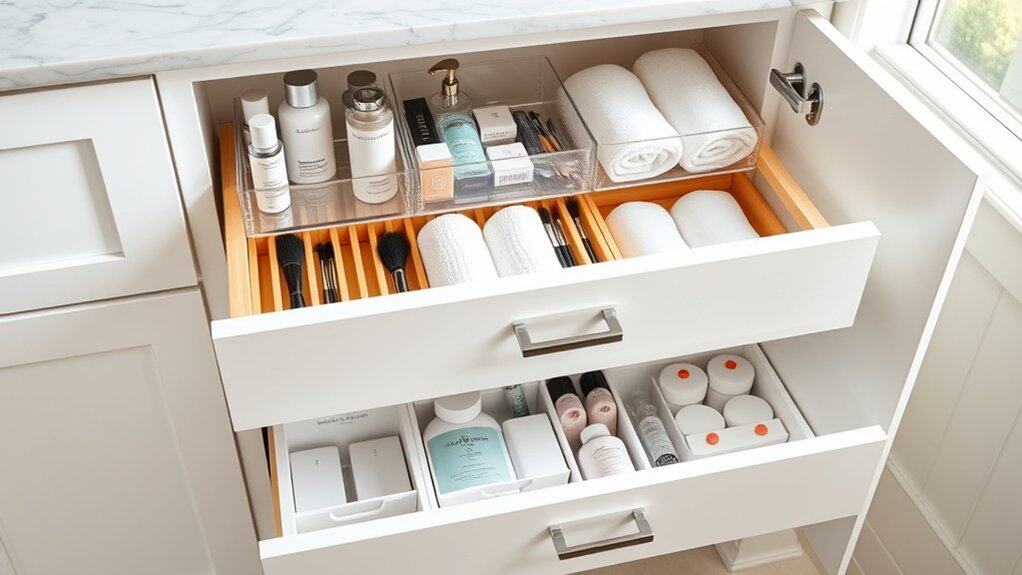
Pull-out drawer organizers are game-changers in bathroom organization, transforming cluttered cabinets into efficient, accessible storage spaces.
These practical solutions maximize vertical space while keeping items visible and within easy reach, eliminating the frustration of digging through deep cabinets to find essential items.
When properly implemented, pull-out drawer organizers create designated spaces for different categories of bathroom items, from toiletries to cleaning supplies.
This systematic approach not only saves time during daily routines but also helps maintain order and cleanliness in what can often become a chaotic space.
Required Items:
- Pull-out drawer systems
- Measuring tape
- Screwdriver
- Drawer dividers
- Non-slip liner
- Labels
- Storage containers
- Mounting hardware
- Level
- Pencil
Installation and organization begins with measuring your cabinet’s interior dimensions and selecting appropriately sized pull-out units.
Remove existing shelving and clean the cabinet interior thoroughly.
Install the drawer slides according to manufacturer specifications, ensuring they’re level and properly secured.
Once mounted, insert the drawer units and test their smooth operation.
Organize items by category, placing frequently used items in easily accessible drawers.
Use drawer dividers to create sections for different items, such as haircare products, dental supplies, and first aid materials.
Consider transparent containers for smaller items to maintain visibility while keeping them contained.
For optimal results, implement a maintenance routine to keep your newly organized pull-out drawers functional and tidy.
Regularly wipe down drawer surfaces, check hardware for proper operation, and reassess item placement based on usage patterns.
Consider using drawer liners to prevent items from sliding and protect the drawer surface.
Label each section clearly to maintain organization and make it easier for family members to return items to their designated spots after use.
Over-the-Door Cabinet Solutions
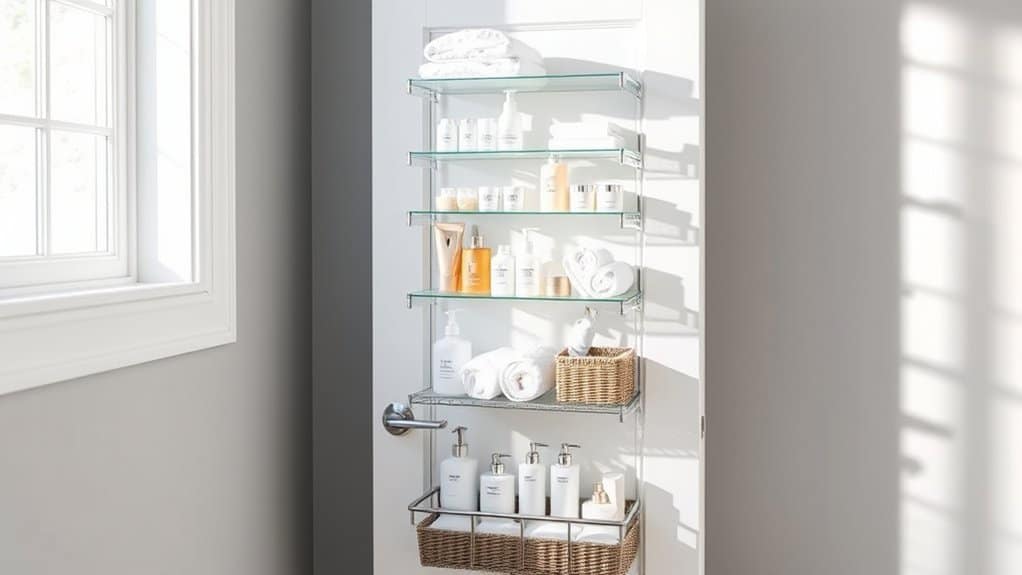
Maximizing bathroom storage space is crucial in modern homes where square footage comes at a premium. Over-the-door cabinet solutions offer an innovative way to utilize vertical space that often goes unused, creating additional storage without consuming valuable floor or counter space.
Over-the-door storage systems transform the back of your bathroom door into a functional organization center, perfect for storing toiletries, beauty products, medications, and cleaning supplies. This solution is particularly valuable for renters or homeowners who can’t make permanent modifications to their bathrooms.
Required Items:
- Over-the-door cabinet or organizer
- Measuring tape
- Level
- Door hooks or mounting hardware
- Storage bins or baskets
- Labels
- Door cushions or bumpers
- Adjustable wrench
- Screwdriver
Installation and organization begins with measuring your door’s dimensions to ensure proper fit. Mount the over-the-door cabinet using the provided hooks or hardware, ensuring it hangs level and doesn’t interfere with door closure.
If using an adjustable system, position the shelves or baskets at comfortable heights for easy access. Sort items by category, placing frequently used products at eye level and lesser-used items toward the bottom. Consider using clear containers to easily identify contents and maximize vertical space by utilizing stackable storage solutions.
When organizing the cabinet contents, implement zones based on usage patterns. The top section works well for daily essentials like medications and skincare products. The middle area can house hair care items and styling tools, while the bottom section is ideal for backup supplies and less frequently used items.
Install door bumpers to prevent damage to the door or wall, and ensure all items are secured to prevent shifting when the door moves.
Additional Tips: Review the weight capacity of your over-the-door system and distribute items evenly to prevent strain. Use drawer liners or non-slip mats to keep items in place, and implement a regular maintenance schedule to prevent product expiration and clutter accumulation.
Consider seasonal reorganization to accommodate changing storage needs throughout the year.
Stackable Bins and Baskets
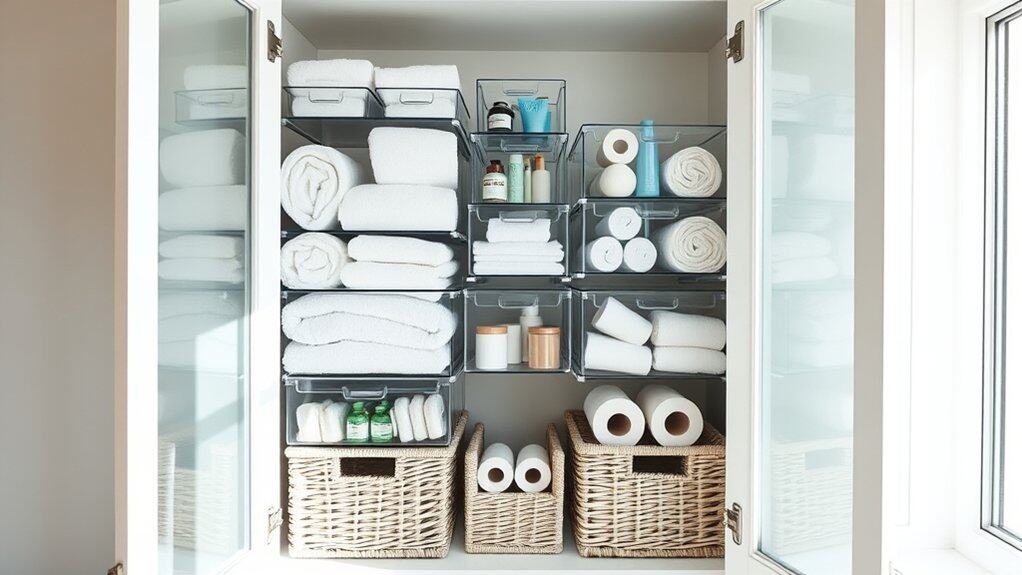
Organizing bathroom cabinets with stackable bins and baskets creates a systematic storage solution that maximizes vertical space while keeping items easily accessible. When properly implemented, this organization method prevents items from getting lost in the depths of cabinets and eliminates the frustration of rummaging through cluttered spaces.
Stackable storage solutions transform chaotic bathroom cabinets into efficient storage systems that adapt to changing needs. These versatile containers allow for grouping similar items together while maintaining clear visibility and easy access, making daily routines smoother and more efficient.
Required Items:
- Clear stackable bins
- Labeled storage baskets
- Drawer organizers
- Measuring tape
- Labels or label maker
- Container dividers
- Step stool (if needed)
- Cleaning supplies
Start by removing everything from the cabinets and measuring the available space, noting height, width, and depth. Sort items into categories such as dental care, hair products, first aid, and cleaning supplies.
Select appropriately sized stackable bins that fit your cabinet dimensions, ensuring they can be easily removed without catching on cabinet edges. Place frequently used items in front-facing bins at eye level, with less-used items stored in higher stacks.
Position the largest, heaviest bins at the bottom for stability. Create a logical flow by keeping morning routine items together and occasional-use items in separate stacks. Use clear bins for items that need visual identification and solid baskets for less attractive necessities.
Implement a labeling system that clearly identifies the contents of each container, particularly for stacked items that mightn’t be immediately visible. For optimal organization maintenance, regularly audit the contents of bins and baskets, removing expired items and adjusting category groupings as needed.
Consider using drawer-style stackable containers for small items like cotton swabs or makeup, and maintain some empty space in each container to accommodate new items without disrupting the system.
Magnetic Storage Systems
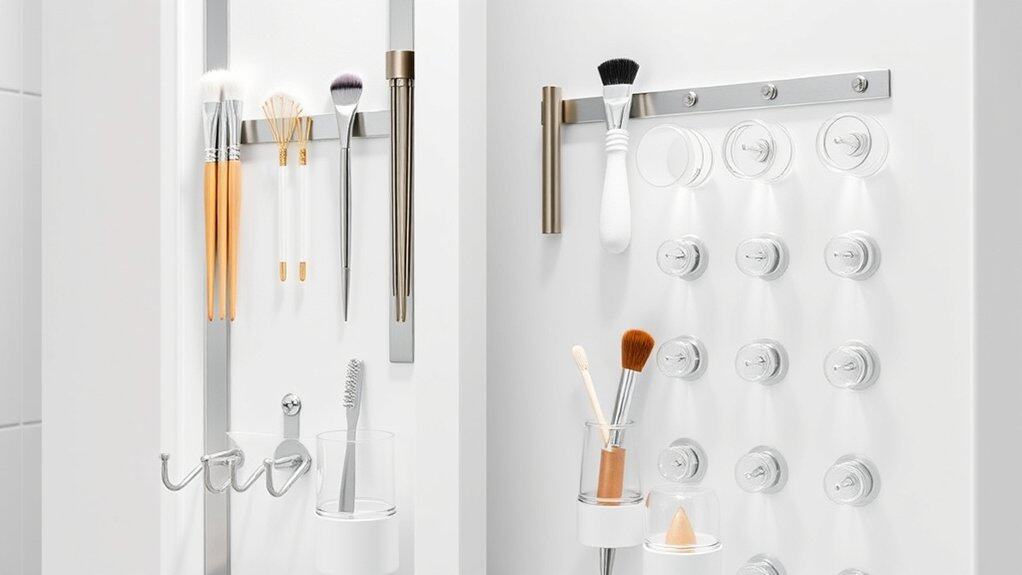
Magnetic storage solutions represent a game-changing approach to bathroom cabinet organization, maximizing vertical space while keeping items easily accessible. By utilizing the often-overlooked surfaces inside cabinet doors and walls, magnetic systems create additional storage without consuming precious shelf space.
The versatility of magnetic storage is particularly valuable in bathrooms, where counter space is limited and daily-use items need to be readily available. These systems can accommodate everything from bobby pins to nail clippers, creating a clutter-free environment while ensuring frequently used items remain within arm’s reach.
Required Items:
- Magnetic strips or sheets
- Magnetic containers
- Metal mounting plates
- Double-sided adhesive tape
- Scissors
- Measuring tape
- Small screwdriver
- Metal-friendly adhesive
- Small magnetic hooks
- Clear magnetic containers
Start by measuring the available space inside your cabinet doors and walls. Cut magnetic strips or sheets to size, ensuring they fit properly within the designated areas. Install metal mounting plates if stronger magnetic attraction is needed, securing them with appropriate screws or heavy-duty adhesive.
Attach magnetic containers at eye level for frequently used items, positioning them strategically to maximize space efficiency while maintaining easy access. Organize items by category, placing similar items together in magnetic containers. Consider using clear containers for better visibility of contents.
Install small magnetic hooks for items like tweezers or nail files that are better stored hanging. Test the magnetic strength of each component before fully committing to its position to ensure items remain secure during regular cabinet use.
For optimal results, regularly assess the magnetic strength of your storage components and clean both the magnets and containers to maintain proper adhesion. Consider labeling containers for enhanced organization and rotate items based on frequency of use, keeping daily essentials at the most accessible heights.
Remember to periodically check that all mounting hardware remains secure, especially in humid bathroom environments.
Rotating Lazy Susan Storage
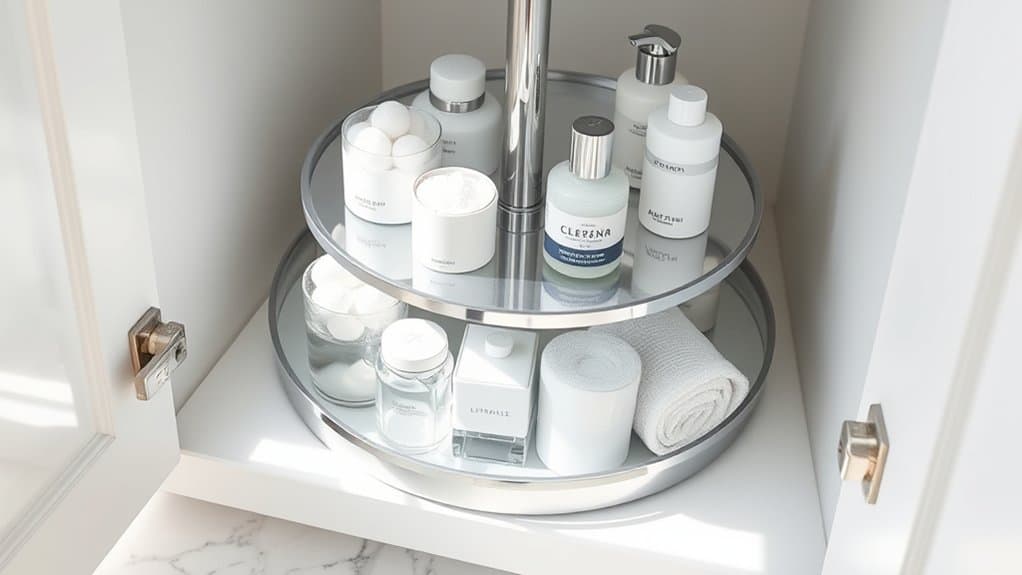
A well-organized bathroom cabinet with a rotating lazy Susan can transform a cluttered, frustrating space into an efficiently managed storage solution. The rotating mechanism allows easy access to items stored in deep corner cabinets or hard-to-reach spaces, eliminating the need to remove multiple items to reach those in the back.
Implementing a lazy Susan system in your bathroom cabinet maximizes vertical space while keeping toiletries, cleaning supplies, and personal care items visible and accessible. This organization method prevents products from being forgotten or expired and ensures that everyday essentials are always within reach.
Required Items:
- Single or multi-tier lazy Susan
- Measuring tape
- Non-slip liner
- Small containers or bins
- Labels and marker
- Cleaning supplies
- Clear drawer organizers (optional)
- Shelf risers (optional)
Start by removing everything from the cabinet and measuring the space to ensure your lazy Susan fits properly. Clean the cabinet thoroughly and install non-slip liner on the base. Place the lazy Susan in the cabinet, ensuring it rotates freely without hitting cabinet walls.
Sort items into categories such as dental care, hair products, first aid, or cleaning supplies. Position frequently used items toward the front of each tier.
For multi-tier lazy Susans, organize items by weight and usage frequency. Place heavier items on the bottom tier and lighter, frequently accessed items on upper tiers. Use small containers or bins to group similar items together, preventing smaller products from falling through gaps or becoming unstable during rotation. Label each section clearly to maintain organization long-term.
Additional Tips: Perform monthly maintenance by wiping down the lazy Susan and checking for expired products. Consider using clear containers to easily identify contents, and implement a “one in, one out” rule to prevent overcrowding. Leave some space between items to ensure smooth rotation and prevent items from falling when the lazy Susan is in motion.
Regular inventory checks will help maintain the system’s efficiency and prevent unnecessary purchases of duplicate items.
Custom Drawer Dividers

Well-organized bathroom drawers are essential for maintaining an efficient morning routine and creating a stress-free environment. When items are scattered throughout drawers without proper organization, valuable time is wasted searching for necessities, and products can become damaged or expire without notice.
Custom drawer dividers transform chaotic bathroom storage into a systematized space that maximizes every inch while keeping items visible and accessible. These organizational tools can be tailored to fit specific drawer dimensions and accommodate various items, from makeup and skincare products to hair accessories and dental care supplies.
Required Items:
- Measuring tape
- Foam board or wood panels
- Utility knife or saw
- Adhesive strips
- Drawer liner
- Ruler
- Pencil
- Scissors
- Self-adhesive velcro strips
- Clear containers (optional)
- Label maker (optional)
Start by emptying the drawer completely and measuring its interior dimensions, including depth. Create a rough sketch of your ideal compartment layout based on the items you need to store. Cut foam board or wood panels to size, creating vertical and horizontal dividers that intersect to form customized compartments.
Use adhesive strips to secure the dividers in place, ensuring they’re perfectly straight and stable. Line the bottom of each compartment with non-slip drawer liner to prevent items from sliding.
Group similar items together within the newly created sections, placing frequently used products toward the front of the drawer. Consider using small clear containers within larger compartments to further separate items and maintain organization.
Test the placement of dividers by opening and closing the drawer several times to ensure nothing catches or shifts.
For optimal long-term maintenance, regularly assess the effectiveness of your drawer organization system and adjust divider placement as needed. Consider implementing a rotation system for products with expiration dates, and clean the dividers monthly to prevent product residue buildup.
Label each compartment if desired, making it easier for family members to maintain the organizational system you’ve created.
Vertical Storage Racks
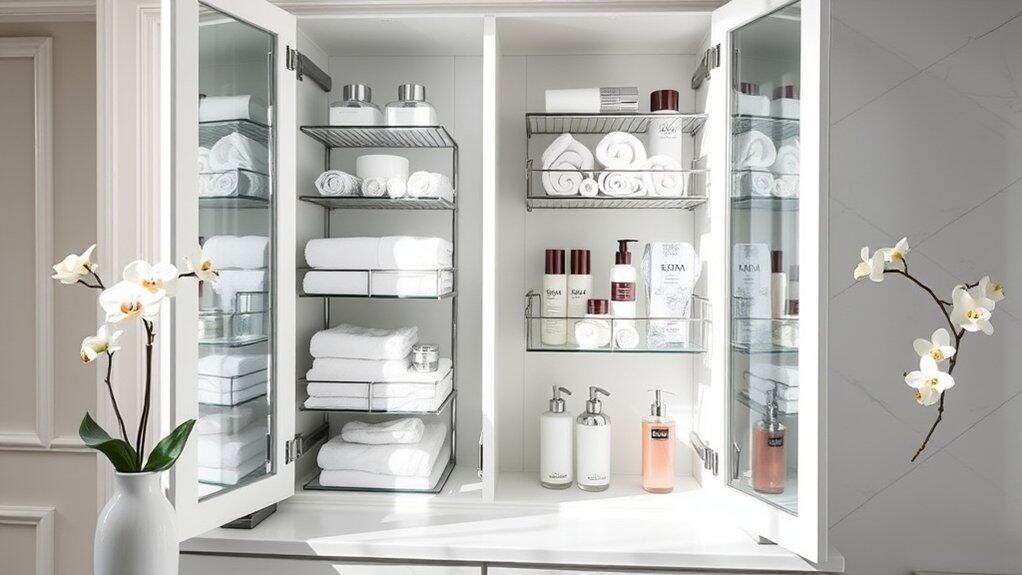
Maximizing vertical space in bathroom cabinets is crucial for creating an organized and efficient storage solution. Vertical storage racks transform unused cabinet space into functional storage areas, allowing easy access to toiletries, cleaning supplies, and personal care items while eliminating the frustration of digging through cluttered shelves.
Vertical storage racks are particularly effective in maximizing the often-overlooked space on cabinet doors and tall cabinet walls. This organization method not only increases storage capacity but also makes items more visible and accessible, reducing the time spent searching for specific products and maintaining an organized bathroom space.
Required Items:
- Over-the-door cabinet organizers
- Adhesive wall-mounted racks
- Command hooks or mounting hardware
- Tension rods
- Clear storage containers
- Label maker
- Measuring tape
- Cleaning supplies
- Screwdriver
- Level
Installing and organizing vertical storage racks starts with measuring your cabinet dimensions and selecting appropriate organizers that fit your space.
Begin by cleaning the cabinet surfaces thoroughly and marking mounting points for your chosen storage solutions. Install over-the-door organizers on cabinet doors, ensuring they don’t interfere with closing mechanisms. For wall-mounted racks, use appropriate hardware or adhesive strips, following weight limitations and manufacturer guidelines.
Group similar items together and arrange them in the racks according to frequency of use, with frequently accessed items at eye level. Position taller items like spray bottles and cleaning supplies in lower rack sections, while smaller items such as cosmetics and medication bottles can be stored in upper sections.
Consider using clear containers within the racks to further categorize small items and prevent them from falling through. Always ensure proper weight distribution and secure mounting to prevent accidents.
Additional Tips: Regularly assess and adjust your vertical storage system as needs change. Implement a rotation system for products with expiration dates, moving older items to the front.
Consider using drawer liners or non-slip mats in the bottom of containers to prevent items from sliding, and periodically clean both the racks and containers to maintain hygiene and prevent product buildup. Review the organization system every few months to ensure it continues to meet your storage needs effectively.

