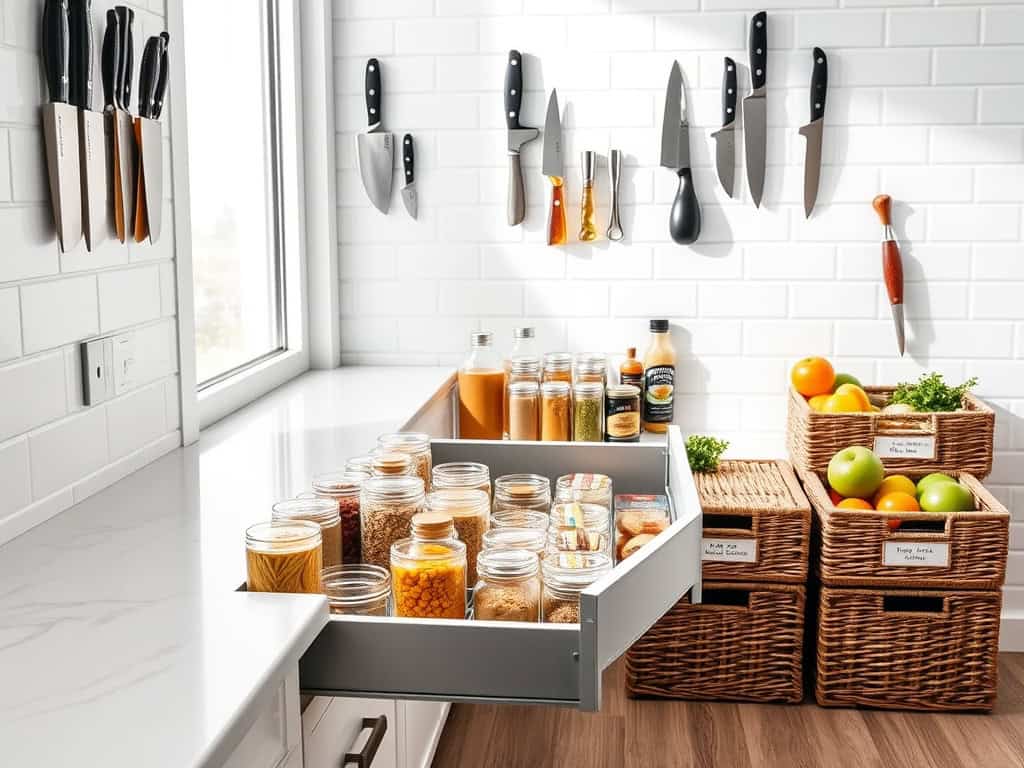
If you’re like most people, your kitchen probably feels like it’s secretly plotting against you, hiding your favorite spatula and swallowing up precious counter space. I’ve been there – fighting with cluttered drawers and playing cabinet Tetris with my pots and pans. But here’s the game-changer: you don’t need a massive kitchen remodel to double your storage space and streamline your cooking zone. Let me share some clever tricks that’ll transform your kitchen chaos into Pinterest-worthy organization.
Command Your Cabinet Space With Door-Mounted Organizers
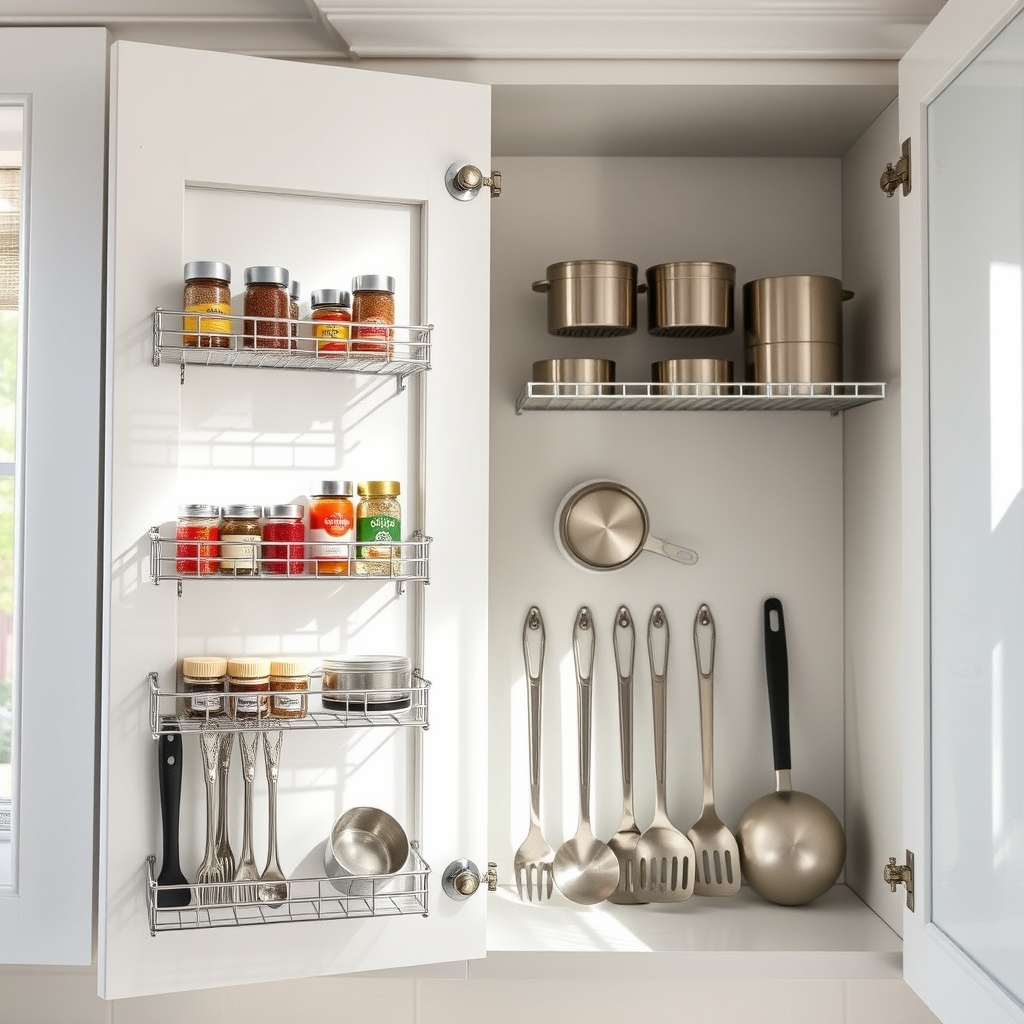
Cabinet doors represent some of the most underutilized storage spaces in kitchens. These vertical surfaces offer prime real estate for organizing frequently used items, reducing clutter on countertops and inside cabinets. When properly utilized, door-mounted organizers can transform chaotic cabinets into efficient storage solutions that maximize every square inch of available space.
Door-mounted organizers are particularly valuable for storing items that need quick access during meal preparation or daily routines. This organization method keeps essential items visible and within arm’s reach while freeing up valuable shelf space inside the cabinets for larger items or less frequently used kitchen tools.
Required Items:
- Measuring tape
- Door-mounted wire racks
- Over-the-door hooks
- Adhesive-backed organizers
- Screwdriver
- Wall anchors
- Level
- Pencil
- Command strips
- Cleaning supplies
Installing door-mounted organizers begins with thorough measurements of your cabinet doors, including width, height, and thickness. Choose organizers that fit within these dimensions while allowing the cabinet to close properly.
Clean the door surfaces thoroughly with appropriate cleaning supplies to ensure proper adhesion of mounting hardware. For wire racks requiring installation, mark mounting points with a pencil and level, then secure with screws or adhesive strips according to manufacturer instructions.
Consider the weight capacity of both the organizers and cabinet doors when deciding what items to store. Arrange frequently used items at eye level, with heavier items toward the bottom of the door for stability. Group similar items together, such as cleaning supplies, spices, or food storage containers, to create intuitive zones within your kitchen.
For optimal organization success, regularly assess the functionality of your door-mounted system. Remove items that aren’t frequently used, tighten any loose hardware, and adjust placement as needed based on your cooking habits.
Remember to periodically clean both the organizers and the cabinet doors to maintain their appearance and ensure continued proper adhesion of mounting hardware. Consider adding clear labels to help maintain organization and make items easier to locate quickly.
Master the Art of Drawer Dividers and Zones
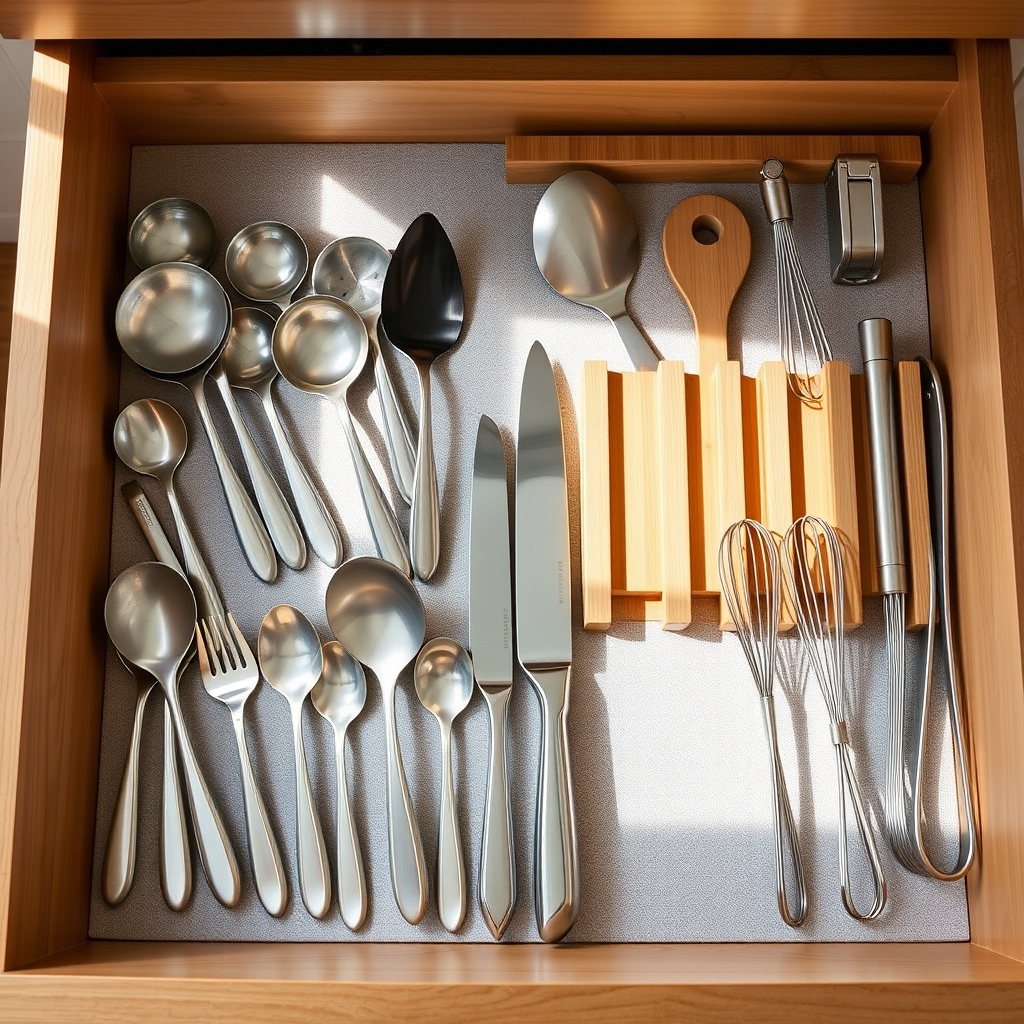
A well-organized kitchen drawer system is the foundation of an efficient cooking space. When utensils, tools, and gadgets are properly divided and zoned, you can access everything quickly without wasting precious minutes searching through cluttered drawers. This organization method eliminates frustration and speeds up both meal preparation and cleanup.
Drawer dividers and zones transform chaos into order by creating designated spaces for specific items based on their function and frequency of use. This system not only maintains organization but also protects your tools from damage caused by items jumbling together. When everything has its place, it’s easier to notice when items are missing and maintain the organizational system long-term.
Required Items:
- Drawer dividers (adjustable or fixed)
- Drawer liner material
- Measuring tape
- Label maker or labels
- Clean cloths
- Storage containers or small bins
- Paper and pen for planning
- Drawer organizer trays (various sizes)
Start by removing everything from your drawers and cleaning them thoroughly. Measure each drawer’s dimensions and sketch a rough plan for zones based on item categories and usage patterns. Common zones include cooking utensils, measuring tools, cutting implements, and specialty gadgets.
Install drawer liners to prevent items from sliding and protect drawer surfaces. Next, install drawer dividers according to your planned zones. Position adjustable dividers to create sections that accommodate your items efficiently. Group similar items together: spatulas with spoons, measuring cups with spoons, and sharp tools in their own section.
Place frequently used items in the most accessible areas, typically toward the front of drawers. For optimal organization maintenance, label each zone clearly, especially if multiple household members use the kitchen. Regularly assess the system and adjust divider placement as needs change.
Remove rarely used items to prevent overcrowding, and always return items to their designated spots after cleaning. Consider using drawer organizer trays for smaller items like measuring spoons or specialty tools to prevent them from getting lost in larger zones.
Create a Smart Pantry System With Clear Containers
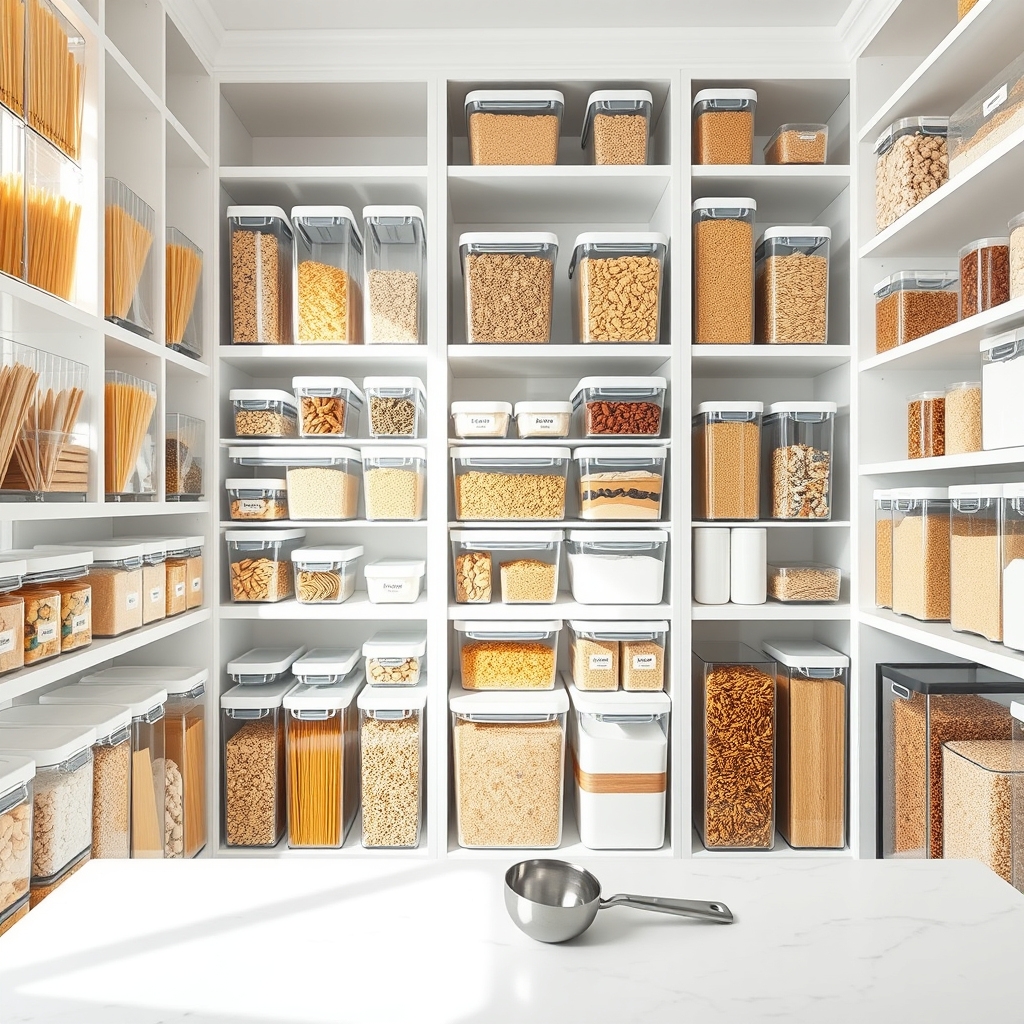
A well-organized pantry with clear containers is the cornerstone of an efficient kitchen. When dry goods are visible and properly stored, meal planning becomes easier, grocery shopping more precise, and food waste significantly reduced. The simple act of transferring items from original packaging to clear containers can transform a cluttered pantry into a functional, aesthetically pleasing space.
Creating a clear container system eliminates the visual chaos of mismatched packaging while extending the shelf life of pantry staples. This organization method allows you to quickly assess inventory levels, maintain freshness, and prevent duplicate purchases. Additionally, uniform containers maximize space utilization and create a cohesive look that makes the pantry both practical and visually appealing.
Required Items:
- Clear airtight containers in various sizes
- Label maker or waterproof labels
- Measuring cups and funnels
- Clean cloth or paper towels
- Storage bins or baskets
- Shelf liner (optional)
- Step stool
- Garbage bag
Empty the pantry completely and clean all surfaces thoroughly. Sort items by category (grains, snacks, baking supplies) and check expiration dates. Transfer dry goods into appropriately sized clear containers, ensuring each vessel is completely dry before filling. Leave enough headspace in containers to accommodate scoops or measuring cups. Label each container with the item name and expiration date.
Arrange containers by category, placing frequently used items at eye level and heavy containers on lower shelves. Group similar items together and consider using turntables or risers for better visibility of items in deep spaces. Store backup supplies and bulk items in labeled bins on upper shelves.
For optimal results, measure your shelf space before purchasing containers to ensure proper fit. Choose containers with wide mouths for easy scooping, and consider square or rectangular shapes over round ones to maximize space efficiency. Keep a small inventory list inside the pantry door to track when staples need replenishing, and always clean containers thoroughly before refilling with new products.
Transform Dead Space Into Storage Gold
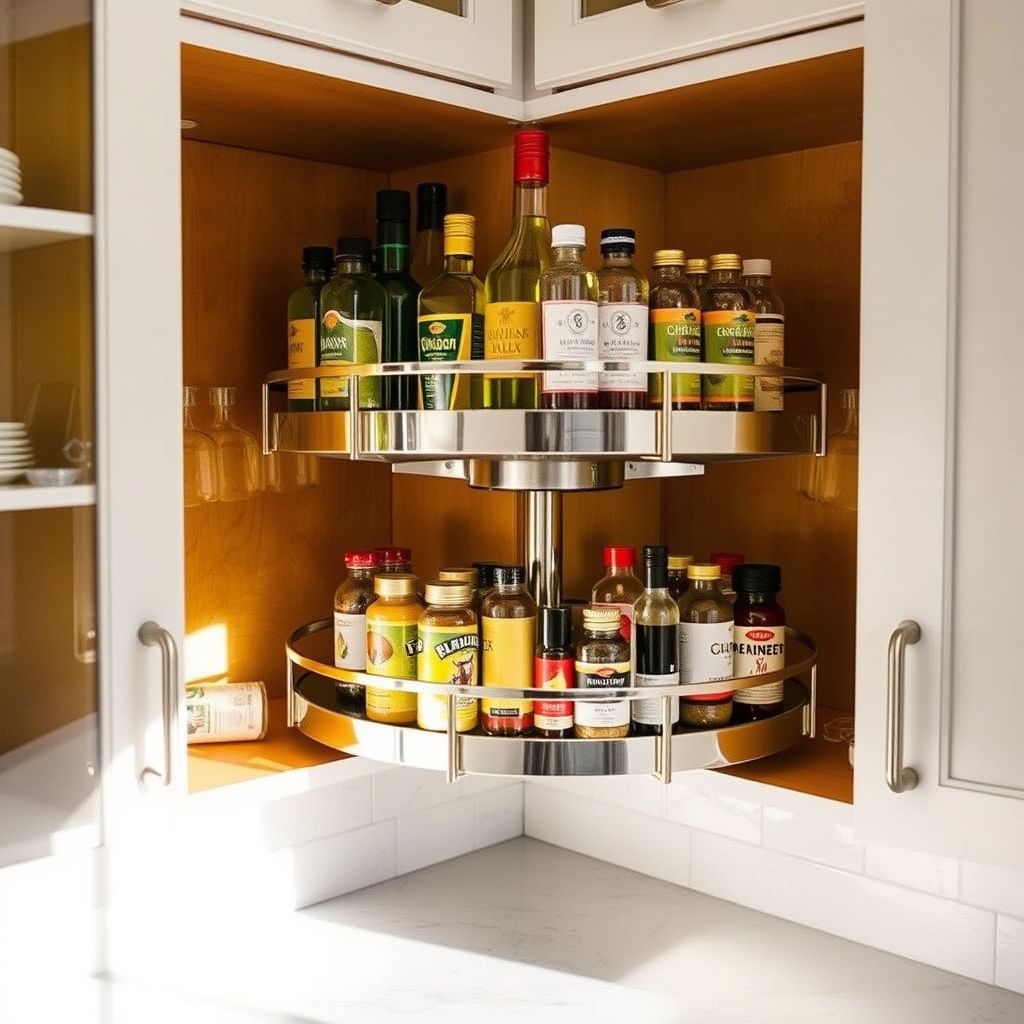
Dead space in kitchens represents countless missed opportunities for storage and functionality. These overlooked areas – from awkward corners to narrow gaps between appliances – often amount to several square feet of valuable storage potential that goes unused.
When properly utilized, these spaces can dramatically increase your kitchen’s storage capacity and improve workflow. Converting dead space into functional storage not only maximizes your kitchen’s efficiency but also helps maintain a clutter-free environment.
Strategic use of these forgotten spaces can create designated areas for seasonal items, rarely-used appliances, or everyday essentials that currently overcrowd your primary storage zones.
Required Items:
- Measuring tape
- Pull-out drawer organizers
- Corner cabinet carousel systems
- Narrow rolling carts
- Over-door organizers
- Command hooks
- Tension rods
- Clear storage containers
- Label maker
- Drawer dividers
- Shelf risers
Start by identifying all dead spaces in your kitchen – measure gaps between appliances, unused corners, and the full height of cabinets. Install pull-out organizers in narrow spaces between appliances or cabinets that are at least 6 inches wide.
For corner cabinets, implement lazy Susan systems or pull-out corner organizers to access the furthest reaches. Utilize the full height of upper cabinets by adding shelf risers and organizing items by frequency of use.
Transform the sides of cabinets and refrigerators into vertical storage zones using magnetic holders or mounted organizers. Install over-door organizers on pantry or cabinet doors to store spices, cleaning supplies, or cooking utensils.
For spaces under sinks or in deep cabinets, use stackable drawers and clear containers to maximize vertical space while maintaining visibility and accessibility.
Additional Tips: Regularly assess the functionality of your organizational systems and adjust as needed. Consider installing motion-sensor lights in deep corners or pull-out units to improve visibility.
Keep frequently used items at eye level and store seasonal or rarely used items in harder-to-reach spaces. Use clear containers whenever possible to easily identify contents, and always label storage solutions to maintain organization long-term.
Optimize Your Fridge With Strategic Shelf Planning
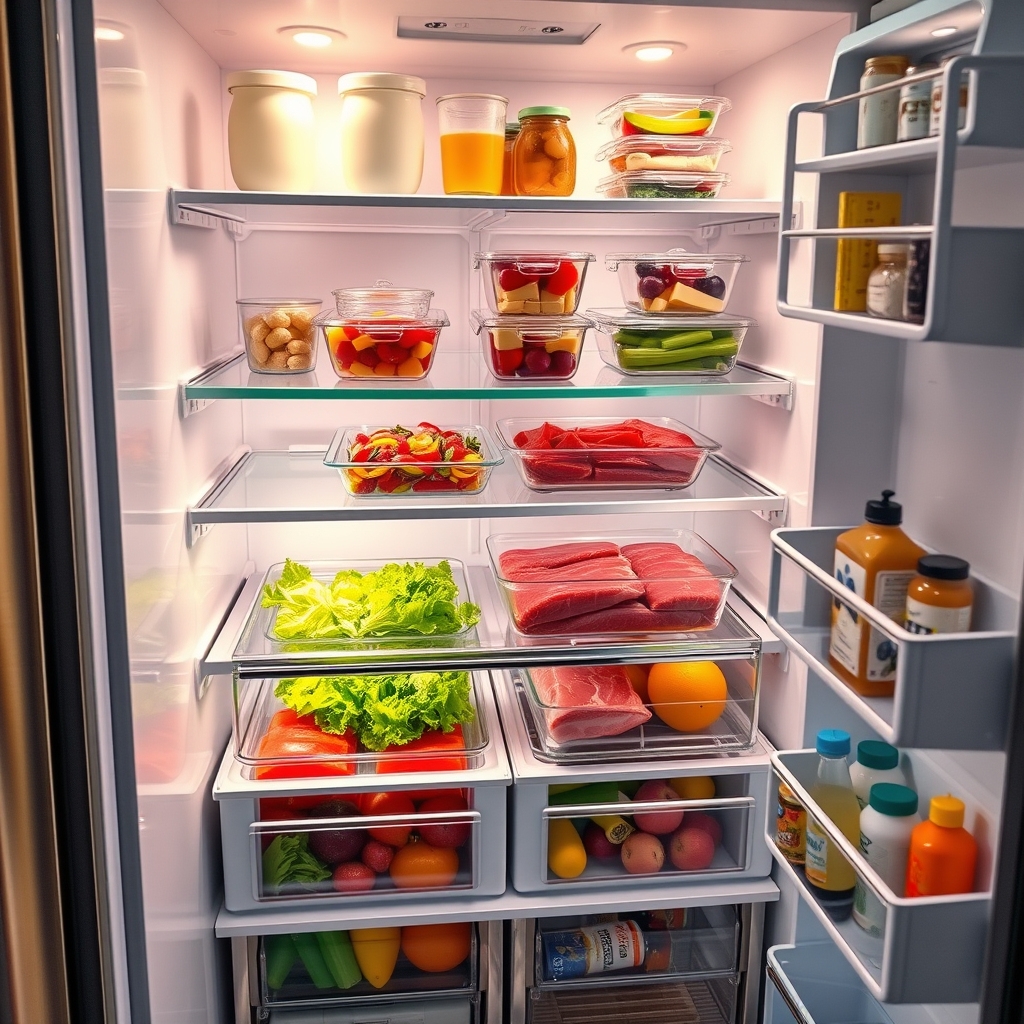
A well-organized refrigerator is fundamental to maintaining food freshness, reducing waste, and streamlining meal preparation. When items are strategically placed on appropriate shelves, you can quickly locate ingredients, monitor expiration dates, and maintain proper food safety standards.
Strategic shelf planning in your refrigerator not only maximizes space but also helps maintain consistent temperatures for different food types. Upper shelves typically maintain slightly warmer temperatures than lower ones, while drawers provide specialized environments for produce and meats, making shelf assignment crucial for food preservation.
Required Items:
- Clear storage containers
- Label maker or labels
- Refrigerator bins
- Drawer liners
- Shelf mats
- Temperature gauge
- Cleaning supplies
- Food storage bags
- Marker/pen
- Notepad
Start by completely emptying your refrigerator and cleaning all surfaces thoroughly. Place dairy products and ready-to-eat foods on the upper shelves where temperatures remain steady. Reserve the middle shelves for leftovers, prepared foods, and beverages.
Designate the bottom shelf for raw meat, fish, and poultry to prevent cross-contamination from potential drips. Configure your drawer settings appropriately – set the humidity higher for leafy greens and vegetables, and lower for fruits.
Create designated zones using clear bins: one for condiments, another for spreads, and separate areas for eggs and cheese. Use the door shelves for items that can handle temperature fluctuations, such as condiments, juices, and butter.
Additional Success Tips: Implement a weekly inventory system to track expiration dates and reduce food waste. Use clear containers to maintain visibility of contents, and establish a “first in, first out” rotation system.
Consider placing a small temperature gauge in your refrigerator to monitor optimal cooling conditions, and maintain space between items to allow proper air circulation.
Design a Functional Kitchen Command Center
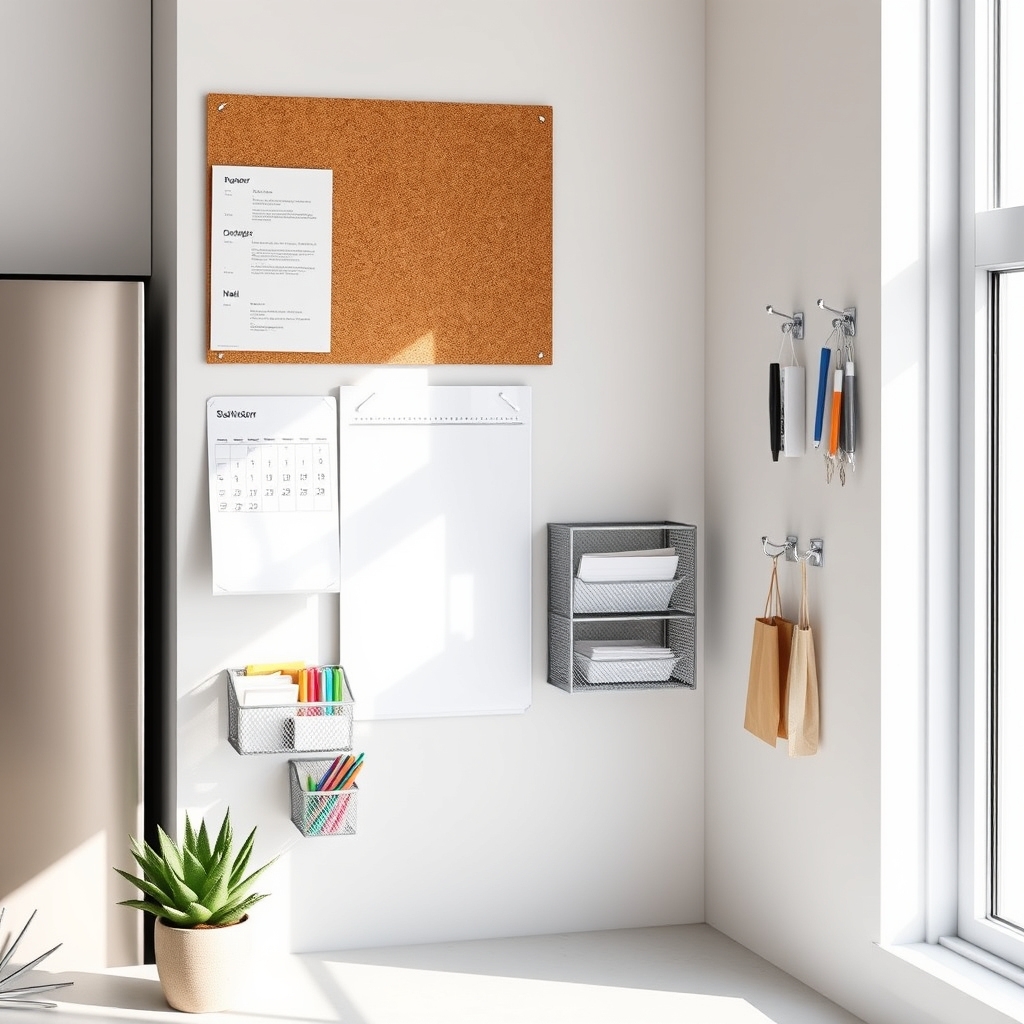
A kitchen command center serves as the operational headquarters for household management, meal planning, and family communication. This dedicated space helps prevent counter clutter, lost papers, and missed appointments while keeping essential information readily accessible for all family members.
Creating an organized command center transforms kitchen workflow and family dynamics by establishing a central hub for schedules, bills, school notices, and meal planning. When properly designed, this space reduces stress, eliminates paper chaos, and ensures important documents don’t get lost among cooking supplies or food items.
Required Items:
- Wall-mounted bulletin board
- Calendar
- File folders or organizers
- Dry erase board
- Writing supplies
- Small containers or bins
- Command hooks
- Labels
- Document trays
- Mail sorter
- Menu planning template
- Basic office supplies
Select a visible yet out-of-the-way wall space in your kitchen, ideally near the entrance or refrigerator. Mount the bulletin board at eye level and arrange the calendar below it. Install a mail sorter and document trays at a convenient height for sorting incoming papers.
Create designated zones within the command center: one for immediate action items, another for ongoing reference materials, and a third for meal planning and grocery lists. Add labeled folders for each family member or category of documents.
Position frequently used items within easy reach and establish a clear system for processing incoming papers and mail. Implement a color-coding system to help family members quickly identify their documents and responsibilities. Keep the space equipped with essential supplies like pens, scissors, and sticky notes to handle administrative tasks efficiently.
To maintain the command center’s effectiveness, establish a weekly routine for updating the calendar, clearing outdated papers, and refreshing meal plans. Consider implementing a “one-touch” rule where papers are immediately sorted into their designated spots rather than creating temporary piles.
Regular maintenance and clear communication with family members about the system will ensure the command center remains a valuable organizational tool rather than becoming another cluttered surface.
Maximize Vertical Storage With Wall-Mounted Solutions
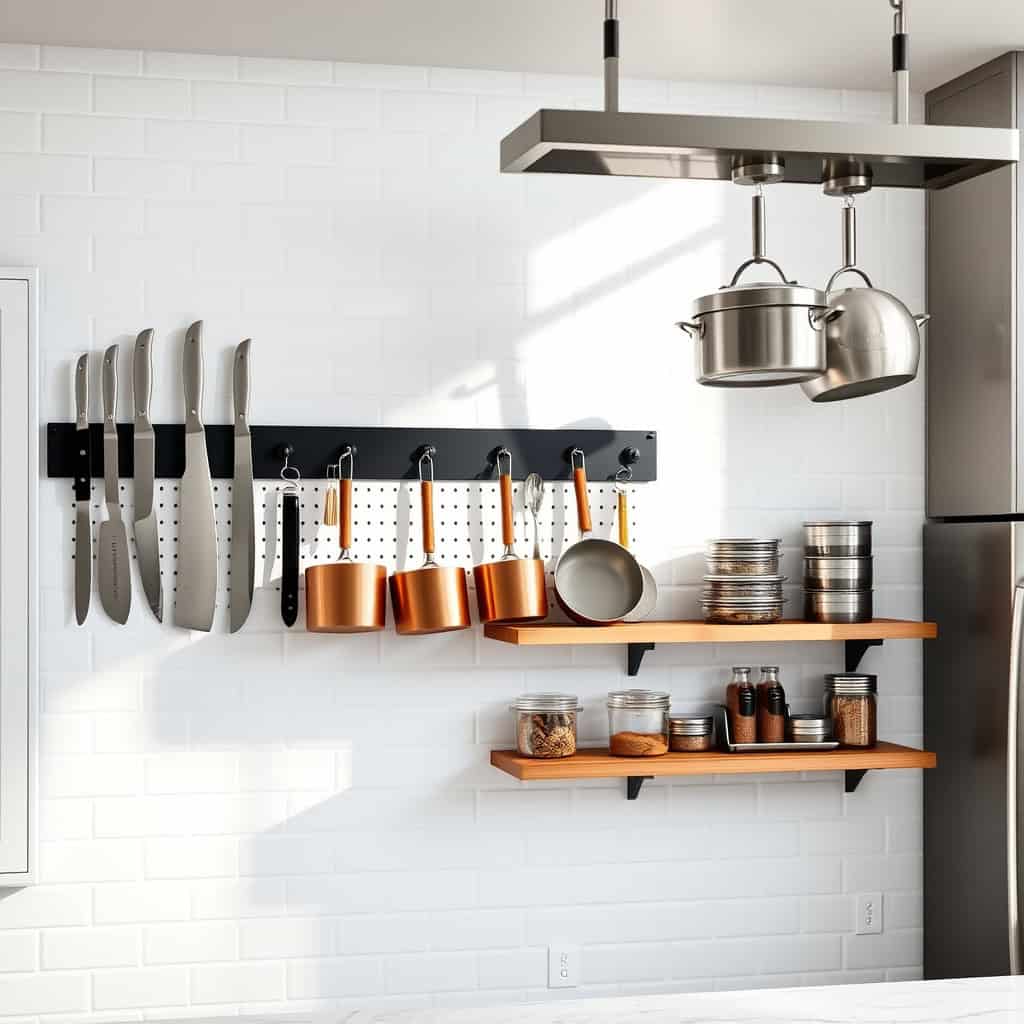
Vertical storage solutions are essential for modern kitchens where counter and cabinet space comes at a premium. By utilizing wall space effectively, you can free up valuable work surfaces while keeping frequently used items within easy reach. This organizational approach not only maximizes storage capacity but also creates an efficient workflow in your kitchen.
Wall-mounted storage transforms unused vertical space into functional storage areas, allowing you to display attractive cookware while keeping essential tools accessible. This organization method is particularly valuable in smaller kitchens, apartments, or areas where traditional storage options are limited.
Required Items:
- Wall-mounted magnetic knife strip
- Pegboard and hooks
- Floating shelves
- Wall-mounted pot rack
- Heavy-duty anchors
- Drill and drill bits
- Level
- Measuring tape
- Pencil
- Stud finder
- Screwdriver
- Wall brackets
- Mounting hardware
Begin by assessing your wall space and identifying studs using a stud finder. Measure and mark installation points for your chosen storage solutions, ensuring they’re at comfortable reaching height. Install heavy-duty anchors in areas where studs aren’t available.
Mount larger items like pot racks and pegboards first, following manufacturer guidelines for weight limits and spacing. Once the main components are secured, organize items by frequency of use, placing everyday tools at eye level and less-used items higher up. Group similar items together: cooking utensils near the stove, measuring tools near the prep area, and frequently used pots and pans within easy reach of your main cooking zone.
Additional Tips: Consider installing adjustable systems that can be reconfigured as your needs change. Use clear containers on floating shelves to store dry goods, ensuring labels face forward. Incorporate proper lighting to illuminate wall-mounted storage areas, making items easier to locate.
Regularly assess the functionality of your setup and make adjustments as needed to maintain optimal efficiency.

