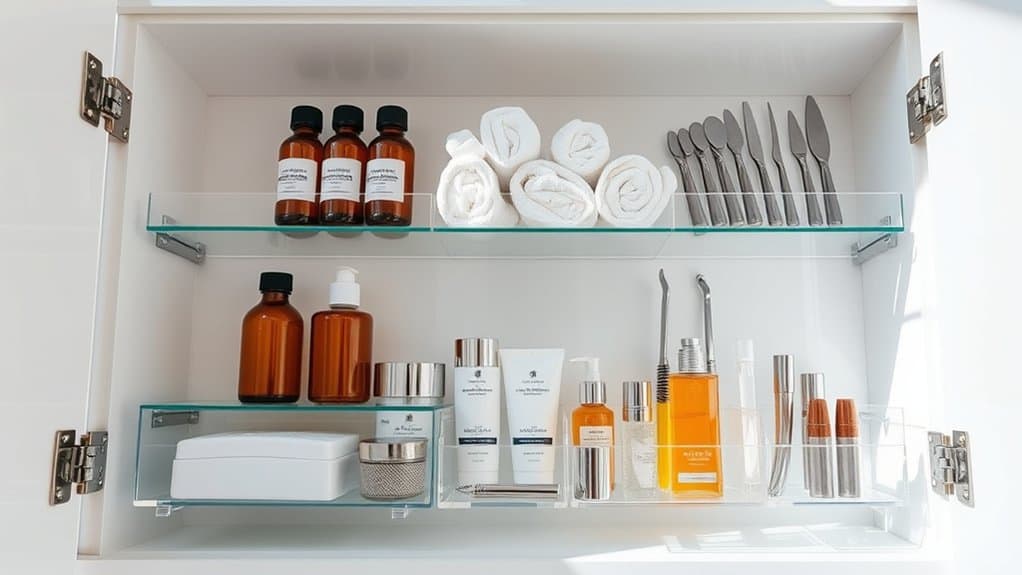
You know that moment when you’re frantically searching your medicine cabinet for cold medicine at 2 AM? I’ve been there! An organized medicine cabinet isn’t just about looking neat – it’s a game-changer for your daily routine and those midnight emergencies. After years of struggling with cluttered shelves and expired medications, I’ve discovered seven brilliant organization strategies that’ll transform your bathroom storage from chaos to calm. Let me show you how to create a system that actually works.
Declutter and Purge Expired Items
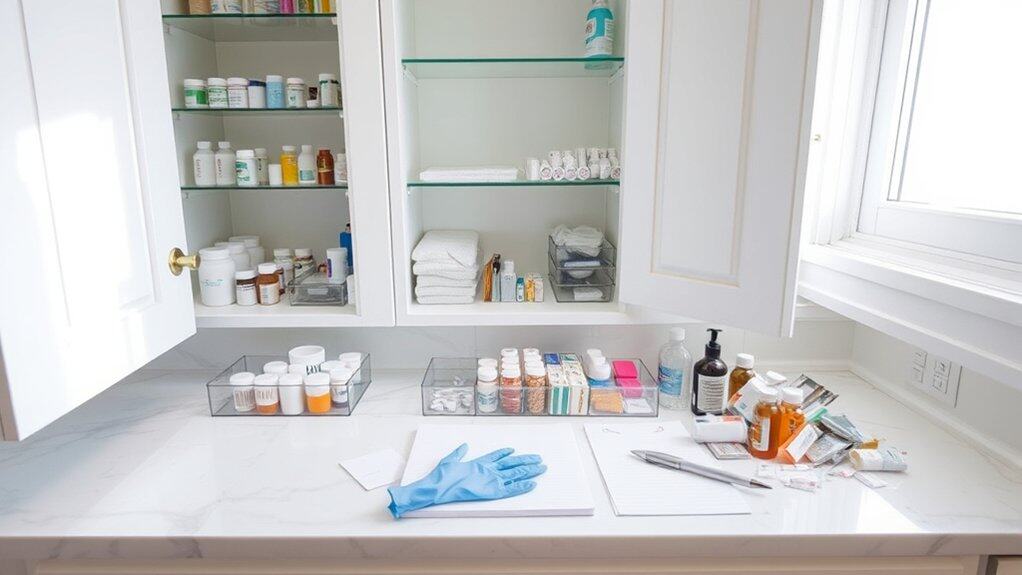
Maintaining an organized medicine cabinet is crucial for both safety and efficiency. Expired medications can lose their effectiveness or become harmful, while cluttered spaces make it difficult to find essential items during emergencies. A well-organized medicine cabinet not only promotes better health management but also prevents accidental usage of expired products.
Regular purging of expired items from your medicine cabinet is a fundamental aspect of household safety. This process helps you maintain a clear inventory of your medications and personal care items, ensuring that everything you keep is safe to use and readily accessible when needed.
Required Items:
- Large trash bag
- Disinfecting wipes
- Sticky notes
- Marker
- Small storage containers
- Labels
- Notepad
- Recycling bin
- Gloves
- Container for sorting
The decluttering process starts with removing everything from your medicine cabinet. Sort items into three distinct categories: keep, discard, and undecided. Check expiration dates on all medications, vitamins, and personal care products. For prescription medications, note that most expire within one year from the date of filling. Dispose of expired medications properly according to local guidelines – many pharmacies offer medication take-back programs.
For personal care items like lotions and cosmetics, check for changes in color, consistency, or smell, which can indicate deterioration.
Next, thoroughly clean the empty cabinet with disinfecting wipes and allow it to dry completely. While the cabinet dries, review the “undecided” pile and make final decisions. For items you’re keeping, group similar items together (first aid, daily medications, personal care) and consider using small containers or organizers to keep these categories separate and easily accessible.
Additional Tips: Create an inventory list of medications and their expiration dates to track when items need replacement. Set a recurring reminder every six months to review cabinet contents. Store medications requiring specific temperatures (like insulin) in appropriate locations, not in the bathroom where humidity and temperature fluctuate.
Consider keeping a small notepad in the cabinet to mark when you open new products, especially those without clear expiration dates.
Group Similar Items Together
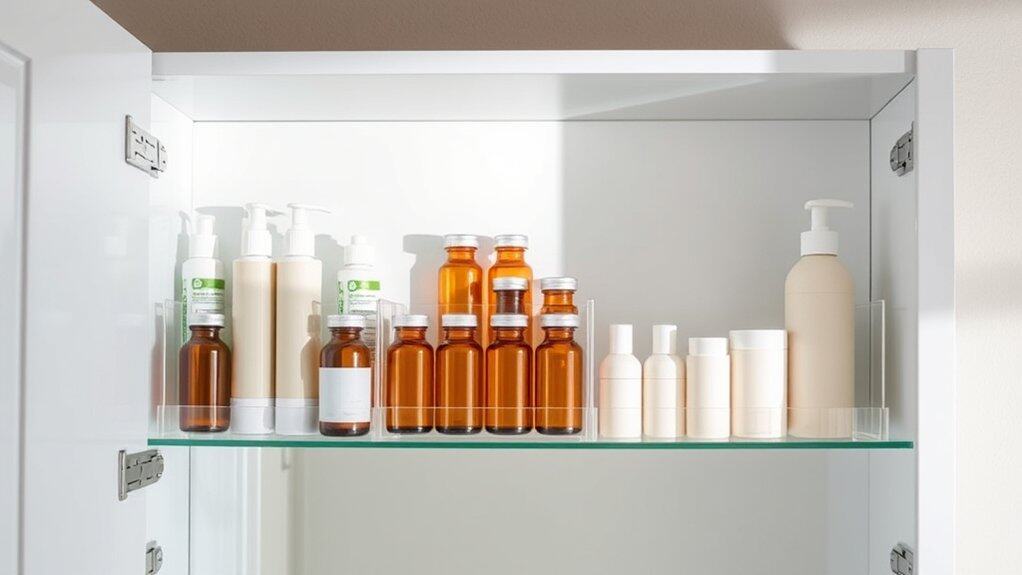
Organizing your medicine cabinet by grouping similar items is a fundamental step toward creating an efficient and stress-free bathroom experience. When items are categorized logically, you spend less time searching for what you need and can quickly assess when supplies are running low.
Proper grouping of medicine cabinet items not only saves time but also helps maintain the safety of your healthcare products. When medications, first-aid supplies, and personal care items are organized by category, you reduce the risk of accidentally grabbing the wrong item and can better track expiration dates within each group.
Required Items:
- Small organizing bins or containers
- Label maker or labels
- Cleaning supplies
- Clear plastic bags
- Medicine bottle organizers
- Drawer dividers or small trays
- Measuring tape
- Notepad and pen
Start by removing everything from your medicine cabinet and sorting items into clear categories: medications, first-aid supplies, dental care, eye care, skincare, and daily essentials. Measure your cabinet’s shelves and select appropriate-sized containers for each category.
Place daily-use items at eye level, keeping medications and first-aid supplies on upper shelves away from children. Arrange similar items together in their designated containers – for example, all dental items (floss, toothpaste, mouth wash) should be grouped in one section, while all skincare products should occupy another clearly defined space.
When positioning grouped items, consider frequency of use and safety. Keep prescription medications together but separate from over-the-counter drugs. Store first-aid supplies in a clearly marked container for easy access during emergencies.
Position everyday items like dental care products and face wash where they’re easily accessible, while keeping occasional-use items toward the back or on higher shelves.
Additional Tips: Create a “first in, first out” system within each group by placing newer items behind older ones. Conduct monthly checks of your grouped items to remove expired products and assess what needs restocking.
Consider using turntables or lazy Susan organizers for deeper cabinets to maintain easy access to items at the back of each group. Label the bottom of each container with its contents to maintain organization when removing bins for cleaning.
Maximize Vertical Space With Shelf Risers
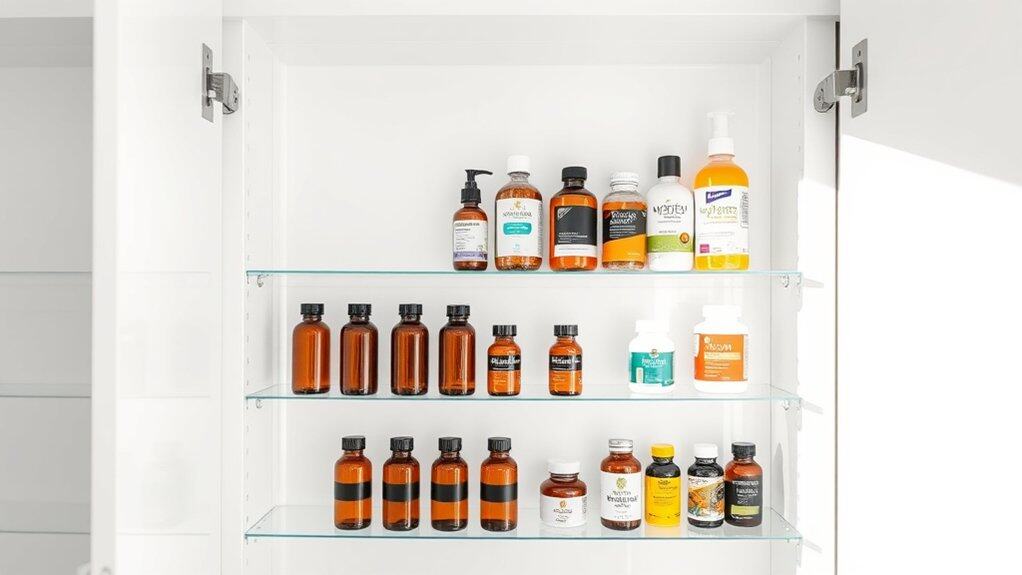
Making the most of vertical space in your medicine cabinet is crucial for maintaining an organized and efficient bathroom storage system. Limited shelf space often leads to cluttered, hard-to-navigate cabinets where items get lost or forgotten in the back.
Shelf risers transform unused vertical space into functional storage areas, effectively doubling or tripling your cabinet’s capacity. This organization method creates distinct levels within each shelf, making items more visible and accessible while maintaining a clean, orderly appearance.
Required Items:
- Shelf risers (various sizes)
- Measuring tape
- Cabinet cleaning supplies
- Labels
- Storage bins or containers
- Non-slip shelf liner
- Pencil and paper
Start by removing everything from your medicine cabinet and measuring the interior dimensions, including height between shelves. Choose shelf risers that fit your cabinet’s depth and width, leaving enough clearance for the cabinet door to close.
Place non-slip liner on existing shelves before positioning the risers. Arrange taller items on the back tier and shorter items in front, ensuring all products remain visible and accessible.
Group similar items together on each level – for example, place daily medications on one riser and first-aid supplies on another. Position frequently used items at eye level and reserve higher or lower spaces for less-used products.
Consider using small containers or bins on the risers to prevent items from falling or shifting. For optimal organization maintenance, regularly check that items haven’t shifted behind risers and adjust shelf heights as needed based on changing storage requirements.
Label each section clearly and consider keeping a small step stool nearby if using higher shelf spaces. Clean risers monthly to prevent dust accumulation and ensure proper hygiene in your medicine cabinet.
Use Clear Storage Containers
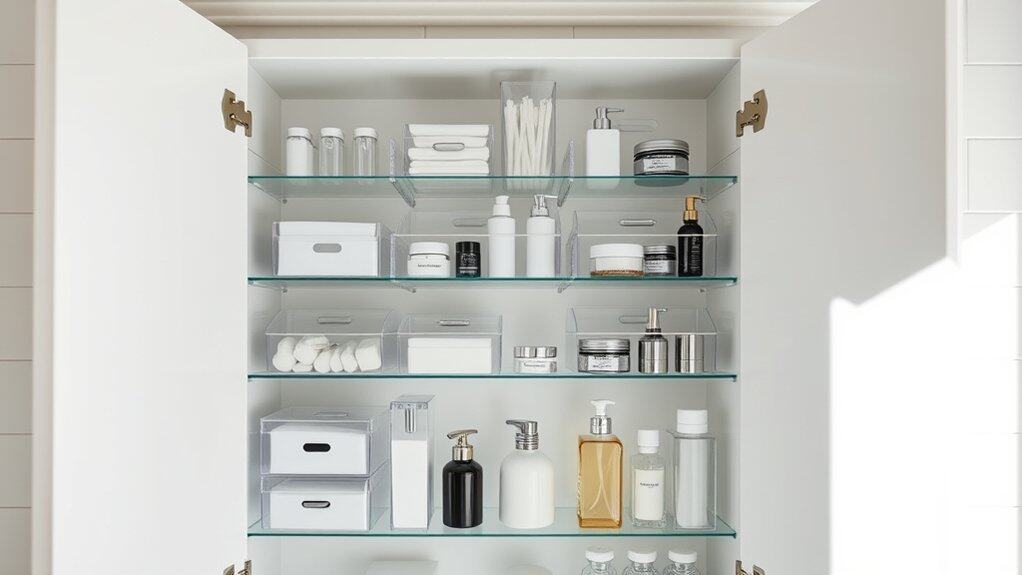
A well-organized medicine cabinet can transform your daily routine from chaotic to streamlined, saving precious minutes during busy mornings. Clear storage containers are essential tools in this transformation, allowing you to quickly locate items while maintaining a clean, cohesive appearance.
When items are sorted and stored in transparent containers, you can easily monitor supplies, identify expired products, and maintain proper organization without having to shuffle through loose items. This system prevents products from getting lost in the back of the cabinet and helps maintain cleanliness by containing spills or leaks.
Required Items:
- Various sizes of clear plastic containers
- Label maker or waterproof labels
- Measuring tape
- Cleaning supplies
- Small drawer organizers
- Clear makeup organizers
- Clear medicine bottle holders
- Container dividers
Begin by measuring your medicine cabinet’s interior dimensions and purchasing appropriately sized clear containers that maximize the available space. Sort all items by category (medications, first aid supplies, dental care, skincare).
Place similar items together in containers that fit their size and quantity. For medications, choose containers with secure lids and ensure they’re clearly labeled with contents and expiration dates. Position frequently used items at eye level in easily accessible containers.
Additional items can be organized by creating zones within larger containers using clear dividers. Store daily essentials in smaller containers at the front, while keeping backup supplies in larger containers toward the back. Always ensure container sizes allow cabinet doors to close properly and consider using stackable options to maximize vertical space.
To maintain this organizational system, clean containers monthly with antibacterial wipes, regularly check for expired items, and adjust container placement based on usage patterns.
Consider using silicone grip liners inside containers to prevent items from sliding, and always store medications in containers with child-resistant features if necessary. Regular maintenance of this system will ensure long-term organization success.
Label Everything Strategically
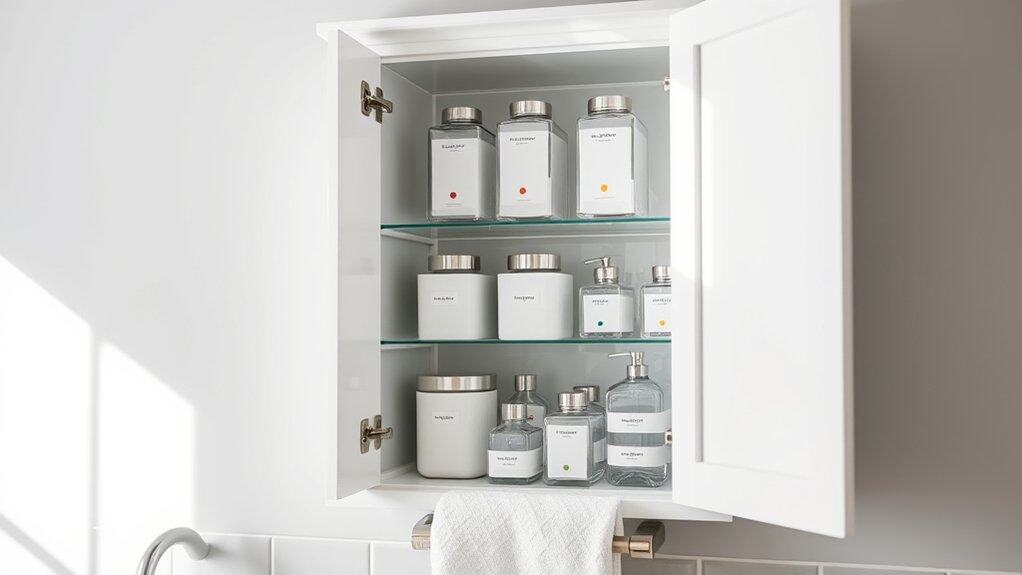
A well-labeled medicine cabinet transforms a cluttered space into an efficiently organized system that saves time and reduces frustration. When items are clearly marked, family members can quickly locate what they need and return items to their designated spots, maintaining order long-term.
Strategic labeling serves multiple critical purposes beyond basic organization. It helps track expiration dates, distinguish between similar-looking medications, and ensures emergency items can be found quickly. This system becomes especially valuable during illness or when guests need to locate basic supplies.
Required Items:
- Label maker or waterproof labels
- Clear containers or bins
- Permanent markers
- Clear tape
- Small adhesive dots (different colors)
- Mini clipboard or notepad
- Category dividers
- Clear plastic bags
Create a labeling system by first grouping similar items together (first aid, daily medications, seasonal allergy supplies, etc.). Apply clear, waterproof labels to both containers and shelf edges, ensuring text is large enough to read easily in dim light.
Implement a color-coding system using colored dots – red for emergencies, yellow for prescription medications, and green for daily-use items. For medications, include essential information like dosage instructions and expiration dates directly on the container or a separate tracking card.
When dealing with prescription medications, create detailed labels that include the family member’s name, medication name, dosage, and timing. For first aid supplies, use bold, easy-to-read labels and consider adding basic instructions for items like antibacterial ointments or wound care supplies.
Place frequently accessed items at eye level with clearly visible labels.
Additional Tips: Consider implementing a monthly label check to ensure all labels remain legible and accurate. Use symbols or icons alongside text for easier recognition, especially for children or elderly family members.
Keep a master list of all labeled items taped inside the cabinet door, and update it whenever new items are added or removed. This serves as a backup system and helps maintain organization long-term.
Create a Daily Essentials Zone
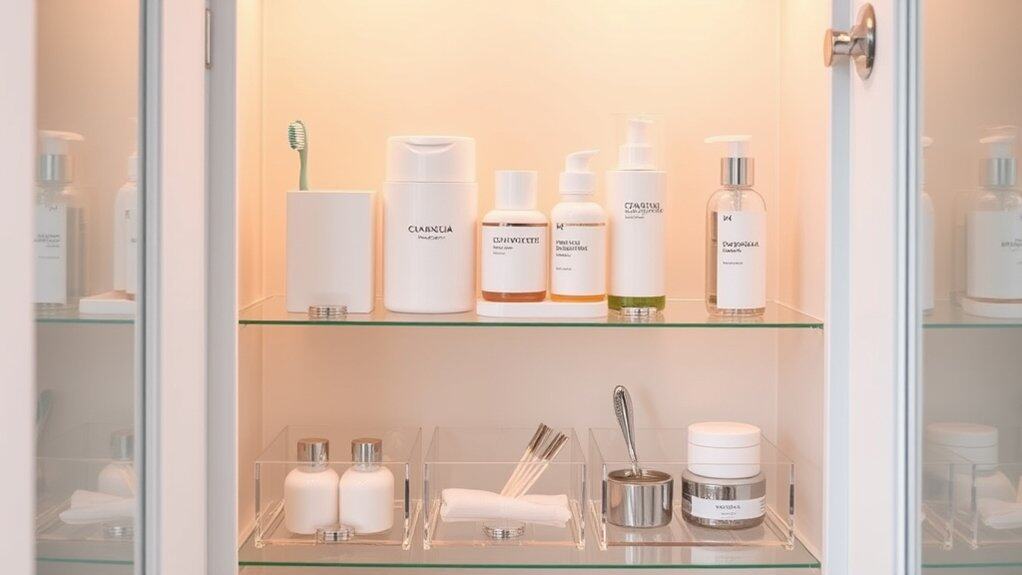
A well-organized daily essentials zone in your medicine cabinet serves as command central for your everyday personal care routine. By dedicating a specific area to items you use daily, you eliminate the frustration of searching through rarely-used products and create a streamlined morning and evening routine.
The daily essentials zone concept transforms your medicine cabinet from a cluttered catch-all into an efficient personal care station. This organizational system saves precious minutes during busy mornings and ensures you never misplace frequently used items behind less important products.
Required Items:
- Clear storage containers or organizers
- Labels or label maker
- Small shelf risers
- Clear acrylic bins
- Drawer dividers
- Cleaning supplies
- Measuring tape
- Notepad and pen
Start by removing everything from your medicine cabinet and measuring the available space. Designate the most accessible shelf or area for your daily essentials zone – typically at eye level.
Group similar items together: oral care, facial products, medications, and grooming tools. Install small shelf risers to maximize vertical space and improve visibility of items placed toward the back of the cabinet.
Select appropriately sized clear containers or organizers for each category of daily items. Place the most frequently used products at the front of each container. Arrange containers so that taller items are positioned at the back, with shorter items in front for easy viewing and access.
Label each container clearly to maintain organization long-term.
Additional Tips:
Keep only a 30-day supply of daily items in this zone to prevent overcrowding. Review and rotate products monthly, restocking from backup supplies stored elsewhere.
Consider using magnetic strips inside cabinet doors for metal items like tweezers and nail clippers, maximizing shelf space for other essentials. Maintain this system by returning items to their designated spots immediately after use.
Maintain a Regular Cleaning Schedule
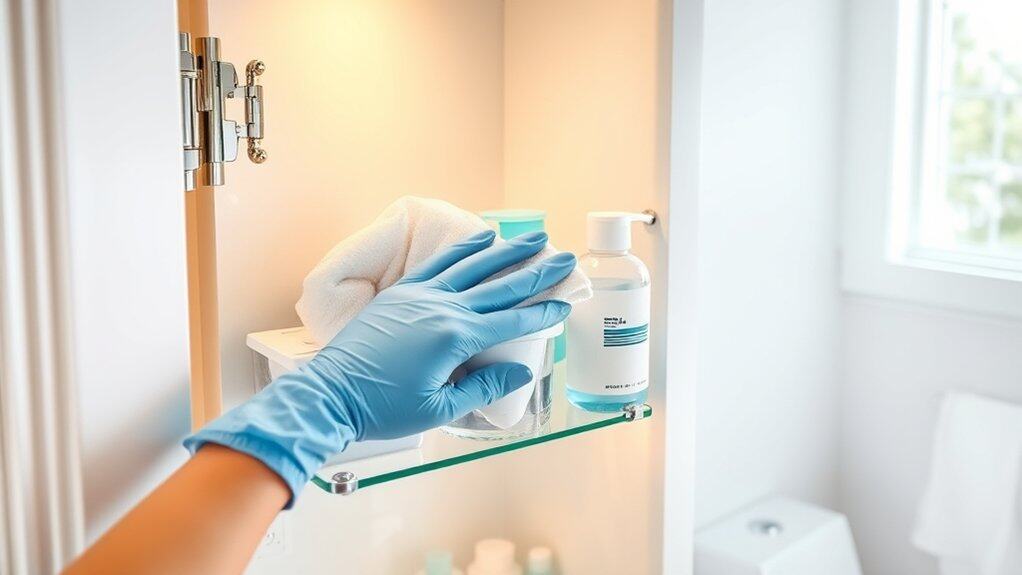
A regular cleaning schedule for your medicine cabinet is essential for maintaining hygiene and ensuring the safety of your medical supplies and personal care items. Dust, moisture, and product residue can accumulate quickly in this small space, potentially compromising the effectiveness of medications and creating an unsanitary environment.
Establishing a consistent cleaning routine not only protects your health but also helps you stay organized by forcing regular evaluation of expired products and maintaining proper inventory of essential items. This proactive approach prevents clutter buildup and ensures you always know what supplies need replenishing.
Required Items:
- Microfiber cloths
- All-purpose cleaner
- Glass cleaner
- Paper towels
- Small container for sorting
- Garbage bag
- Calendar or cleaning schedule
- Rubber gloves
- Label maker or markers
The cleaning process should be conducted monthly, starting with completely emptying the cabinet and sorting items into categories: keep, discard, and relocate. Thoroughly clean all surfaces using an all-purpose cleaner for shelves and a glass cleaner for mirrors. Pay special attention to corners and hinges where residue often accumulates.
Allow surfaces to dry completely before replacing items, as moisture can damage medications and create a breeding ground for bacteria. Before returning items to the cabinet, check all expiration dates and dispose of expired products properly. Wipe down each container to remove any buildup or residue.
Consider using shelf liners to protect surfaces and make future cleaning easier. Organize items by category and frequency of use, placing frequently used items at eye level.
Additional Tips: Create a cleaning checklist and attach it inside the cabinet door to track your maintenance schedule. Set calendar reminders on your phone for monthly cleaning sessions and quarterly deep cleans.
Consider installing small silica gel packets to control moisture, and use clear containers or labels to maintain organization between cleanings. This systematic approach will help maintain the effectiveness of your cleaning routine and extend the life of your medical supplies.

